

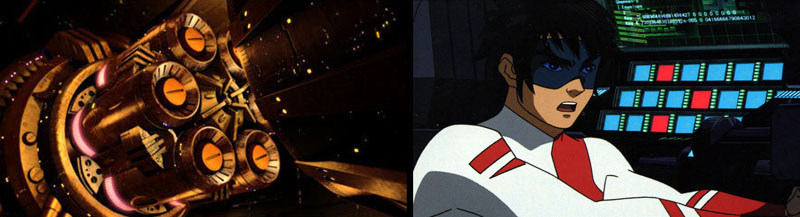
Yamato descends into a lake on the picturesque planet Amare and is cheered by Earth people who arrived before them. Kodai meets an EDF officer on shore and is escorted to the wreck of a Super Andromeda, the ship previously commanded by Yuki. It was found after it warped away from the battle, but Yuki wasn’t on board. Only her tattered captain’s hat was recovered.
Maho, Sakurai, and Kamijou look out at Amare’s exquisite sunset, but all they can do is mourn the loss of their own world. Kodai reports his successful arrival to Sanada and we jump to Africa where we look in on the Sado Animal Hospital. Dr. Sado and Analyzer happily relay the good news to Miyuki, but she is indifferent to all matters involving her father. Sado can’t seem to convince her that Kodai loves anything more than his precious Yamato.
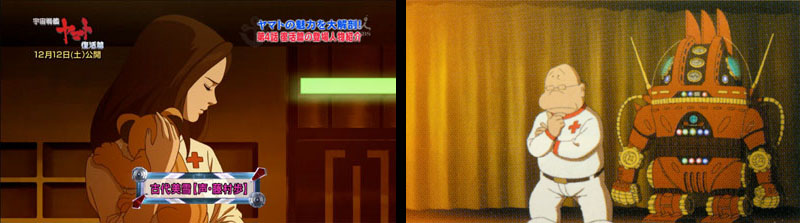
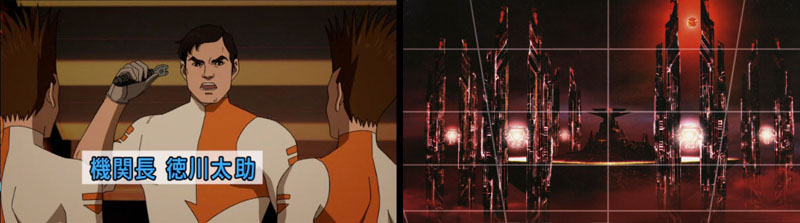
We’ve now seen all the original crewmembers we’re going to get for the rest of the film. No sign of Homer, Dash, Eager, or Conroy. They’re presumably still alive and working somewhere in the fleet, but it would have been nice to at least get some cameos. Also, I have to say, all the animation of Sado is strikingly amateurish compared to everyone else. It looks like cheap TV animation and it’s impossible to ignore.
Cut to the Cascade Black Hole, still approaching. In case you forgot.
Kodai talks with Queen Iriya on Amare, and she gives him the scoop on the SUS. There was an interplanetary war between space nations. The SUS brokered a peace, and brought together all parties as the Interstellar Alliance. Amare is of special interest to them because it has rare natural resources that the SUS requires. Iriya secretly longs for independence, but can do nothing against the SUS. Troubled by this, Kodai walks away and is stopped at gunpoint by Amare’s General Pascal. The Earthlings’ presence here is a threat to peace. Right on cue, the city is rocked by explosions. Fightercraft from the SUS are bombing them.
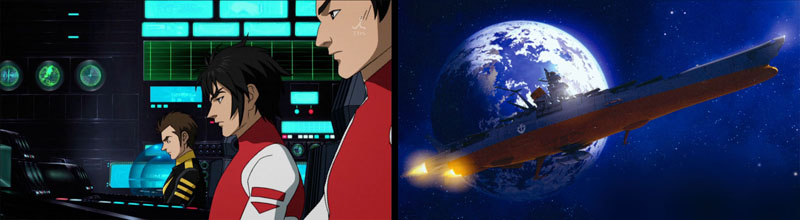
Kodai returns to Yamato‘s bridge and the crew immediately asks him to authorize a counterstrike. He explains that any move to retaliate would only bring greater danger to Amare. They have no choice but to sit in the galaxy’s most powerful Space Battleship and watch innocent people take it in the neck.
Metsler is conducting the attack from his huge flagship, the Maya. (Which looks suspiciously like the enemy flagship in my graphic novel Grease Monkey Book 2. Read it online here. Is this my karmic payback for running off with the premise of this movie for Star Blazers Rebirth?) Metsler’s plan is to lean hard on Amare until they reject the Earth refugees. But he is challenged by another: Admiral Gorui arrives and demands to know why the SUS is attacking innocent civilians.
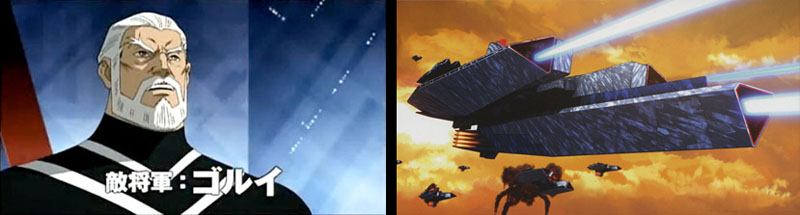
Metsler orders Gorui to join the attack, but once again the bushido gets in the way. Gorui’s entire crew agrees that death is better than dishonor and launches an attack on Metsler. Gorui rams his flagship square into the Maya, destroying them both and forcing Metsler to flee in a shuttlecraft.
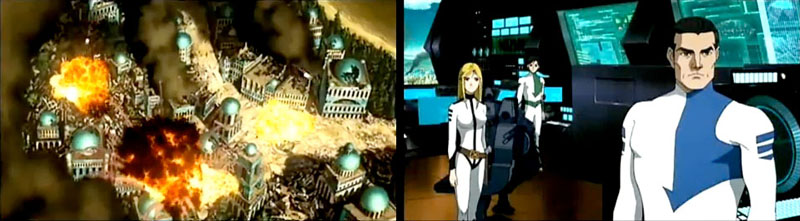
The bombardment of the city continues and the citizens protest directly to the Queen, demanding that she declare Amare’s independence from the SUS.
I should mention something about the music here; the first appearance of Gorui signaled a shift in the soundtrack away from Yamato scores to classical music. Gorui’s theme is a Beethoven piece, Amare’s is from Tchaikovsky, and the Queen gets Chopin. All these are perfectly fine, but the ground battle in the city reverts to another Beethoven piece that seems far too “major key” for the violence we see. Normally, Nishizaki can do no wrong with a soundtrack, but this really stands out as a misfire to me.
Kodai watches the city burn from the captain’s dome and plays a mental game of “what would Yuki do?” We hear her voice advising him that Yamato always fights injustice, which can only have one result. He calls the queen and reports his intention to declare war on the SUS. Yamato quickly turns the invasion force into shrapnel and launches. The Queen tears up as she thanks them for their bravery.

Back to Earth; another big wave of emigration ships launches. Noticeably fewer people are left to wave goodbye.
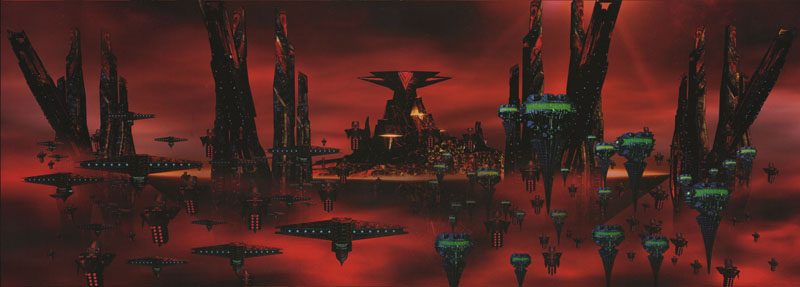
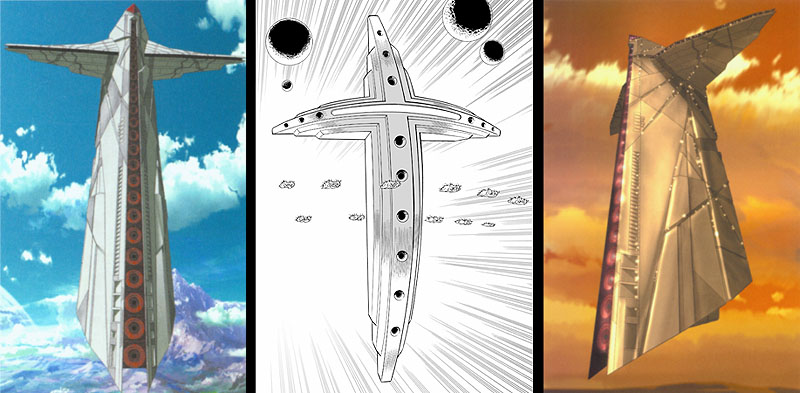
SUS commander Barlsman is enraged and orders Yamato attacked immediately. The Earth fleet rallies around Yamato and General Pascal’s ships rise up from Amare in support. Together, they will make their stand against Barlsman and Metsler. With the Ethos fleet gone, the Beldel and Fridei line up on the side of the SUS’s gigantic space fortress. It looks like an inverted pyramid with a glowing red tower rising from its flat plane. The pyramid is filled with what looks like water, but it’s actually something else. Positioned in a ring around this fortress are several enormous vertical pillars. Can’t be good.
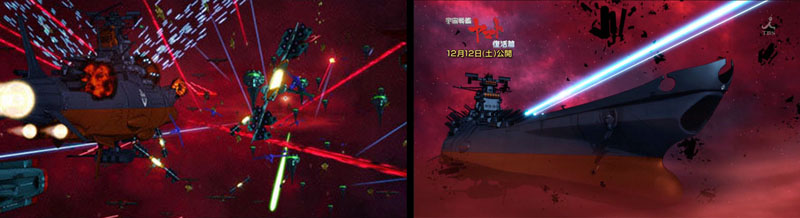
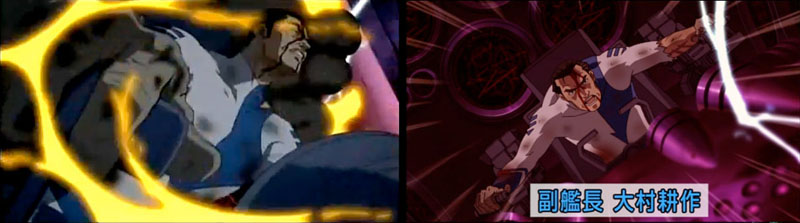
Yamato launches her Cosmo Pulsars and another insane space battle begins. (It’s also another point where, unfortunately, the classical music seems wrongly-placed to me. It’s a Grieg piano concerto that starts out menacing but then gets far too light for the action that follows. But what do I know?) Yamato has already been through one fight, and starts to take damage. Sakurai is now filling in for Kobayashi at the helm and gets wounded. Next, the wave-motion engine starts losing power. So and Sho bounce around in their control room trying to fix it until it seemingly revives itself. Tokugawa climbs out of a repair hatch and says they ought to try solving problems with a wrench once in a while.
Next we see what those big floating pillars are for: giant Neutron Beam cannons rotate out of them and point into the battling fleets. Barlsman orders them to fire. A crewman points out that some of their own allies will be hit and Metsler says to proceed anyway.
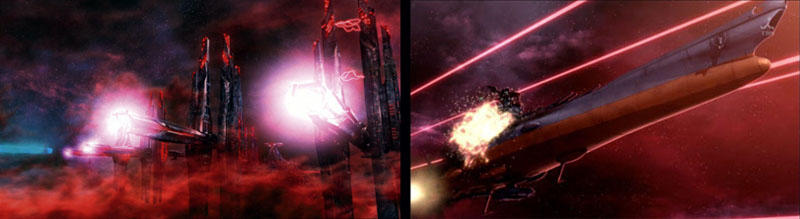
Pascal’s ships move to shield Yamato and are destroyed in the blast along with a whole lot of SUS allies. Now a clear pathway has been carved straight to Yamato and the giant cannons fire again. Yamato climbs out of the path, but all the remaining Earth ships are wiped out. Kodai orders all guns and missiles to fire, but they splash harmlessly against the fortress’ shields. Maho quickly locates the shield generator, the very cannons that are firing at them. Thus, there’s no way to break through.
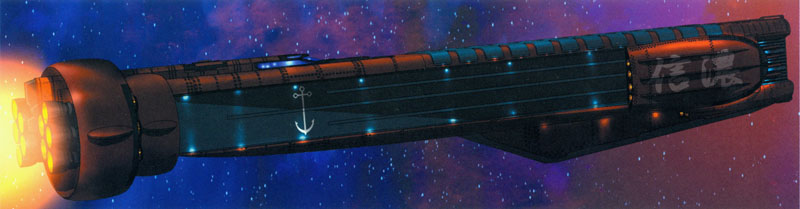
Or is there? Omura steps forward and volunteers to take out the Shinano. What’s a Shinano? Glad you asked. Yamato is carrying another surprise this time out; a smaller vessel packed to the gills with wave-motion missiles. They haven’t been tested yet, but Omura is willing to try it anyway. Kodai accepts his offer.
As soon as Shinano takes off, the SUS guns starting knocking it around like a toy. Omura is wounded but continues his advance. The missiles launch but still can’t get to the target. Only one chance left–Omura sacrifices himself by ramming the generator and the shield shatters like glass. Metsler and Barlsman weren’t expecting that. Now they’re vulnerable.
You get one guess which weapon Yamato uses next.
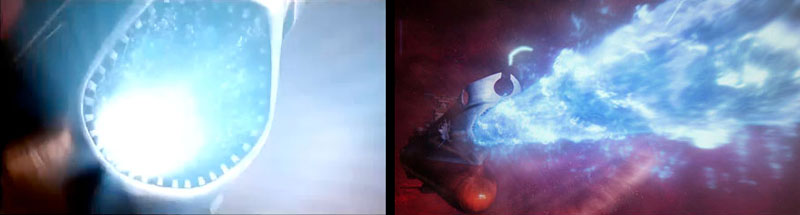
While the Hyper Neutron beams recharge, Kodai orders the Transition Wave-Motion Gun readied for firing. This would have been a perfect moment for one of those classic simultaneous countdown scenes, but it doesn’t happen. Amazingly, we get FIVE MASSIVE WMG SHOTS IN A ROW! Five glowing blue beams slam into the SUS fortress and it tips sideways like a ship going down. The “lake” pours out of the inverted pyramid. But it remember, it isn’t water. Stay tuned.
The threat seems to be over and everyone gathers around Kamijou to congratulate him on the awesome shooting. But they’re not out of the woods yet. Maho detects another enemy and suddenly it’s a whole new ballgame.
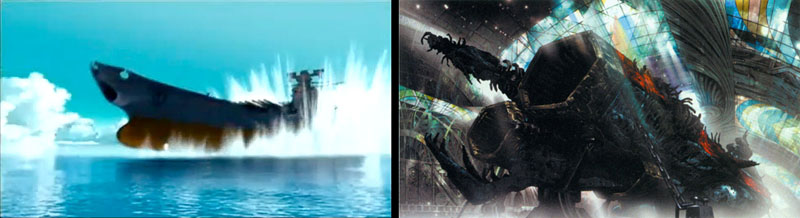
Barlsman was killed in the fortress; we saw his body start to glow just before the end. Remember that. Anticipating the worst, Metsler activated plan B: The Dreadnought. Like the Comet Empire, the SUS fortress was concealing an enormous companion vessel that now launches its own attack. It looks more like an evil cathedral than a ship, and here’s the twist: it erupts out of a dimensional rift and starts blasting away!
What does the dimensional rift look like? Water. Remember the super-cool Dimensional Submarines from Yamato III? This is the deluxe version. The SUS has this technology down cold. Time and again, Metsler’s Dreadnought pops out of a rift, fires, and plunges back in. It can emerge from any direction without warning and unleash one super-weapon after another. It’s got its own version of the wave-motion gun. It even has detachable modules that can cruise up on either side of you and fire broadsides. This thing is nasty.
Yamato goes to full power, trailing smoke, barely evading one strike after another, but it’s only a matter of time. Fortunately, Kodai has a plan. I neglected to mention that this entire battle has been bathed in blood red, the light from a nearby dwarf star that caught Kodai’s attention early on. He noticed that it was resonating with the energy flow of the SUS fortress; it must be an artificial energy source, which needs to be put out of its misery.
Using the star’s glare as temporary camouflage, Kodai orders the WMG sixth shot readied. As Metsler’s Dreadnought closes in, Yamato fires directly into the star. It expands and knocks the Dreadnought for a loop. Then, just as suddenly, the star collapses into a singularity–another black hole! Yamato soars free, but the Dreadnought is toast.

As it gets pulled in and slowly shredded, Metsler reveals his true face. His body momentarily glows like Barlsman’s, then mutates into the shape of a huge demon. He floats menacingly over the heads of the bridge crew and speaks to them, but his mouth eerily moves out of sync with his words. He explains that his race was sent to this galaxy from another dimension, then disappears into the black hole and the battle is over. Whew.
Yamato makes one more flyby of Amare, is thanked by the Queen and cheered by the citizens for freeing them from SUS tyranny, then sets course for Earth.
Continue to Part 4 (the conclusion)