
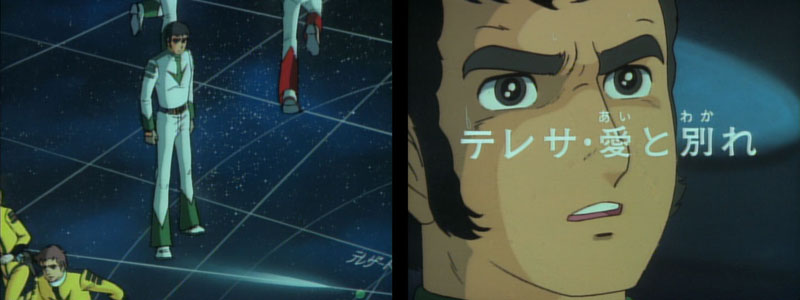
Trelaina: Farewell to Love!
By Arthur Painter (with notes from Tim Eldred)
Production note: This, the second of two highly engaging episodes that contain not a single battle, represents the height of Yamato 2‘s emotional maturity. Thus, there was no artist more qualified to storyboard it than Yasuhiko Yoshikazu. At this age of anime production (late 1970s) most character design was still rather crude, so it was not customary to push the camera in for extreme close-ups. But being a character designer himself, “Yas” made this a trademark of his storytelling style. The animators were not always able to fully preserve his artistic nuances in the finished product, but the strength of his work shines through anyway. The result is one of the most tender and humanizing episodes of the entire saga.
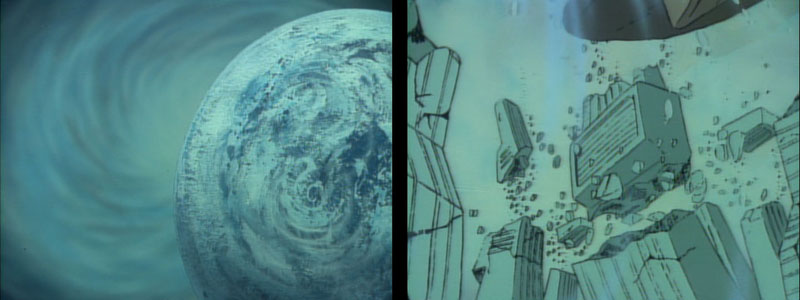
Yamato 2‘s opening montage presents imaginary scenes of the Comet Empire approaching Earth. Earthquakes and wild weather ravage the globe and the atmosphere itself is torn away as the White Comet approaches.
Additional note from Matt Murray: The opening narration has a goof which is almost certainly attributable to simple force of habit on the writers’ part: the year given is 2199. It should, of course, actually be 2201.
After the narrator finishes his introduction, there is a brief scene in Yamato‘s Strategy Room. Using the floor video panel, Sanada [Sandor] outlines the expected course of the Comet Empire. It will reach Telezart in three 3 days, Earth in 45 days. Yamato must hurry in order to arrive in the Solar System before they do. As the rest of the crew rushes off to prepare for the trip, Shima [Venture] remains behind, imagining the destruction of Telezart.
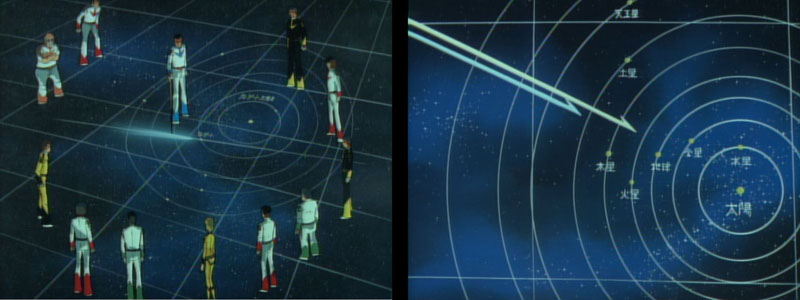
Story note: Sanada says that the White Comet is 120,000 space km away, as was decided during the recording of the previous episode. According to the diagram on the floor panel, Telezart’s star system has seven planets in five orbits around its sun, with Telezart itself being the second. The White Comet’s path takes it right through Telezart’s orbit and, eventually, to Earth. Most of this sequence was cut from Star Blazers because of Japanese text on the diagram. The same fate befell nearly all scenes with maps.
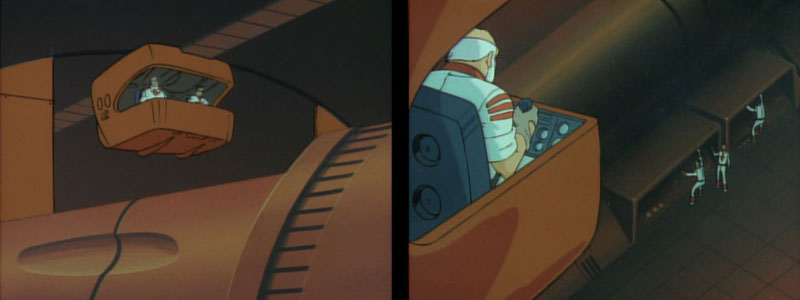
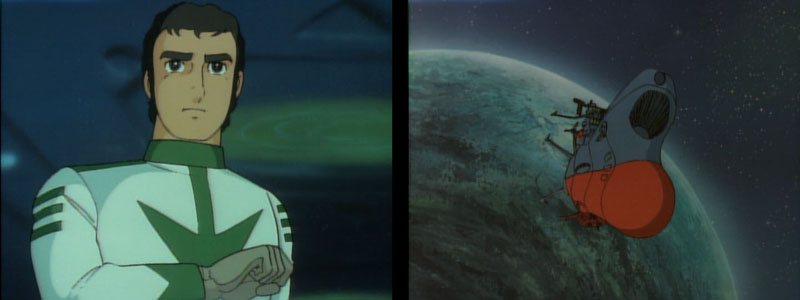
After the title card, the scene shifts to the Engine Room. Tokugawa [Orion] is checking on the condition of the Wave-Motion Engine. Since the engine is so huge, he has an inspection car that runs along a track on the ceiling, allowing him to go from section to section. One of his men calls attention to a problem with an energy counter. Tokugawa diagnoses the problem as a crack in the reactor pipe. His men hurry off to replace it, while he radios an update to the bridge.
Star Blazers removed most of these opening scenes. It contains a small part of the Strategy Room sequence, with the members all rushing off while Venture visualizes the end of Telezart, but it is edited in a way that makes it appear as part of the following bridge scene.
On the bridge, Wildstar gets an update from Homer on the other departments. The Black Tiger squadron is at target practice. Yamato 2 segues to a scene of the Tigers running through their paces. After some acrobatics worthy of the Blue Angels, we see a Tiger open fire on another. It’s a direct hit, but the dummy laser shots splash harmlessly off the other fighter. Kato [Conroy] chews out the “killed” pilot for being careless.
Additional note from Matt Murray: This scene was present in the original broadcast but missing from the later video releases. Taking a hit on his wing, Conroy informs the unseen shooter that “You couldn’t hit Mars if it was right in front of you,” and orders him to re-try the maneuver. (It’s a bit of a reversal from the Yamato version, where Kato’s criticism was directed at the party that was hit rather than the one doing the shooting.) The home video version simply cuts from Homer to the main panel display of the fighter squadron, which was where the original scene rejoined the action on the main bridge. This is the fourth episode in a row to have scenes excised from the broadcast version, and the reason for the cuts remains unknown.
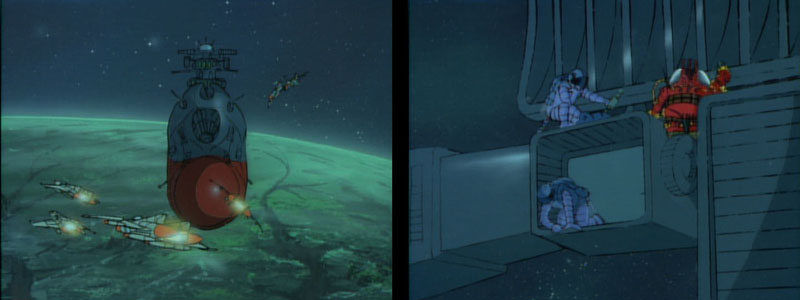
Homer reports the radar check is nearly completed. In Yamato 2, Analyzer [IQ-9] and some technicians are shown performing EVA maintenance duties on the exterior radar panels.
Dash reports the gun turrets are in proper condition, with a brief demonstration of the cannon turning around. I’m curious about how the gun turrets are sealed. In naval battleships, the gun turrets are not actually attached to the ship. If a battleship were to capsize, the guns would fall right off. This is because the guns need to rotate, so they simply slide around in their housings, resting on a bed of rollers. Since the gunners we see in the gunhouse don’t wear EVA suits, the area must be sealed somehow, yet still allows for motion.
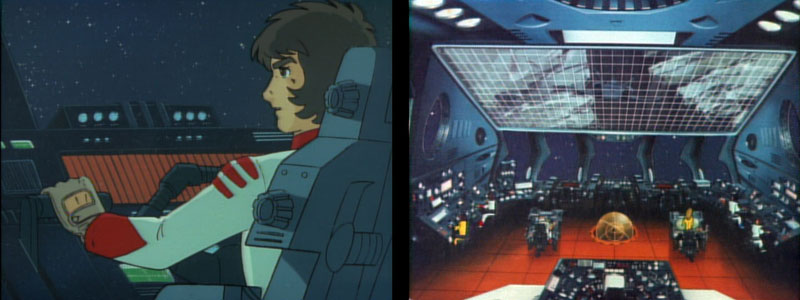
Next, Homer checks in with the “Intelligence Analysis Team,” a.k.a. the science group. On the second bridge, Sandor and Royster are tracking the White Comet.
Additional note from Matt Murray: This scene will be the last time that Royster will be featured in the Star Blazers version, barring inclusion in a few crowd scenes. Despite several other scenes of note in subsequent episodes, the US editors decided for unknown reasons to eliminate all remaining scenes of the character.
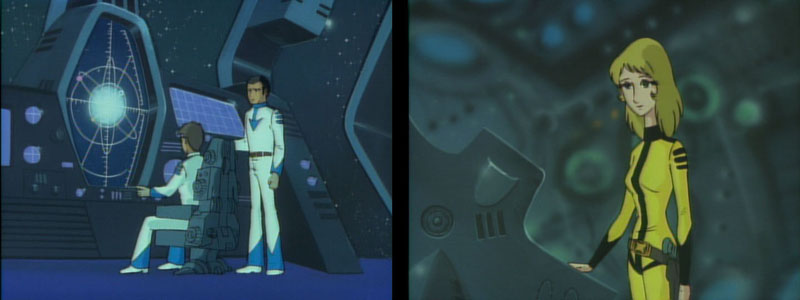
Nova reports that the computer core is working perfectly. One thing of note: the room Nova is reporting from was seen once before, during Captain Avatar’s inspection tour in Series 1, where it was called “the Wave-Motion Gun room and the missile firing room.” It’s actually the mainframe computer room.
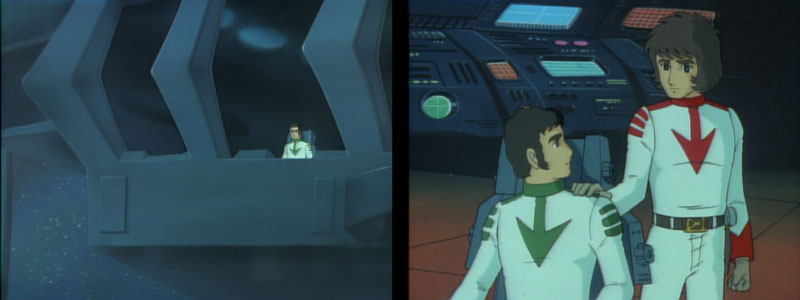
Having received all the necessary updates, Wildstar announces that they will launch on time, no delays. Derek looks over at Mark. He puts a reassuring hand on his shoulder, telling him he’s sorry Trelaina couldn’t see things his way. “What’s to become of her?” Mark asks. This verbal exchange is not found in Yamato 2, but their silence was just as eloquent.
In the last part of this bridge scene, when we see Telezart out the window, Trelaina is standing on the surface when she is actually in her home at that point. This brief shot was lifted from later in the episode, probably to fill a last-minute gap.
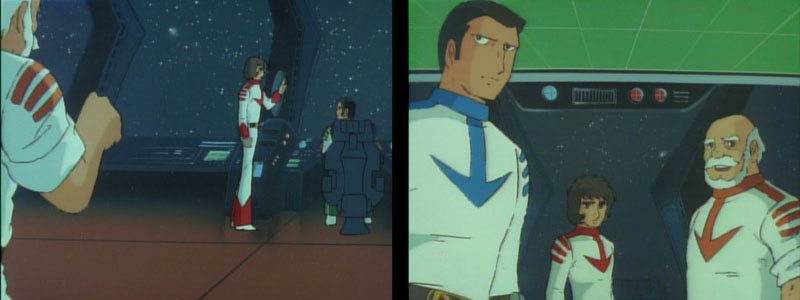
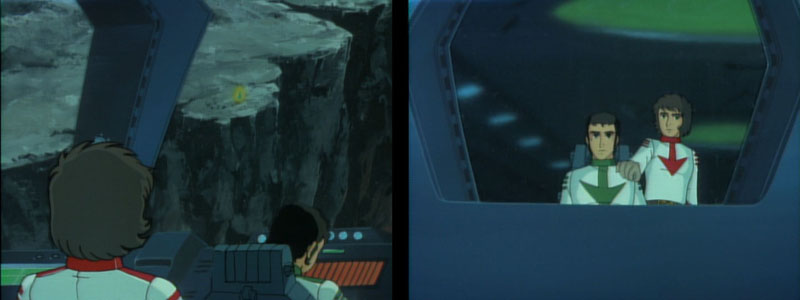
The Black Tigers return to the hangar, final checks from all divisions are radioed in, and the bridge officers rush to their stations (briefly revealing some missing consoles in the background). Homer’s station starts buzzing with activity. It’s from Trelaina, he says. Wildstar alerts Venture, but the navigator remains at his seat. He is determined to forget about Trelaina, but his body language betrays his inner turmoil. Suddenly, the communications panel starts flaring with energy. Sandor lifts up the board and tears out the wires, as he did when a similar power surge hit Earth in episode 1.
Wildstar tells his friend to go to Trelaina. Finally allowing himself to react, Venture turns to Wildstar in surprise. Wildstar makes it an order, but reminds him that they have a schedule to keep. Venture assures Wildstar that he’ll come back on time, no matter what. After he runs off, Orion asks “Are yuh sure he’ll come back?” Wildstar doesn’t answer.
There is an animation mistake in this scene. In one of the shots of Wildstar and Venture, we see Orion in the foreground. He appears to be resting his arm on his control console, only the console isn’t there. Beyond him, we can see the front of the bridge, but some components are missing. The background artist must not have finished the painting because Orion’s console was expected to cover it up.
Venture flies down to the underground cave and runs into it at breakneck speed. Trelaina senses his arrival and brings him up to her home. After he tells her the communication console blew out, she explains that she was trying to send her thoughts to him, but her power is difficult to control when she’s upset. Venture asks her to come to the Argo, pleading with her that he can’t watch her planet get destroyed in a few days. She says no, that if she were to come with him, she would be prompted to use her mind-energy against the Comet Empire. She is steadfast in her resolution never to use her power to kill.

On board the Argo, Sandor finishes the repair work on the radio. He says the tapes may have recorded something during the surge that they can check later. Wildstar orders Homer to contact Venture.
Trelaina’s home: Mark is cradling his helmet under his arm when its radio goes off. He tries to cover it up, but Wildstar’s muffled voice comes through, urging his chief navigator to return. Mark continues to plead with Trelaina to come with him. She refuses. He offers to stay with her. Her resistance seems to melt away, and she runs into his arms. They stand there, holding each other, as Wildstar continues to call. Trelaina finally agrees to return with him.
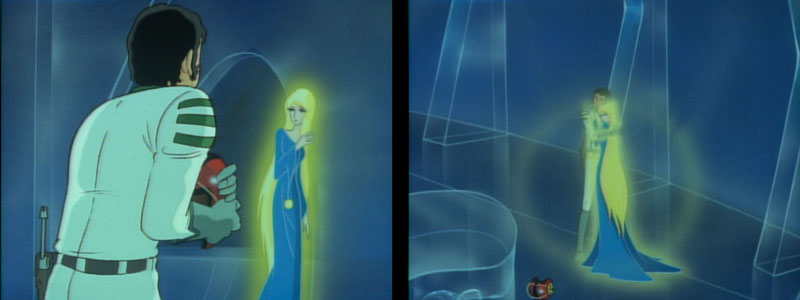
This scene is packed with tension. Despite knowing each other for such a brief time, Mark and Trelaina are so bonded to each other that they find themselves drawn away from their other responsibilities: Mark from his position in the Star Force; Trelaina from her need for control and distance. Wildstar is also facing a dilemma, torn between his duty to protect the Earth and the needs of his friend. This scene is drawn out almost to the breaking point, where it’s as much of a relief to the viewer as the characters when Trelaina relents.
One of the complaints from anime purists about English dubs is that you miss the emotional content. Even if you’re not fluent in Japanese, the emotions are expressed as much through the tone of a voice as the actual words. There’s something to be said for that, I’m sure, but viewing these scenes in both English and Japanese, the Japanese voice of Shima (provided by Shosei Nakamura) sounds much harsher than Tom Tweedy’s Venture. You can hear the desperate need of Venture, a quaver in his voice. I don’t hear the same tenderness in the original language.
On board the Argo, Orion primes the engine for launch. Wildstar, realizing Venture won’t make it back, takes his seat. As the auxiliary engines rev up, Venture’s ship ascends from Telezart. Wildstar is so relieved he starts laughing. Yamato 2 showed an additional clip of Shima’s returning ship on the video panel as the bridge crew gasps in surprise.
The group that greets Venture in the hangar is amazed when the doors open to reveal Trelaina by his side. They seem instantly smitten by the pale alien woman. Wildstar orders Venture to take his position on the bridge. Venture looks at Trelaina, who gives him a sweet, though forced smile in return. Venture accepts it as genuine and runs off. After a second or two, Wildstar yells at his crewmen–all giving puppy-dog eyes to Trelaina–to get back to work. This last bit is slightly different in Yamato 2. Star Blazers shows Wildstar speaking his last line from off screen while the camera pans across all the love-sick slackers. Yamato 2 shows Kodai speaking this line with exaggerated, comical body language.

In the hallway, Derek and Trelaina stand on a conveyor belt walkway as they talk. (I have to assume those conveyor belts can be turned off; they would seem like a hazard if you’re in a hurry.) Derek thanks her for coming with them. She tells him that she’s not staying. She came back just to return Mark. Trelaina insists that she will be all right, and will fight for peace in her own way. She will not say goodbye to Mark so he can concentrate on his job. Derek says he’ll send Mark back to her after it’s all over, and she answers that she will be waiting. As she slips into the airlock, Derek wonders how she will get down to the surface. The answer: she floats down using her miraculous power.

In the middle of launch preparations, Venture sees the figure of Trelaina standing on the distant planetary surface. Wildstar enters the bridge at that moment. Venture initially accuses him of sending her away, but Wildstar explains that it was her decision and he couldn’t talk her out of it. Venture puts his head down and starts sobbing. “Venture, I want you to hear something,” Wildstar says.
He dismisses the rest of the staff from the bridge. After the two are alone, Derek walks over to the comm station and starts a recording of Trelaina. She says that she wants to see Mark again and will always wait for him. Derek explains that her love is what led her to return Mark to the Star Force. Love both for him and all people is why she’s staying on Telezart to face the Comet Empire. Derek tells him to send his love to her, that it will help protect her. And they will come back, he promises.
Venture sends his thoughts to Trelaina, and she responds, at last calling him “my love.” This telepathic communication between the two is missing in Yamato 2, or at least we don’t hear it.
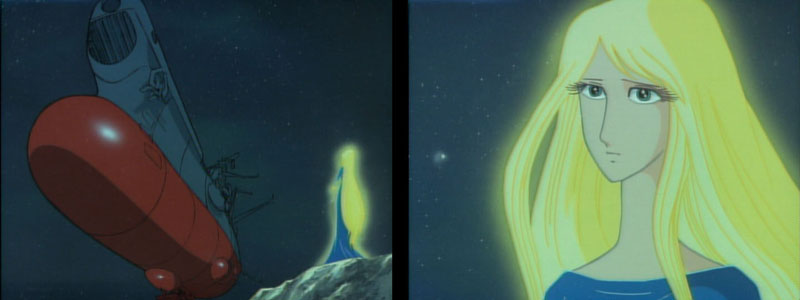
The bridge crew returns to their stations. Trelaina watches from the surface as the Argo departs. Venture is all business now as he issues commands for take-off. As they leave, the main guns fire off a flashy salute. We once again hear Trelaina’s and Venture’s thoughts as they depart.
It was episodes like this one that really helped differentiate this show from all the pablum on “children’s TV.” No one had action scenes like Star Blazers, and no one had this kind of drama either.
Story note: It is estimated that Yamato leaves Telezart at 6am on January 20, 2202. The Comet Empire is three days from Telezart and 45 days from Earth.