

Volume 59. At the end of this one, Andromeda will be finished and sitting atop its pedestal.

Not many parts, but they unlock all the finishing moves.
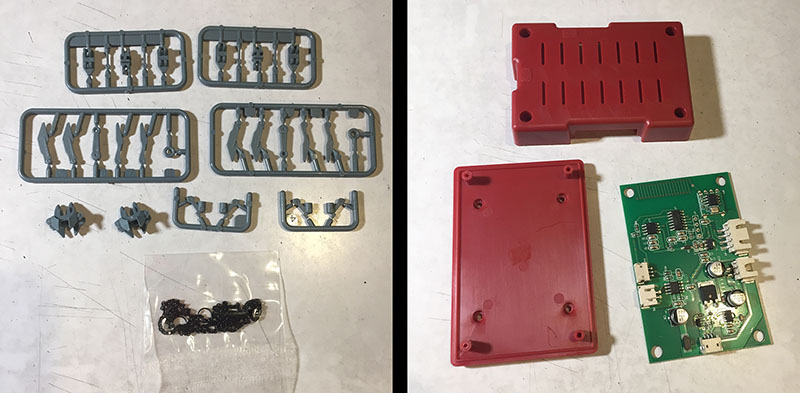
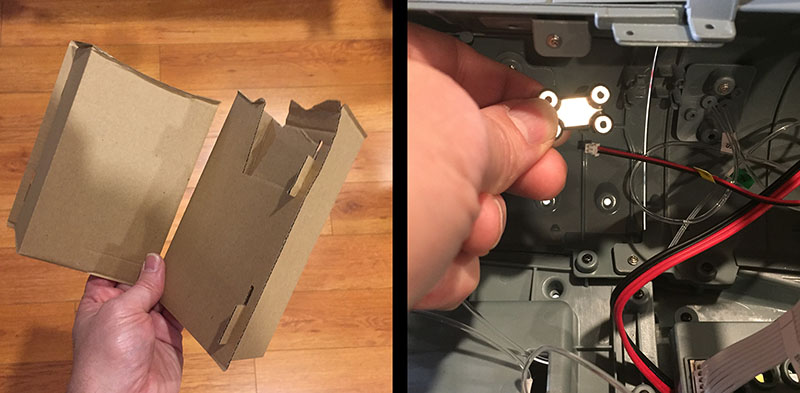
Left: all these little fiddly bits are parts for two rocket anchors. They are entirely optional. All they do is dangle. So I decide to put them aside. Maybe I’ll assemble them someday. But probably not. Yamato‘s rocket anchors were extremely difficult to assemble. I don’t need to go through that again.
Right: the last remaining parts for the pedestal.
They come together to form a distributor box for everything to plug into; it will route battery power to the on switch, volume knob, speaker, and coupler to the ship itself.

Now all I have to do is put the “floor” onto the bottom.

16 screws later, I have a finished pedestal at last. I notice that the column holding the coupler has two holes in it to receive screws. That’s different. Yamato‘s pedestal didn’t have them. Someone thought they were necessary this time.
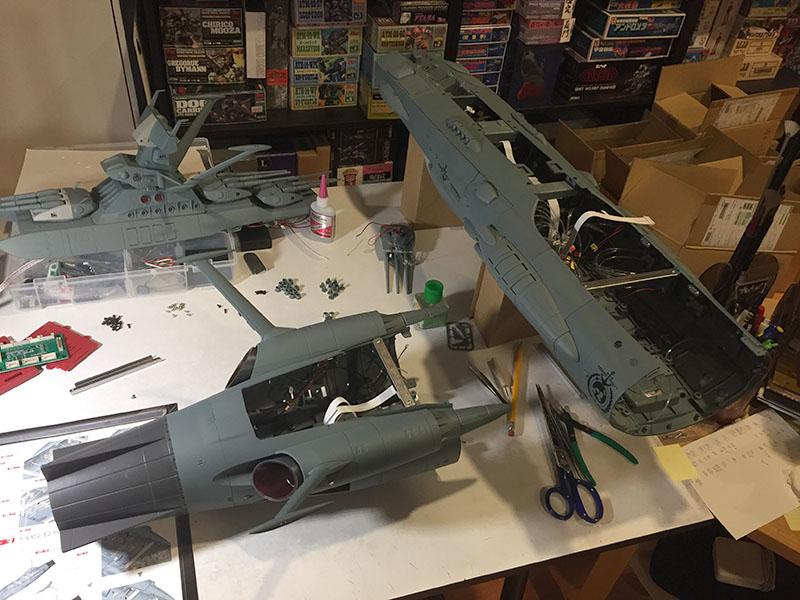
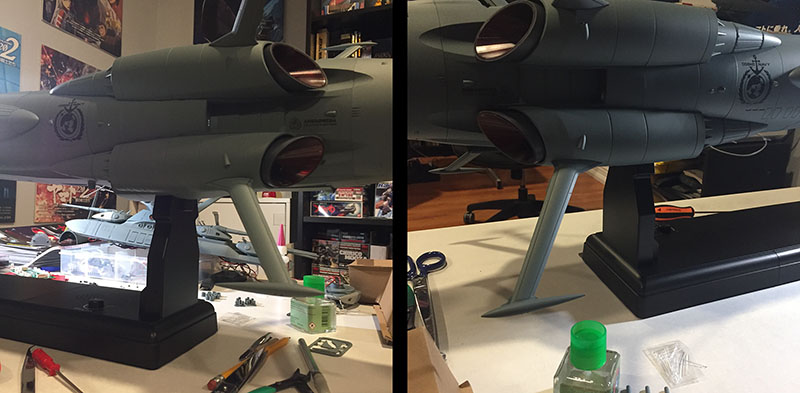
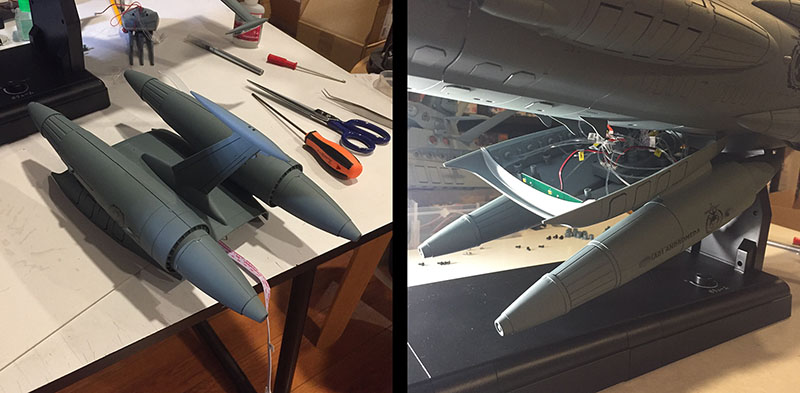
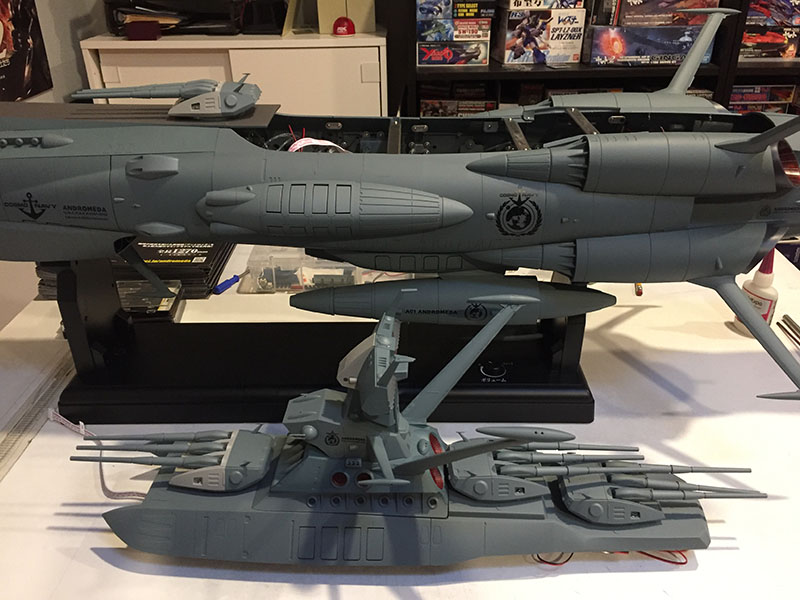
And it’s time for a BIG MOVE. The stern section will be attached to the main hull.
It goes on more easily than I expected. At least for the moment. The instructions tell me to do some other things before I move the ship onto the pedestal…

…but there’s nothing to be done that depends on this, so I make the transfer. There she is. What a relief. Plenty of room to work. And plenty of work to be done.
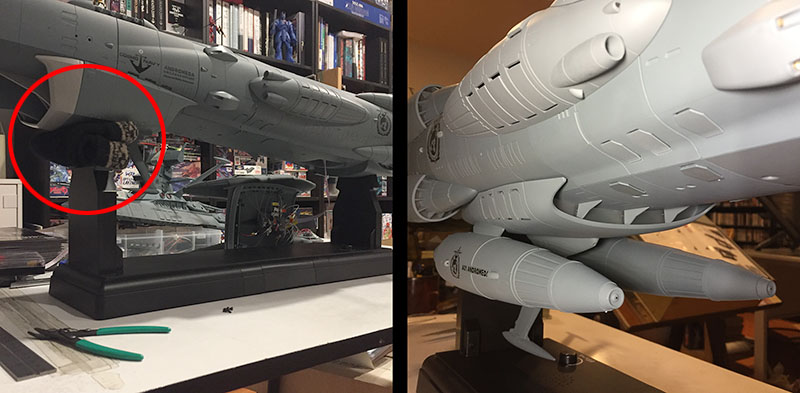
Left: time to retire the two boxes that have been holding this beast up for so long. They’ve earned a quiet retirement.
Right: next step is to screw in these two reinforcers to more firmly attach the stern section.
Left: I’m working in tight quarters now, so I have to use the smaller screwdriver. Predictably, there’s not enough torque to get the screws in all the way. But they hold.
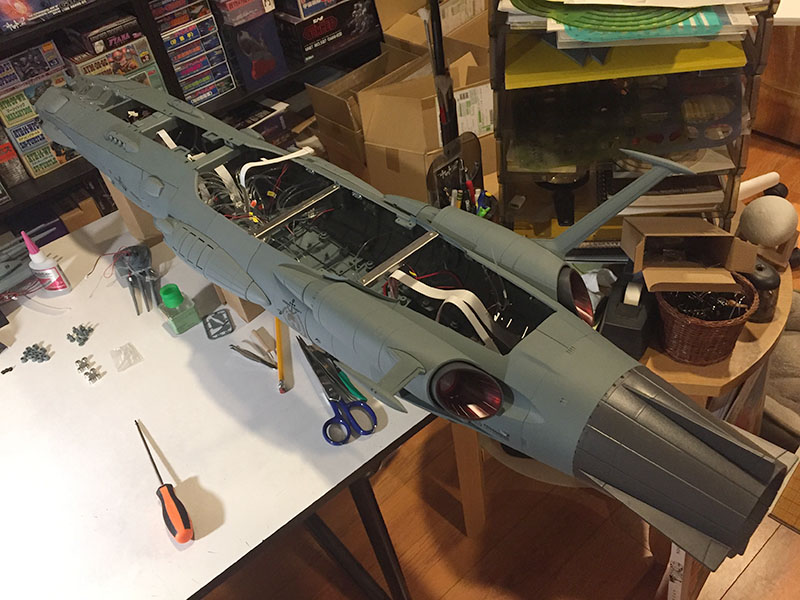
Right: most of the remaining action will happen right here on these two distributor boxes in the stern section. But there are some more noodles coming to bring first.
They’ll come from the other two aux engines, otherwise known as L2 and R2. They go in only after a fight. It’s one of those situations where you can’t get a screw to mount if the engines are held in place. They have to be held just a little bit away from the hull so the screws can get some purchase and “invite” the piece into its finished position. It’s a rough ride until I figure out the technique, then they come in like tired fish.
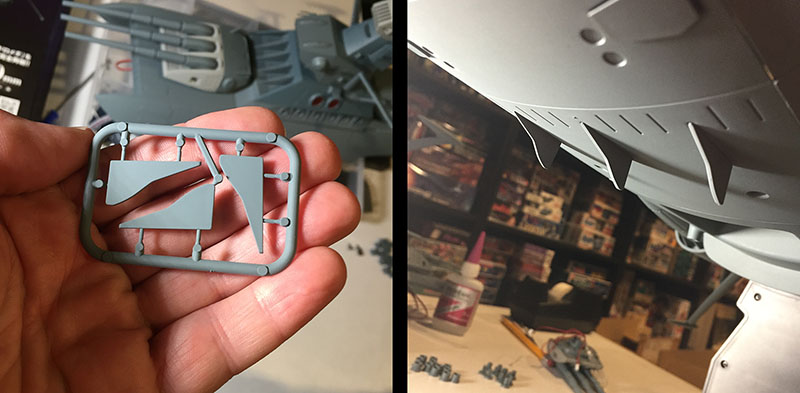
Now there are these little fins to deal with. They attach to the underside of the hull, to become part of the undercarriage. The instructions say to just insert them into their tiny holes, but they fall right out so I have to glue them. Fortunately, the belly is all plastic so I can just paint the tips with standard cement from the inside and they stay put.
Now the next BIG MOVE: install the undercarriage. First, I suck it up and superglue the fin onto the bottom. Naturally, there’s spooge because the undercarriage is as cursed as Yamato‘s third bridge. But then I cap the superglue for good. It will not be needed again.
Now there’s a problem. With the fin on, I don’t have enough clearance to maneuver the undercarriage into position. If I lift the ship off the platform, I’ll have no free hands to do the job. I need another solution.
It turns out to be pretty simple: I fold up my knit cap and use it as a temporary lift for the front half. This gives me just enough wiggle room and the undercarriage is on.
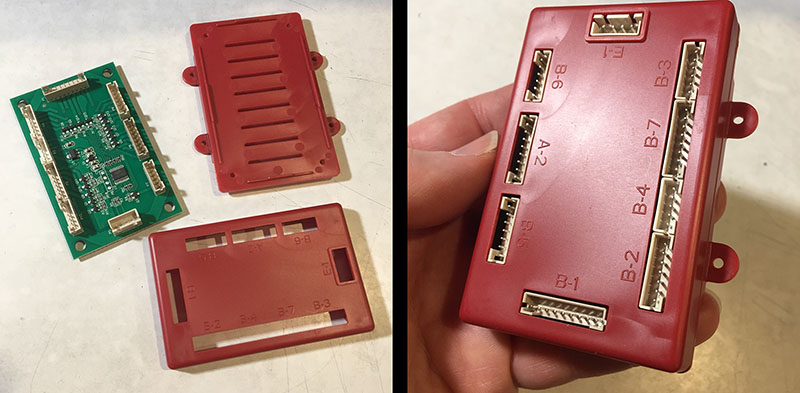
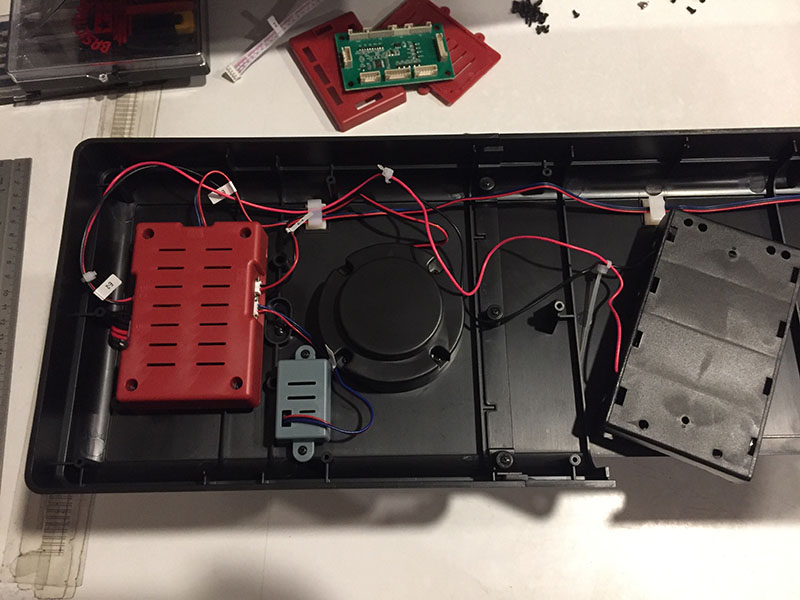
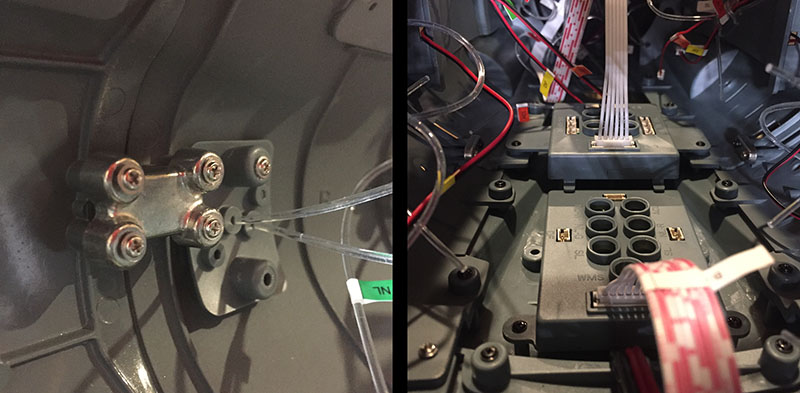
Here’s another “last”…the LAST distributor box. This is the lynchpin for the whole system.

It’s the central box for the interior of the ship. All the ribbon wires connect here, starting with the one that comes from the coupler on the pedestal. They’re nice and wide, so it’s a breeze after weeks of microsurgery.
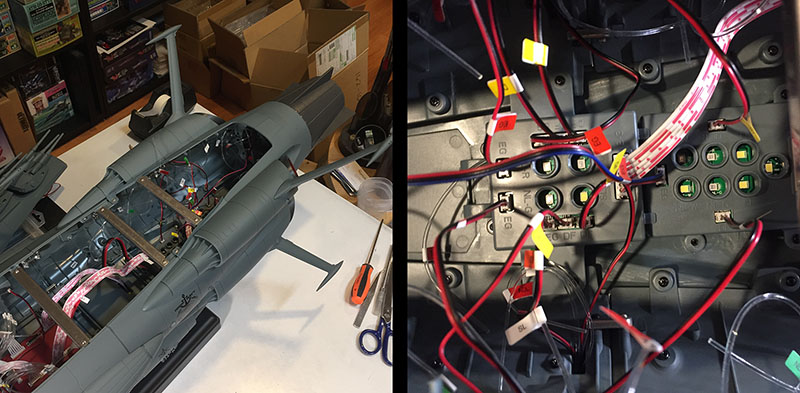
All right, here’s where we dive in for the last battle; the two distributor boxes in the aft section. The wires plug in easily enough, but there are 11 remaining ports for fibers that have to be collected and capped. This is going to be very unpleasant.
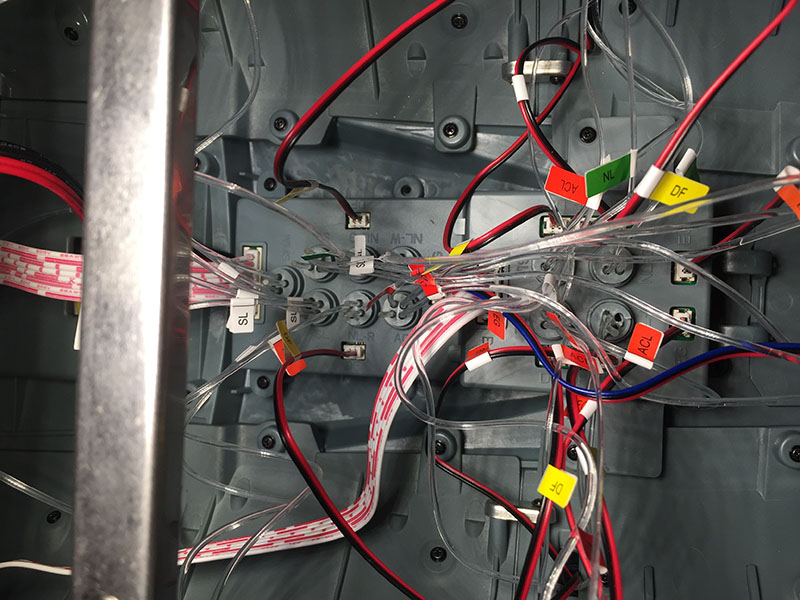
After at least an hour of labor, they’re all in. These were hands down the HARDEST fibers to deal with in the entire model. I was standing, bent over, and working in very tight quarters the entire time. A bunch of the fibers were the thinner type that had to be doubled up, which is hard enough on its own without all the other factors. At times it just seemed impossible. But surrender was not an option. Persistence won again.
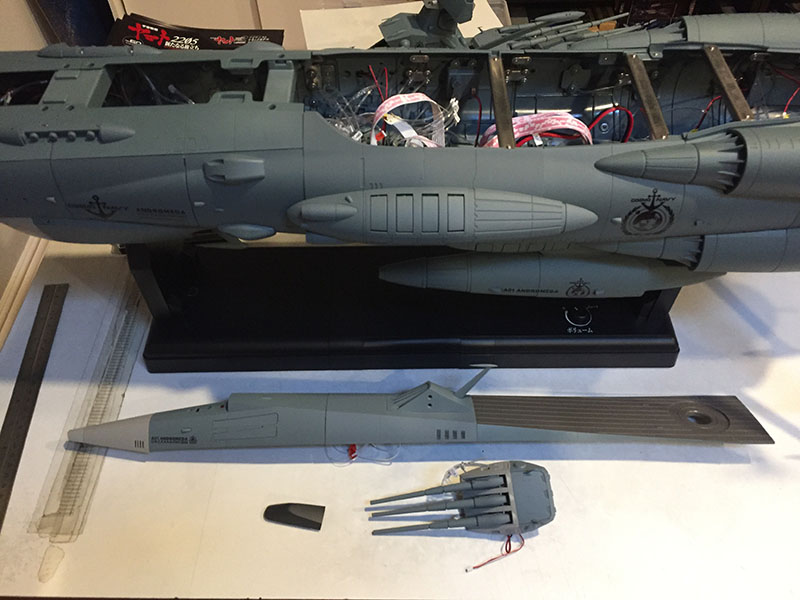
Next BIG MOVE: attaching the foredeck. This means finally giving a home to the first main gun turret, which has been sitting off to the side since it was completed all the way back in Volume 11. A reminder of the days when one entire volume consisted of just half the parts to make a turret.

Its fibers get collected and capped. That’s the last fiber work of the entire model. Good riddance.
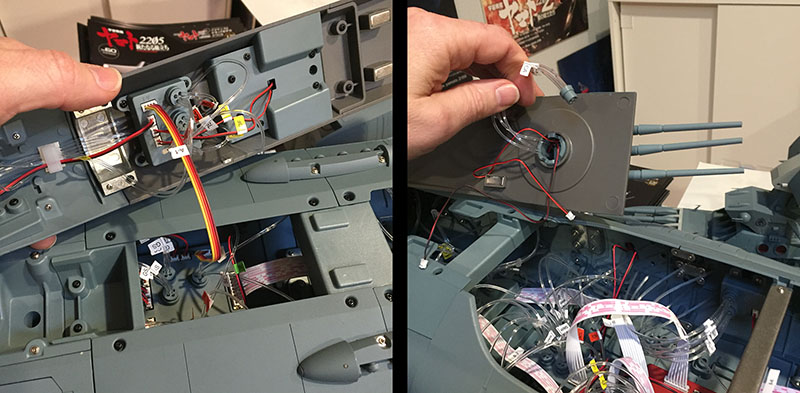
Left: the main power lead from the ship is attached to the underside of the foredeck.
Right: the turret snaps into its base and its noodles are ready for plugging.
The plugging gets done and the entire dock drops neatly into place, held down by four mighty magnets. But it’s not quite done yet.

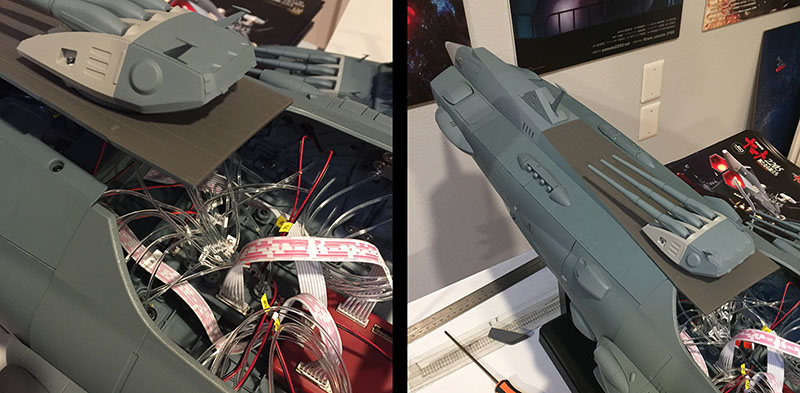
There are two screw holes in the front where the nose section will get secured.
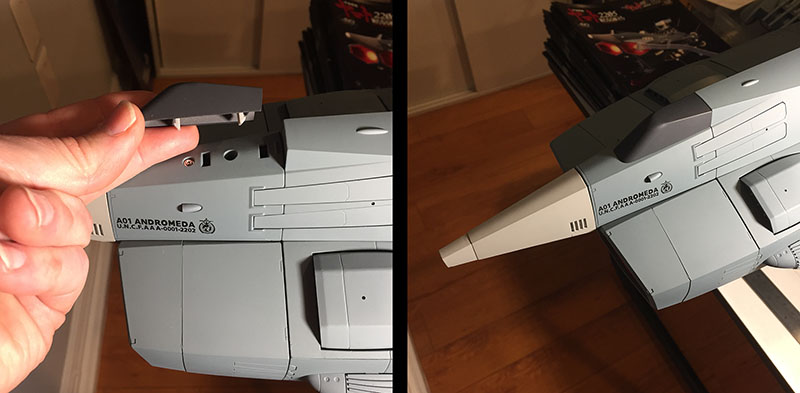
Now this front piece snaps on over the holes. I’m a little nervous about it. From the size and shape of those snaps, there’s no way this thing will come off again if I ever need to get inside for some troubleshooting. Man, I really hope that day never comes.
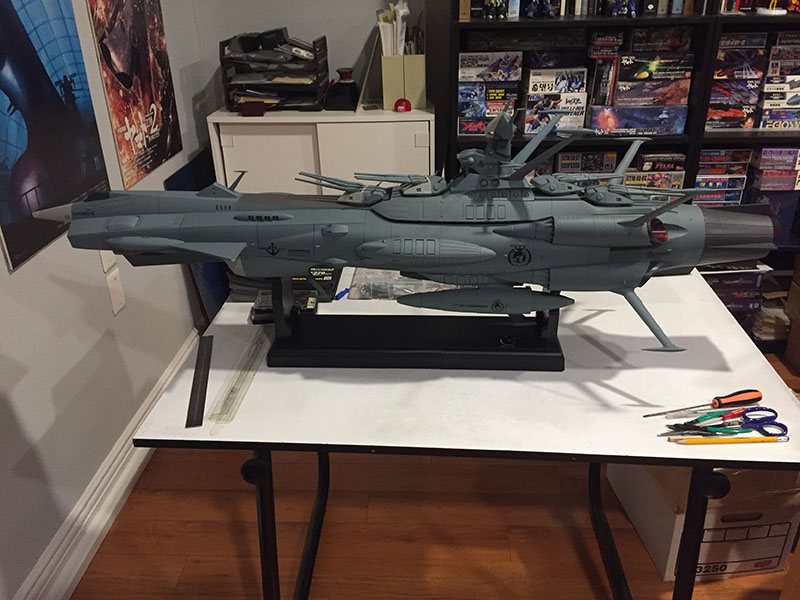
FINAL BIG MOVE: attach the superstructure to the top of the ship.

It’s dirt simple this time; just attach its two ribbon wires to the red distributor box. Then set the thing down ever so carefully…
…and good lord…
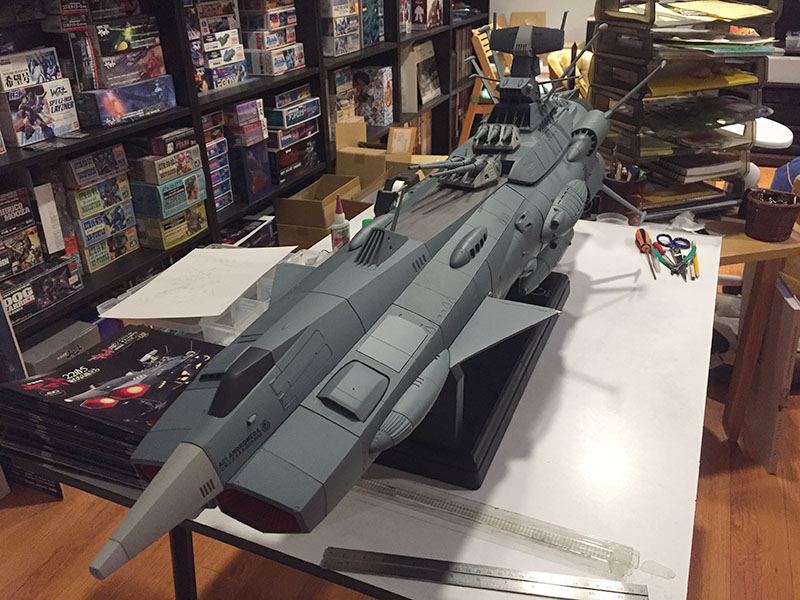
…this thing…
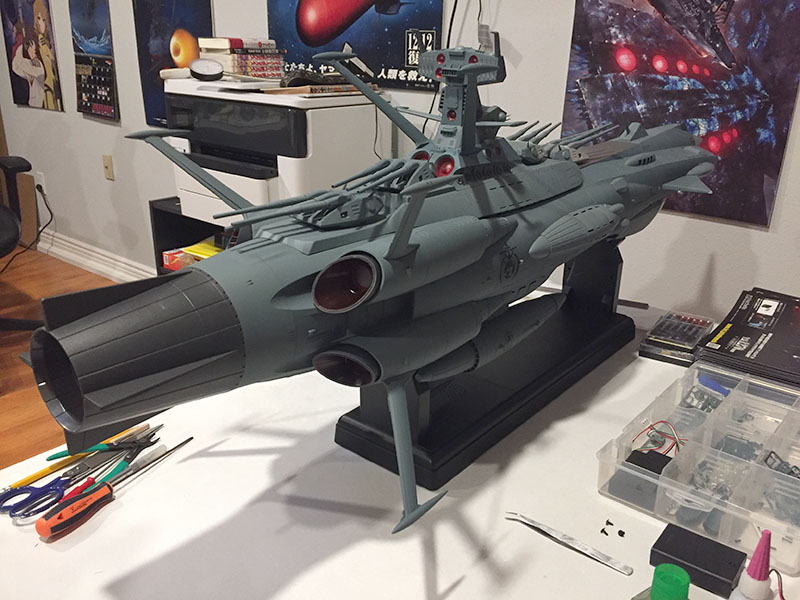
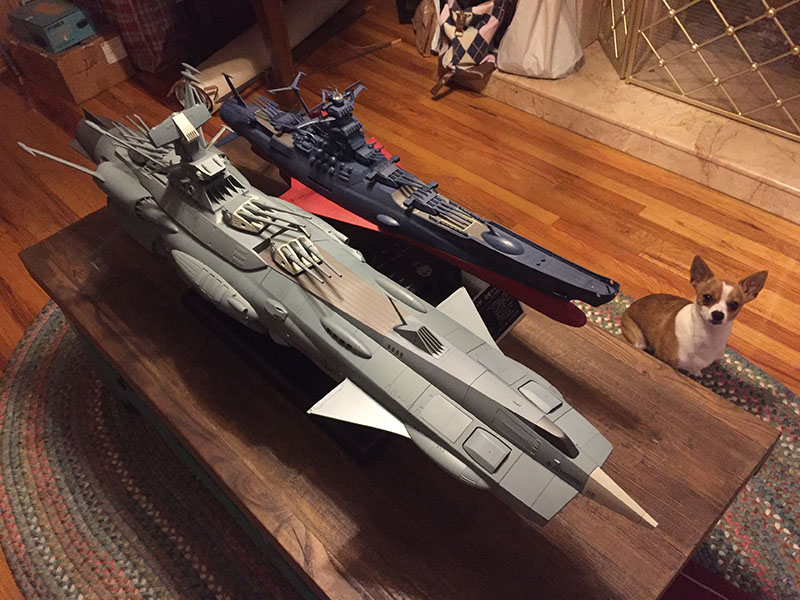
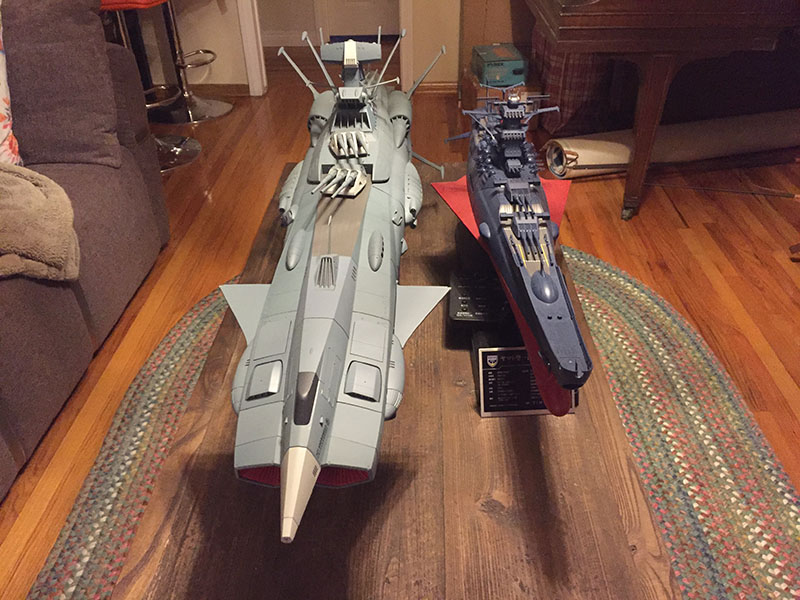
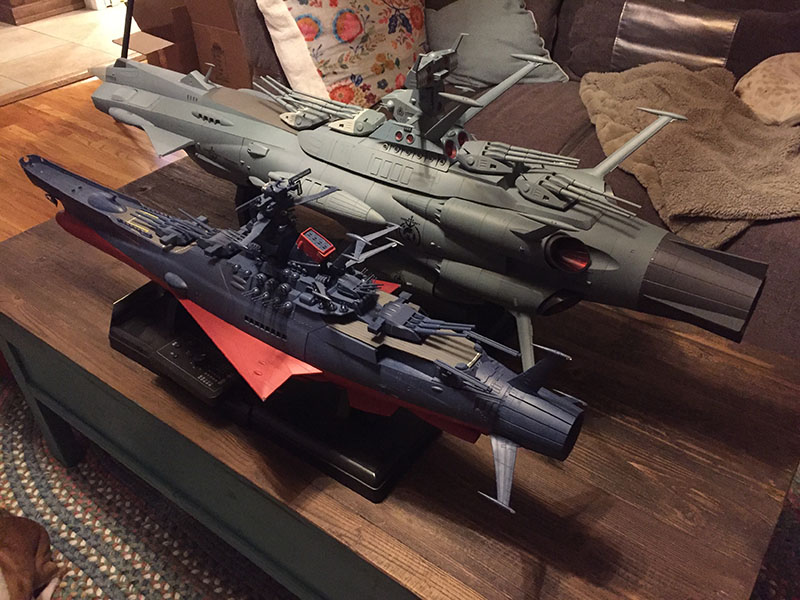
…is HUGE.
Only now do I get the true sense of its massive scale. The UNCF was NOT kidding around.
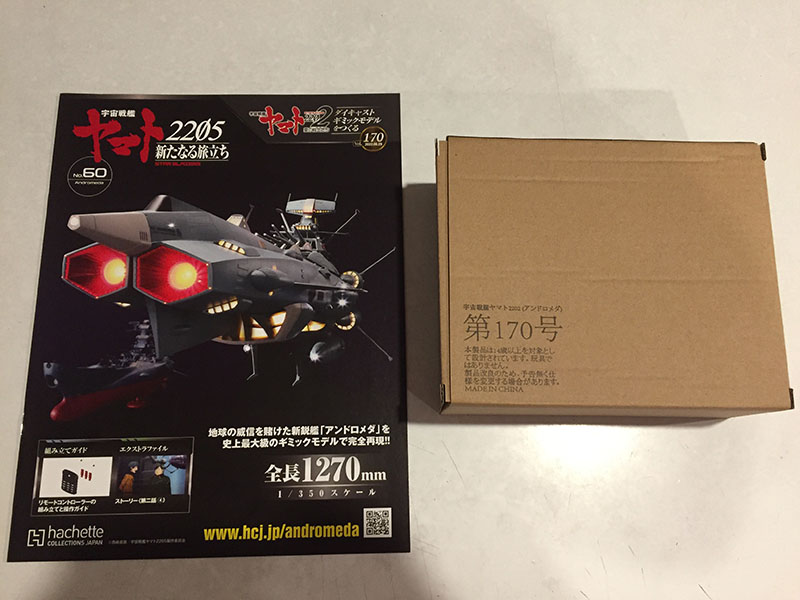
Final volume.
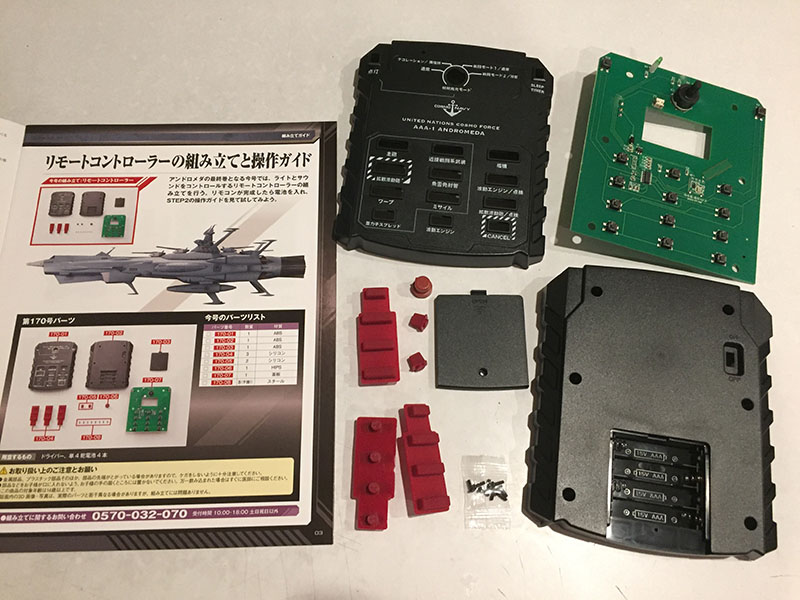
All the parts for the remote controller. They come together in less than five minutes.
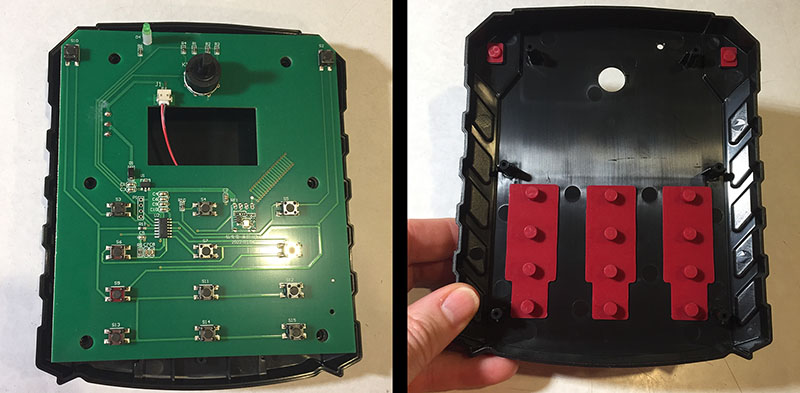
First, the circuit board drops into the back half. Then rubber button parts drop into the front half.
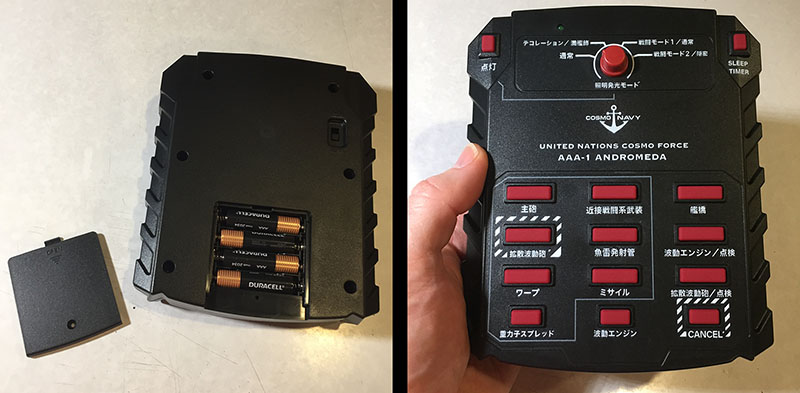
Screw the two halves together, install batteries, and done. There are quite a few functions on this thing. Four different light modes (at the top) and a bunch of sound effects linked with different lights (at the bottom). Engines, warp, Wave-Motion Guns, main batteries, missile launchers, etc.
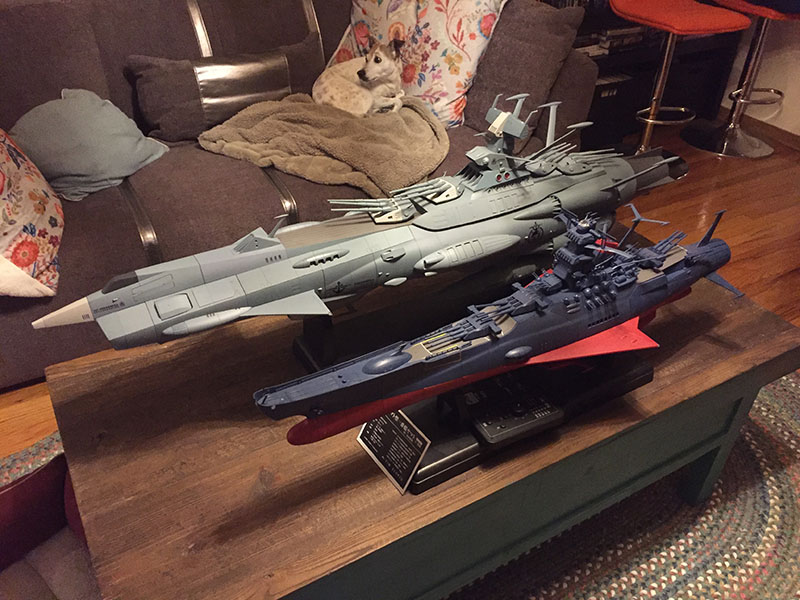
Total length of model: 49.5″ (4ft, 1.5″)
Finished weight: 20lbs (approximate)
Parts (including stand): 999
Distributor boxes: 16
Leftover screws (extras): 127
Lights: 200
Total wiring: 137.47 ft (model), 7.87 ft (stand)
Total fiber optics: 131.85 ft

Ready for this? I hope so, because I wasn’t.
After all that sweat and toil and aggravation…the lights don’t work. Not a single one.
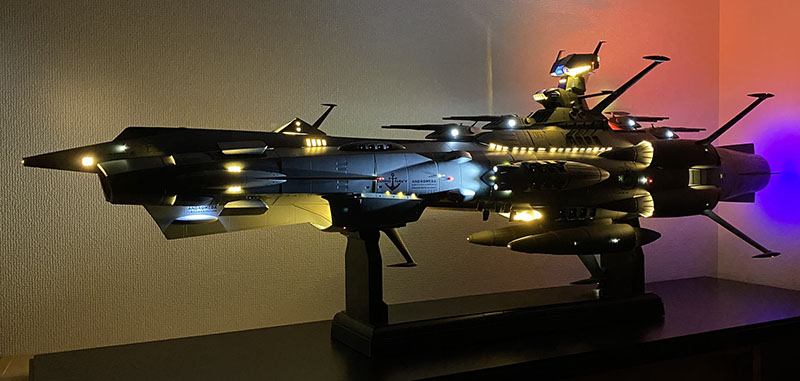
Photo posted on Twitter by momo-chi
This was supposed to be the reward for all that labor. But all I can get out of the thing are tinny sound effects from the speaker in the stand.
I opened the hull back up to make sure all the wires were in their plugs. And they are. I followed the instructions to the letter. There isn’t a thing wrong with the construction. And there are only a few reasons this could be happening. The most likely is that there’s a fault in the power supply from the stand, and none is being delivered to the ship. But I have no way to test whether or not that’s true. It’s just the best explanation.
I’m attempting to connect with Hachette’s customer service in Japan through my intermediary, but there’s been no response yet (as of Feb 12, 2023). I sure hope this can be solved. If not for all the lighting demands, this could have been built a lot faster and for a LOT less money. It was nauseating to endure that entire build and not get the payoff.
So…to be continued, I guess.
Extras
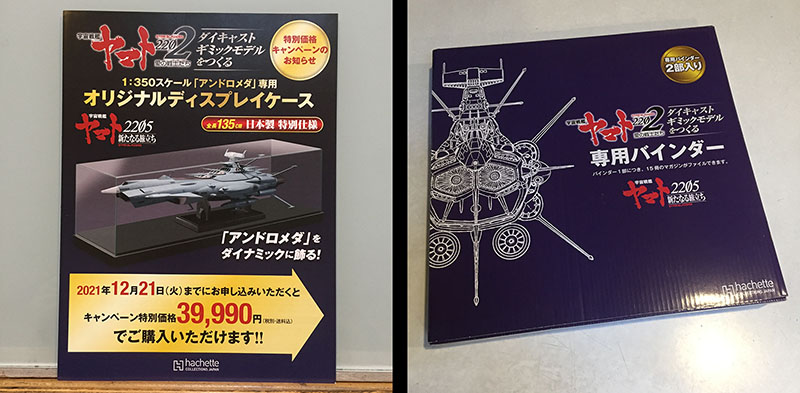
Subscribers who paid a little extra month by month could get a huge acrylic display case at the end of the run. Flyer shown at left.
All subscribers received binders to contain the instruction manuals. They came two at a time, just like with the Yamato model.
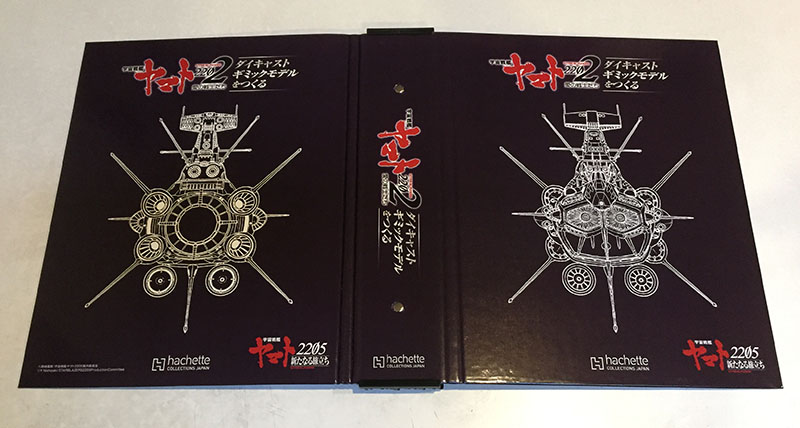
They looked cool enoughbut they had the exact same problem as the Yamato volumes
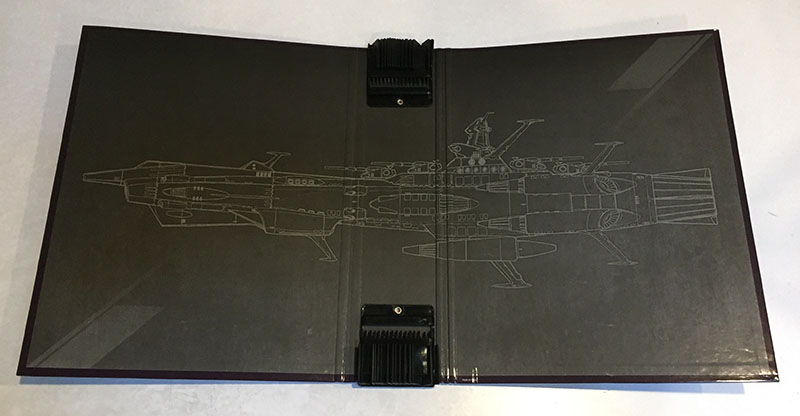

They came preset with only 15 clips, which limited storage to 15 booklets per binder. When you consider the fact that the binders are four times thicker than 15 booklets, they become very impractical very quickly.
I just used one of the slipcases that came with the early Yamato volumes. All 60 Andromeda booklets slide perfectly into this one. Case closed.
omg this thing is breathtaking when completed…
and heartbreaking that all that hard work you endured did not come to fruition…
makes me wonder if they did, indeed, rush this into production and didn’t take the time to work out the kinks (and add a few light-testing steps)…
and would lessons be learned with their third ship?