
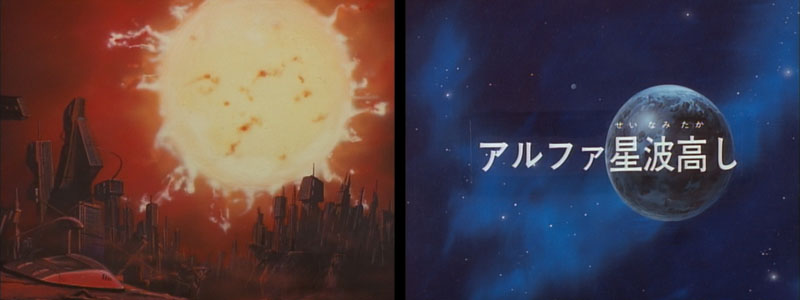
The Rough Seas of Planet Alpha
By Arthur Painter (with notes from Tim Eldred)
Watch this episode now at these sources: Star Blazers on Hulu | Star Blazers on YouTube | Original version subtitled
Production notes: At the top of this episode, we see some of the fallout that results from an action-heavy show like the last one: a lot of screen time dedicated to a recap. In this case, about two minutes’ worth that brings us completely up to speed. The rest of this episode is fairly tame with a character portrait as the main plot point. It is enlivened by the directing and drawing style of Toyoo Ashida (the second of three episodes of which he took charge) and a brief action sequence supervised by the great Yoshinori Kanada. Click on both their names to read our tributes to them.
During the recap, the American script contains a confusing error; the narrator says General Dagon retreated to “Neptune, satellite one” (aka Naiad) instead of Barnard’s Star. The intro also features another look at the galactic map detailing the Bolar and Galman territories. The shapes and positions of these two space nations bear a remarkable similarity to Russia and China, respectively. There’s even an area resembling Russia’s Kamchatka Peninsula.
The Argo passes Planet 11 [Brumis] on its way out of the solar system. The crossing of this boundary is marked by observing an ancient custom: throwing coins off the deck as a good luck gesture. In the custom’s historical form, the coins were thrown into the harbor as a tribute to Neptune, god of the seas, when a ship leaves port. The origin of the space-borne ceremony is unknown and was never referenced in previous Yamato stories. It’s also not known if the space version is dedicated to any deity, but the Star Force has encountered enough space goddesses that it’s probably a good idea to pay tribute, just in case!
The American script references the custom of putting coins in the Trevi Fountain in Rome, which is supposed to guarantee the traveler will safely return there in the future.
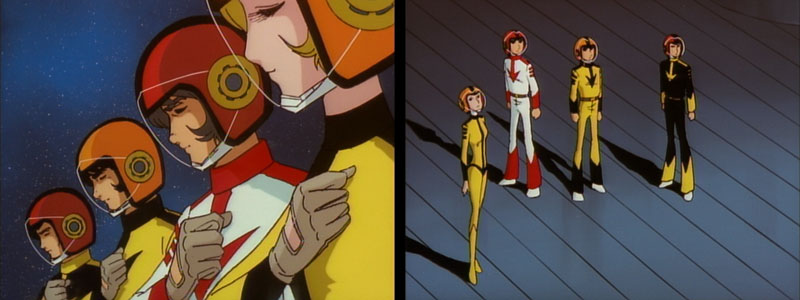
Production note: An unfortunate blooper appears in the coin-throwing scene: Wildstar, Nova, Jason, and Flash are all wearing open gloves (or none at all in one shot) and their necks are exposed. We’ll have to assume they’re protected by some sort of air envelope, otherwise the vacuum of space would quickly cancel out any luck they were hoping for.
On Earth, the increased solar activity is starting to affect daily life. In a meeting with the Earth President, Dr. Dubiaius [Professor Kuroda] is forced to change his previous assessment from “there’s nothing to worry about” to “I’ll give this matter more attention.” This Earth President has evidently been in office since the Comet Empire series. During that incident, crowds rioted against his government and there were calls for him to resign. Somehow, he survived the political fallout. The fact that he’s still here even after a global invasion by the Dark Nebula Empire tells us he must have the greatest PR department in history.
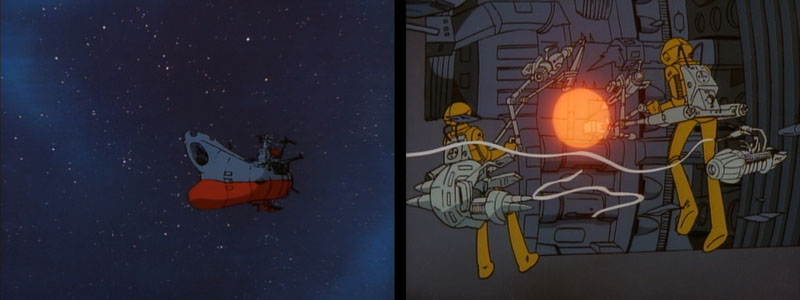
Production note: When we return to the Argo, the hull is undergoing repair from last episode’s battle. Repair scenes have appeared several times throughout the saga, and they often feature a flatbed-style support ship that only appears on these occasions. Originally designed by Studio Nue artist Naoyuki Katoh for Series 1, it still had the distinction even in Series 3 of never appearing on a standard design sheet. Instead, the only reference for it could be found in animation stills. It could very easily have been left out and not missed, but the extra effort made to include it says something about the devotion of the animators.

The Star Force is struggling through the rest of the repair work. Sandor insists that they need to dock in order to facilitate full repairs. Suddenly, Homer receives an SOS from Earth’s colony on Alpha Centauri, Planet 4. Wildstar immediately orders Venture to set out to aid the colony. Venture protests; there are other EDF ships that can provide rescues and fight battles, he says. Echoing their recurring disagreements from Series 1, Venture wants to stay focused on the greater mission while Wildstar dares to rush into (possible) action. Sandor sides with Wildstar, pointing out that there is a repair dock on Alpha-4. Overruled, Venture sets course for Alpha Centauri.
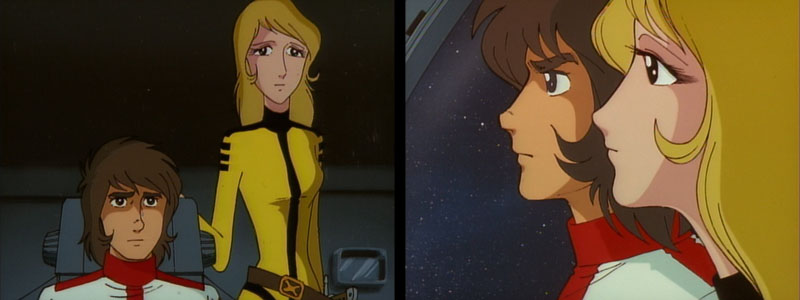
Wildstar’s argument with Venture causes him to question his own judgment. And whenever he experiences self-doubt, he confides in Nova. In the Captain’s quarters, Wildstar tells her that he and Venture have been arguing more often lately, although this is the first time we’ve seen it for ourselves. Nova says he’s just reacting to the pressure of the search for a new Earth. Wildstar wonders if Venture is jealous of his promotion to full captain, and even admits that he himself wonders if it was premature. Nova assures him that even Mark realizes Derek is the best for the job. Furthermore, he isn’t carrying the burden of this mission alone. Cue gentle, lilting music as the couple looks out the enormous window.
I think this scene demonstrates the differences between Nova’s original voice actor, Amy Howard Wilson, and her new one, Corinne Orr. Amy Wilson has a strong, powerful voice, one that carries the full force of emotions, whether she’s angry, fearful, or tender. Corinne Orr has a much softer style which tends to sound motherly. She’s meant to be reassuring in this scene, but I find her cloyingly gentle, like she’s trying to comfort a child rather than someone with whom she’s faced violence and death many times.
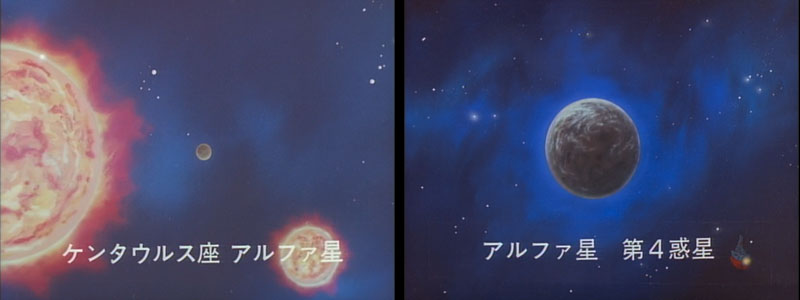
Alpha Centauri (aka Rigil Kentaurus) is the closest star to Earth, 4.3 light years from the sun. It is shown as a binary star system, with the A star (slightly larger than our sun) and the B star (slightly smaller) spinning around each other. In real life, it’s unknown whether there is an Earth-type planet orbiting around these stars. In the Yamato-verse, there are at least 4 planets. The fourth planet is hospitable to human life, but its thin atmosphere prevents it from holding a large population. The Star Blazers script conflates “thin atmosphere” to “a very inhospitable atmosphere, totally unfit for the habitation of mankind.” As they approach the planet, Eager does a quick scan for the enemy, but finds none. For some reason, he performs this scan from Nova’s survey radar station.
The Alpha-4 colony was mentioned back in Episode 1 and made its on-screen debut in Episode 2. A mysterious enemy inflicted massive damage to the EDF base there before pulling away. As we saw in Episode 2, this attack was perpetrated by the Galmans, led by General Dagon, who then broke off to engage the Berth Defense fleet. Unfortunately, the English translation contains a few errors that make this subplot a bit harder to follow.
Additional note from superfan Andrea Controzzi: Alpha Centauri is not really a binary star system, because it has three stars including Proxima Centauri (Alpha Centauri C). Of the three, it is the closest star to our Sun, a red dwarf star much smaller than A and B. So far no planets have been confirmed. An Earth-like planet would be pretty hard to detect with current technology so we have to take the authors’ word on that for now.
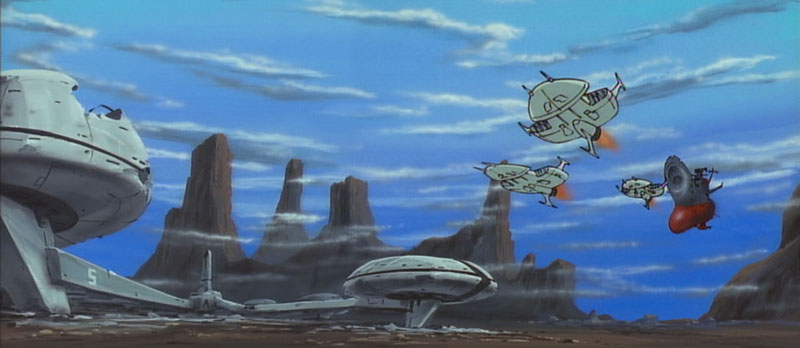
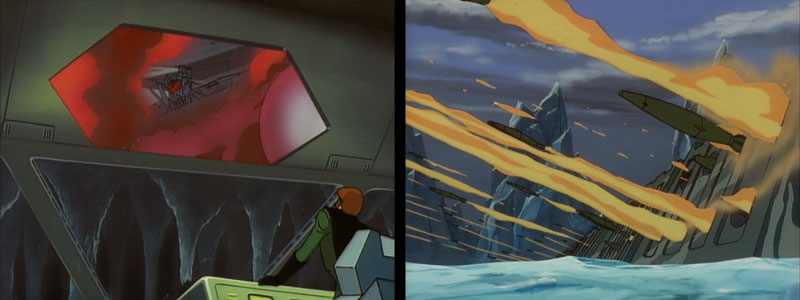
The Argo is greeted by EDF torpedo boats as it dives into Alpha-4’s atmosphere. Wildstar and Sandor take a flying recon tank to the surface and meet with the base commander. The recon tank is the same type used during Series 2, notably during the landing at Telezart. In the Star Blazers dialogue, Wildstar mistakenly calls it the “Cosmo Hound,” a vehicle that will soon go into action. The American script seems to imply that the base commander just arrived there, as if he had answered Alpha’s distress call as well. The commander pledges his crew and equipment to help with the repairs on the Argo.
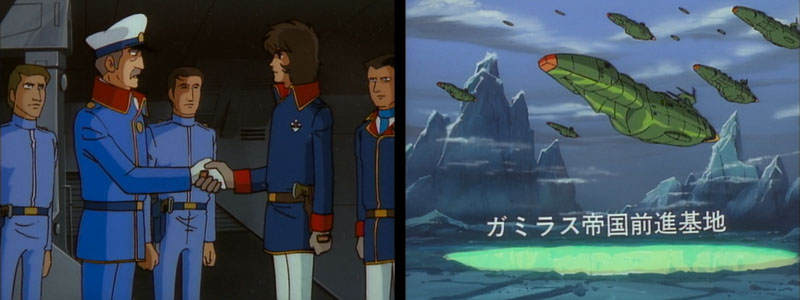
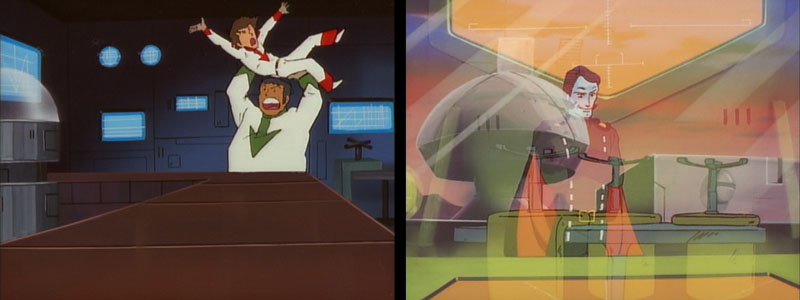
General Dagon has retreated to the first planet of Barnard’s Star, which is once more erroneously referred to in Star Blazers as the first moon of Neptune. Barnard’s Star is approximately 6 light years from both Earth and Alpha Centauri. In a run-on tirade, Dagon is ingloriously chewed out by Admiral Smeardom for his loss against a single Earth ship (the Argo, last episode). Smeardom’s philippic ends with a threat of “roboticization” and a rabid growl. Dagon is enraged and humiliated. He screams at his underlings to find and destroy the Argo.
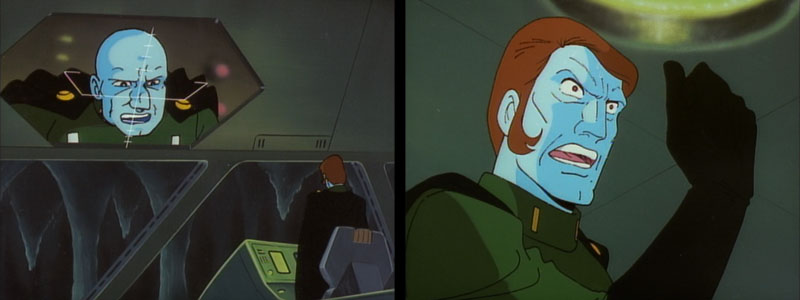
“Robot soldiers” were reintroduced in the Star Blazers script last episode, where it was used to mitigate some on-screen violence. Within the continuity of Star Blazers (as opposed to Yamato III), Smeardom’s threat to “roboticize” Dagon reveals a possible origin for these robot soldiers. Instead of purely mechanical creations, they may be cyborgs. We can surmise that it is a punishment for serious crimes, and involves implanting computerized brains that compel criminals to obey orders like mindless drones. While the American script’s intention was to minimize Smeardom’s threat (which was outright execution in Yamato III), the implications are even more barbaric than the original!
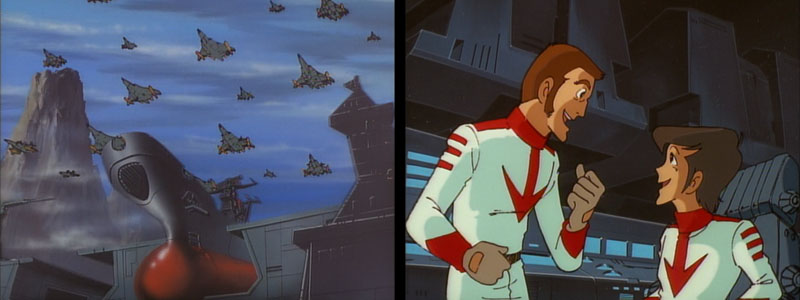
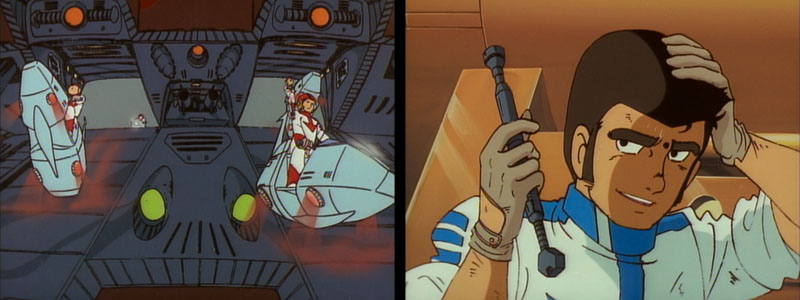
The Argo has docked at Alpha-4, protected by a large fleet of EDF patrol boats that hover over the ship. Wildstar announces that crews not engaged in work detail will be given shore leave. There is much joy, and soon crewmen are zooming out of the third bridge on hover-cycles (unique to this episode). Among those heading for shore leave are two gunners, Namio Sakimaki and String.
Sakimaki is the gun captain of the first turret and appeared in the last few episodes. String works under him as a gunner. In his DVD character profile, String’s real name is revealed to be Ben Bean. Apparently, someone (I’m guessing in 1st grade) decided to call him “String Bean” and the name stuck. His Japanese name is Haruo Nishina. Oddly, Sakimaki is never referred to by name in Star Blazers, so we only have his original Japanese name to go by.
Another new recurring character, Beaver, finally gets a proper on-screen introduction. Beaver [aka Heiji Bando] is the hapless, accident-prone technician who has appeared several times. Perhaps scripter Peter Fernandez rechristened him “Beaver” because he thought he looked like Jerry Mathers from Leave It To Beaver. Beaver eschewed shore leave in favor of continuing with repair work. He’s soon joined by Sandor. Beaver and Sandor are two of a kind, both enjoying their work to the exclusion of most everything else.
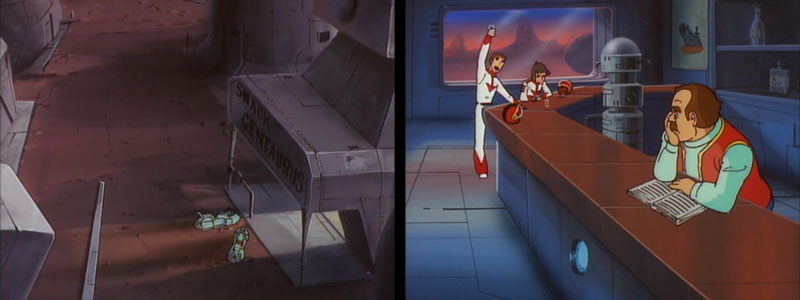
The Alpha colony was mostly abandoned in the wake of the attack. Yamato III mentions it had a small civilian population. Star Blazers specifies that it was an osmium mining colony. (Osmium is a platinum-like metal used as an alloy.) Saki and String find an open bar and begin living it up, even though the only other person there is one bored bartender. Venture walks in and chastises them for drinking. Shore leave or not, he points out, they’re still on alert.

In Yamato III, they were definitely drinking alcohol (and too much of it, according to the bartender), but Star Blazers specifically claims their drinks were non-alcoholic (“space fruit sapper concentrate”). Nonetheless, Venture feels the pair is being dangerously negligent. Saki refuses to respect Venture’s authority because he’s the Navigation chief with no sway over the gunnery crew. (He must not have gotten the memo that Venture is an Executive Officer, which means he and Sandor share second-in-command under Wildstar.) Angered by their insubordination, Venture snatches their bottle away. When the gunners try to reclaim it they are grabbed by two powerful hands and flung halfway across the room.
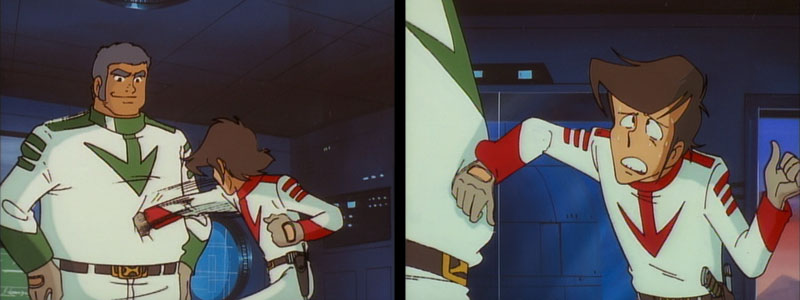
They find themselves confronted by a mountain-sized man called Buster Block [Goro Raiden]. He is one of the Nav crew, and stepped in to help his chief. He’s the Star Force’s (sumo) wrestling champion and looks like he’d dwarf Sgt. Knox. Because of his size, his American actor supplies him with a voice that comes out as a deep, muffled growl. Unfortunately, instead of sounding intimidating, he sounds like he has a mouthful of food.
Either the gunners are too drunk (in Yamato III) or just plain foolhardy (in Star Blazers), but they aren’t cowed by either Buster’s size or the prodigious strength he just demonstrated. Saki launches into a completely ineffective flurry of punches. Just then, another challenger arrives: an engine room worker named Ace Diamond [Dairoku Akagi]. Apparently, Ace Diamond felt he didn’t have an intimidating enough name, so he announces his nickname: Toughy. Ace “Toughy” Diamond.
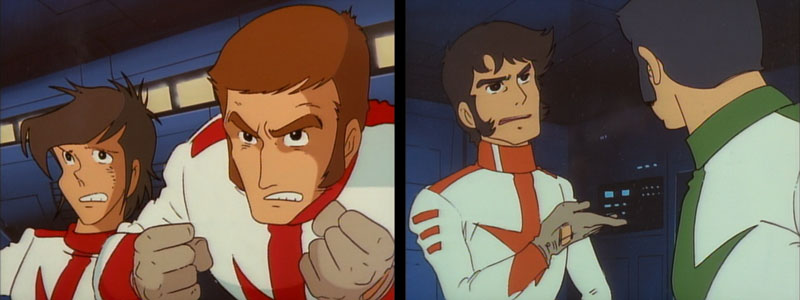
He’s only referred to as Ace afterwards, but I swear that’s how he introduces himself. It’s kind of hard to tell with Fernandez’s mile-a-minute voice direction, but his DVD character profile and Wikipedia both agree: Ace “Toughy” Diamond. Diamond lists his own roughneck resume: he’s an ex-space trucker who is always looking for a fight. I rather like his 50s hoodlum inspired dialog and “New Yawk” accent: “I got into a liddle trouble an’ I’ve been lookin’ for more ever since!” and “Dat’s wad I like! Trouble wid a big ‘T’.”
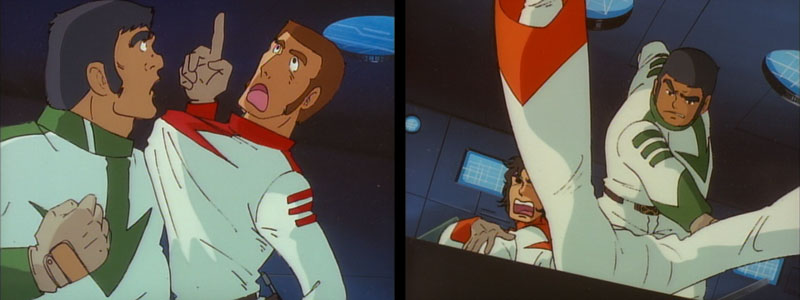
What follows is a free-for-all that borders on farce, complete with exaggerated, “cartoony” facial expressions right from director Toyoo Ashida’s repertoire. They pull out a TV bar fight classic: sliding a body down the length of the bar. But look close, because there’s an interesting bit here. Saki slides off the bar and through the front window. Just as he hits the window, an image of Dagon is superimposed on top for several frames!
Production note: This is an obvious error, but it does have a rational explanation. It’s an accidental double exposure caused by a misalignment in the film. The Dagon scene was shot in the animation camera room and then, for whatever reason, the film was wound backward in-camera to shoot the next scene; Sakimaki smashing through the window. Since the film was wound back slightly too far, the head of the Sakimaki scene overlapped with the tail of the Dagon scene by just a few frames. Since the camera team always had to make up for everyone else’s blown deadlines, it’s kind of amazing this sort of thing didn’t happen more often.
Wildstar walks in to witness Venture enjoying the violent spectacle and asks him why he hasn’t put a stop to it. Venture replies that they’re just letting off steam. Derek opens his mouth to let fly with some world-class invective, but a look of disappointment on Venture’s face makes him think twice about overruling his best friend. Instead, Wildstar chooses to watch the four stooges beat the daylights out of each other.

A loud explosion stops them all in their tracks and marks the beginning of an enemy attack. They rush out of the bar, which is called “Snack Centaurus,” and head back to the Argo. (One of the benefits of the Star Blazers dialogue change is that you don’t have to worry about String and Saki driving under the influence. They might have concussions, but at least they’re not drunk!)
The crew left behind on the Argo has to take up temporary positions to defend her. Sandor, the senior officer in charge, orders Cosmo Tiger and Life Support groups to man the guns. Jason and Flash find themselves in turret #1. Beaver, manning Nova’s radar station, calls out distance and bearing, and the impromptu turret-jockeys ably dispatch the incoming missiles. Missiles pepper the ground and several patrol ships are lost, but the Argo is not hit.
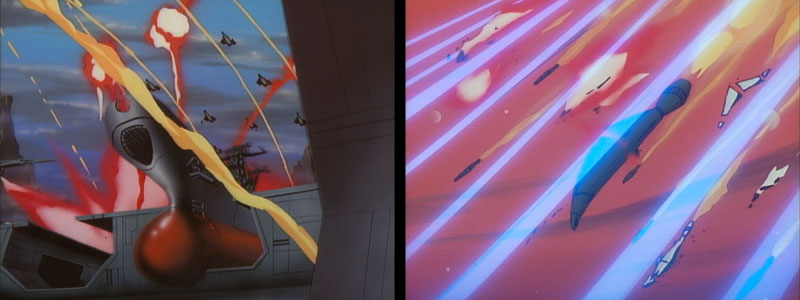
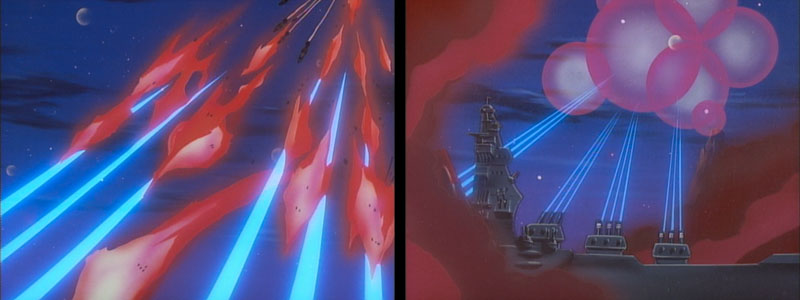
From Barnard’s Star, Dagon fires another round of missiles, which seem to cross six light years of space in a matter of minutes. Undoubtedly, they are either warping or using long-range SMITE technology.
Sandor’s team manages to hold off three waves before being relieved by the regular crew. String and Saki aren’t impressed with Jason and Flash’s work, so they decide to show them how the “professionals” do it. They destroy the final wave without one missile hitting the ground.
Eager (once again using Nova’s station), backtracks the missiles to Barnard’s Star, which is where they were heading anyway. So now Derek and Mark’s goals coincide; it gets them along in their mission, and they will probably get to see some action. Everybody’s happy! Also, repairs have been completed so they can take off immediately. (Note: the American script has finally realized that Dagon is on Barnard’s Star, not Neptune.)
As they get underway, Mark apologizes to Derek for not realizing what a great captain he was. Derek could have undercut his authority by putting an end to the brawl on Alpha-4, but he saw Mark’s point and backed him up. Derek stresses that he couldn’t be a good captain without Mark’s support.
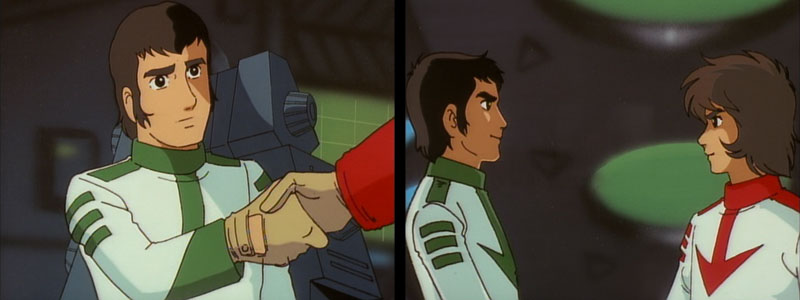
As the voice of Mark Venture, Peter Fernandez is a pretty good fit. Fernandez has a soothing, even-tempered quality to his voice. While it’s markedly rougher than Venture’s original voice, supplied by Tom Tweedy, it has the same kind of resonance. Unfortunately, there’s a waver in Mark’s apology that makes it sound like he’s on the verge of crying, which seems a bit over the top here.
The new crewmembers have potential, but owing to the reduction of planned episodes (from 52 down to 25) they never rise above the level of recurring bit-players after this. Their personalities flourish in the Bolar Wars Extended webcomic in which Saki and String bend plenty of rules and the Buster/Ace rivalry grows to epic proportions. It can all be read here.
It’s interesting to compare the use of violence between this episode and the last. In Episode 6, the emotions expressed during the fighting, particularly when it was hand-to-hand, were fear and rage leading to sadness and regret. This time, violence is used as a catharsis, as a way to vent frustrations and form bonds between crewmates. Far from the grit of the last episode, this one uses fighting as comedy. The enemy attack is dealt with quickly and with a rousing cheer; quite the opposite of a somber funeral.
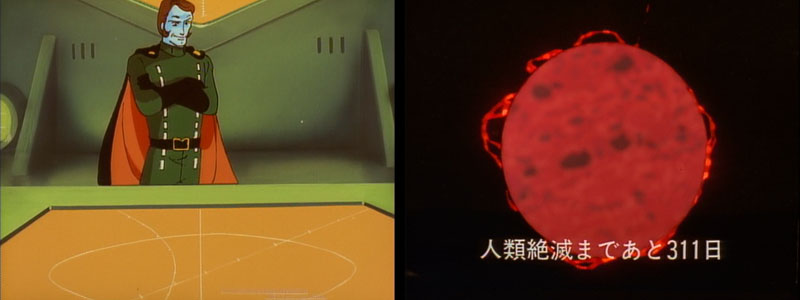
There are 311 days left.
Story note: The date of this episode is estimated to be November 11.
Production note: From this episode onward, the closing title song Yamato Be Forever, sung by Isao Sasaki, appears on the odd-numbered episodes and horizontally-moving captions were also added. Parting, the alternate end title sung by Mitsuko Horie, appears on all even-numbered episodes. The lyrics for both songs bear the distinction of being written by fans for a special contest. Read the details in our Yamato III discography here.
Interesting that American censors would allow the threat of being converted into a robot remain in an anime’.
When I first saw the double exposure part in the barroom fight, I had to go back and pause it at that particular frame. When watching the subsequent events unfold, I thought it contributed to a subliminal message telling the audience that something trouble was to come. But that particular frame was shown later in the episode, so… Now that I’m typing my thoughts down, I realize how ridiculous my reasoning is, especially after finishing the series today; it never happened again.
I had to make the same double-take friend. Reasoned the same way even.