
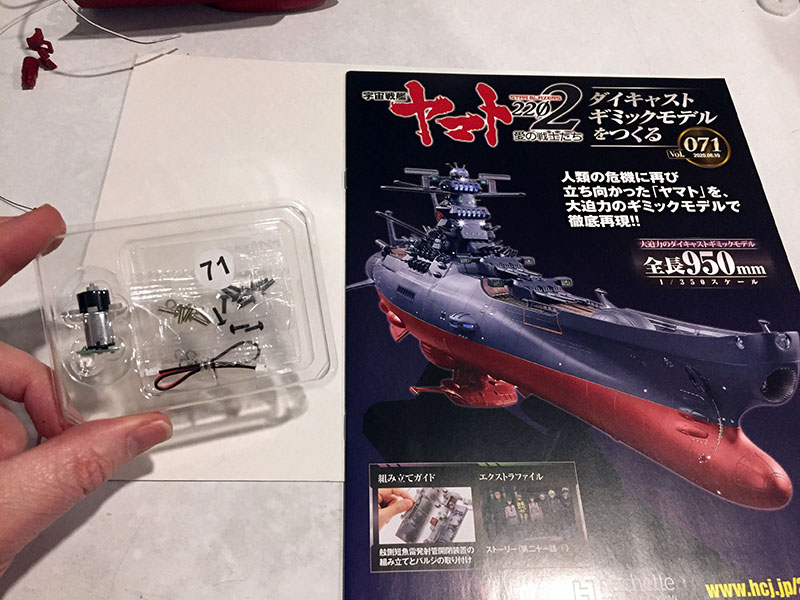
More internal bits in Volume 71.
Still in the midship area. We’ll be here for a while, there’s a LOT going on.
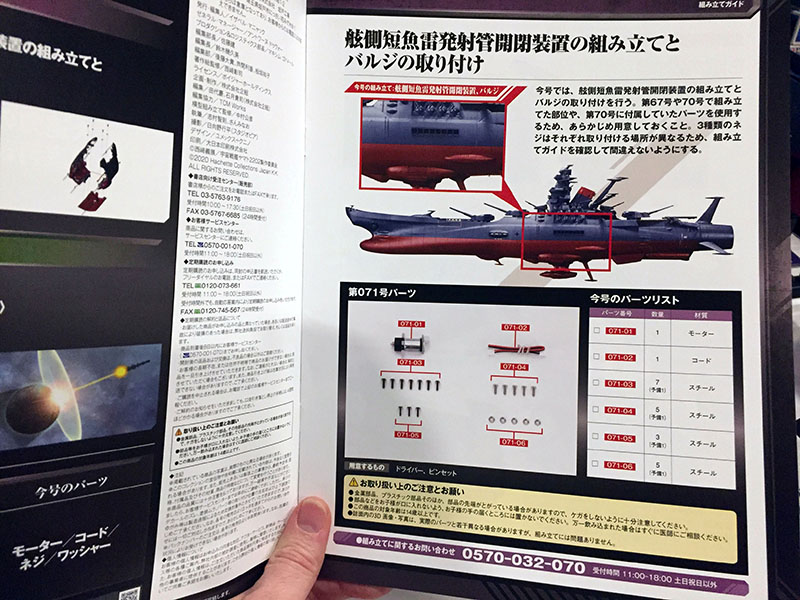
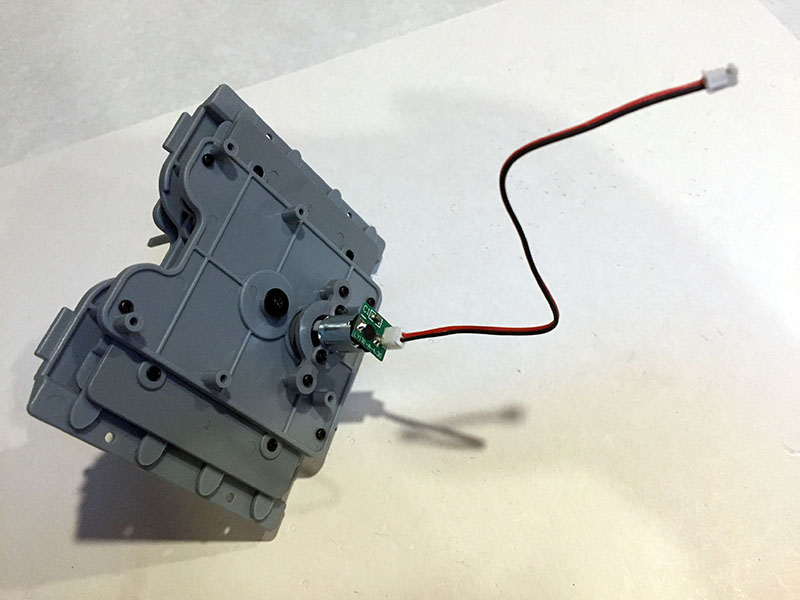
Looks like we’ll be putting that wire in now.
Then we’ll mate the two sides of the hull and set up a new motor.
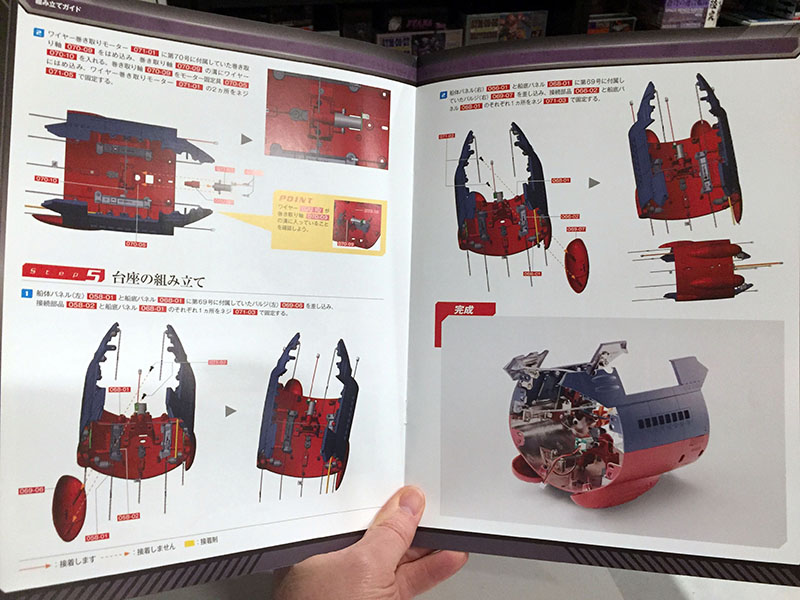
When we’re done it will all be in one piece.
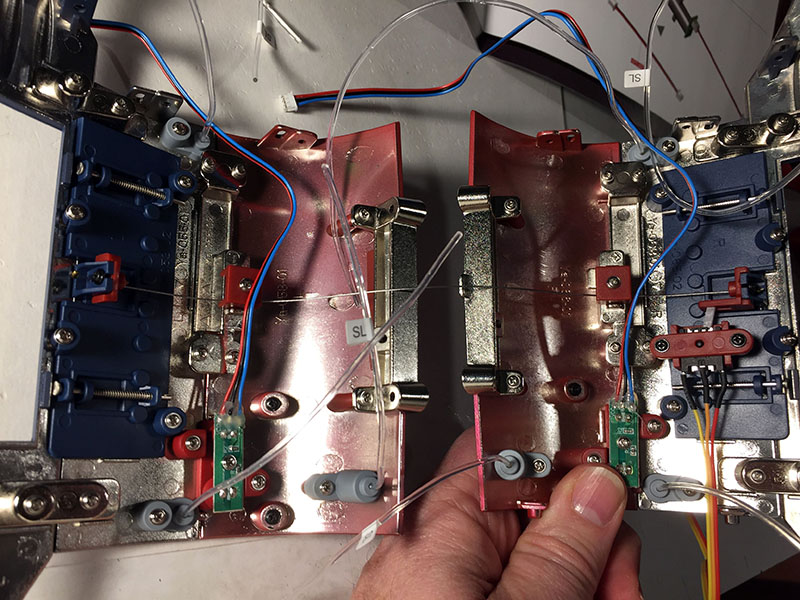
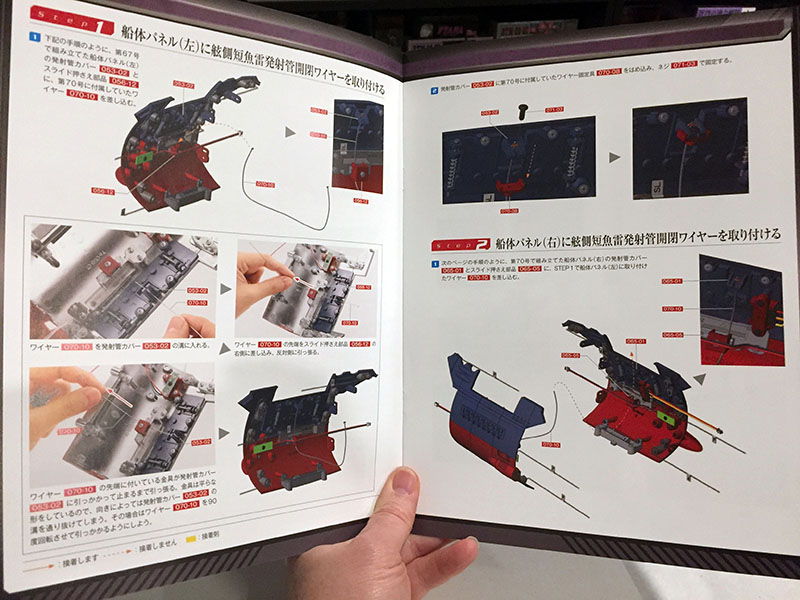
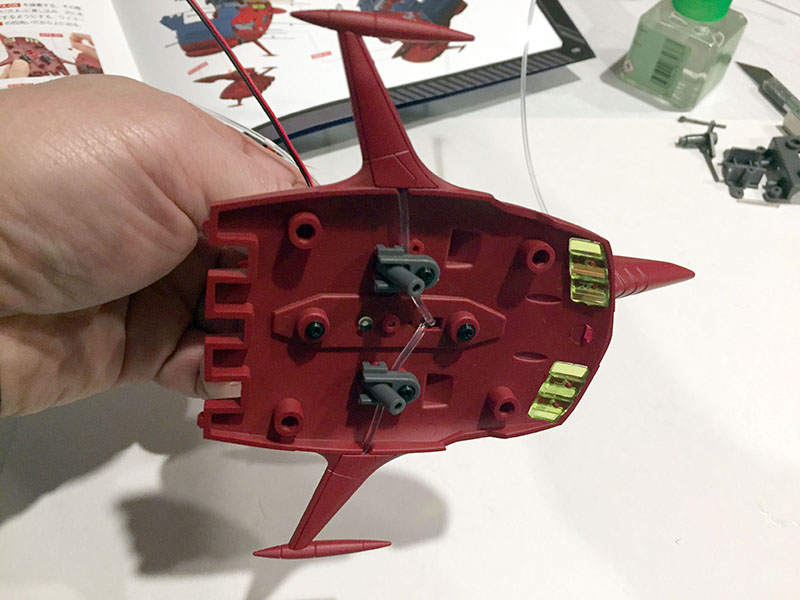
It turns out the wire is the first thing that connects these two sides. It anchors at the levers that will pull down the missile doors.
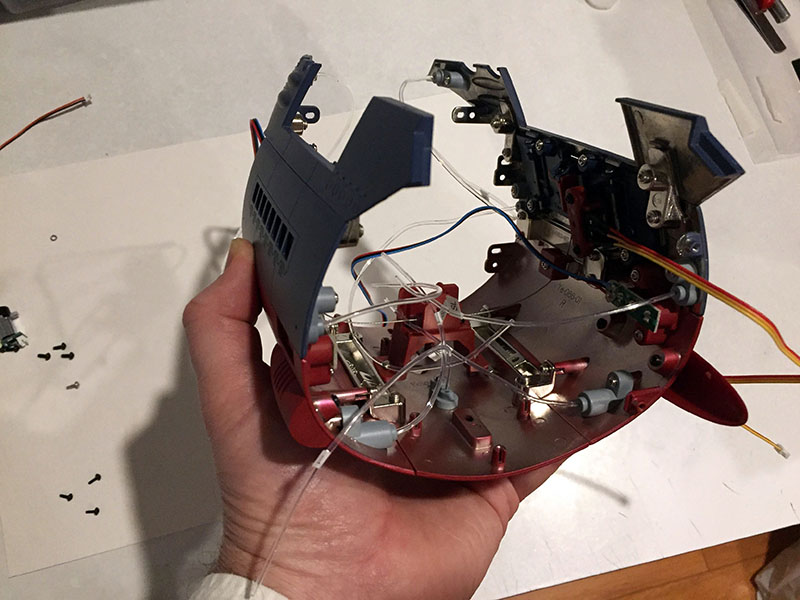
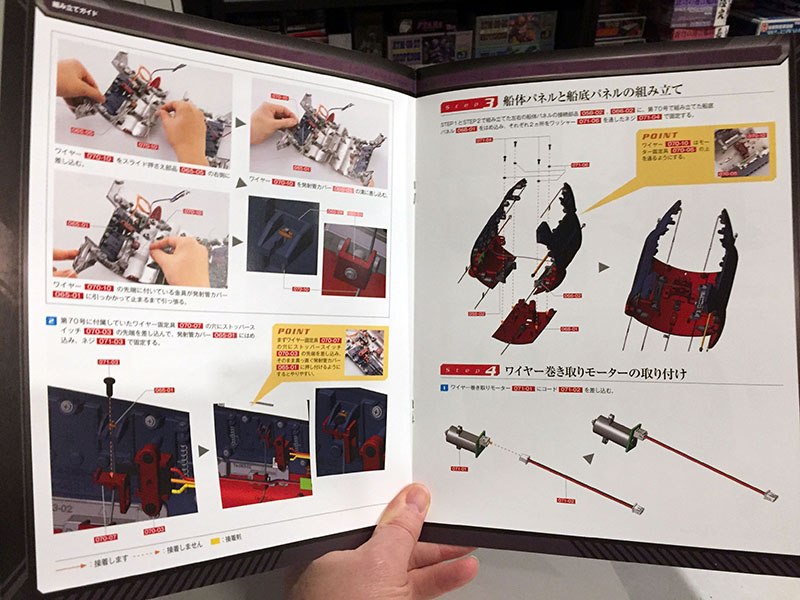
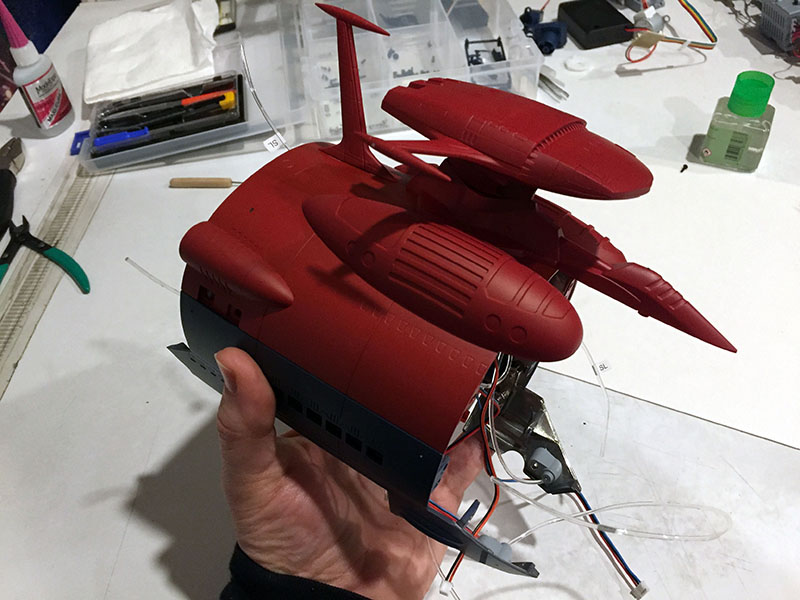
And now it’s all put together. Lots of fibers and wires starting to build up in there.
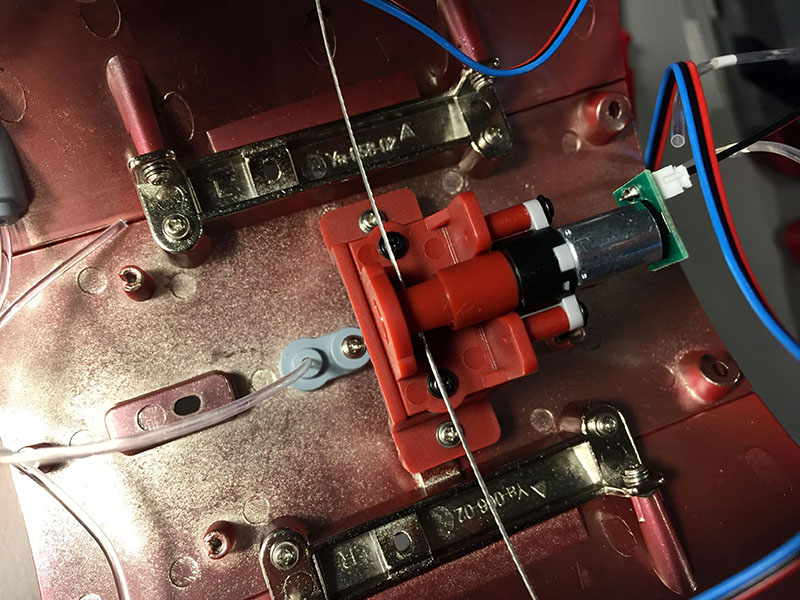
The wire runs through this device at the bottom, which is run by a motor. Somehow, it will pull those doors open.
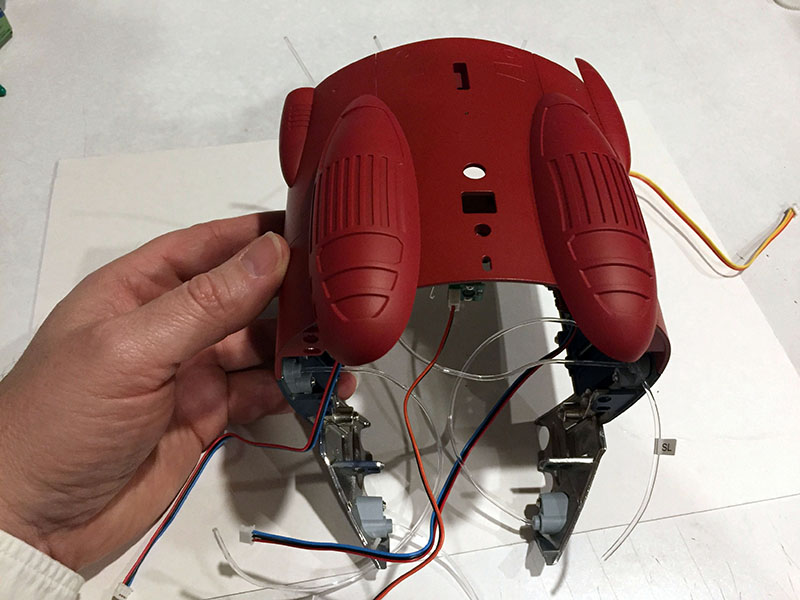
Here’s what it looks like from underneath. The third bridge will attach there.
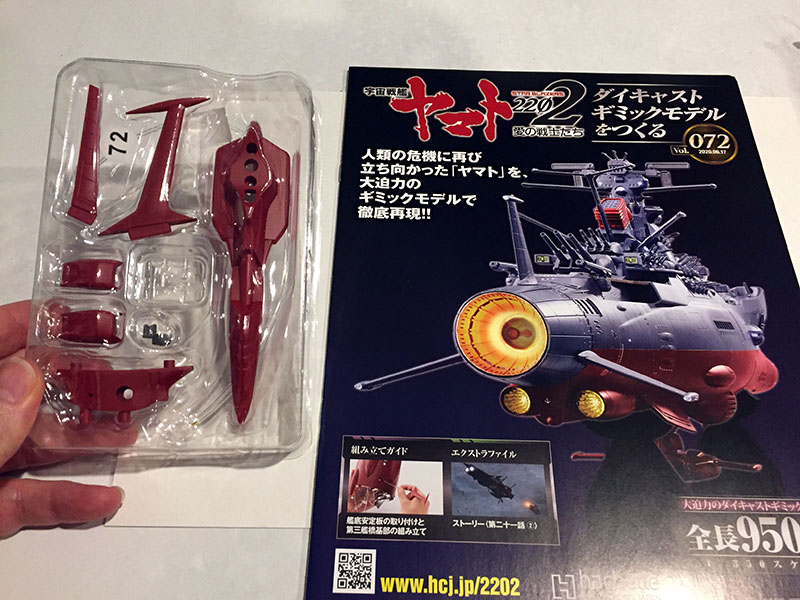
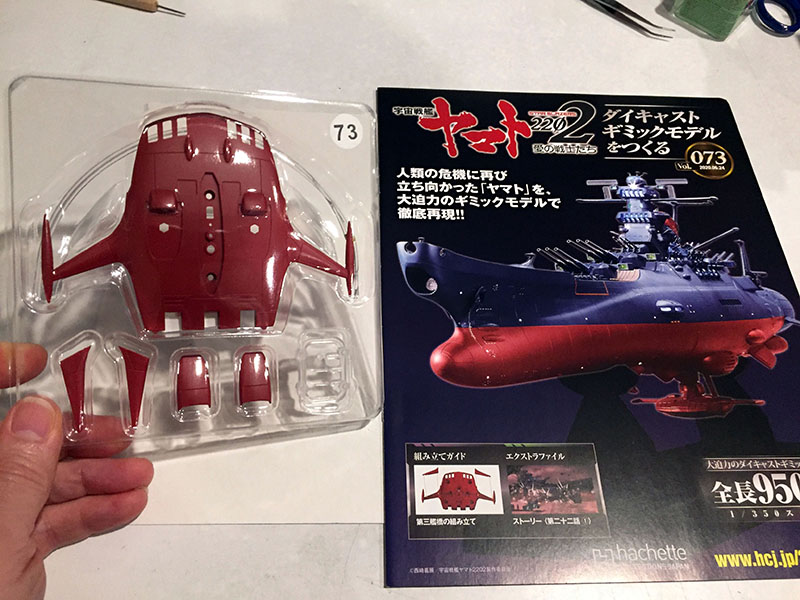
Volume 72 has some interesting parts to offer.
We’re finally heading down toward the third bridge.
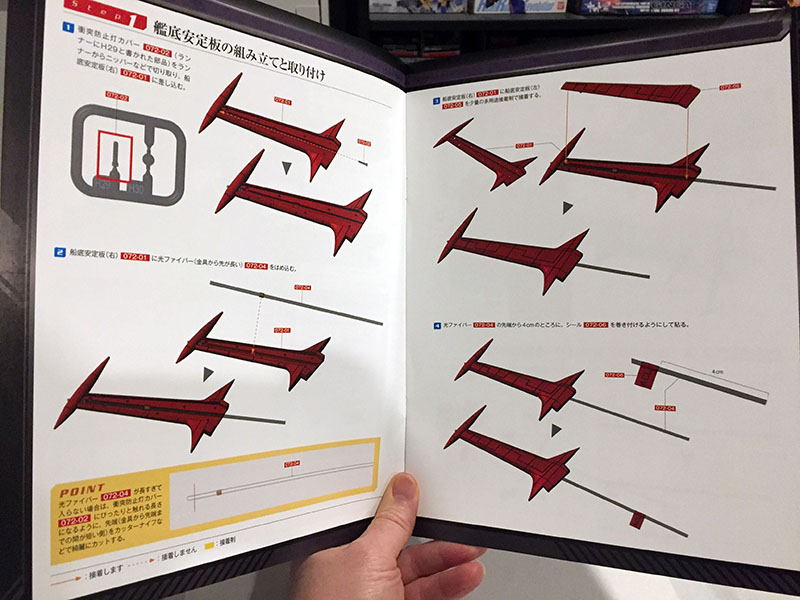
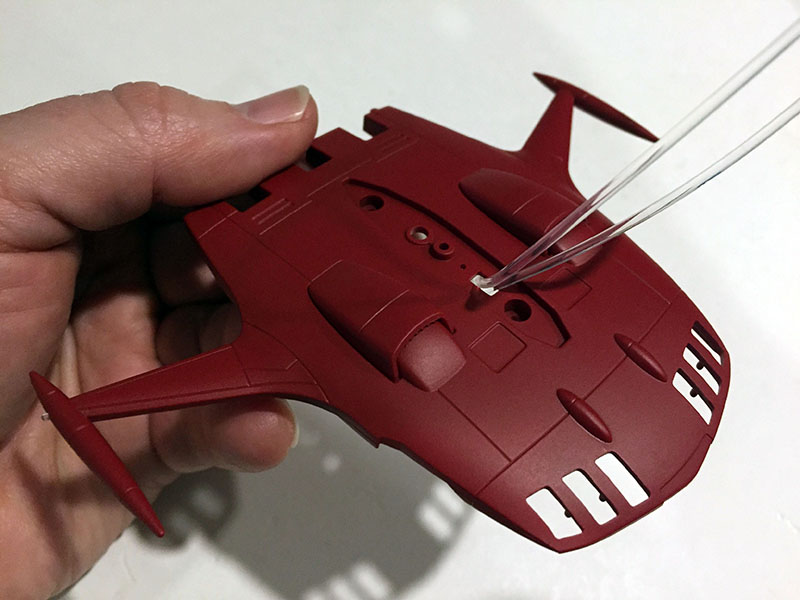
First thing to do is install a light inside the big fin that hangs down behind the third bridge.
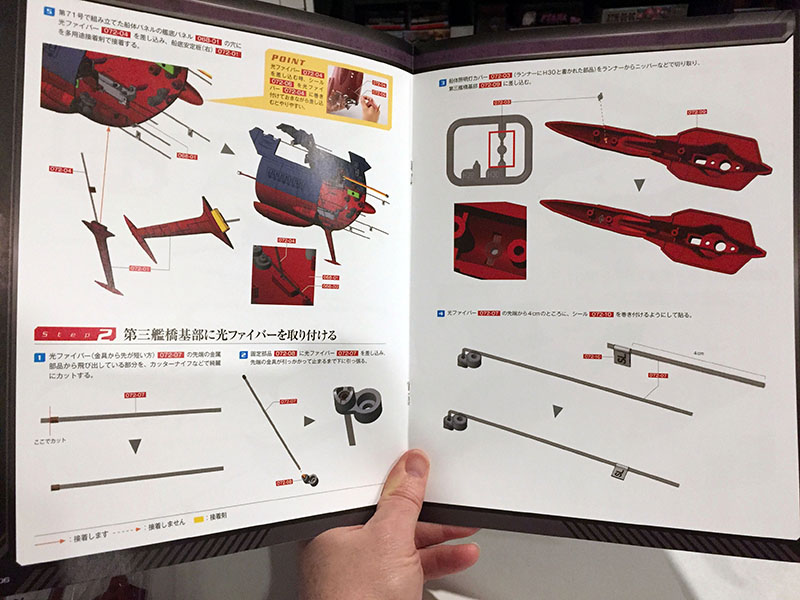
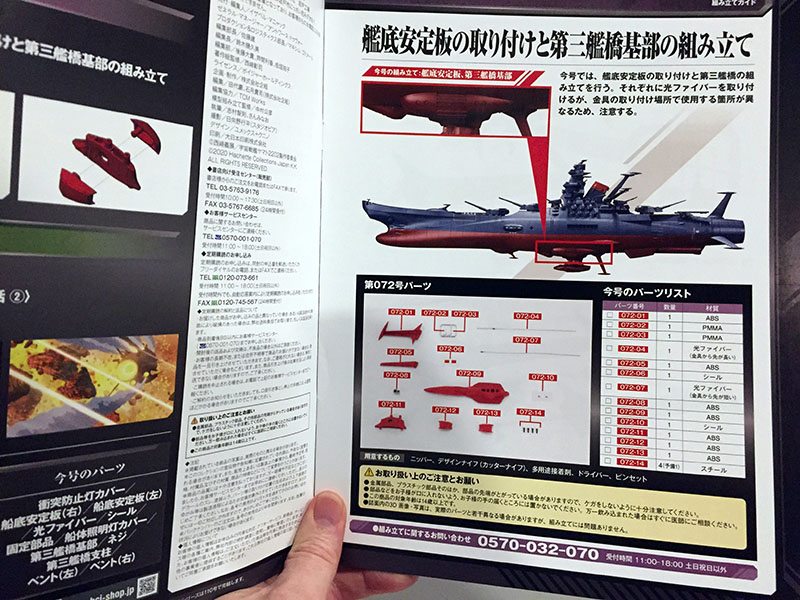
When that’s attached, we’ll move to the mounting segment for the third bridge.
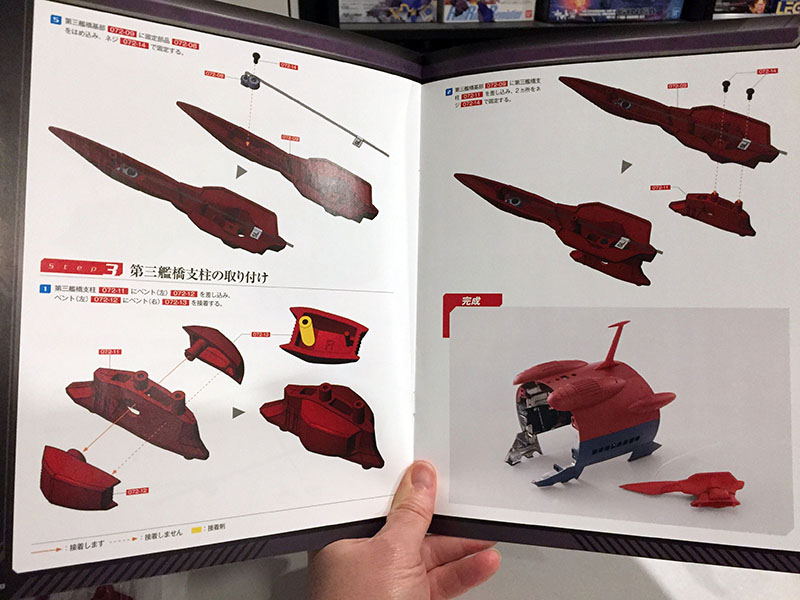
When we’re done, it will look like this.
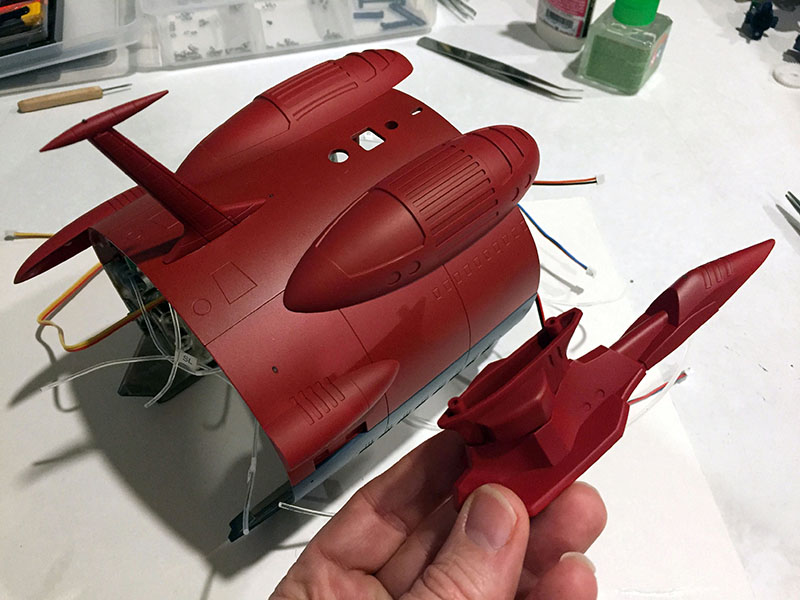
And so it does. For the big fin, I had to glue a plastic piece onto a metal piece, so I gritted my teeth and went for the superglue. I’m hesitant with that stuff because you generally get only one chance to get it right. If there’s a slip-up, you have to live with it. Fortunately, no slip-up. That big fin is ROCK SOLID now. It will have to be, with all the flipping and turning that’s coming up.
Volume 73 brings us a piece we ALL know well.
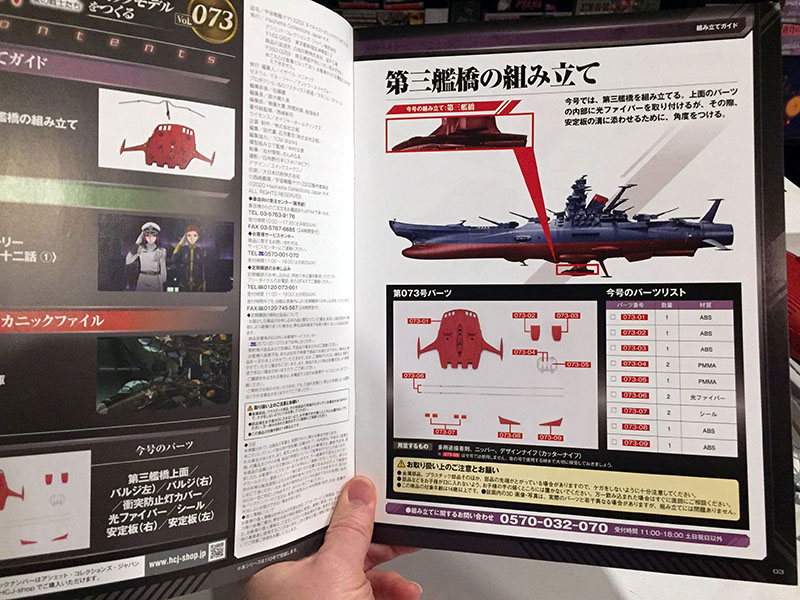
This will be the upper half of the third bridge.
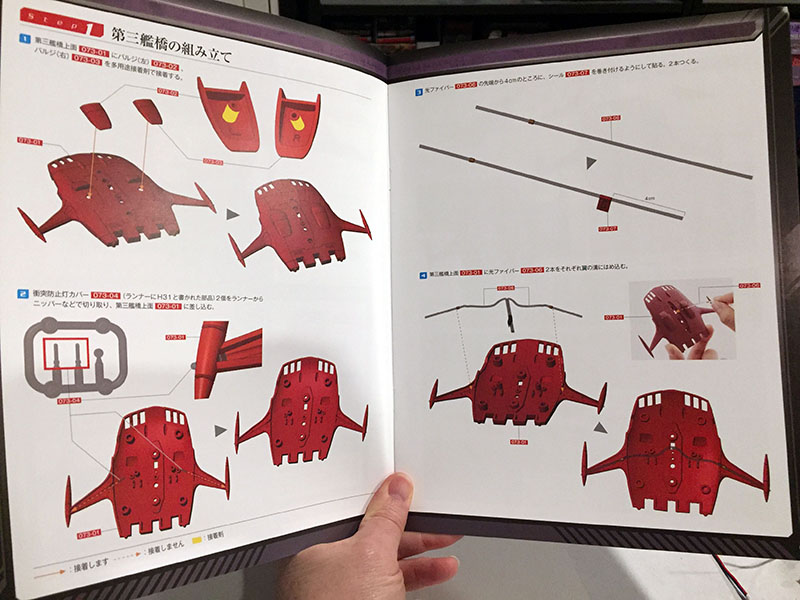
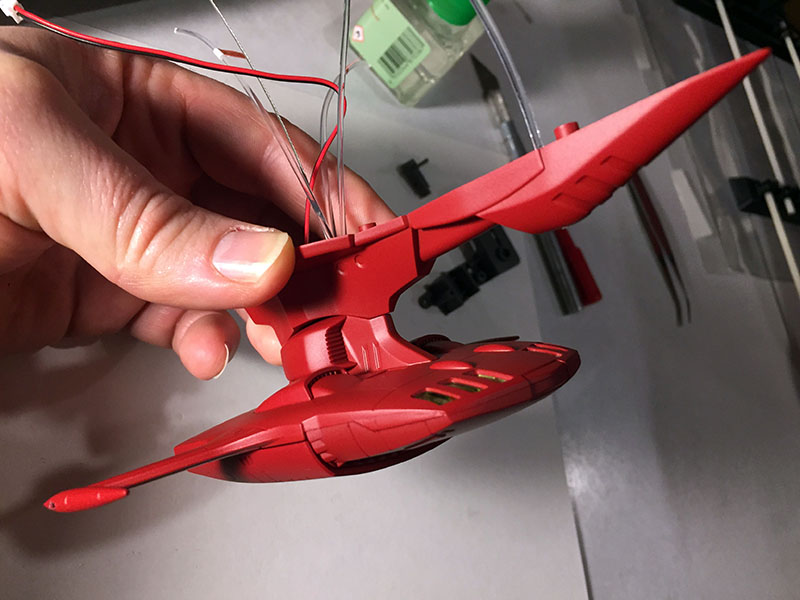
First step is to install fibers to the wingtips.
– and then secure them inside the wings. This didn’t go well with the wings on the first bridge. The fibers wouldn’t stay put and had to be glued down.
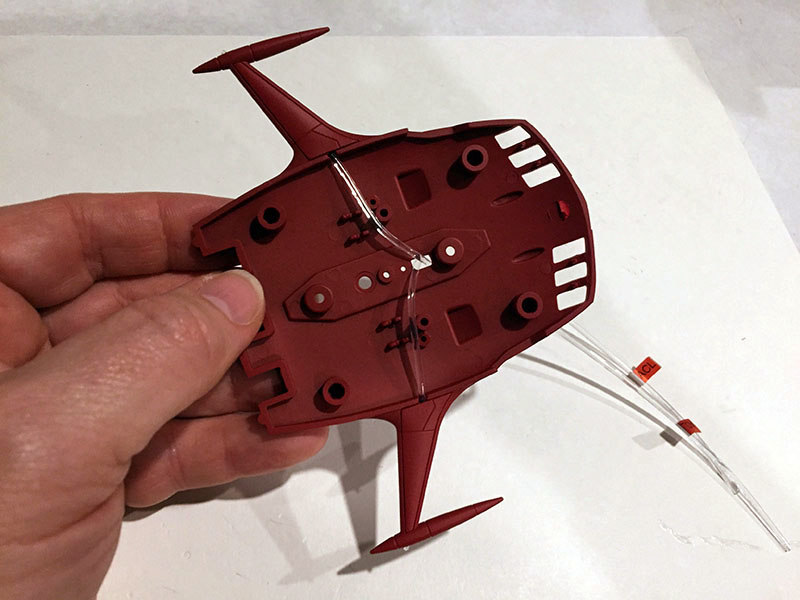
But this time? No problem at all. It’s like they were told what to do before they got here.
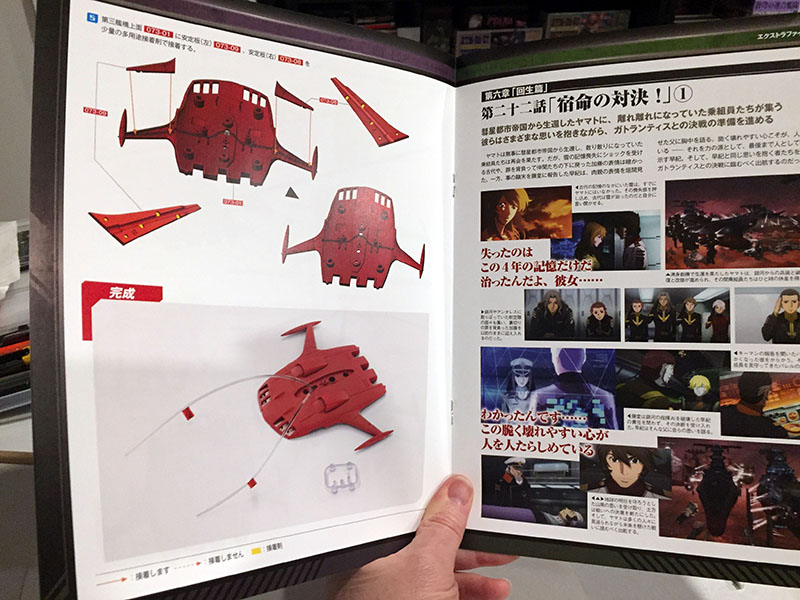
Upper half done.
Next batch, the red is still coming. Motors, too.

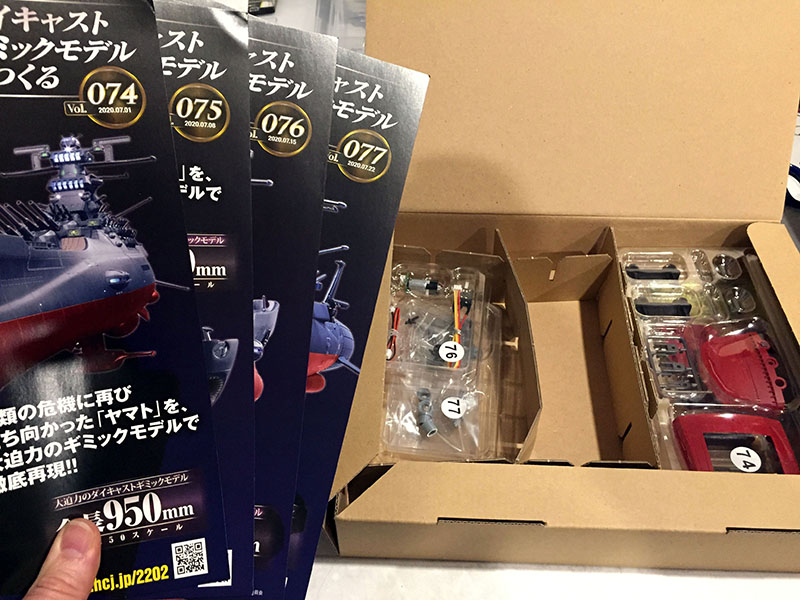
Here’s Volume 74. White sticks? What part of the ship is that?
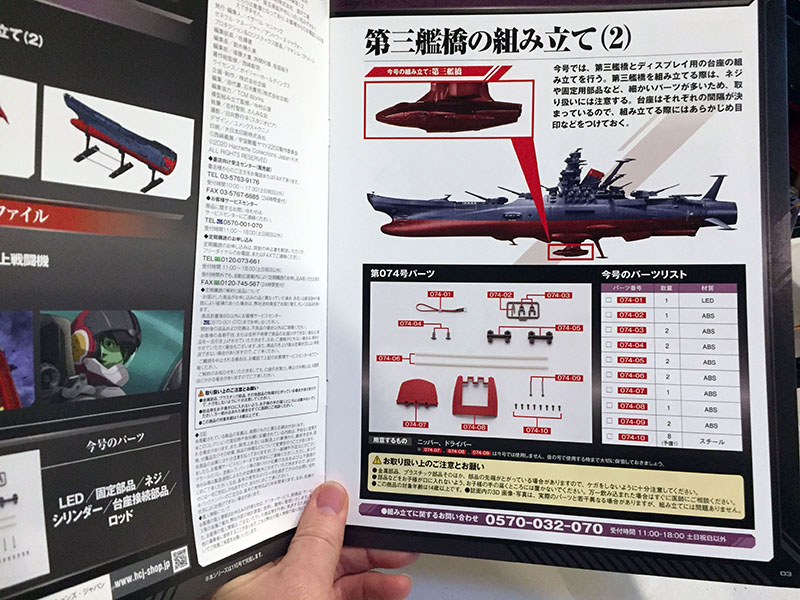
More work to do on the third bridge.
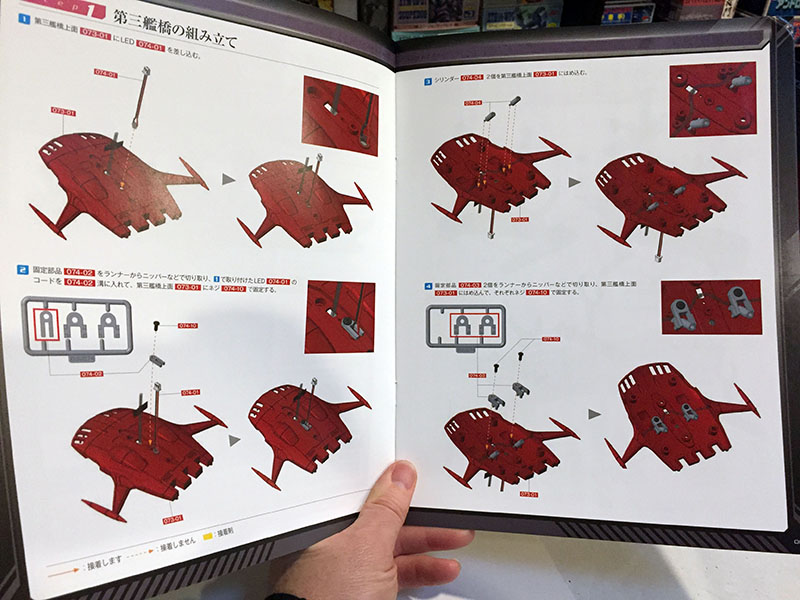
Additional internal parts for the upper half.
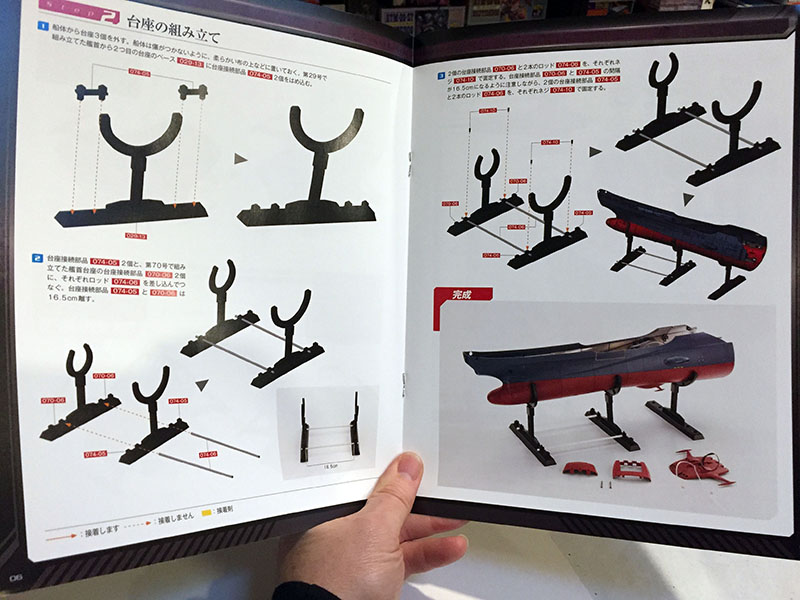
Then more work on the temporary stand. Those white sticks are reinforcements.
That’s all the third bridge work for this round.
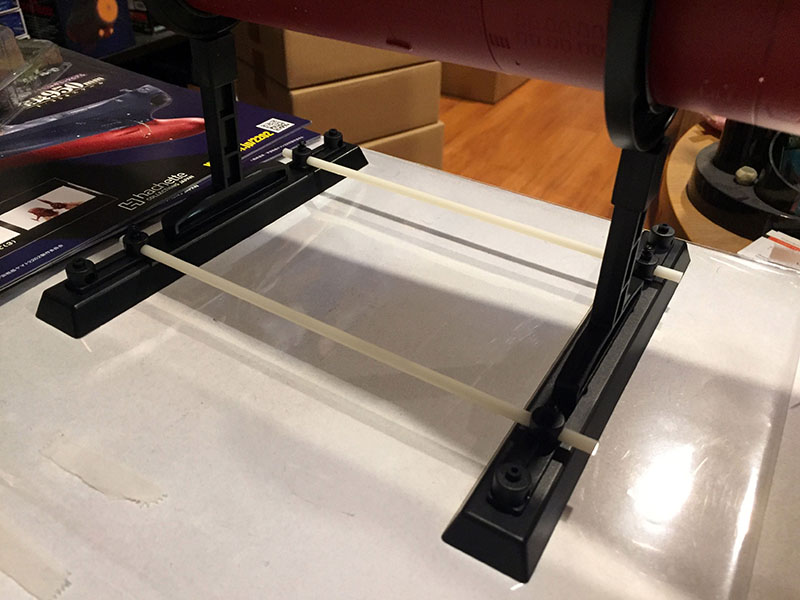
And now the stand has been strengthened. The ship will be gaining some weight pretty soon.
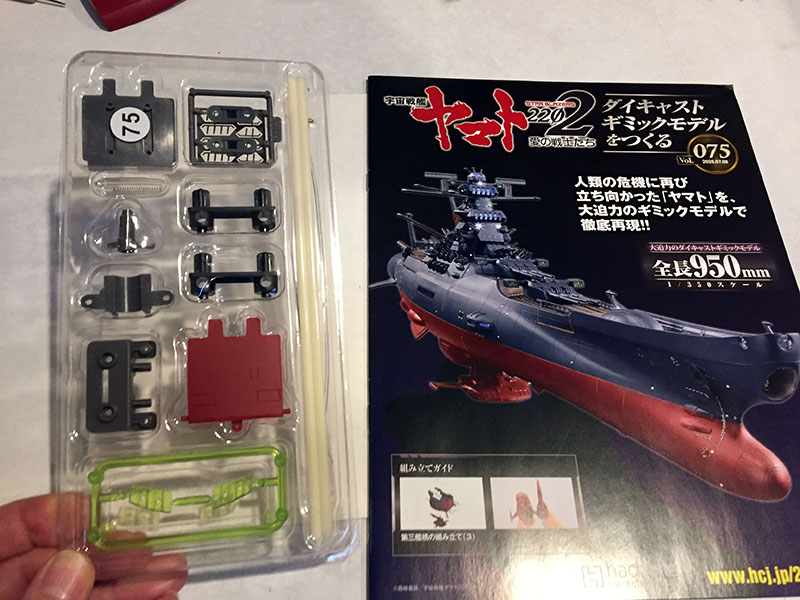
Hello, Volume 75.
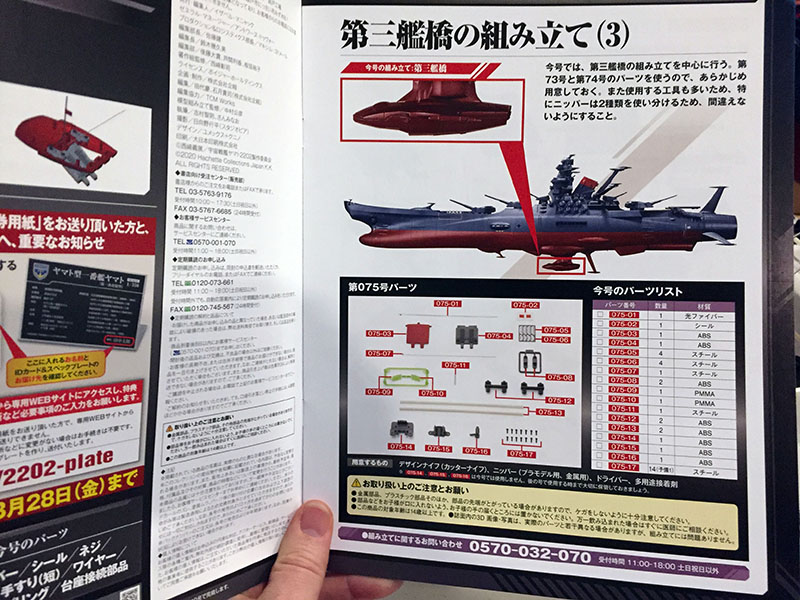
Third bridge again? Let’s go.
We’ll put together the lower half and give it an interior.
It will include another wire, like the one that now joins the missile launcher doors. Then we’ll finish the upper half and bolt it to the mounting piece.

The third bridge will be completed and attached to the hull at the end of this one.
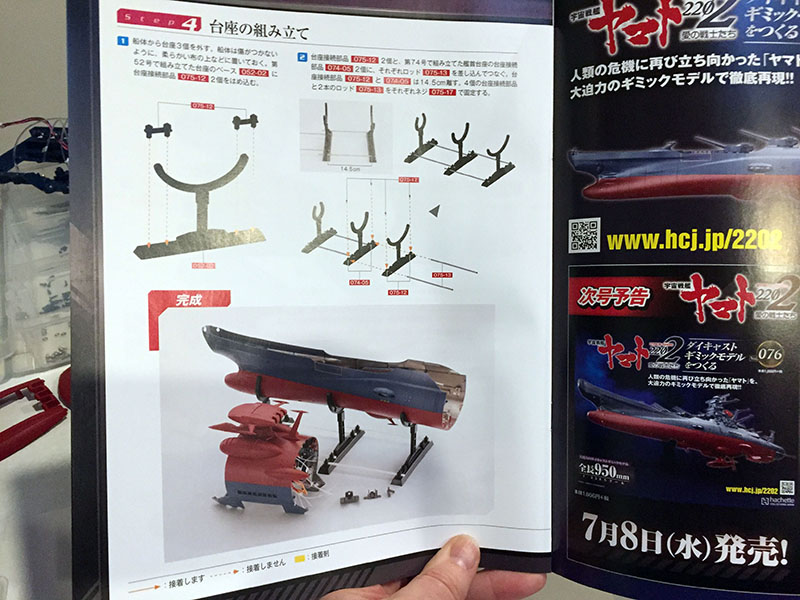
Then we’ll add more reinforcements to the stand.

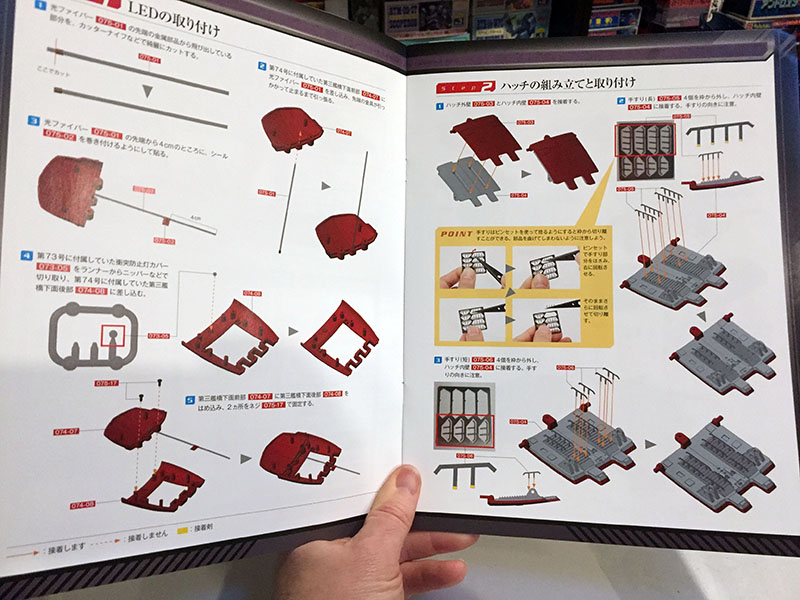
Upper half done and mounted.
Here’s what it looks like inside.
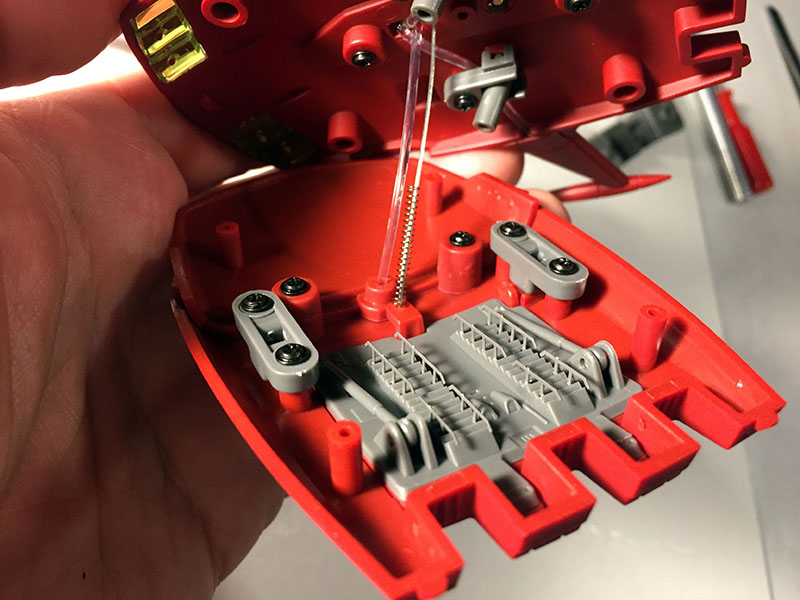
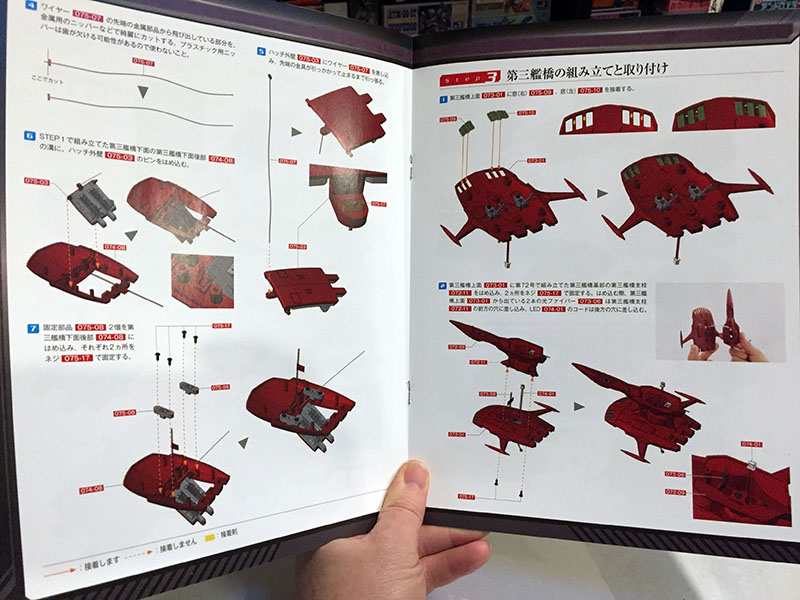
Lower half done, wire attached.
The whole thing is now assembled.
Here’s the inside. The boarding hatch will raise and lower thanks to that wire and a spring. The little tiny handrails are photo-etched metal parts. They were far stronger and more cooperative than I expected them to be. And now we actually have some human scale reference.
All attached. This is one big, meaty hunk of metal. And surprisingly sturdy. There’s a reason the third bridge was never blown off in the remakes.
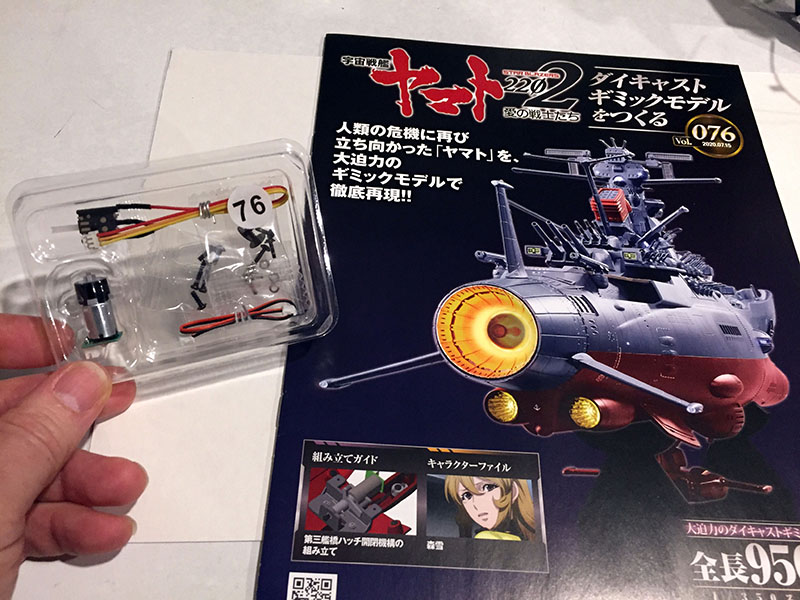
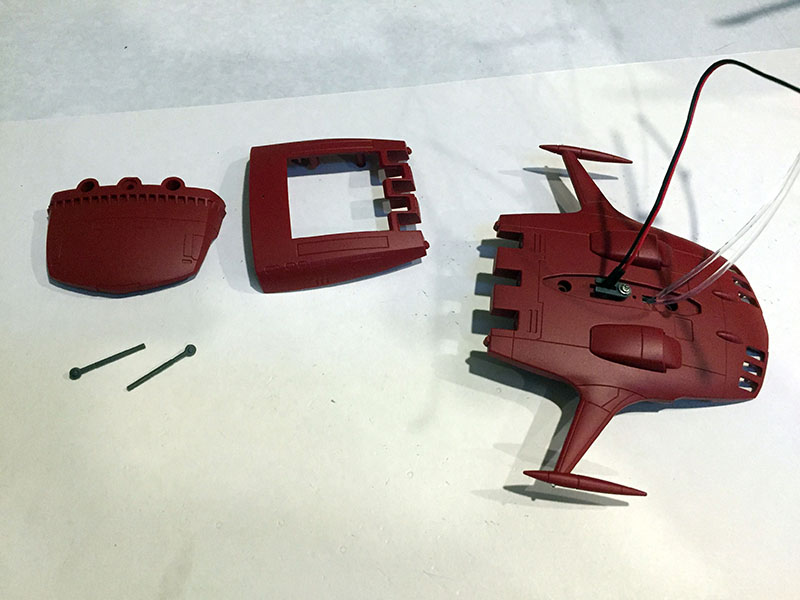
Internal parts for Volume 76.
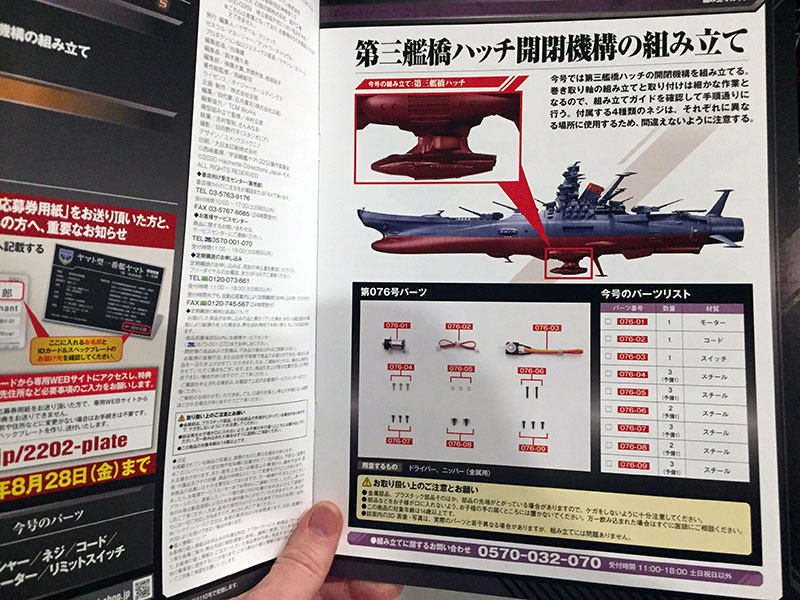
We’re done with the third bridge, but these parts are related to it.
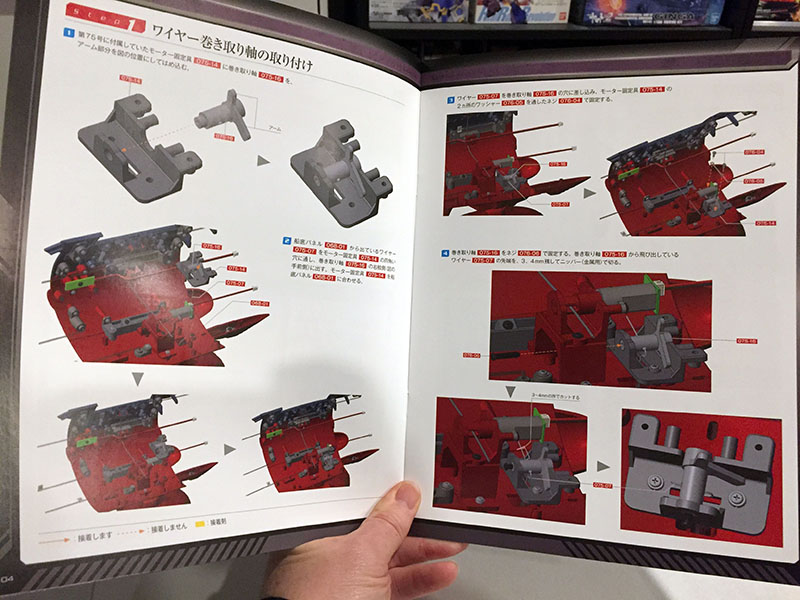
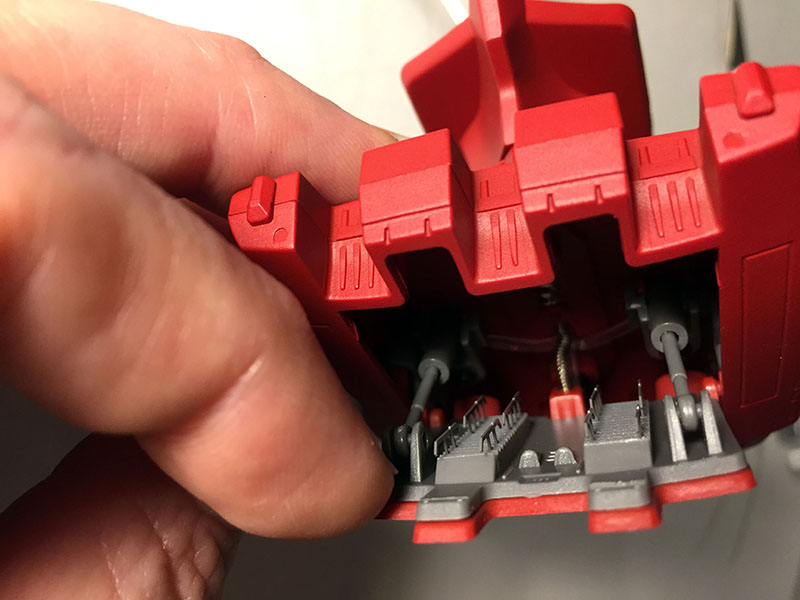
We’ll install a motor assembly to take up that wire attached to the boarding hatch.
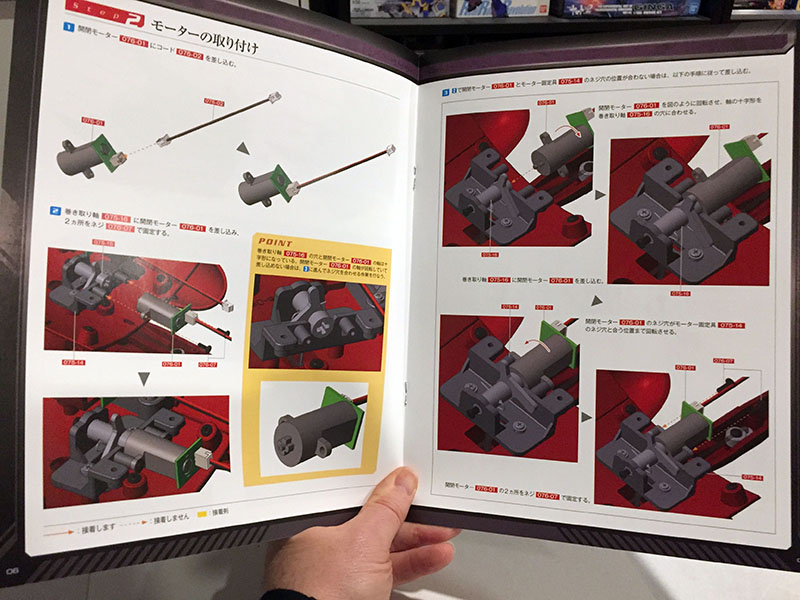
A small motor will rotate it in a way I don’t fully understand yet.
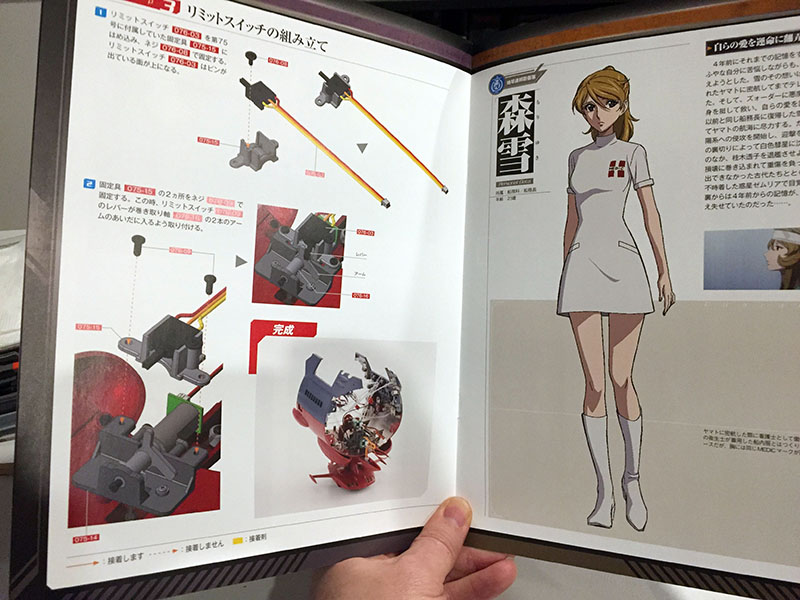
Then there’s another powered lever device. That’s what this volume is all about. Hi, Yuki. Nurse to see ya.

This was MUCH harder to put together than it looks. A combination of awkward angles, poor leverage, and uncooperative screws. As I said earlier, there are numerous points on the model where the screws they’ve provided are too long and don’t fully secure what they’re supposed to. I can always swap in a shorter substitute from the leftover pile, but this seems like a serious oversight on the part of Hachette.

Volume 77 gives us another LED bus. I’m already having anxiety flashbacks to the one for the bridge tower.

Again, it relates to the third bridge.

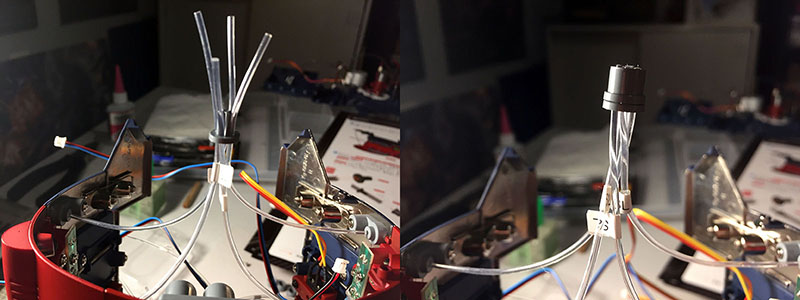
We’ll start by installing the bus and begin collecting/capping fibers.

As each set gets capped, it will be plugged into the bus. This looks like it should be quite a bit easier than the bridge tower.

When this volume is done, lots of things will be tucked into their final position.
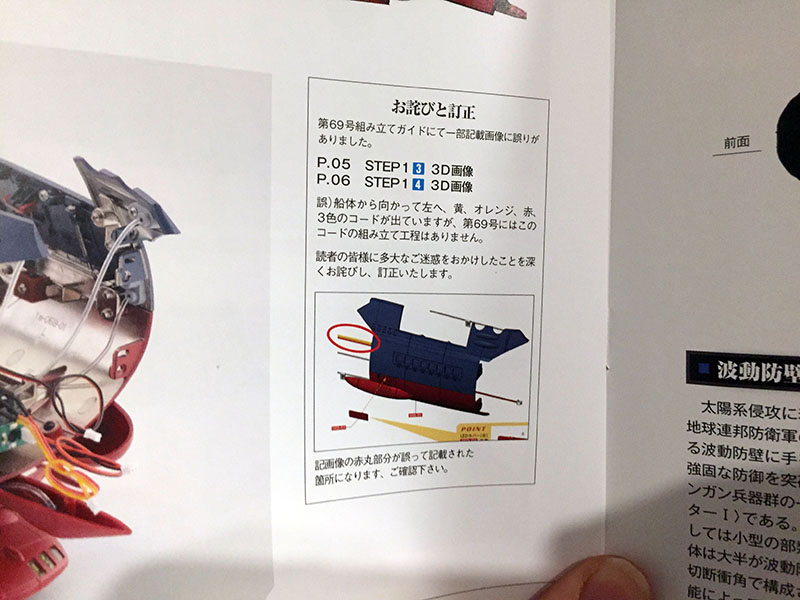
This is cute; they threw in an apology for an error in Volume 69. The instructions showed an orange wire that wasn’t supposed to be there yet. It had no effect on construction, though.
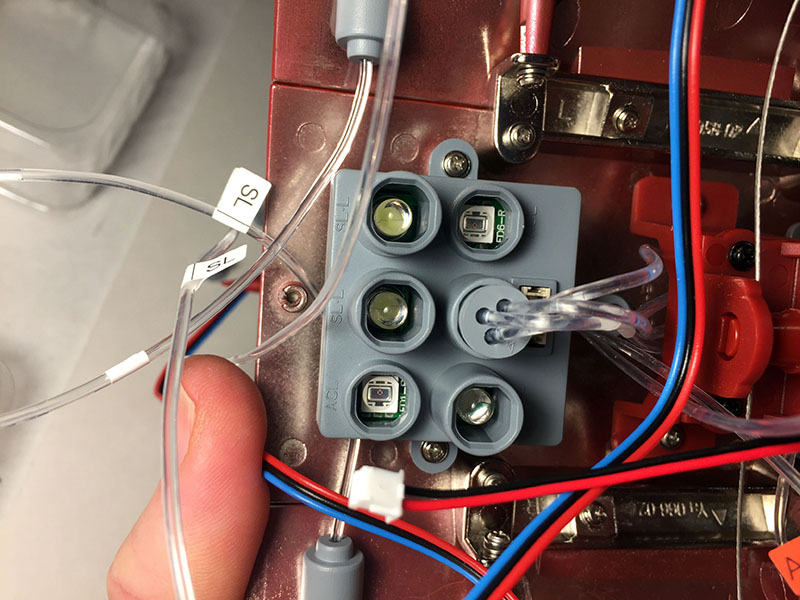
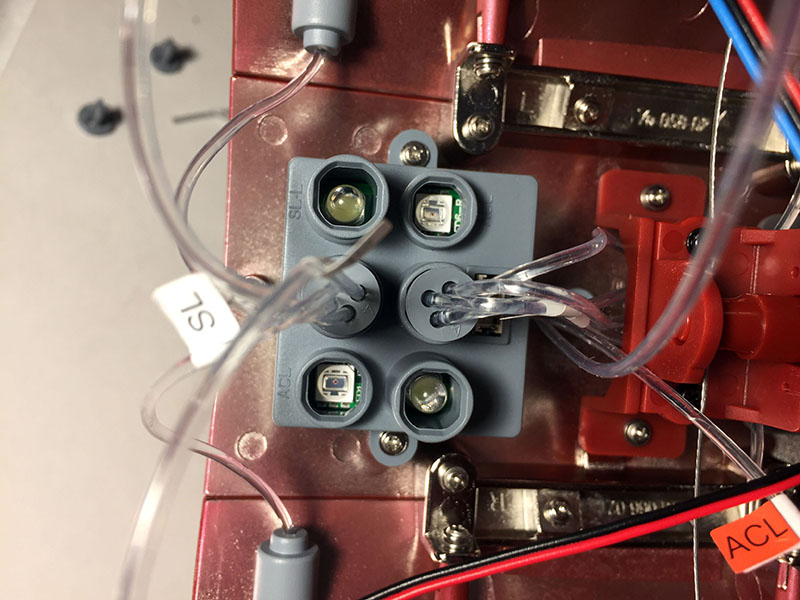
Okay, bus installed and first bundle plugged in. No problem.
Here’s a look at the process. You gather up the prescribed fibers according to their origin point and the code on their flag. You slip them through a spindle (on the left). Then you slip a cap over it and cut off the excess (on the right). They always suggest leaving an excess of 1.5cm for safety.
Then the cap goes into its designated light socket and you’re done.
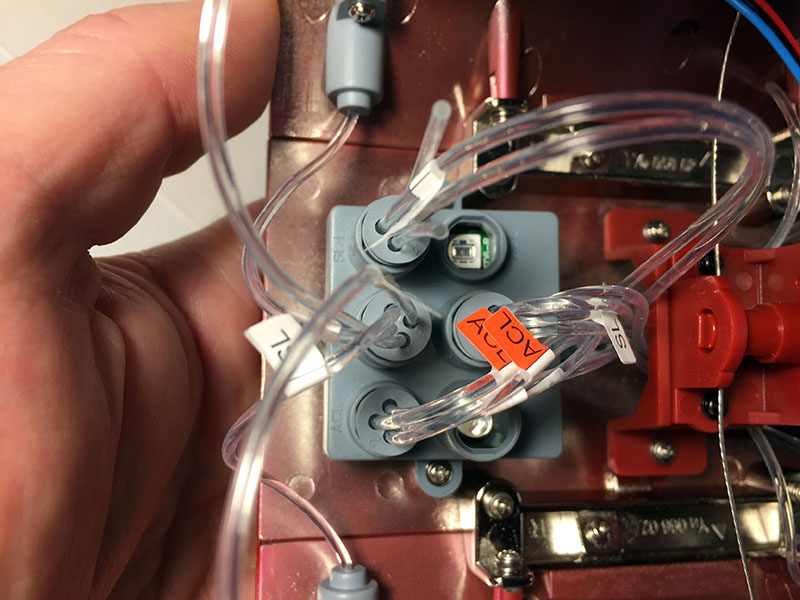
Four bundles capped and plugged.
Here’s where we are. The colored wires don’t get plugged in yet.
The next four volumes look pretty complex.
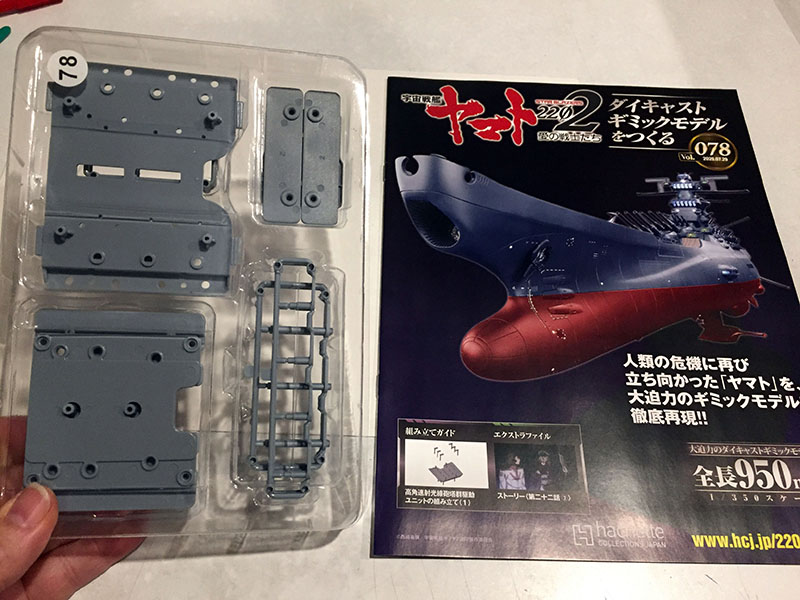
Volume 78 turned out to be another challenging one.
This round will relate to the pulse laser banks on the middeck.
These grey parts go together for some mysterious purpose.
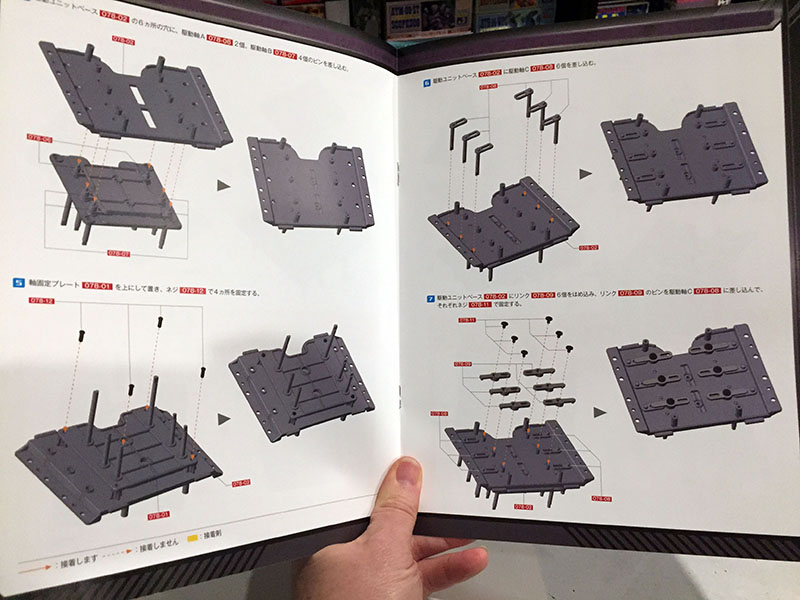
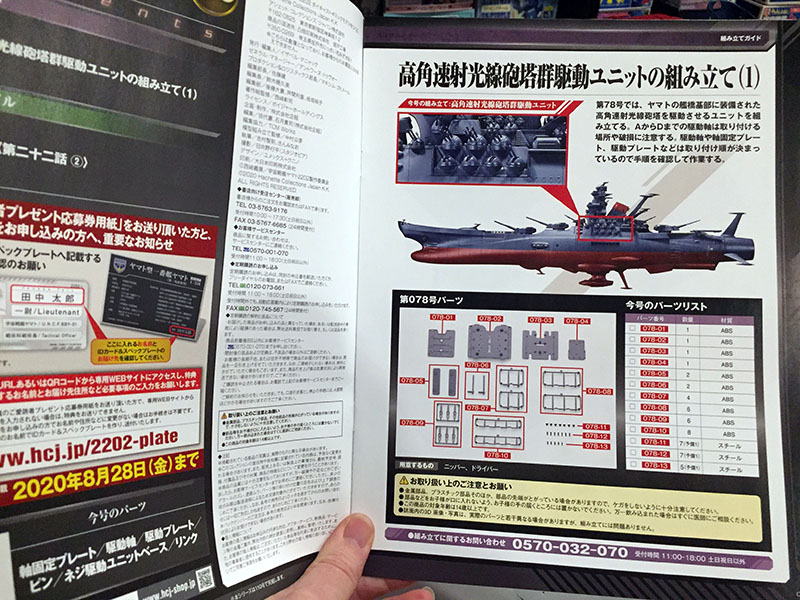
Lots of levers and rods and panels.
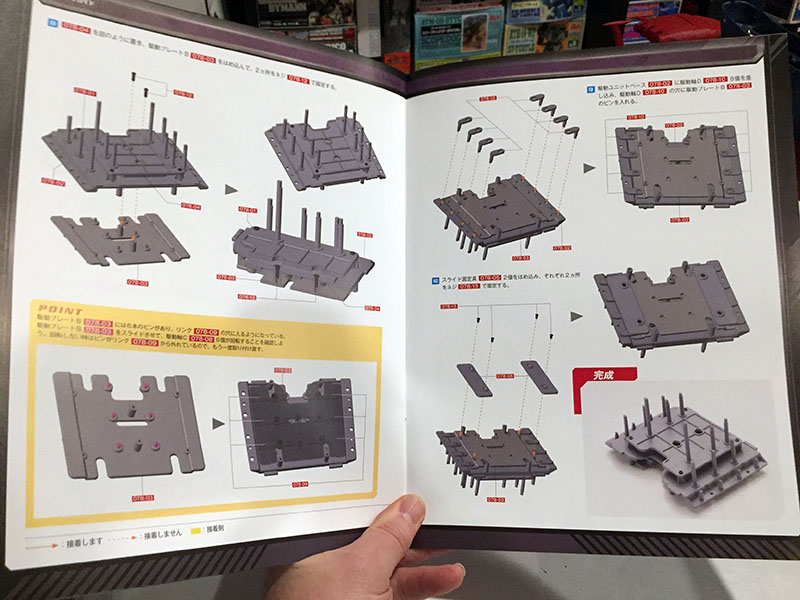
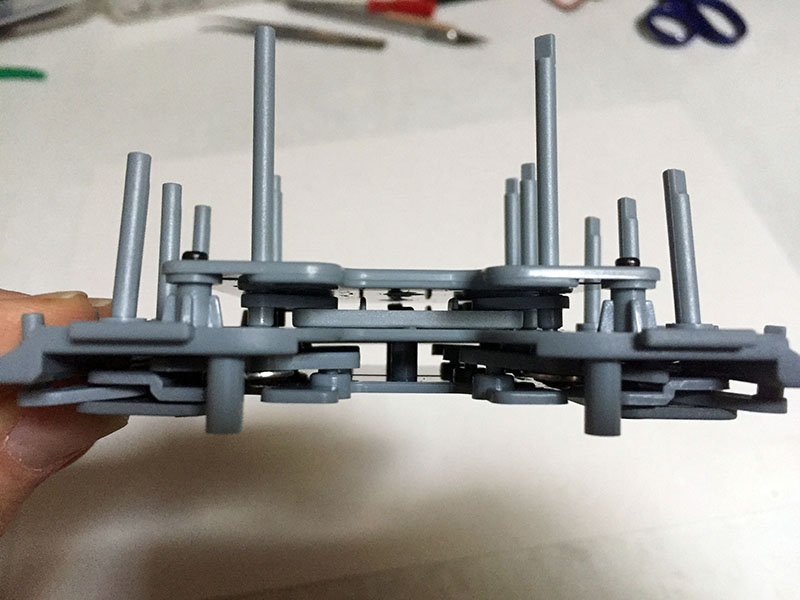
When it’s done, we’ll have a multi-layered carriage that will control the rotation of all the pulse laser turrets.
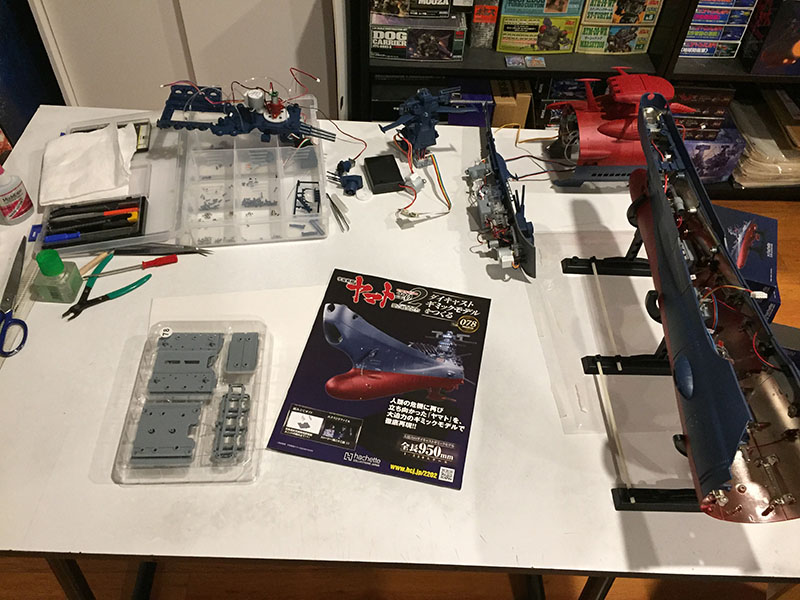
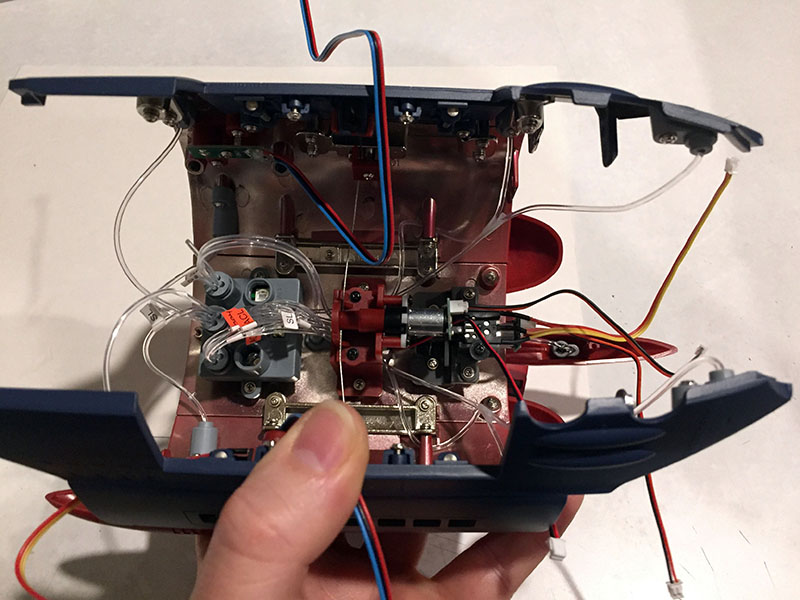
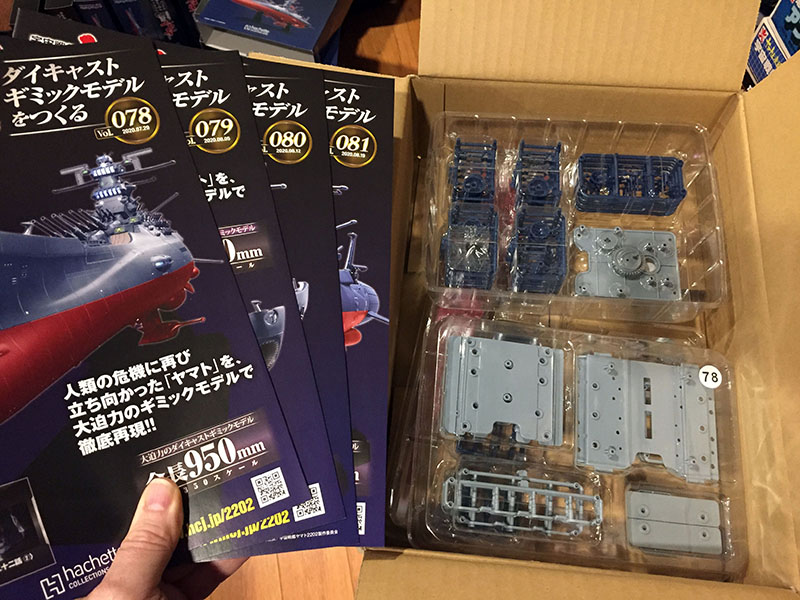
BTW, here’s what the whole workspace currently looks like. There are five large sections waiting their turns.
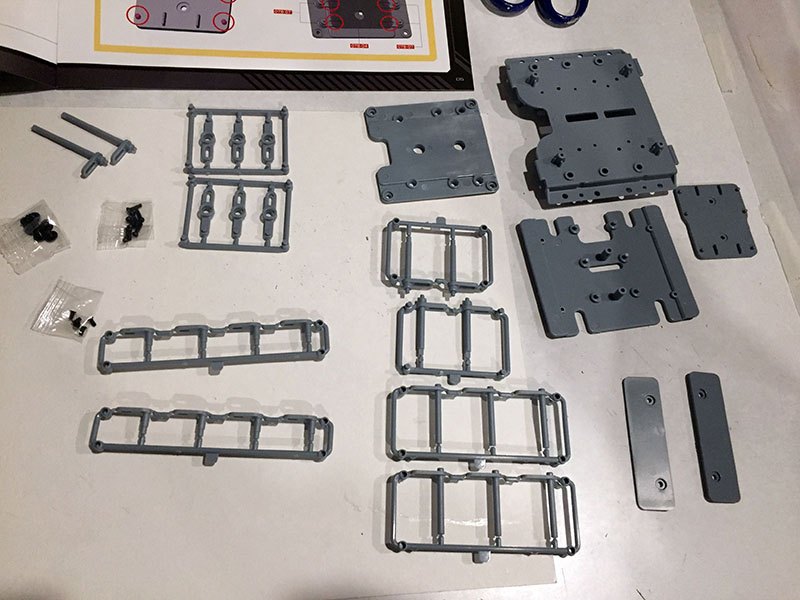
Here are all the parts for the carriage. Some have to be separated.
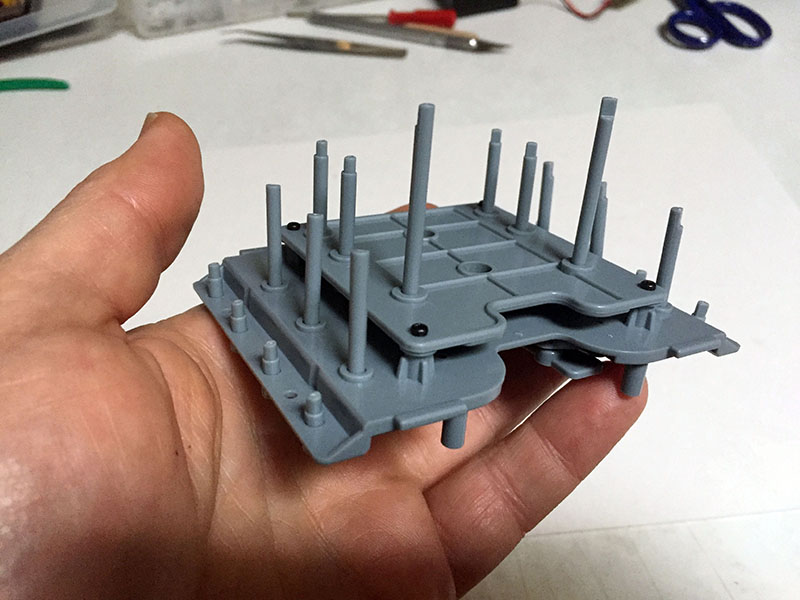
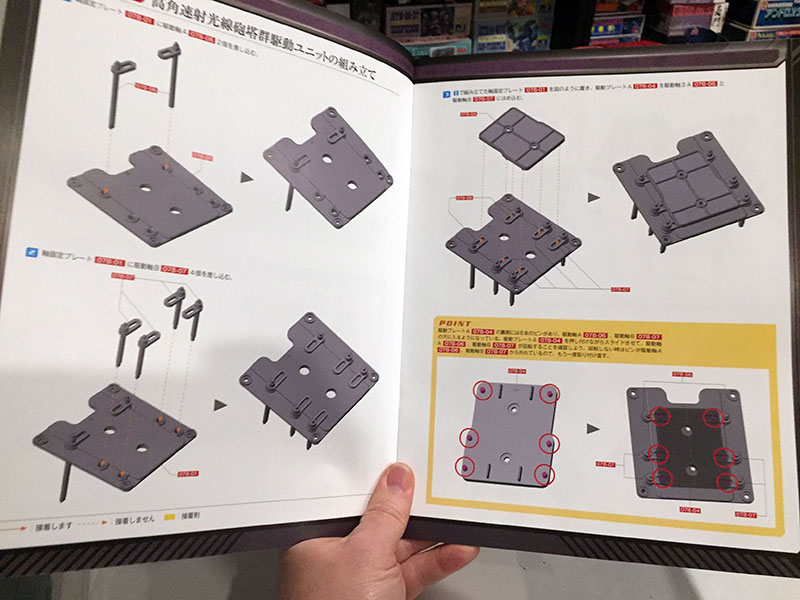
I wish I could say this was fun to put together. But that would be a lie. It was like a 3D puzzle, designed to drive you crazy. A whole bunch of moving parts all had to hold still while the layers went together, and holding still was the LAST thing they wanted to do. It took many, MANY tries to reach this point.
Another major obstacle was that screw problem again. The most important screws in this structure were all too long, and didn’t hold down the parts they were supposed to. If I didn’t solve this, those parts simply wouldn’t function and the whole carriage would be useless.
This was a case where the screws couldn’t be swapped out for smaller ones. There was a gap to be filled, and the only way to fill it was with washers I didn’t have. So I had to (1) get up, (2) leave my house, (3) go to the local hardware store, and (4) BUY HARDWARE. It cost me almost two dollars. All because some Hachette guy didn’t QC this before it went out the door.
Anyway, once the washers were in, everything went smoothly from there. But I really don’t want another volume like this one.
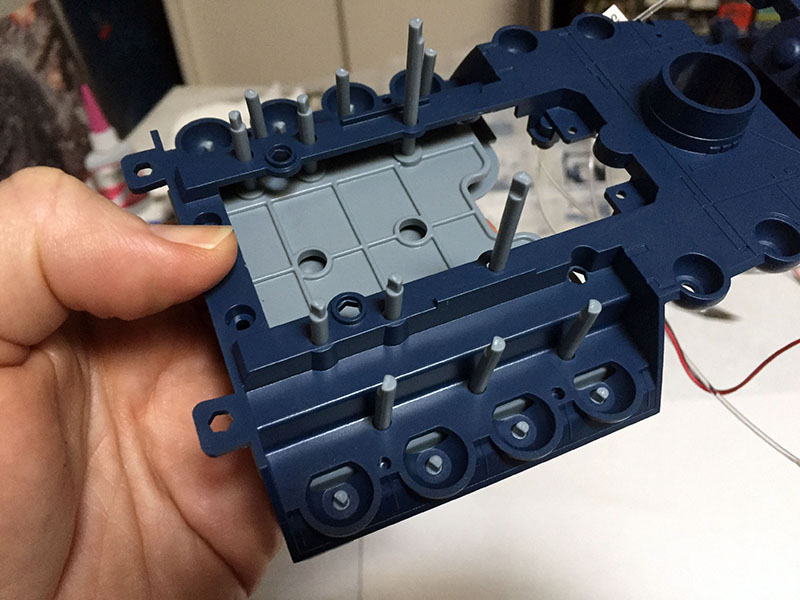
When I test fit the carriage into the middeck, you get an idea of how it’s going to work. A turret will be placed on each of those posts.
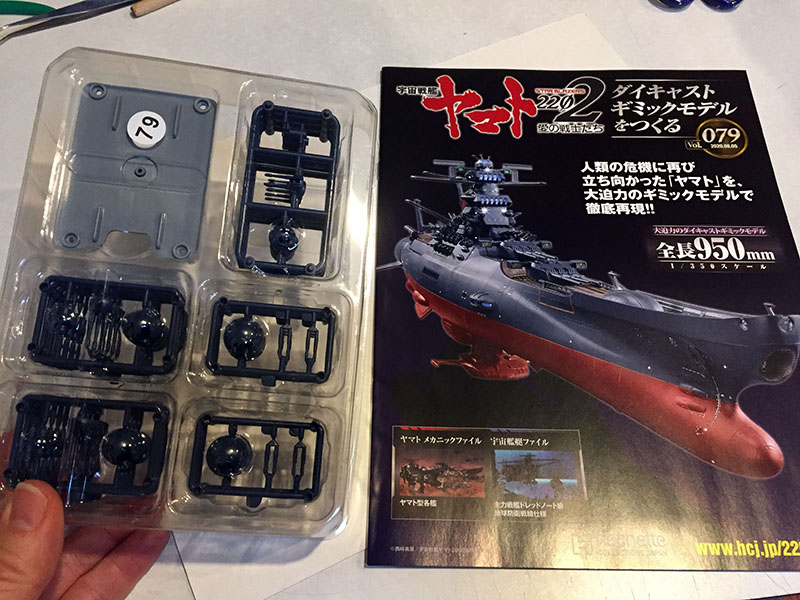
Here’s Volume 79.
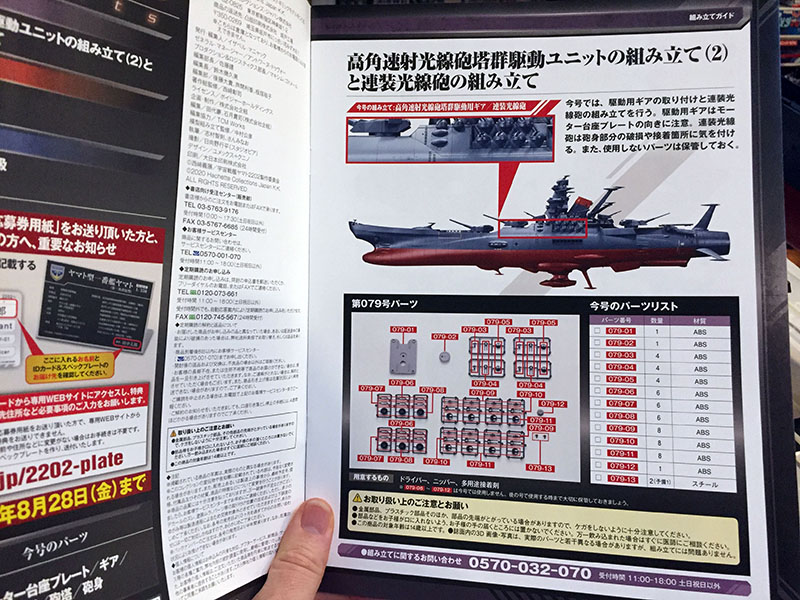
And here we are at the middeck.
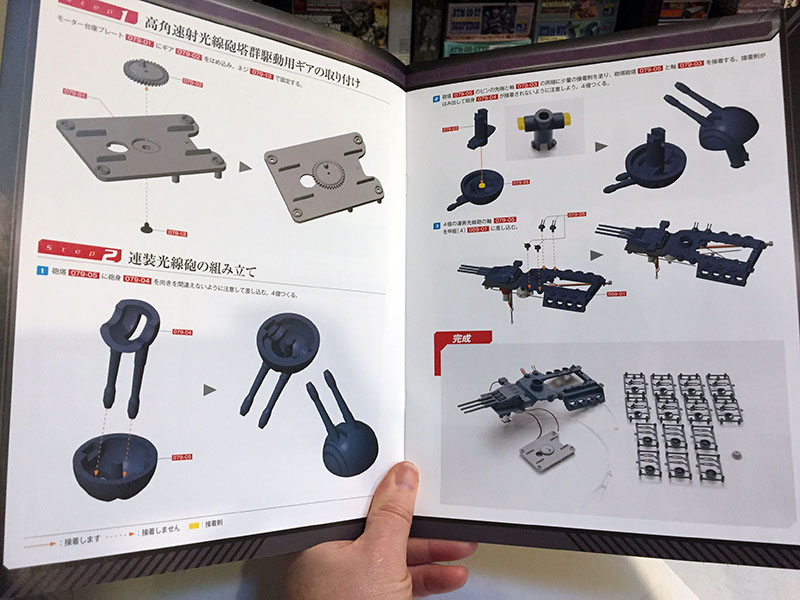
This time we’ve got some more parts for the carriage and we’ll put in the smallest guns.
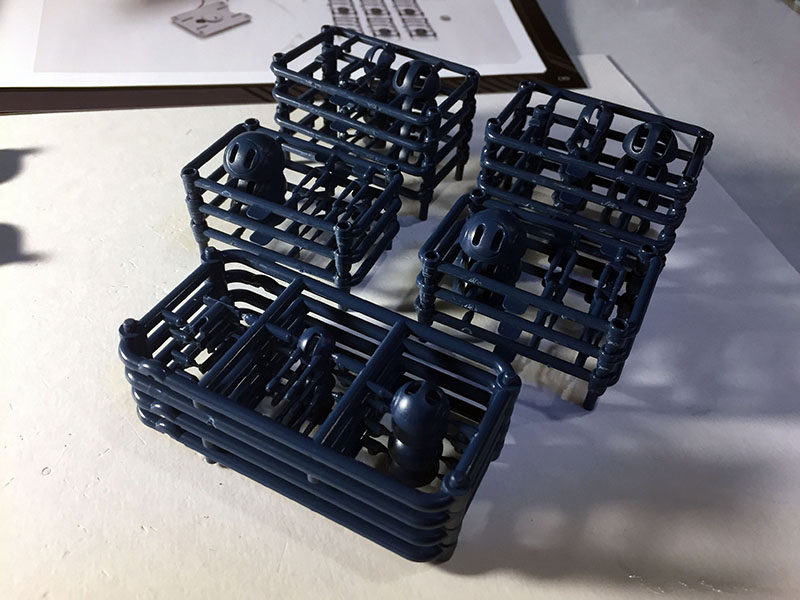
Here are a bunch of unassembled pulse laser turrets. We’ll only do the ones in front this time.
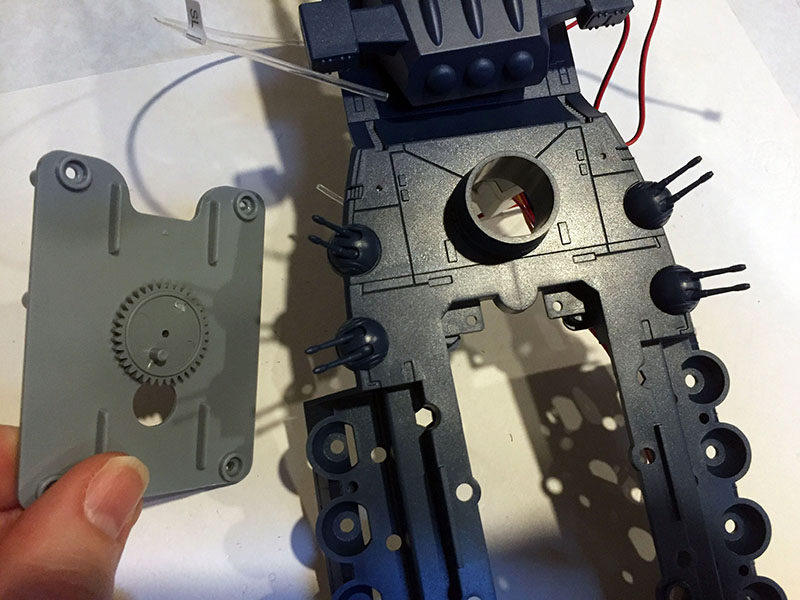
There they are in place, and the carriage part is ready to go.
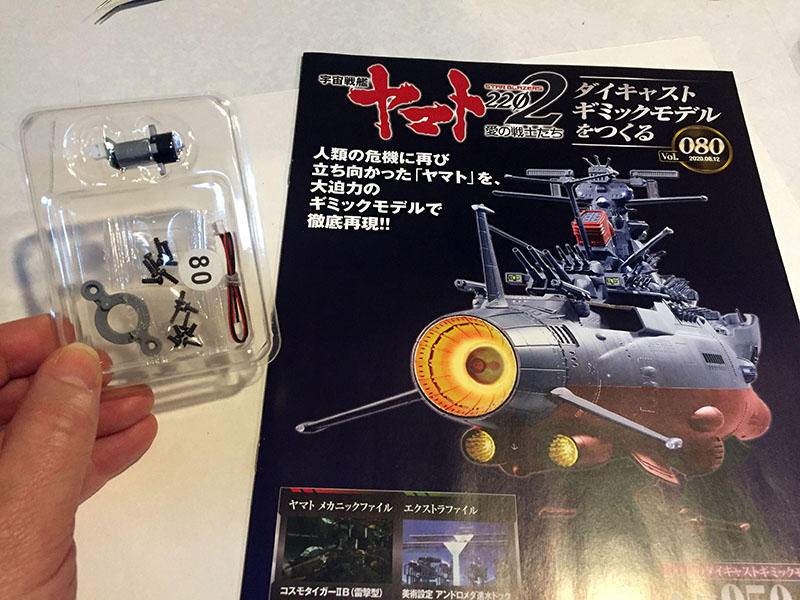
Volume 80 has another motor for us.
Still working on the middeck.
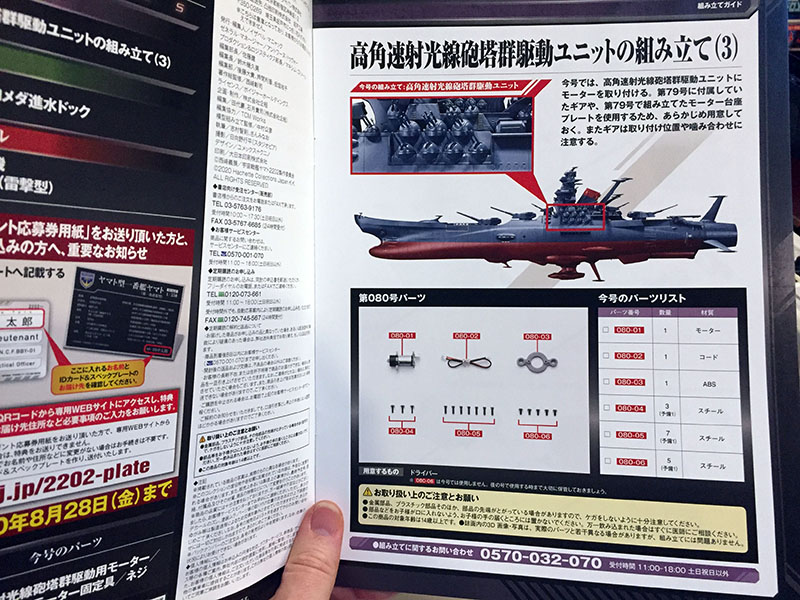
Looks like this is the motor that will drive the carriage.
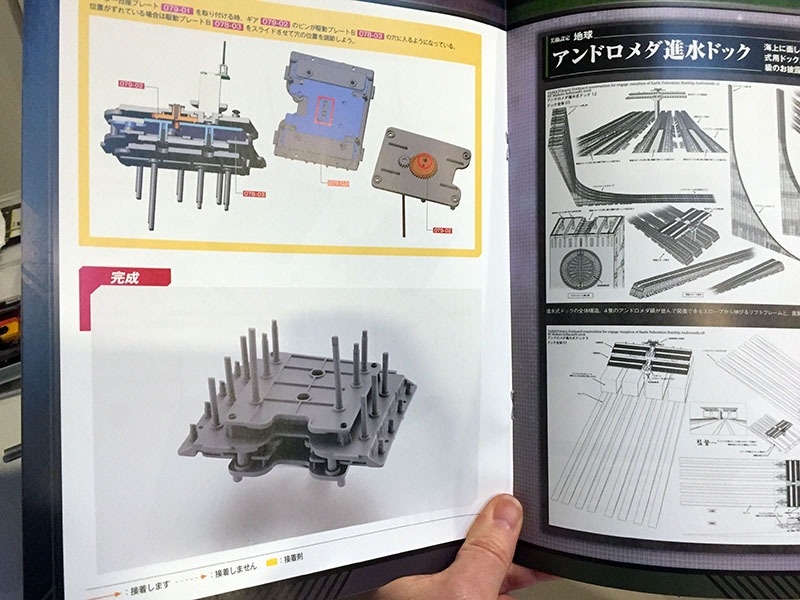
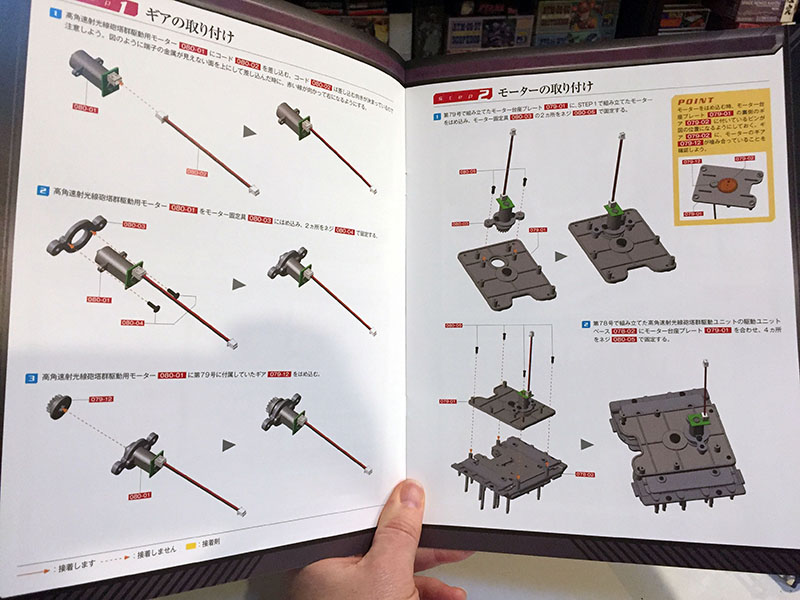
After that, we’ll add the remaining part, which includes a gear.
And there it is. This thing was loose and rattley before, but now that the motor and gear are installed, it’s as tight as a drum.