

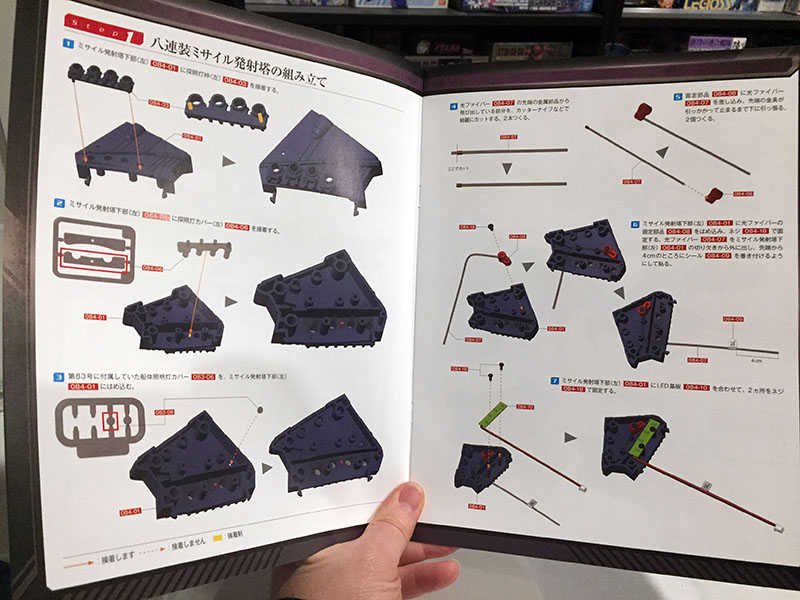
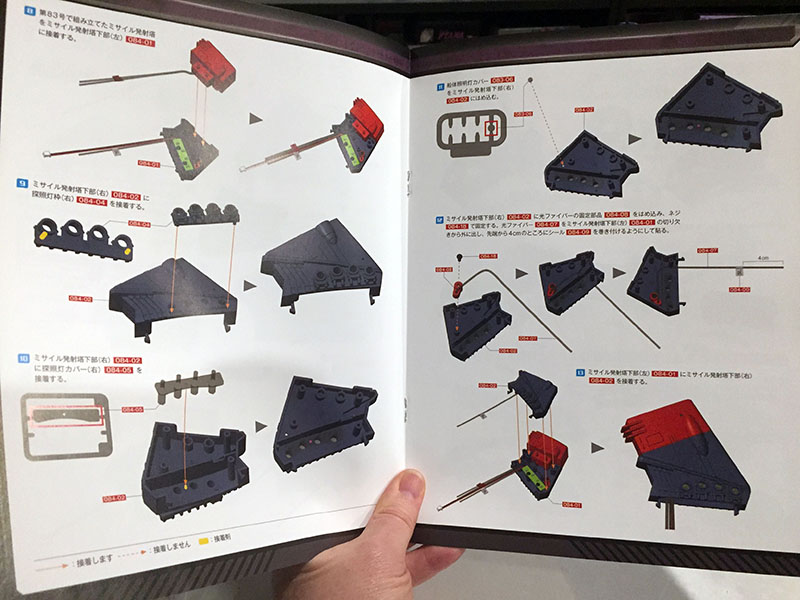
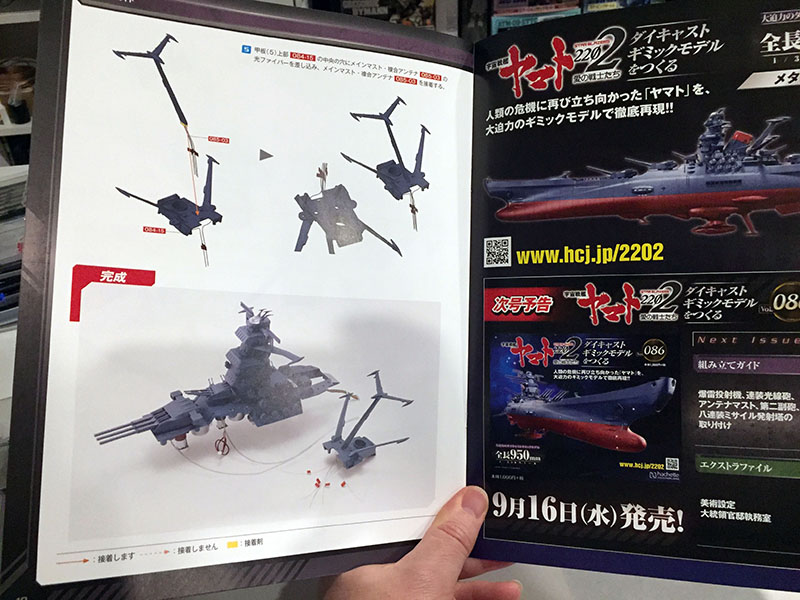
Volume 81. Who ordered wings?
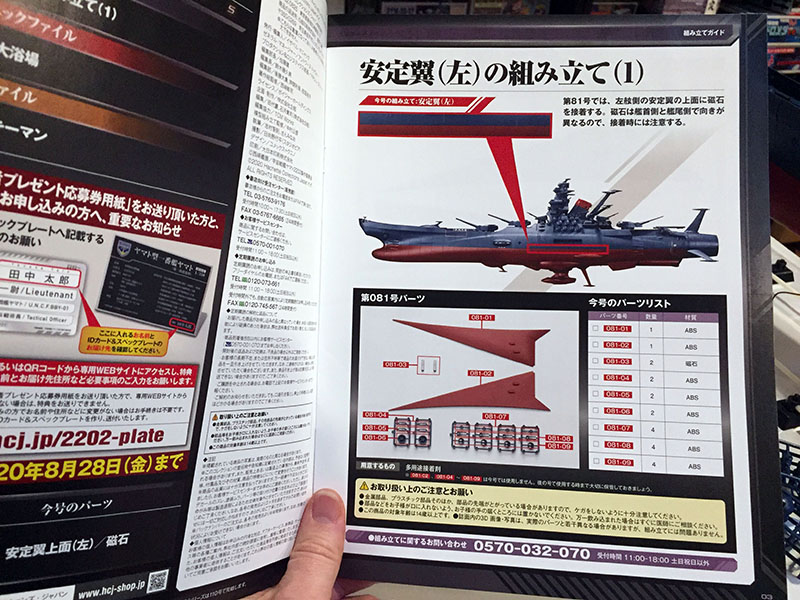
We’ll be working on the first of the wings this time. Oh, and we get some more pulse laser turrets.
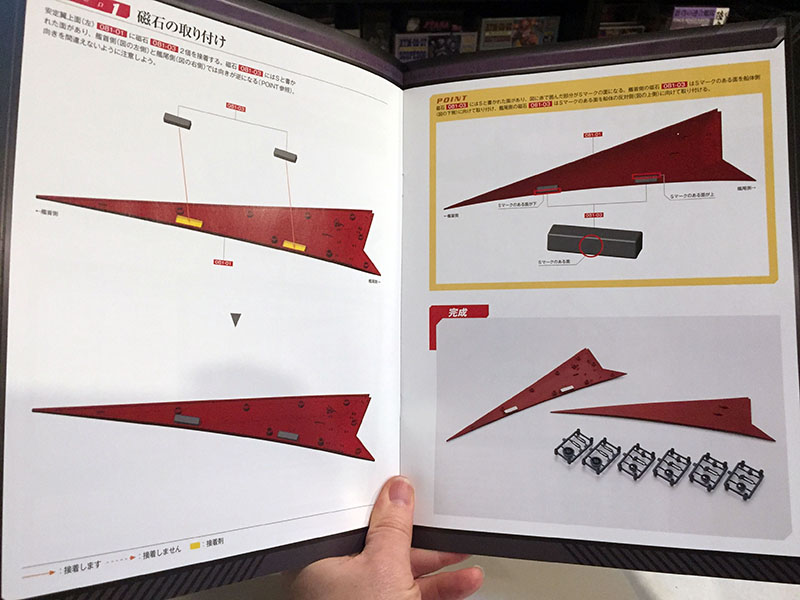
Not much actually happening in this volume. All we do is put a couple magnets in place.
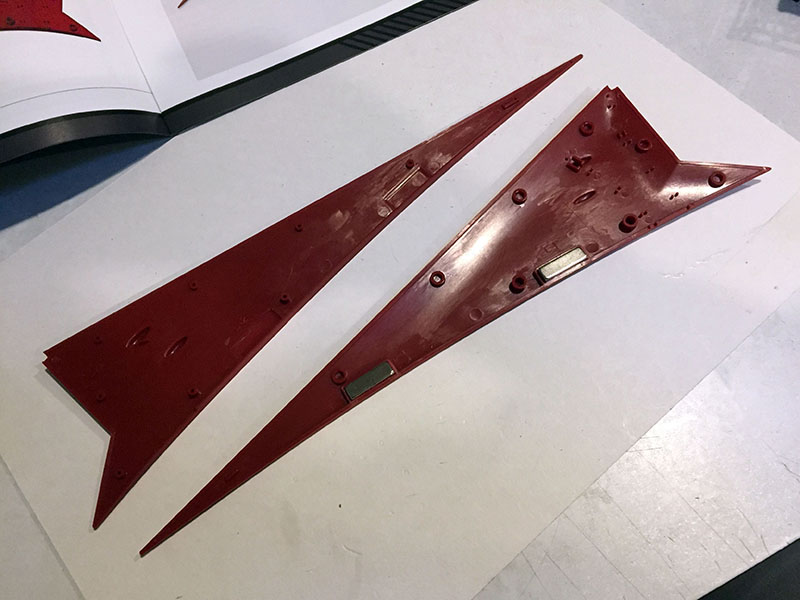
Yep, that’s it. Playing with the magnets took more time than putting them in their slots. The instructions called for glue, but it’s not even necessary.
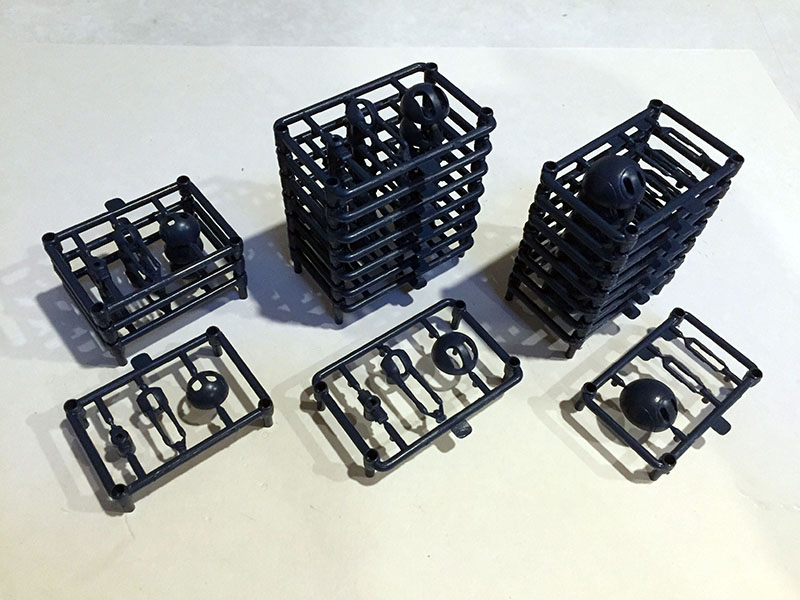
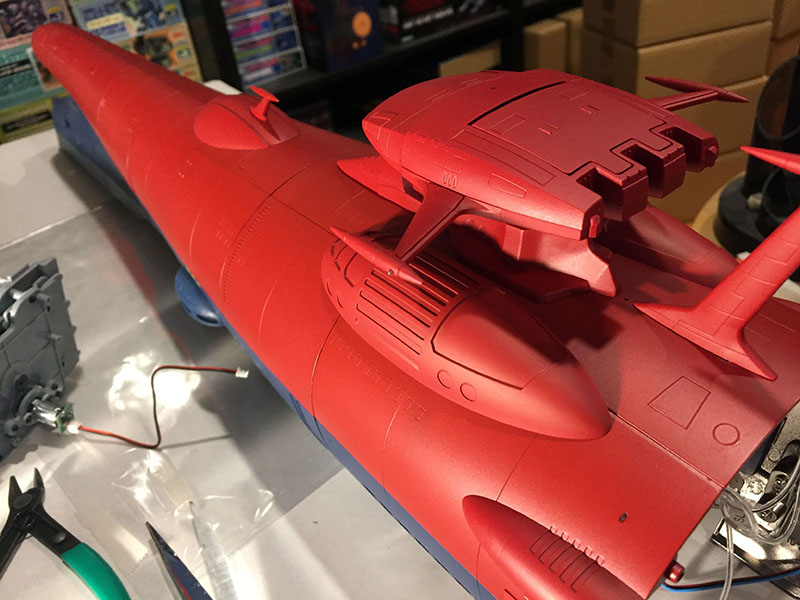
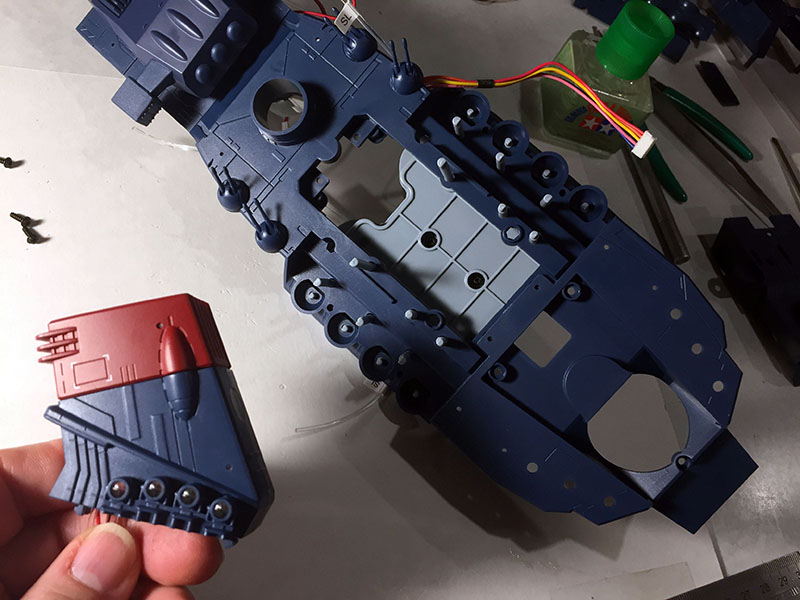
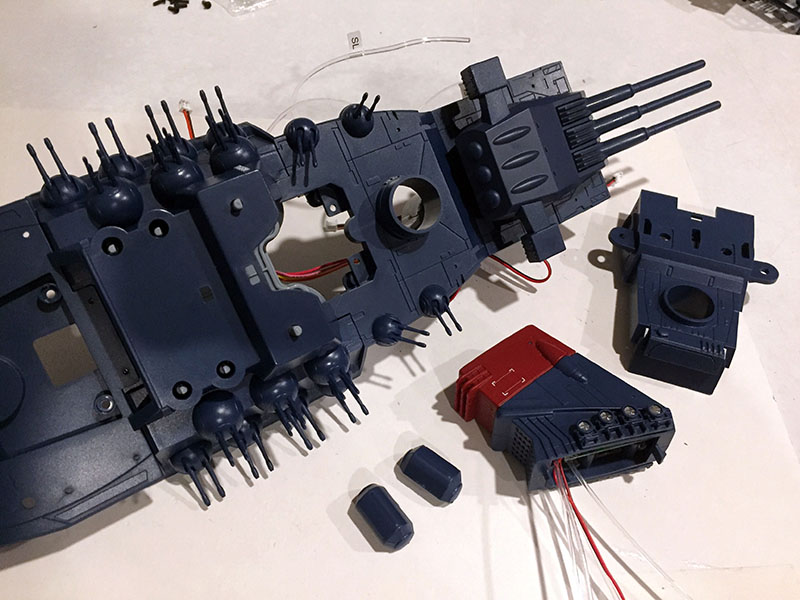
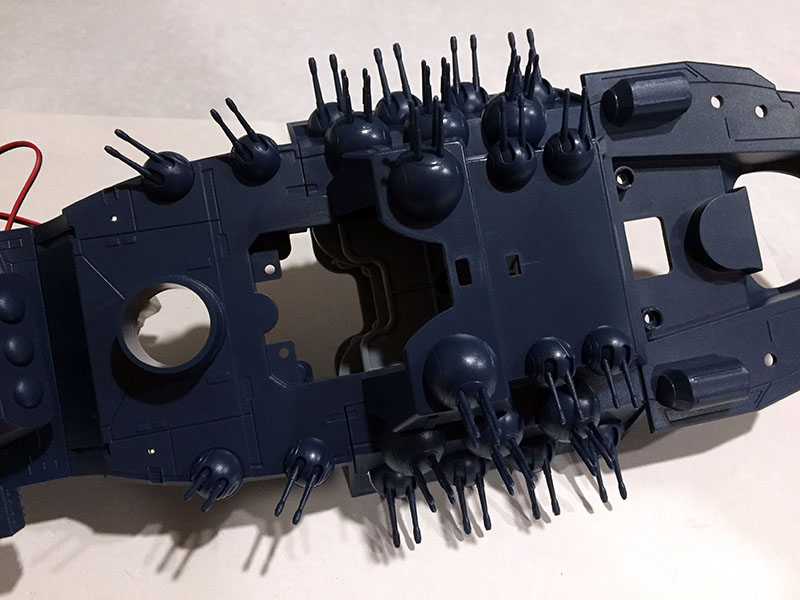
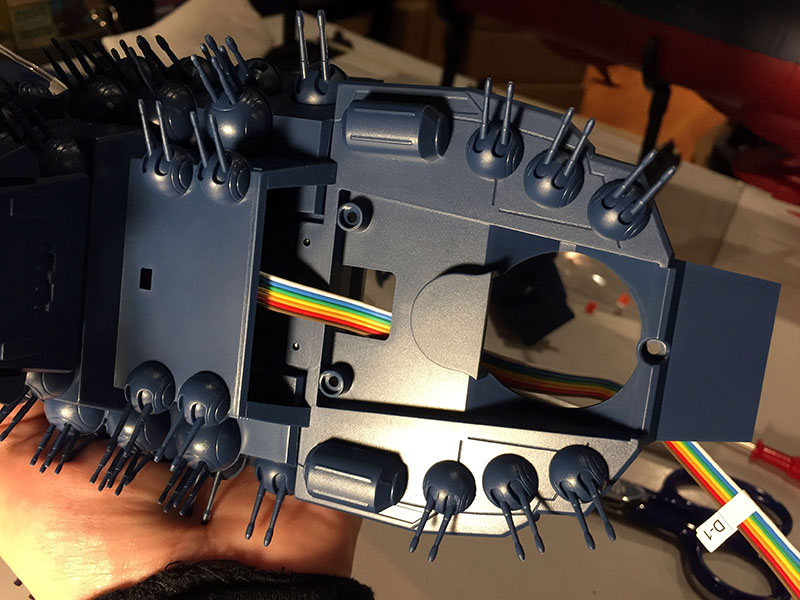
And now here are ALL the turret parts we’ve been given so far. (And there will still be more.)
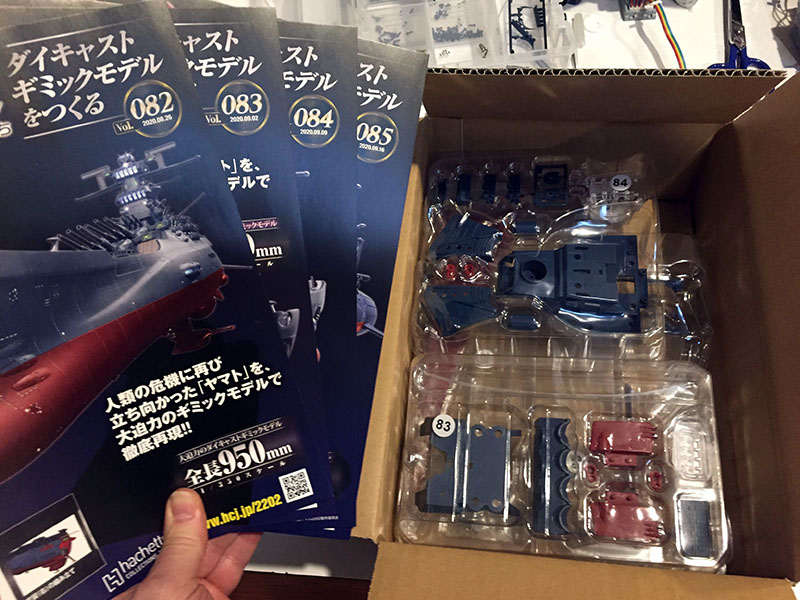
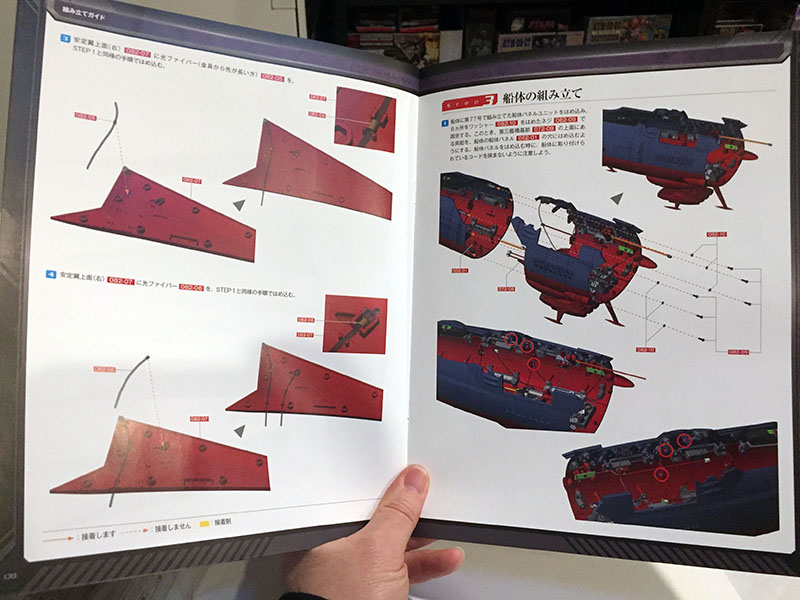
Next box! Some big blue parts in there.
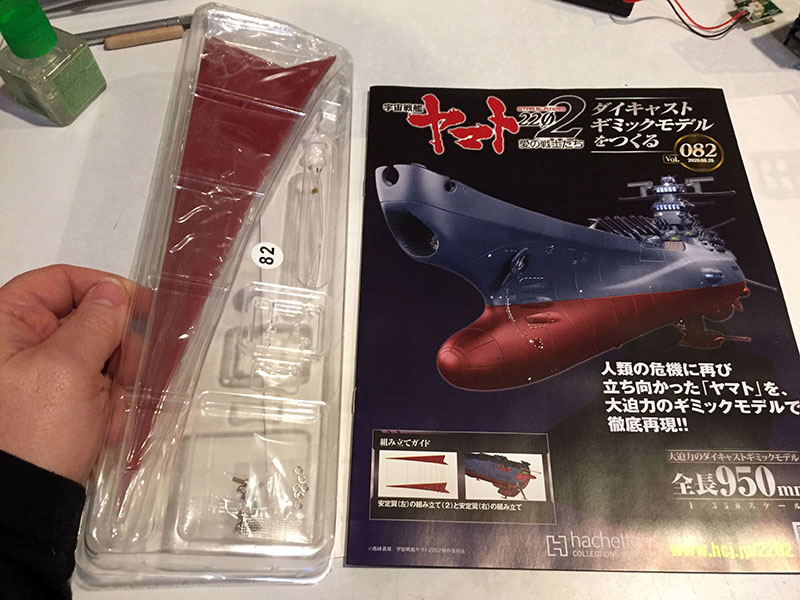
Volume 82 gives us the other wing.

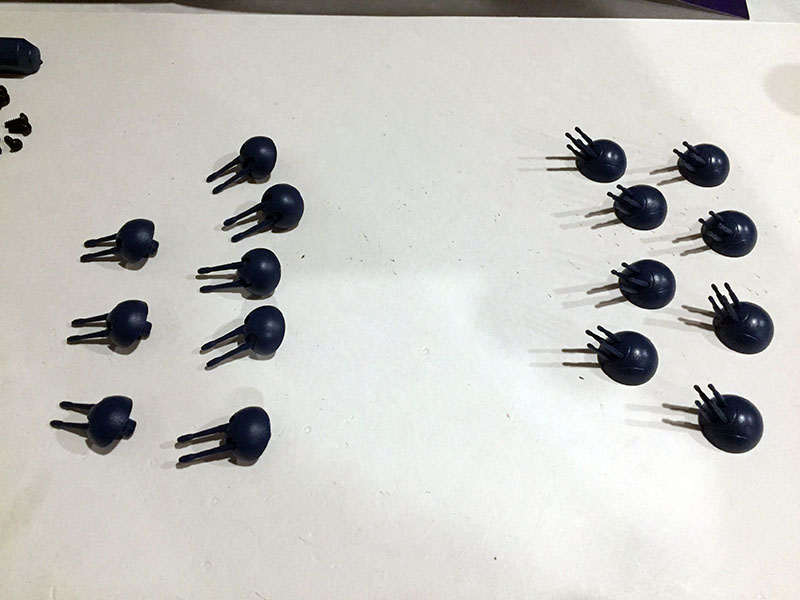
Plus some fibers. Because even the wings will have lights.
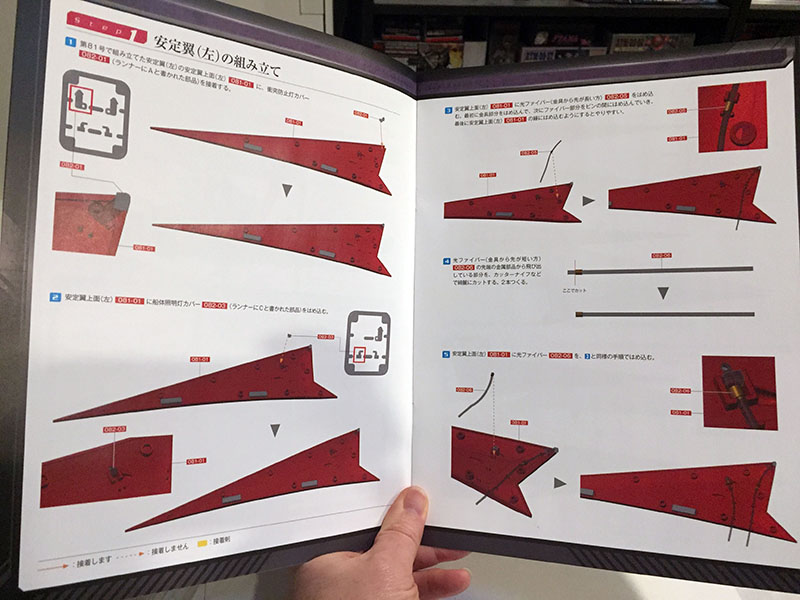
Now we’re getting some action. We’ll go back to the first wing and install its lighting.
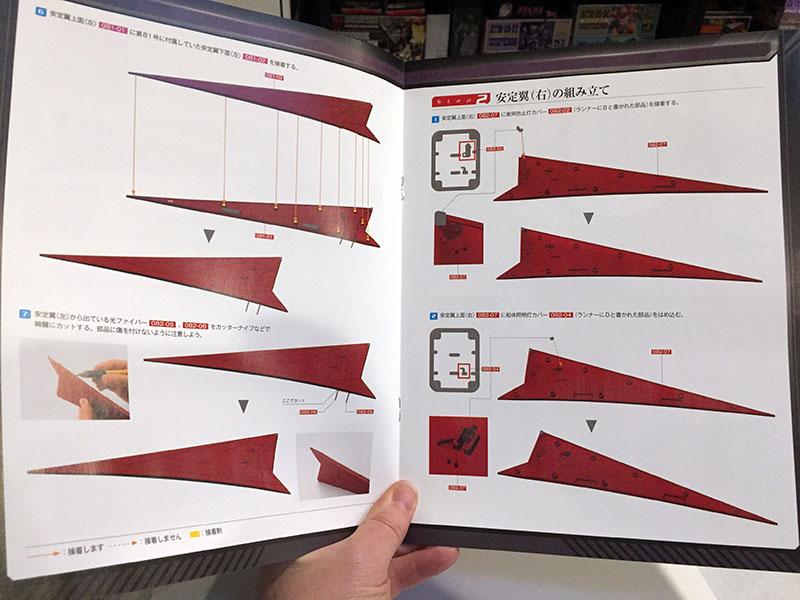
Once we glue the two halves together, we’ll start on the second wing.
We won’t finish the second wing yet, but we’ll install its lights, too. Then we’ll add the entire midsection to the existing hull.

This is gonna be a big step.
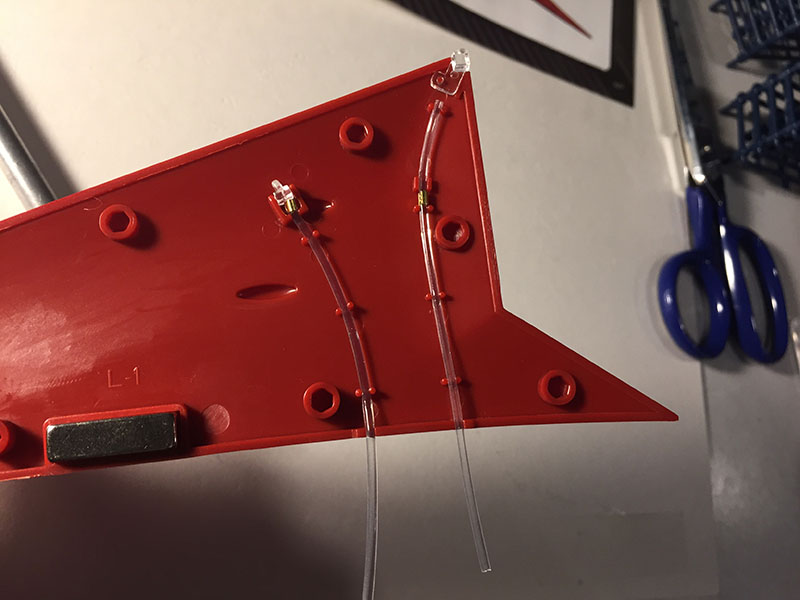
Lights installed in the first wing, and it went REALLY well. Those fibers obey like their lives depend on it.
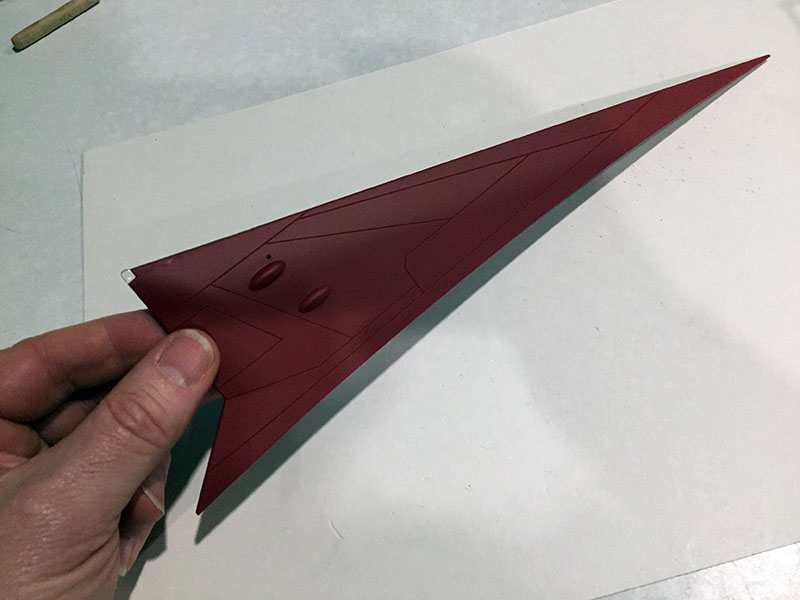
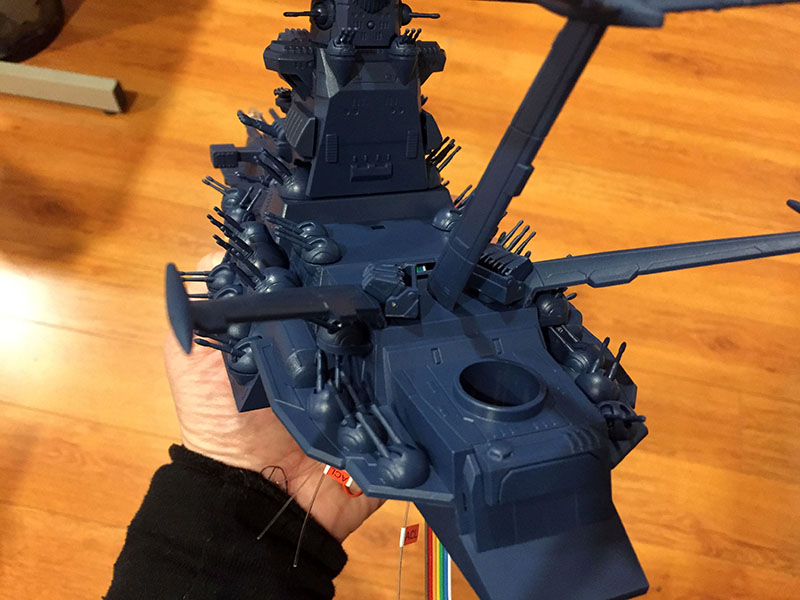
And there’s a whole wing put together. Usually these are an afterthought in other kits, just a single piece with no construction. I’m impressed by how solid and sturdy this is.

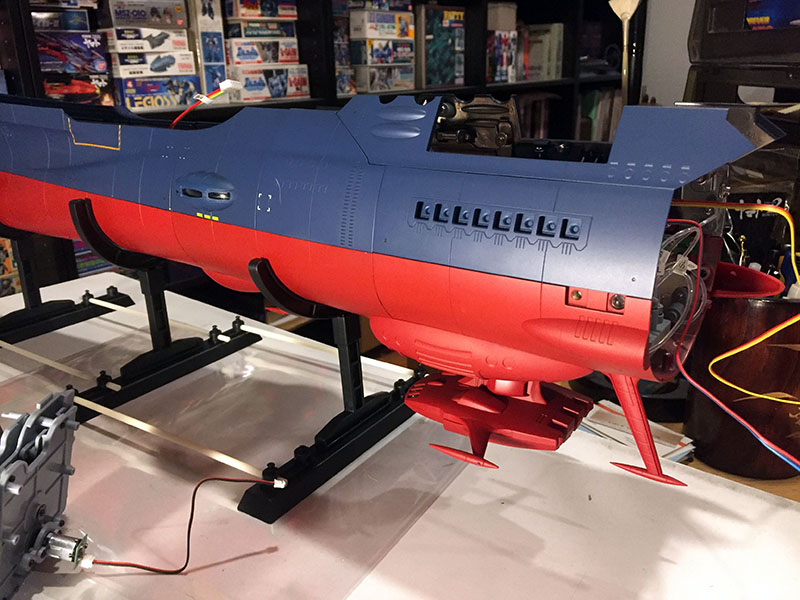
And there’s our new hull extension. It was tricky getting it on because of the angle. At first I tried wedging the hull between my knees and bolting it on from above, but every time a screw went for a pop-fly (it happened a LOT) I had to put it back down, recover, and remount for another try.
Finally I gave that up and tried to do it horizontally, which had other challenges. I figured out the best method on the LAST SCREW. It took six to get it on and they’re holding steady.
Flipped it over to reattach that small fin ahead of the third bridge, which popped off during the struggle.
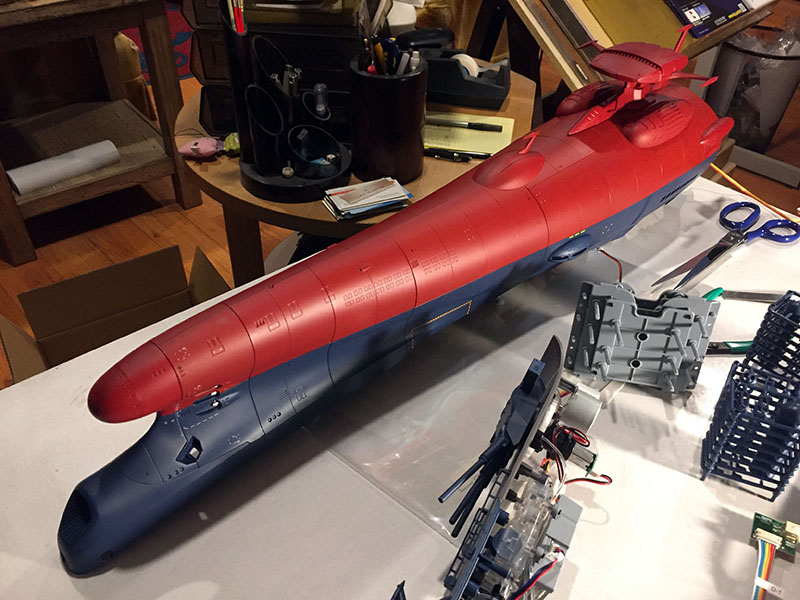
Pretty cool angle. I can see how they were inspired to turn it into a submarine in the Pluto episode of 2199.
Not wild about those hull gaps, but it seems like I’ll just have to live with it.
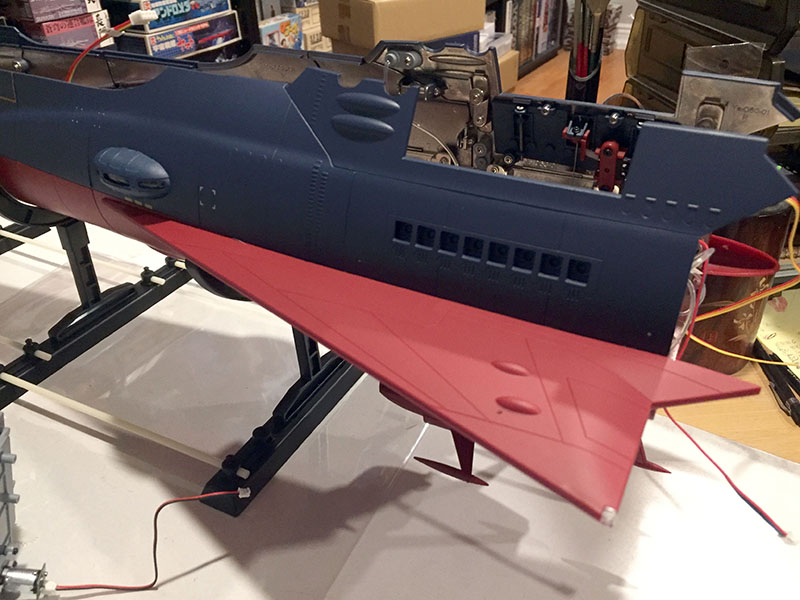
I put the finished wing on just for kicks, and those magnets do a GREAT job of holding it in place. No danger of droppage.
Incidentally, the hull is now 26 inches long and 5 inches wide at its maximum, and it weights 5.5 pounds. Lifting it feels like holding a rifle.
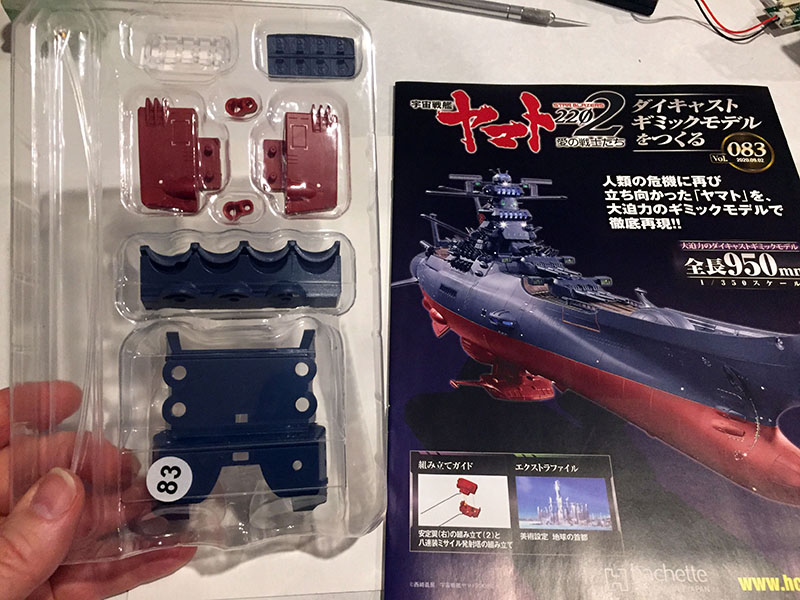
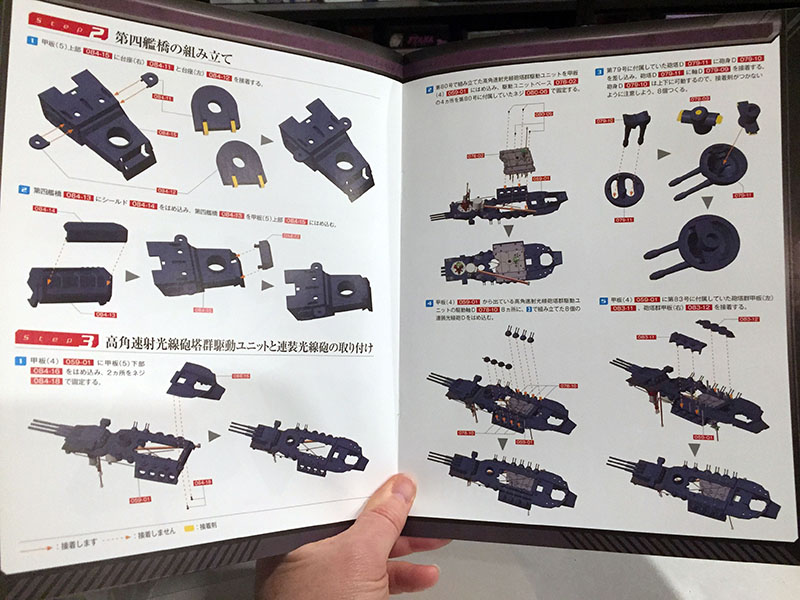
Volume 83 moves us back to the upper deck.
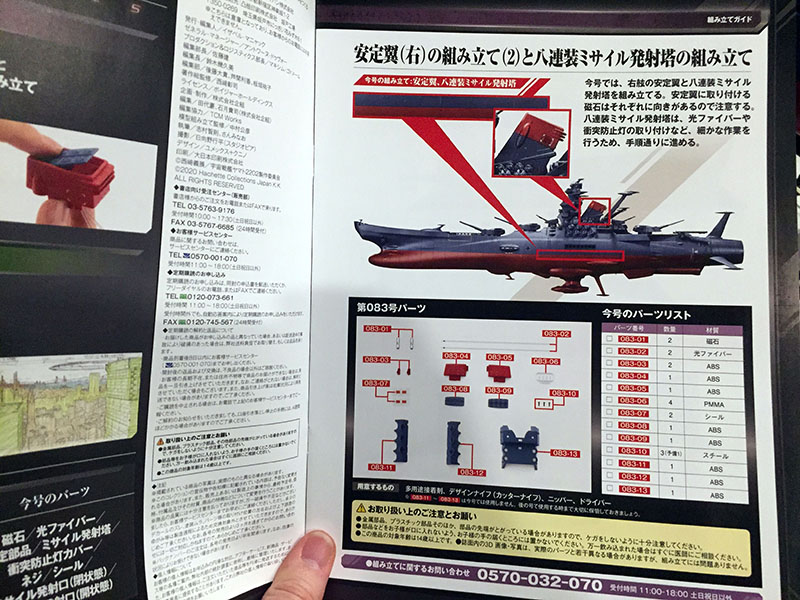
But we still have some wing work to do also.
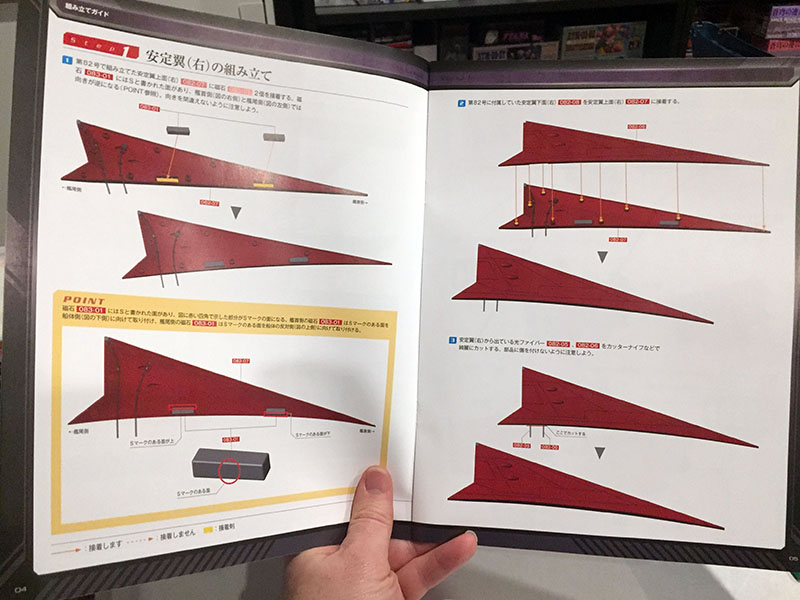
Instructions have us installing magnets in the second wing and sealing it up.
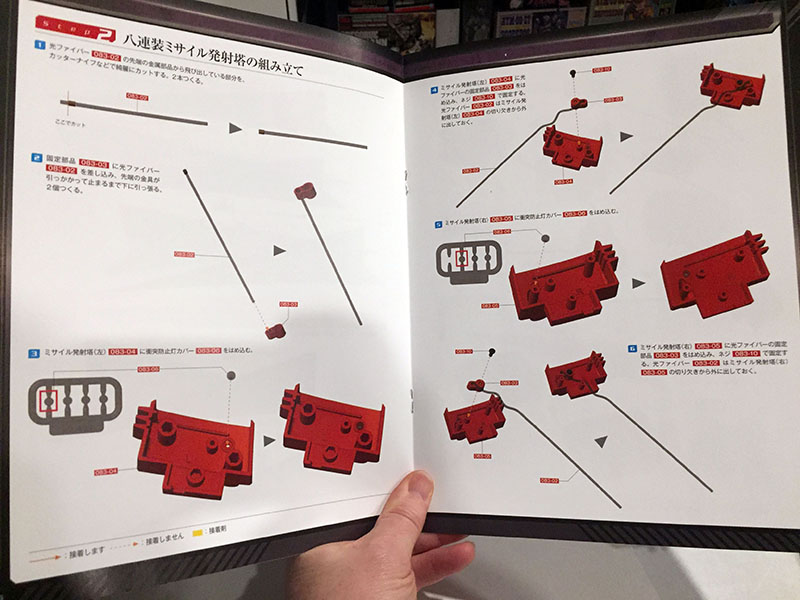
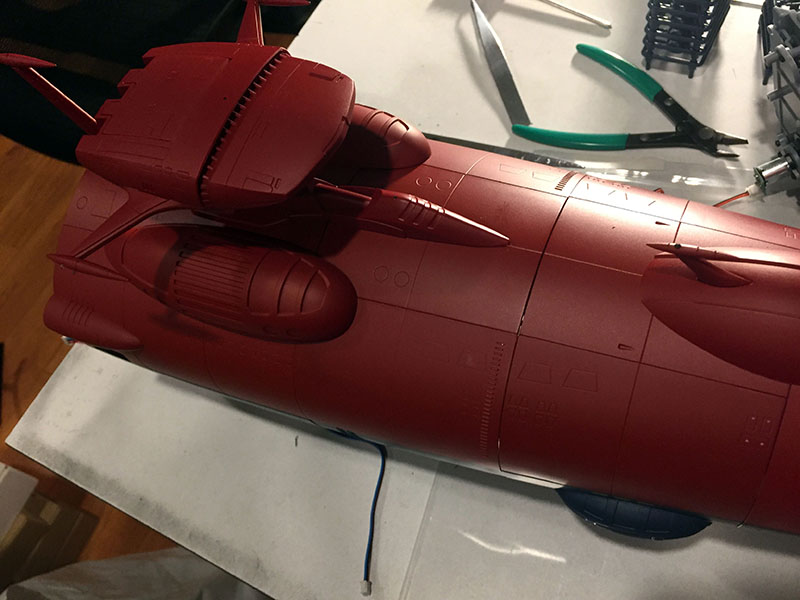
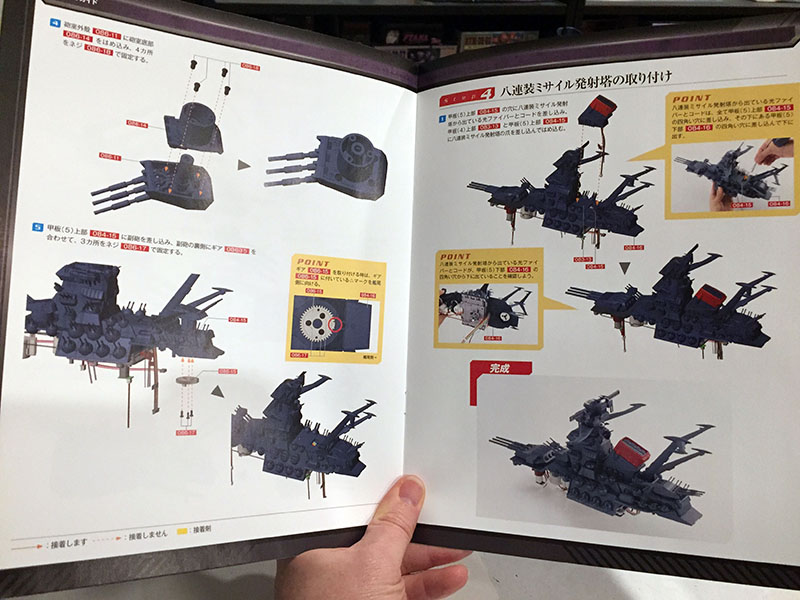
Then we start on the top of the “smokestack launcher.”
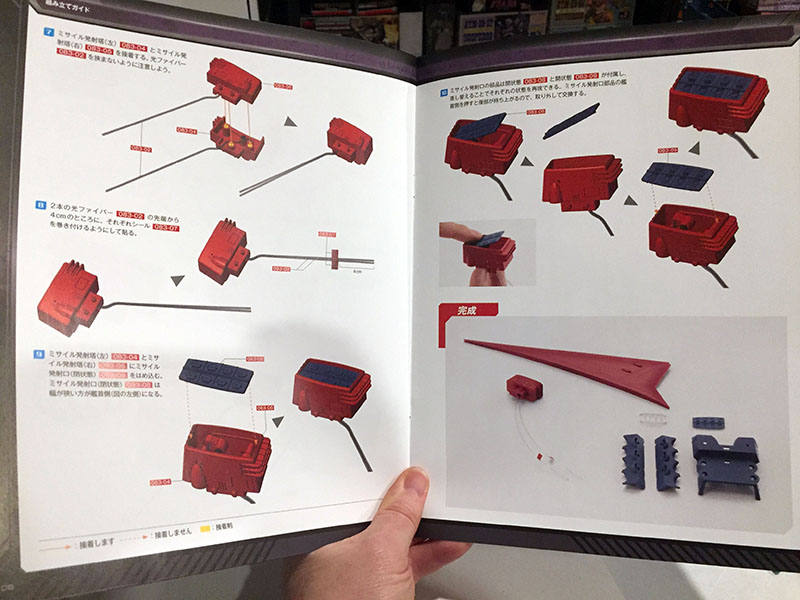
All this just for that one module. It has optional panels for the top showing launch tubes open or closed. It would have been cool to make them open and close, but they’re too intricate to do it accurately.
Done with Volume 83. Both wings are in the can.
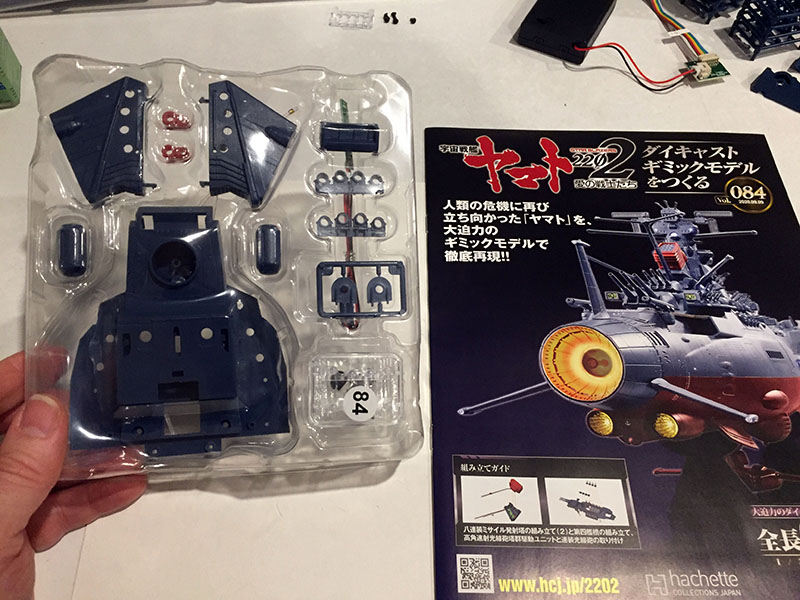
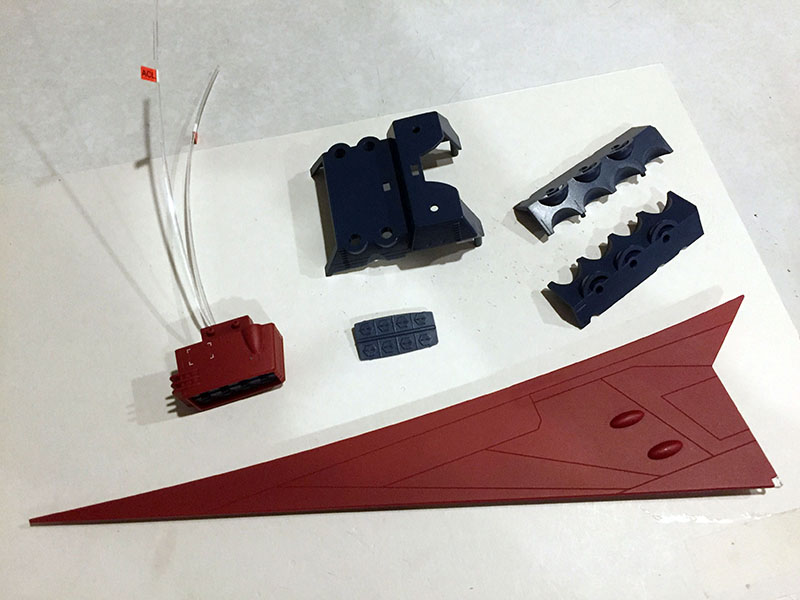
Chunky blue parts in Volume 84.
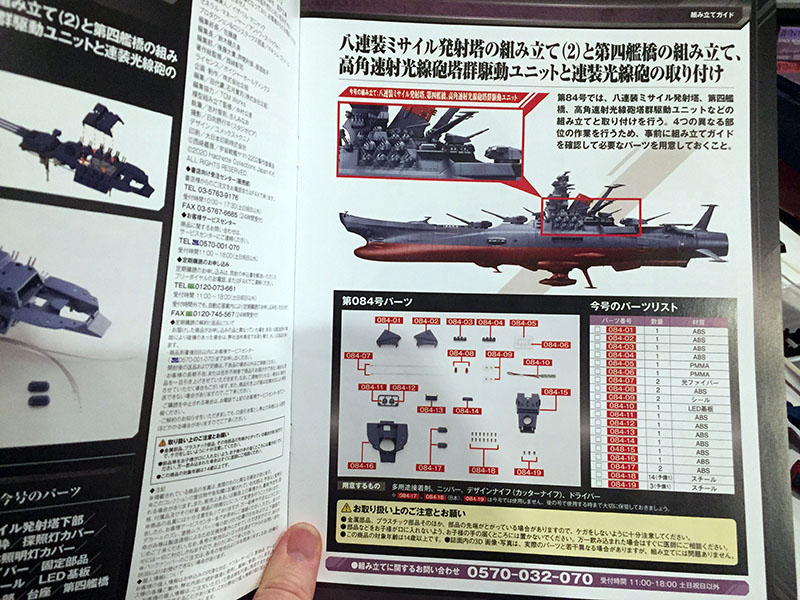
Now we’re firmly in the upper deck, the densest part of the ship.
First step, the lower part of the smokestack.
At the end of this step, it will all be in one piece.
Second step, add an extension to the gun deck, put the carriage in place, and add the first round of pulse laser turrets.
Then we’ll do the same with the second round of turrets and add another chunk of deck.
Smokestack done, carriage installed.
Pulse laser turrets, both rounds ready to go. (This was pretty time-consuming.)
And finished with Volume 84.
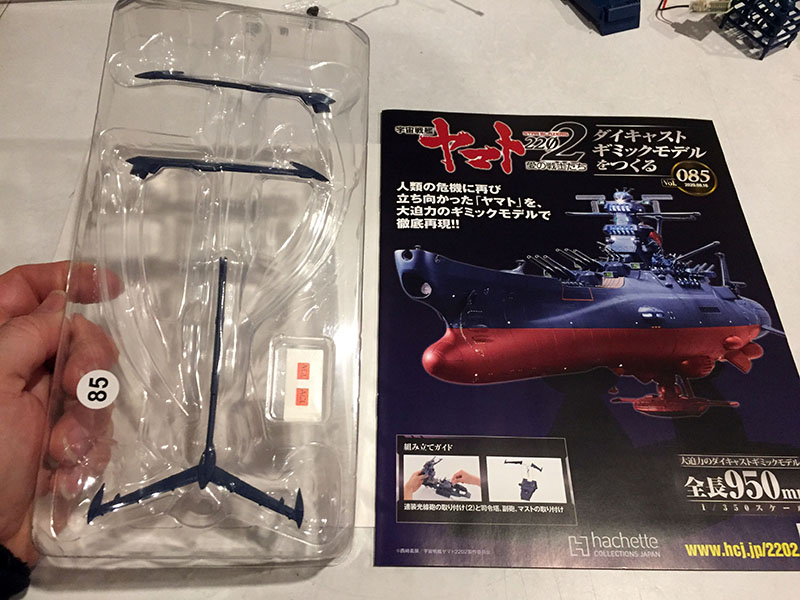
On to Volume 85. It hits me that there are now only 25 more after this one. We’re past the 75% point.
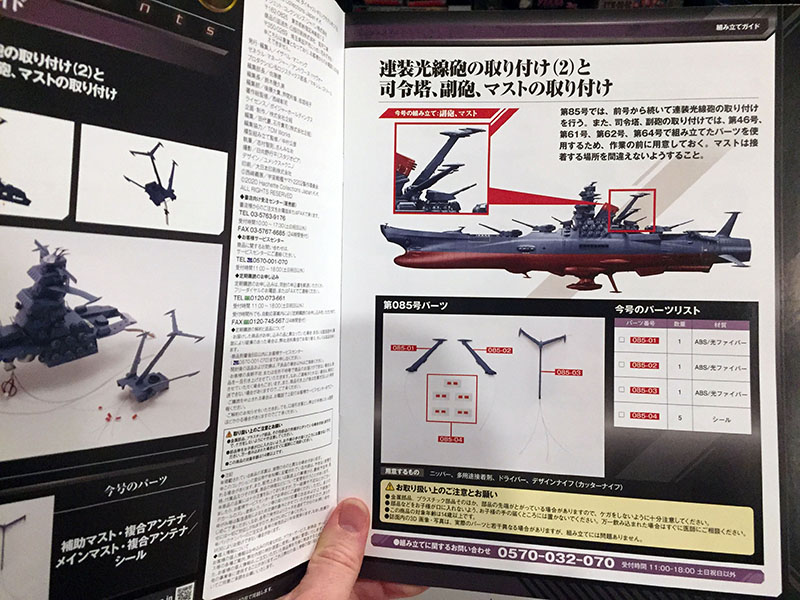
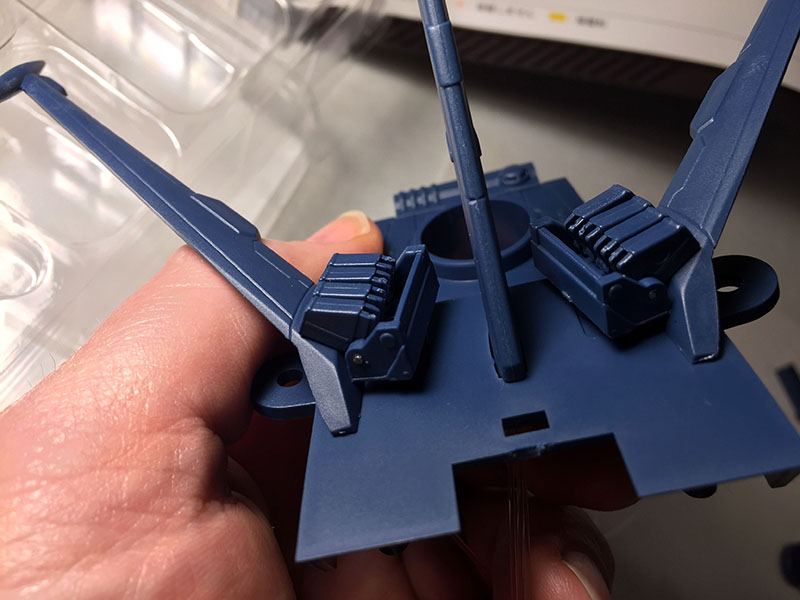
We’ll assemble the big fins behind the smokestack.
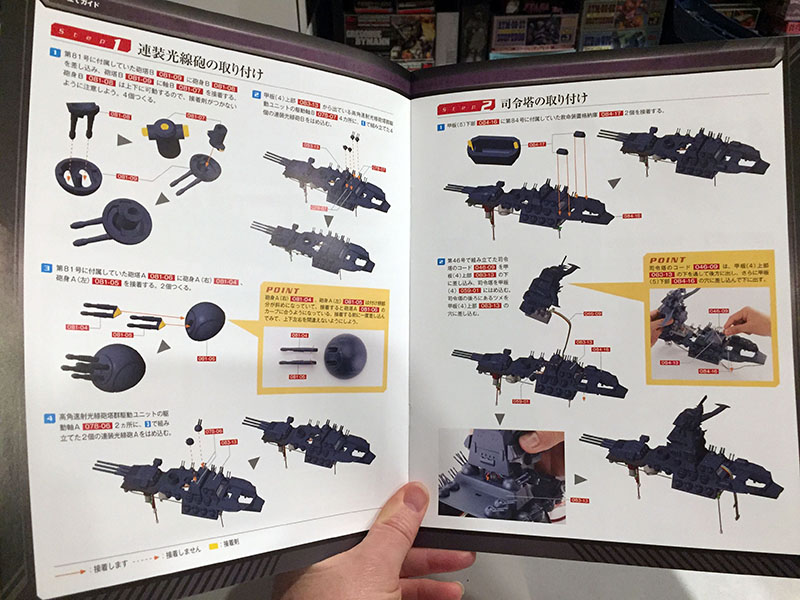
But first, MORE TURRETS. And then we’ll actually put the bridge tower in place! That thing has been patiently waiting for a long time.
Then we’ll put in the first secondary gun turret and its motors. We haven’t even gotten to the fins yet.
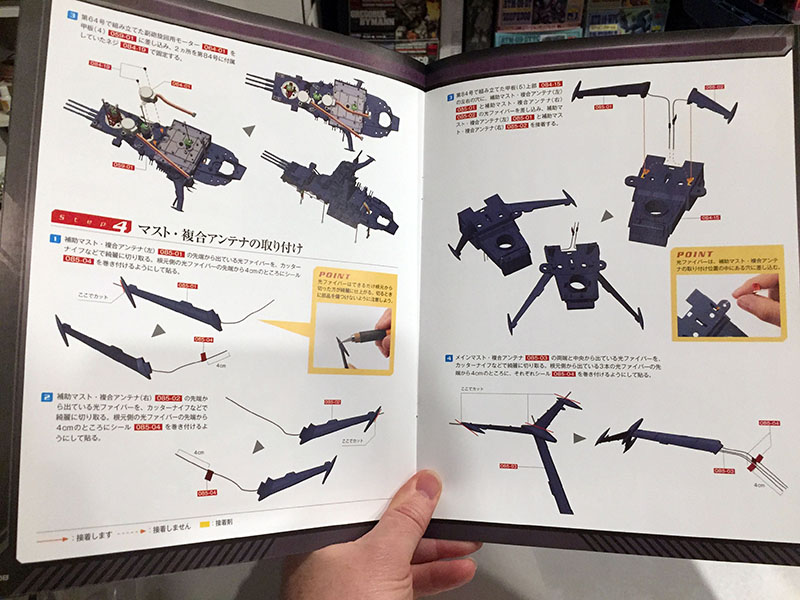
Okay, here are the fins. And they bring a nice surprise…
They have their own lights, but they’ve been preassembled! No labor to install them!
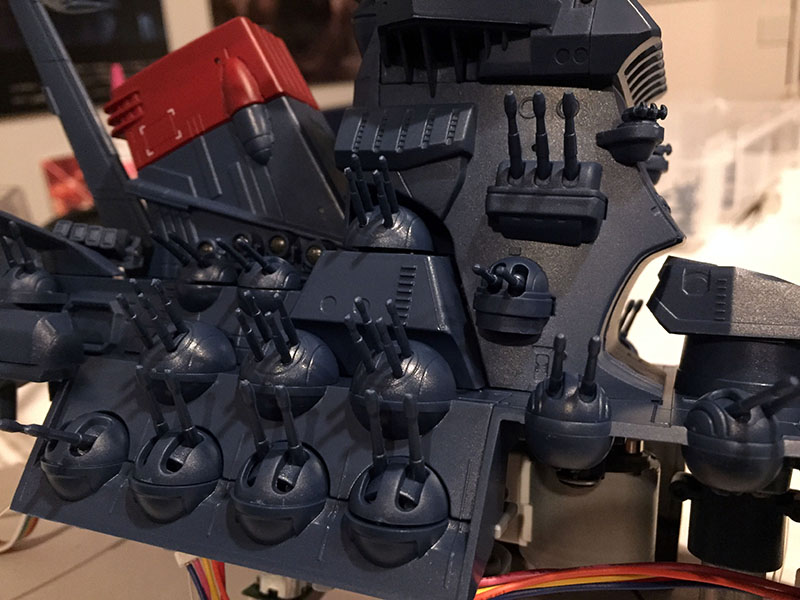
Okay, all the pulse laser turrets are finally in.
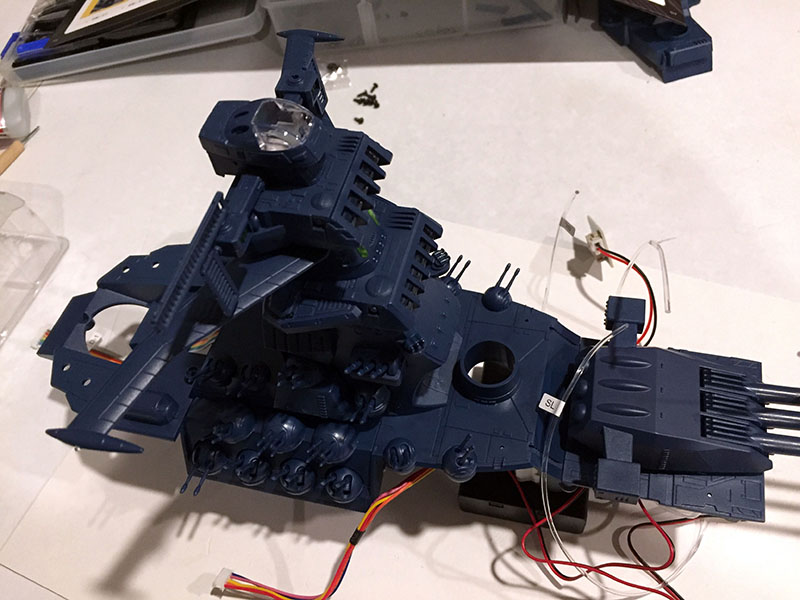
And there’s the tower. My fears about collision with the LED bus were groundless. It won’t impede anything.

Look at that handsome boy. Still waiting before I put the little fins on top. That was the smartest decision I made in this entire build. I will continue to thank myself for the next several volumes.
Oh, and yes, that IS an original watercolor in the background drawn by Tomonori Kogawa that says “For TIM.” Thanks for noticing!
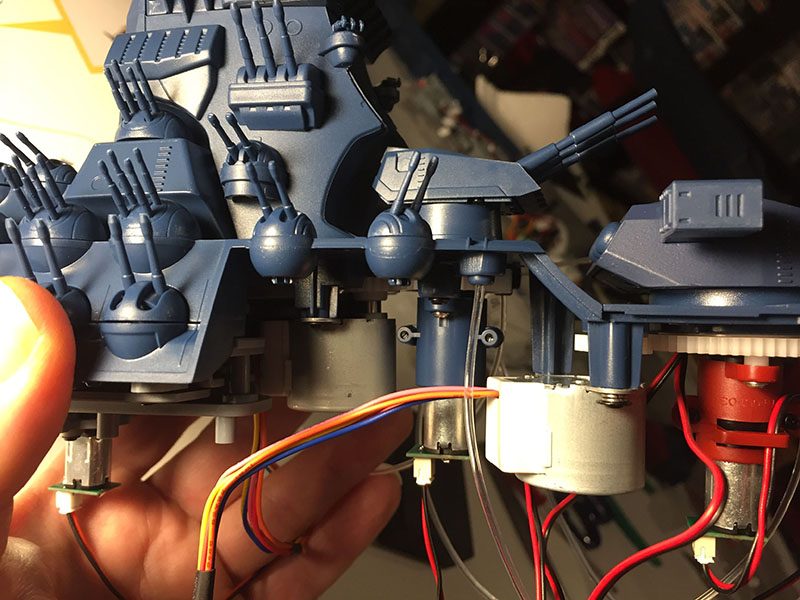
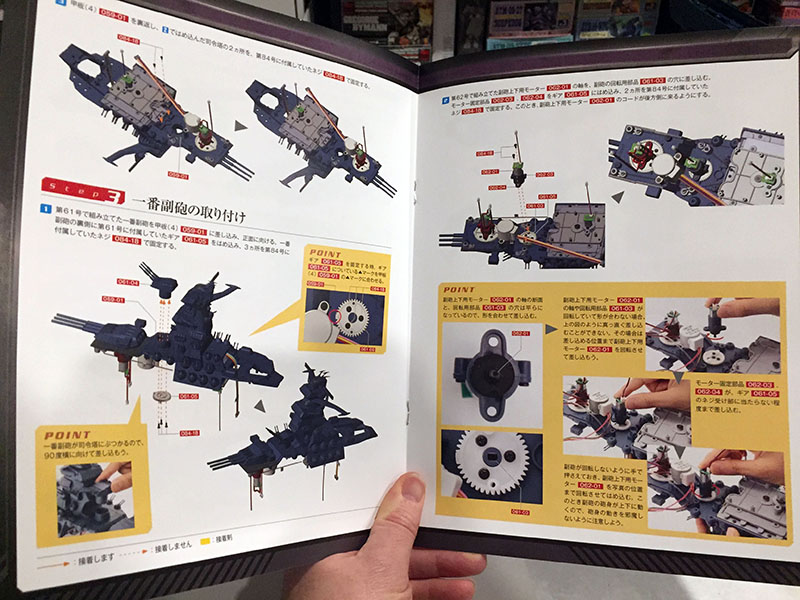
Secondary turret and motors in place.
The motors for the second main gun are on the left, new ones on the right. Two motors per turret.
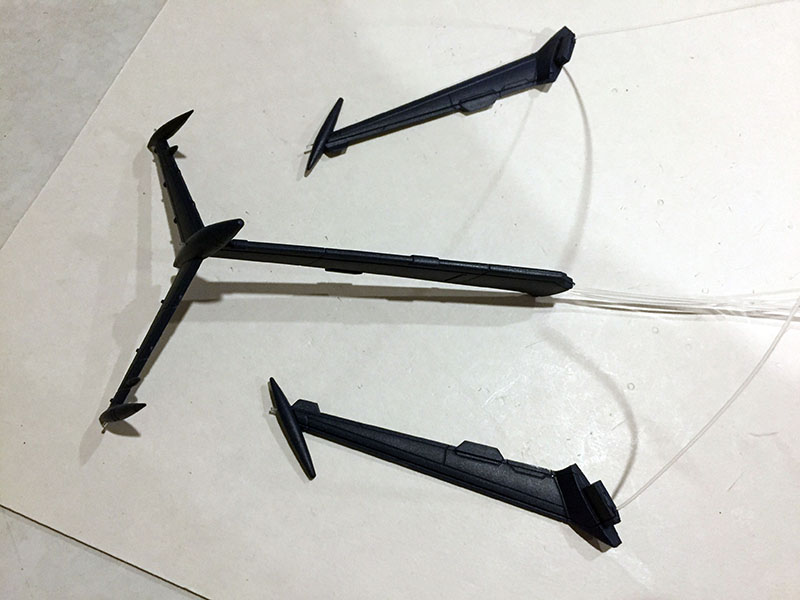
And now for the fins. This is what they look like right out of the box. The fibers are much thinner than usual. That may have had something to do with Hachette’s decision to install them before shipping. Either way, I’m grateful.
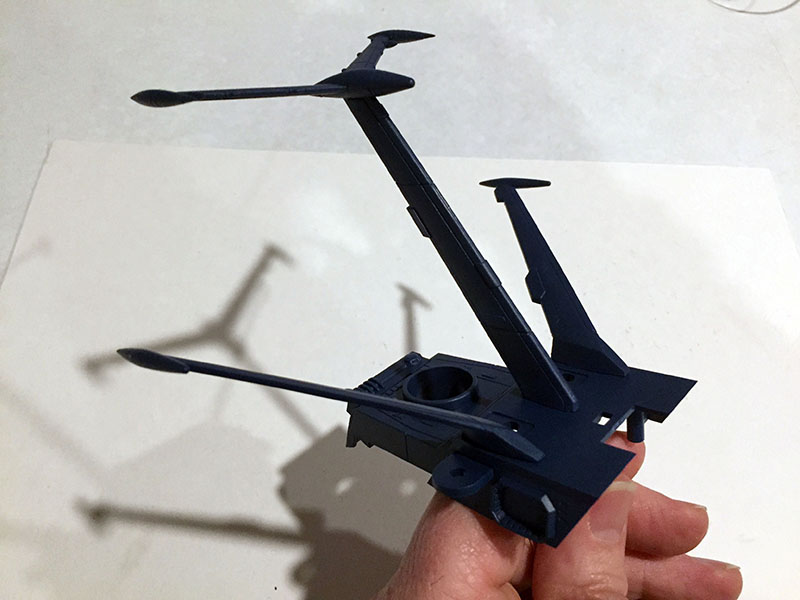
Fins in their sockets. Done.
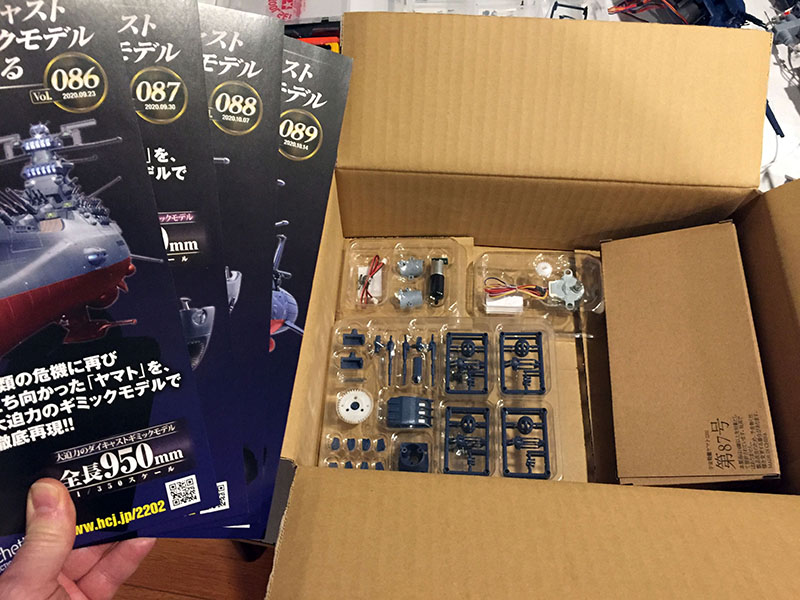
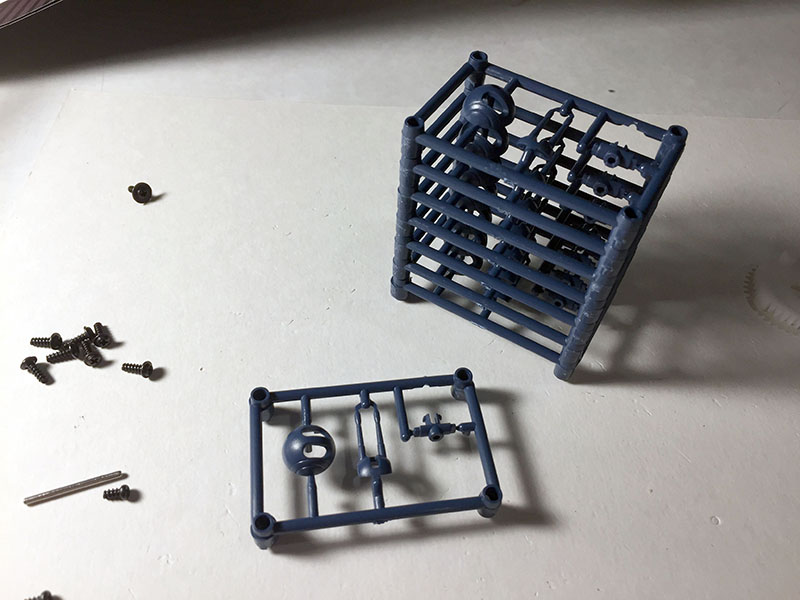
Next box open! Most of the boxes in the 80s and up were larger since the parts tended to get bigger.
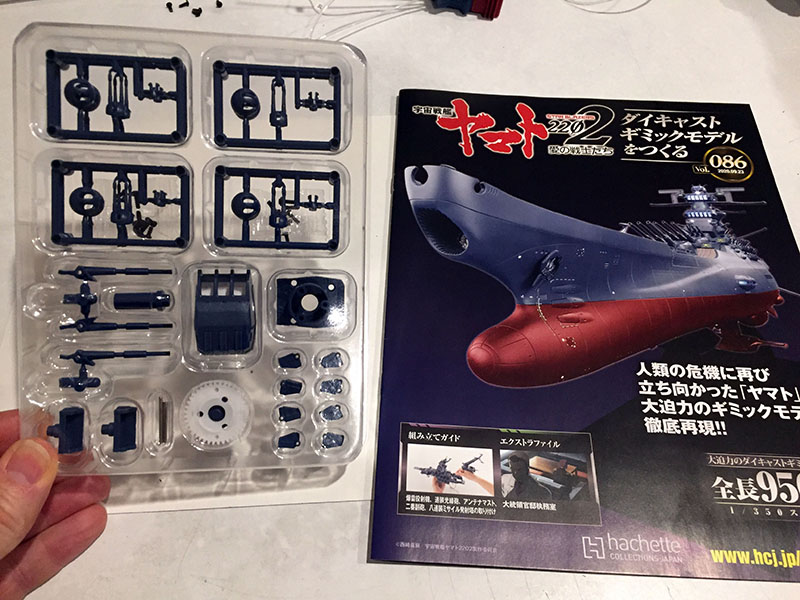
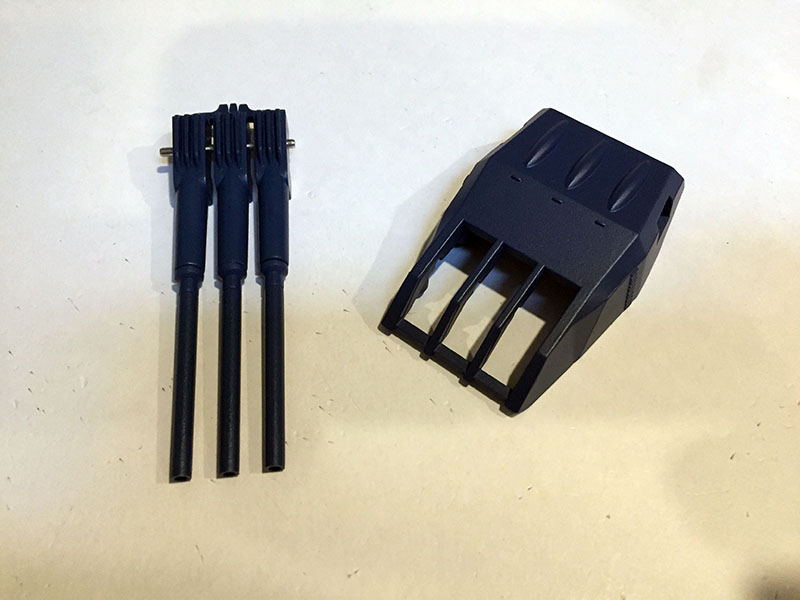
Volume 86. MORE pulse lasers? Okay…
Still working on the gun deck. That last volume was a doozy.
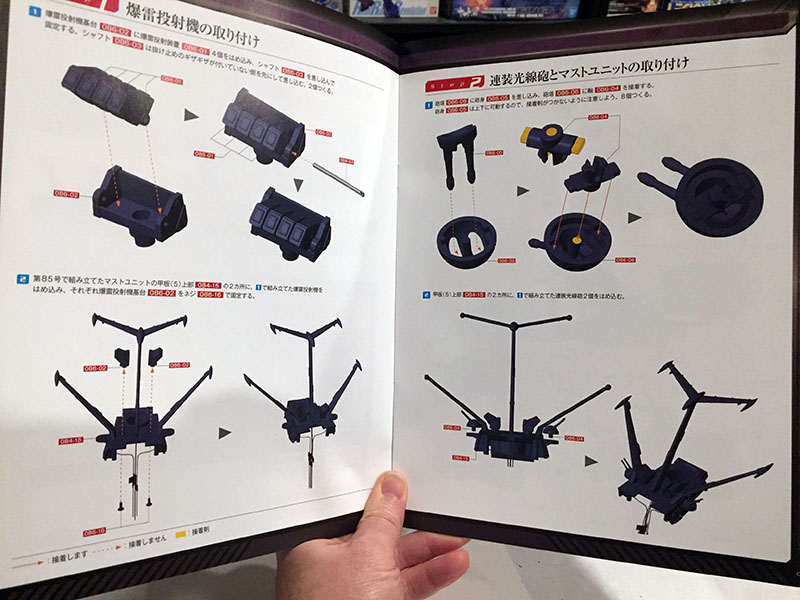
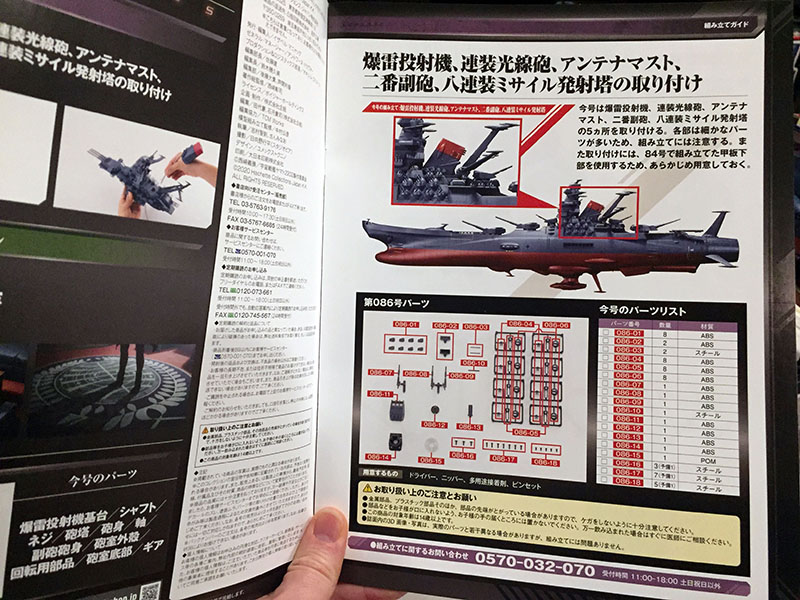
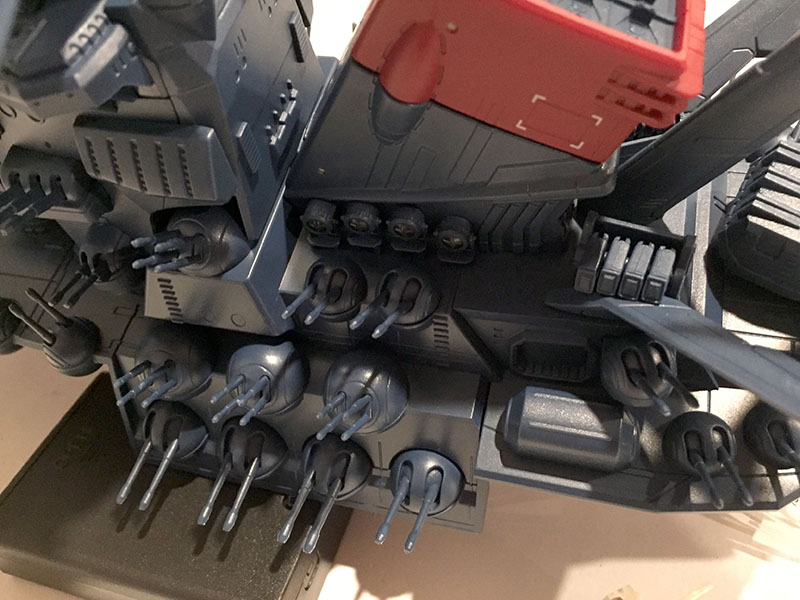
We’ll put in the depth charge launchers first, then make some more turrets for the aft part of the gun deck.
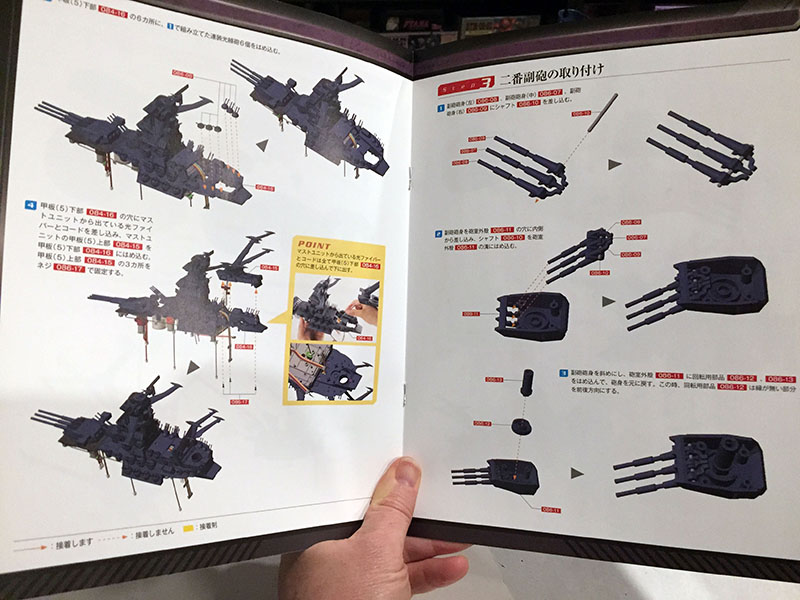
After they’re installed, we’ll build the second secondary turret.
When we’re done, both that and the smokestack will be in place, completing the gun deck!
Depth charges done. It’s a bit disappointing that they don’t have enough tension to stay pointed up. They just droop into the fins and lay there.
Sigh. All right. Pulse laser turrets ain’t gonna build themselves.
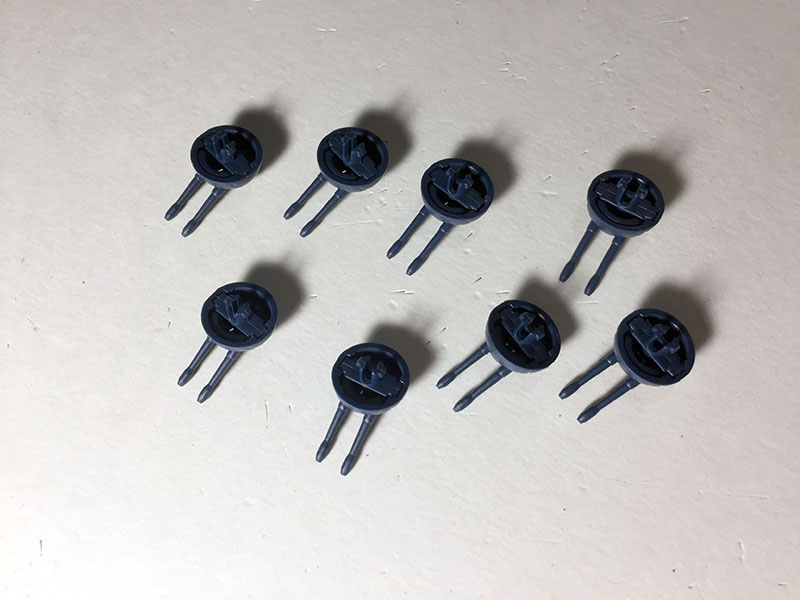
DONE. NO MORE, PLEASE.
All snapped into place. Like the ones in the front of the tower, these aren’t attached to the carriage, so they get positioned by hand.
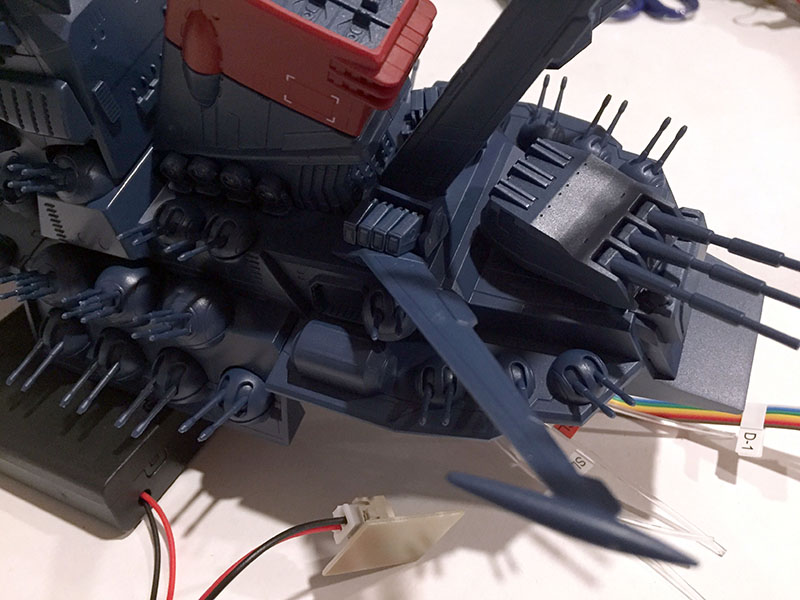
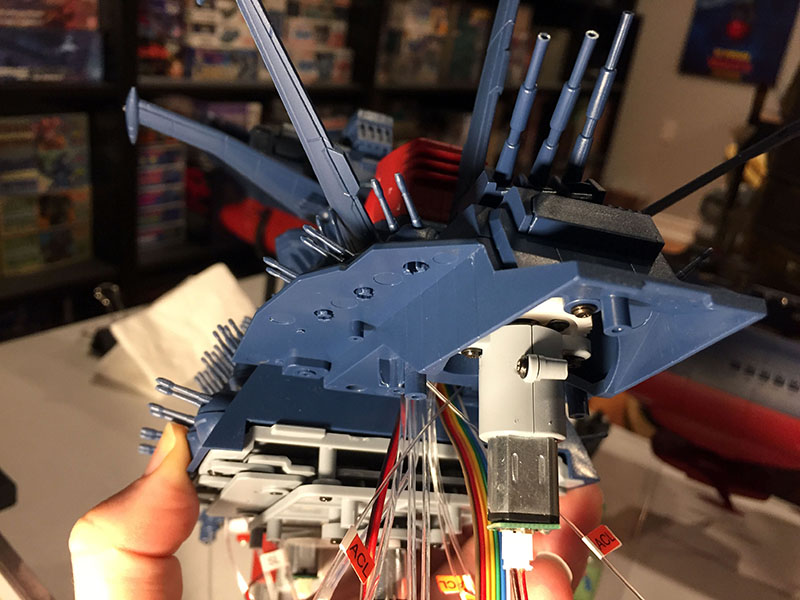
One last look before the big parts go on.
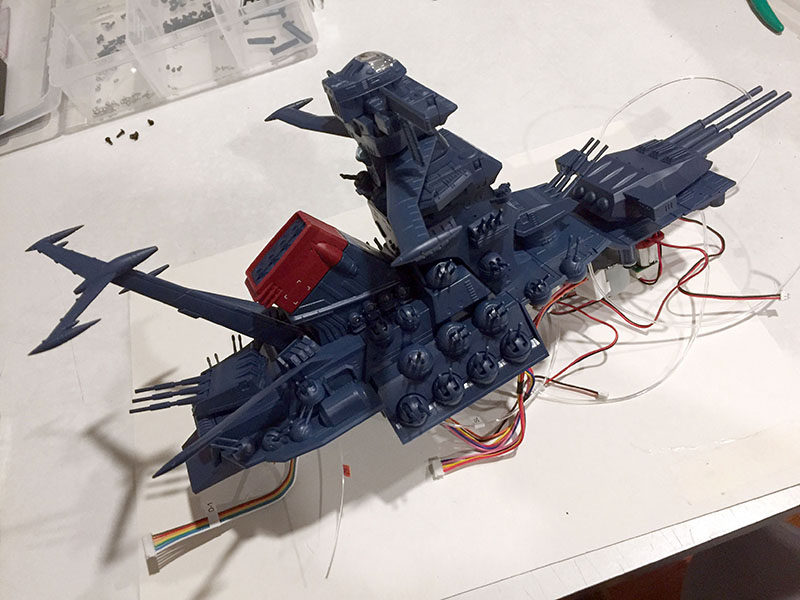
And now the big parts are on.
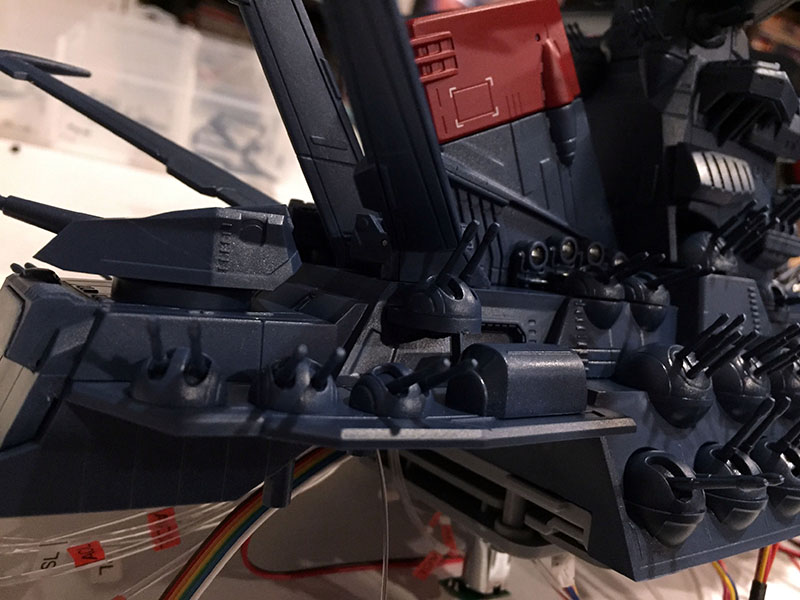
This area of the ship was always the most fascinating to me, packed full of detail. Let’s just take a little camera tour, shall we?
I’ve built this in other models and drawn it in comics, but it never stops boggling my mind.
On a model this large, it’s easier to see the parts humans would interact with, and scale is much clearer.
And that brings us back to Droopy Depth Charge. That’s his nickname now.
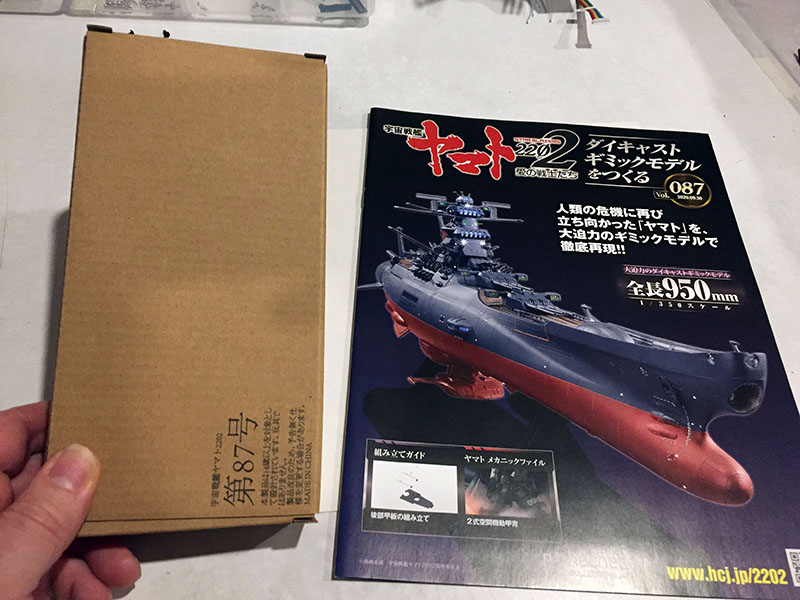
Volume 87 has an unusual package. No blister pack for some reason. Maybe they ran out of time to make one?
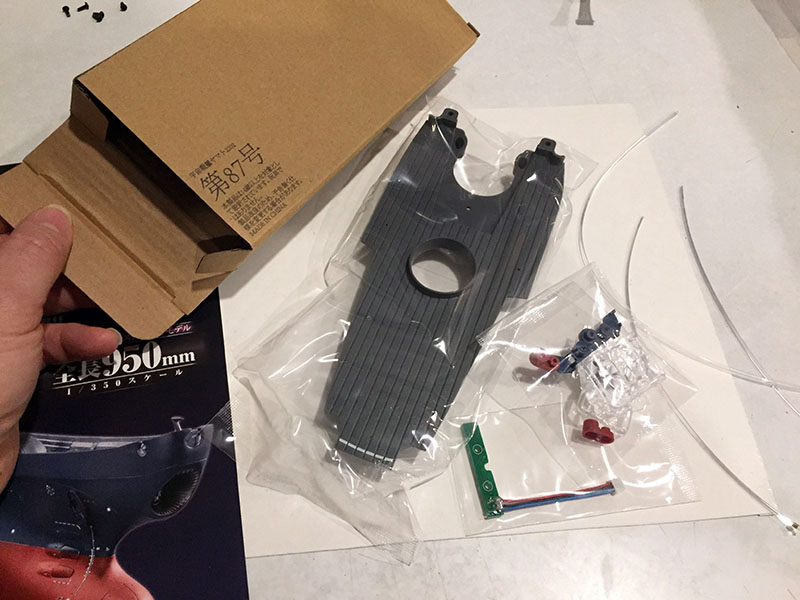
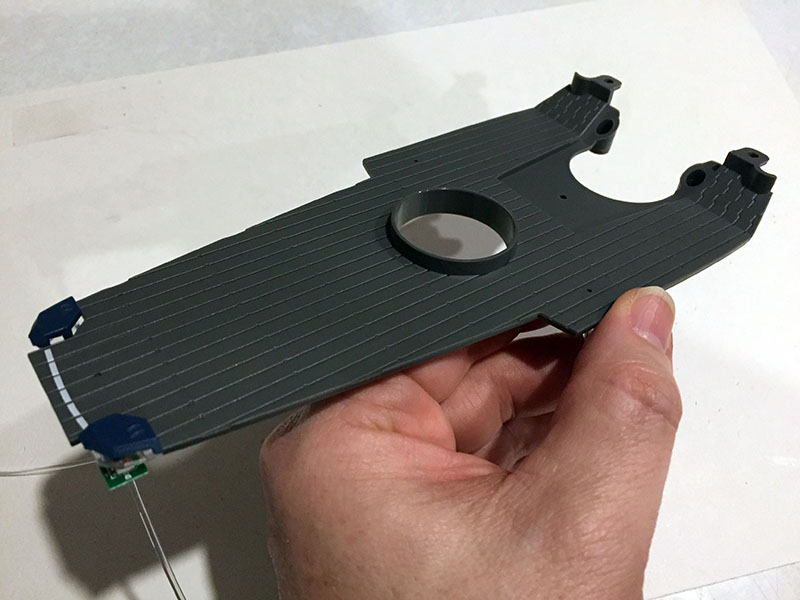
We have our first sign of the aft deck.
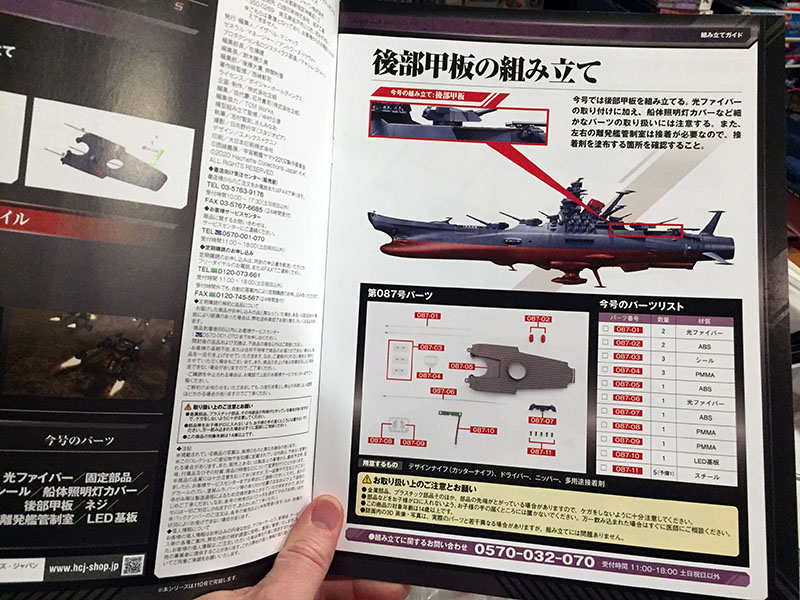
Hello, aft deck.
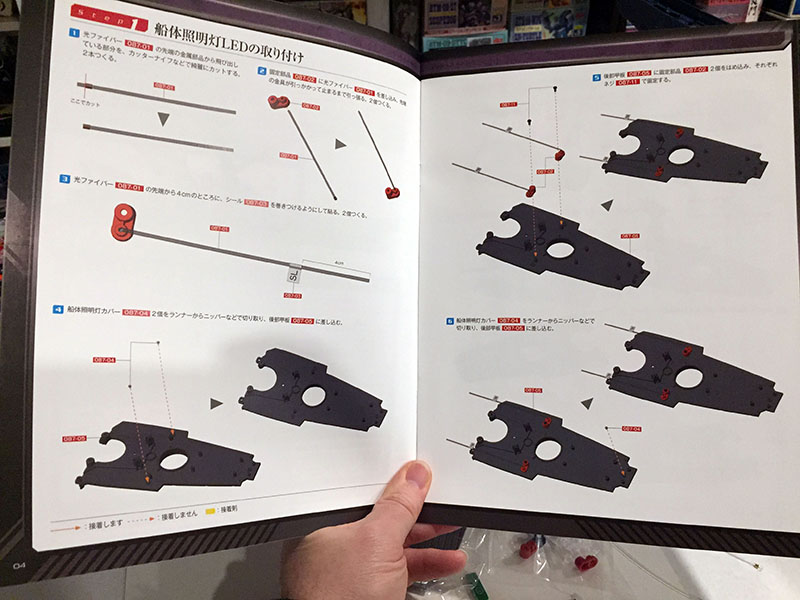
Pretty simple. Just adding some lights.
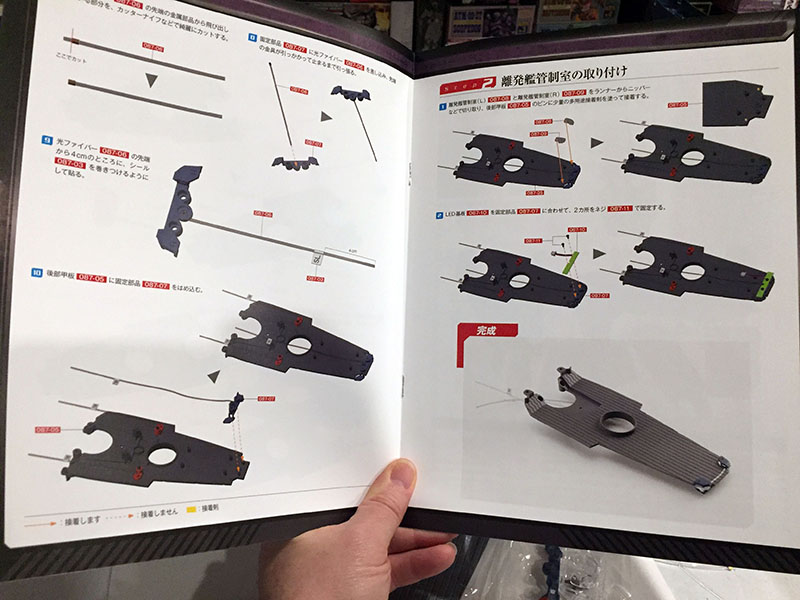
There are two deck lights and two landing lights. They change color, so they’re lit by LEDs instead of fibers.
There we go.
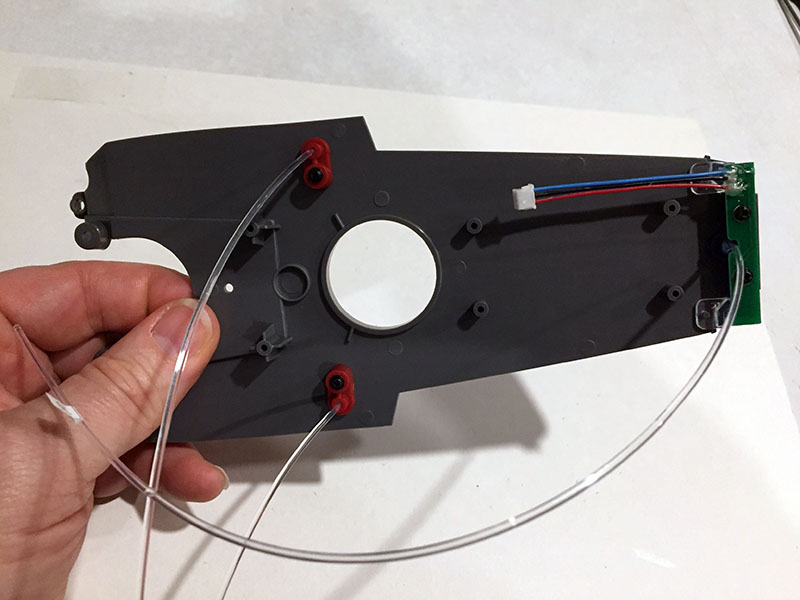
Underneath. The landing lights are on the right.

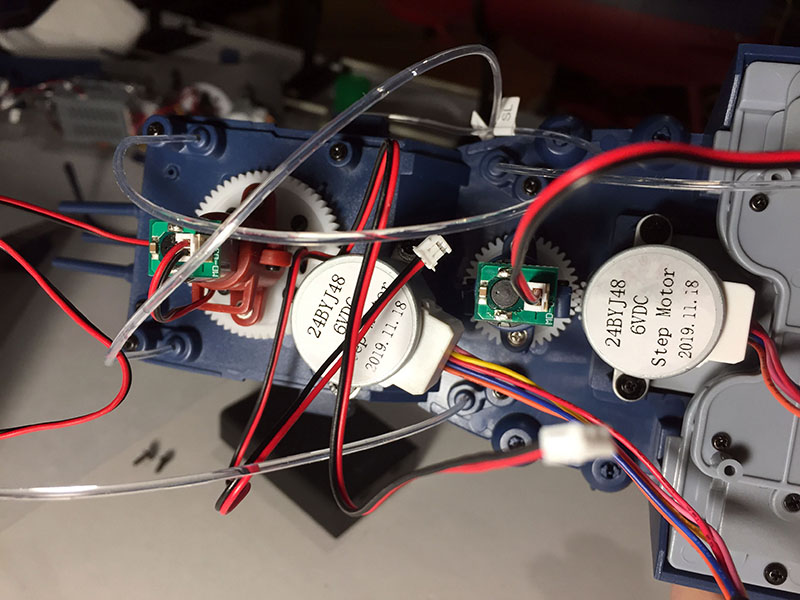
Volume 88 gives us another motor.
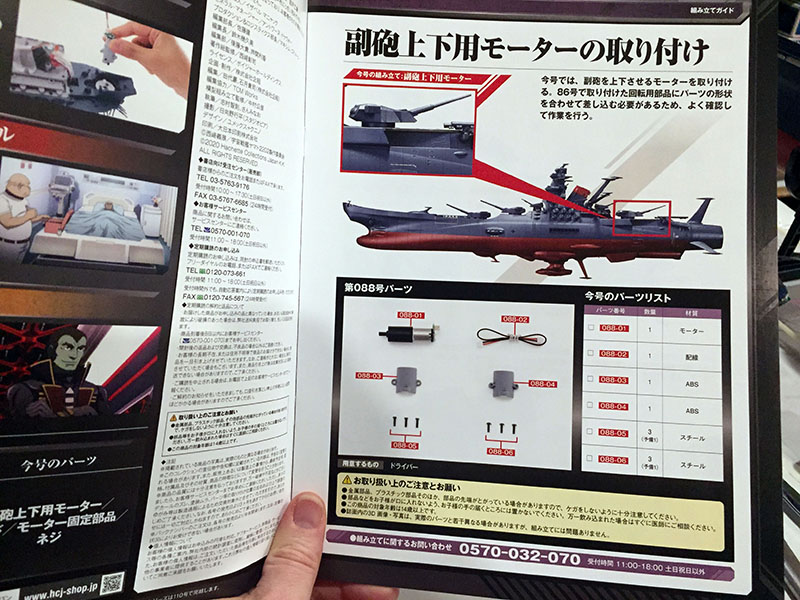
This will be attached to the second secondary gun.
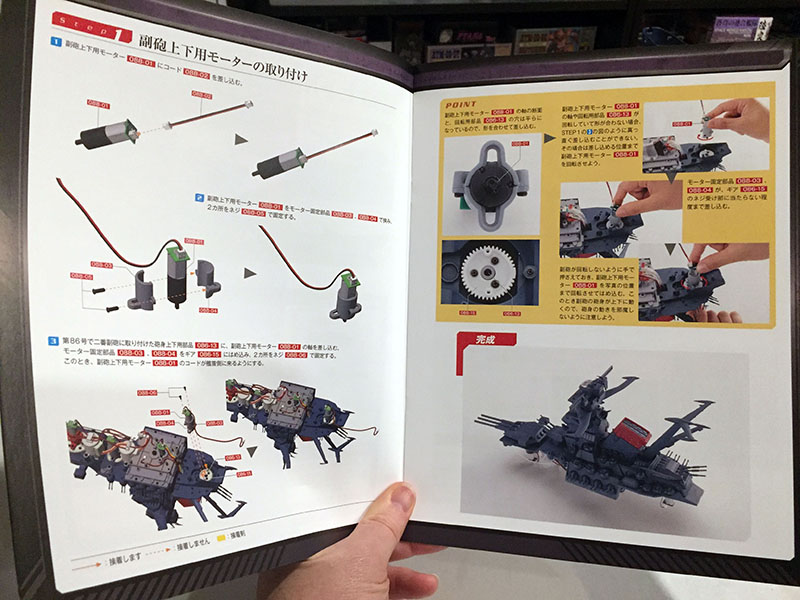
Again, pretty simple. I’ve done this three times already. And it’s the motor that will raise/lower the barrels.
Only one problem; the alignment of the rotator pin is off, so the barrels won’t start or settle in a uniform, neutral position. I pulled it apart to try and fix it, but failed. So that’s that.
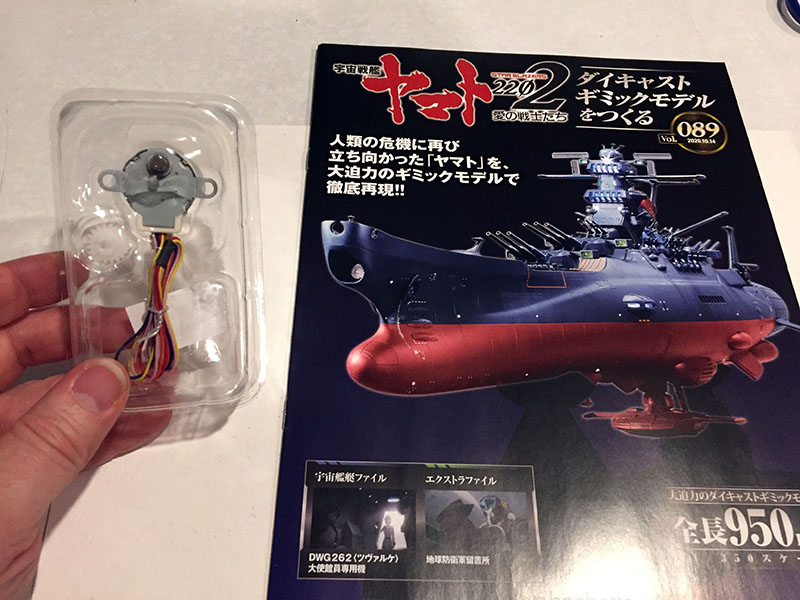
Volume 89. This thing again.
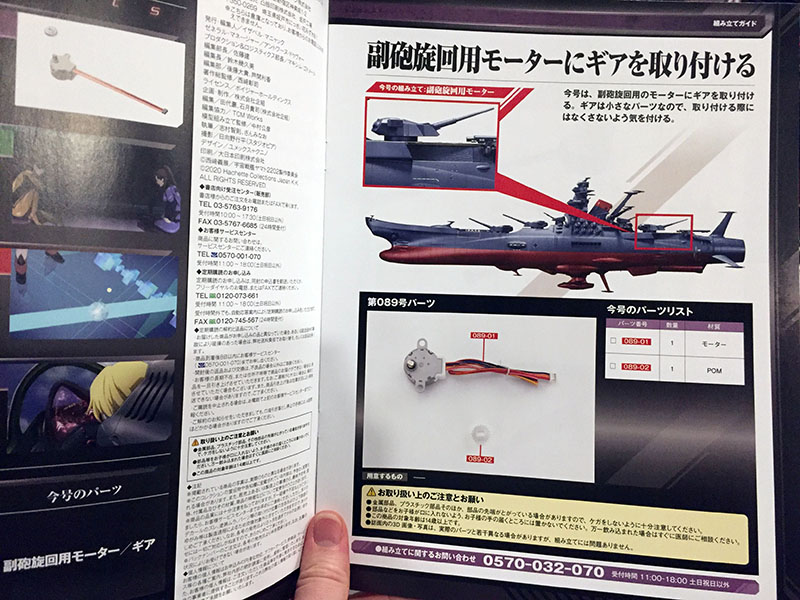
It’s the motor that will rotate the third main gun.
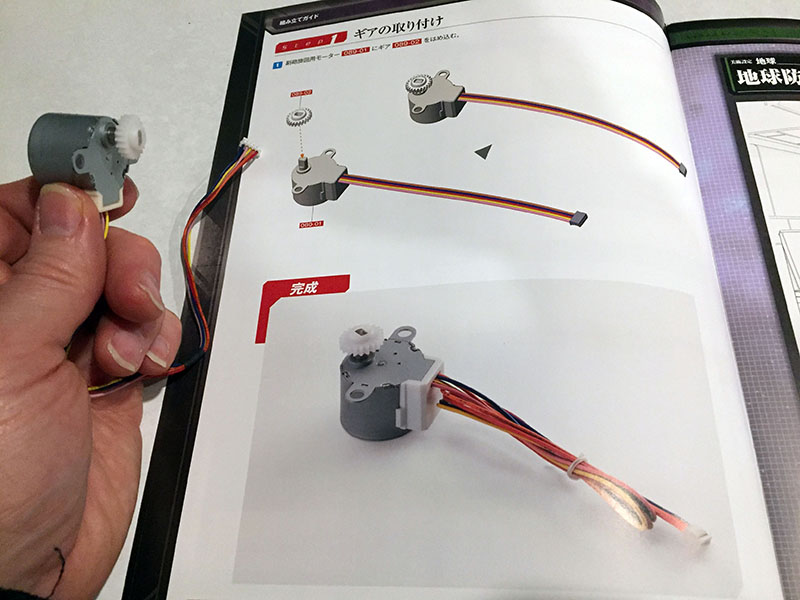
Simple and dumb. A good one to end a long night with.
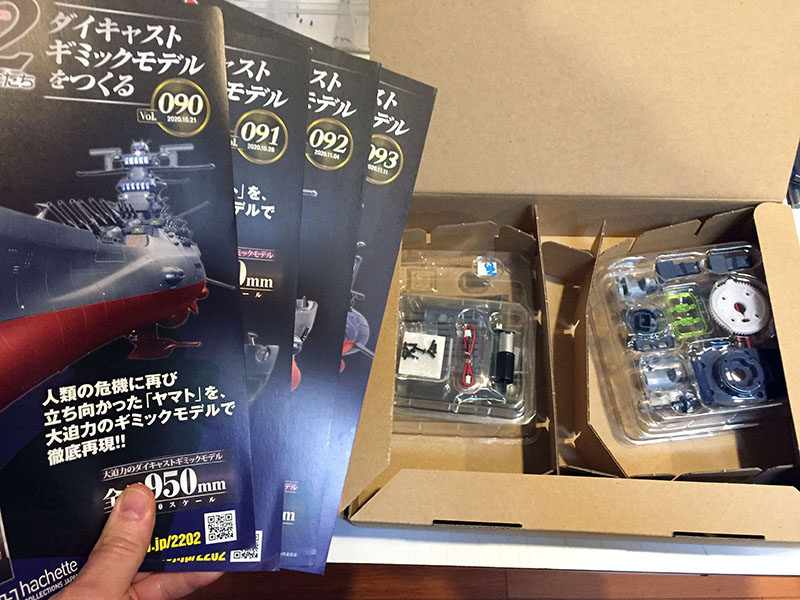
Next four volumes open. Complex pieces coming up.
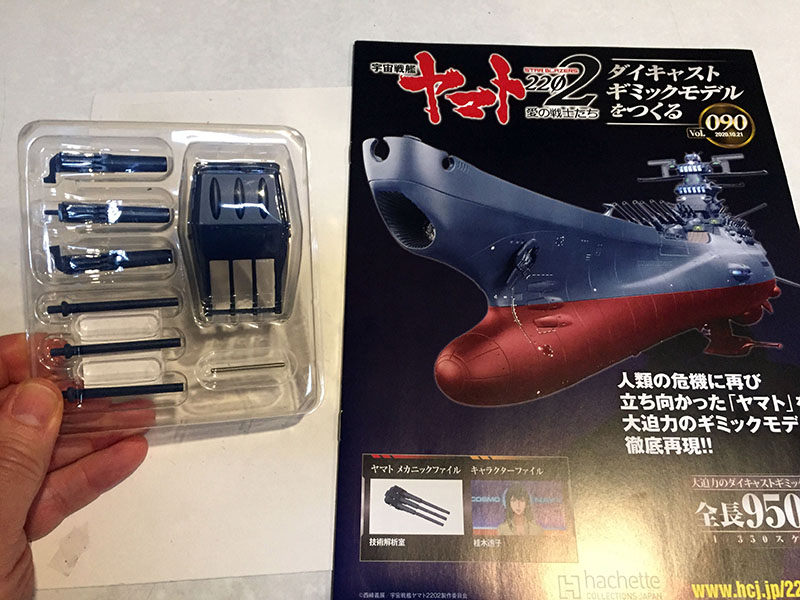
Volume 90. 20 more to go.
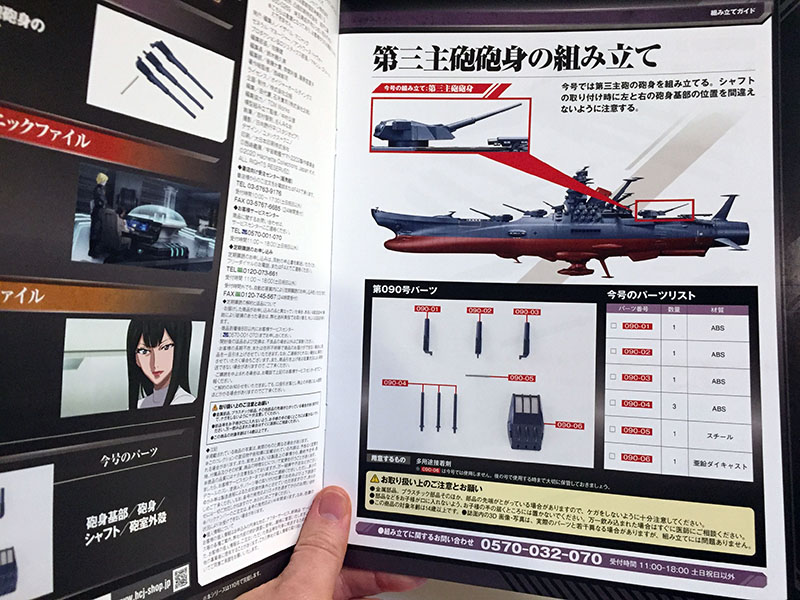
Main gun turret number three this time.
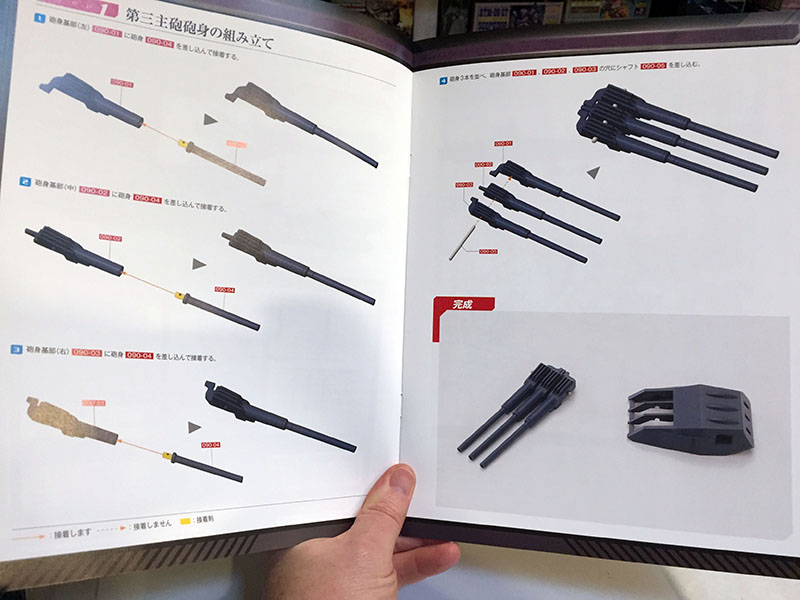
And we won’t even be making the whole thing.
That’s that. This gun ended up being the last breath of fresh air before some VERY demanding work.