
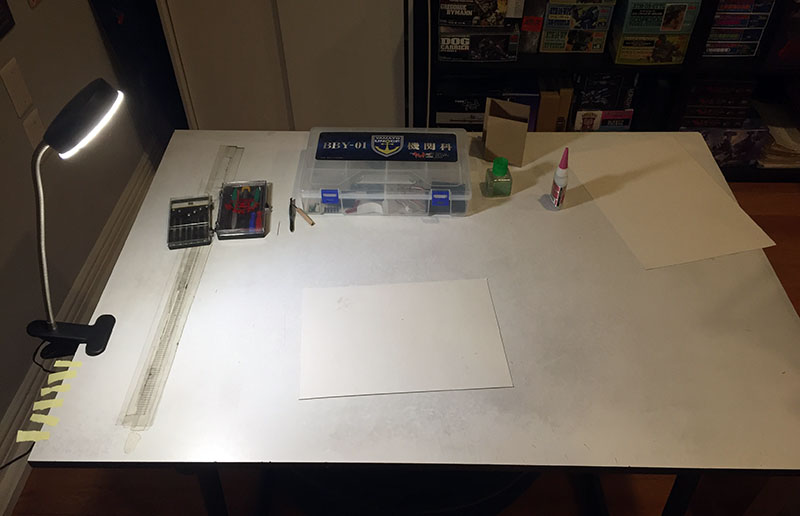
The work table is ready for action. This has been my drawing board since 1987. Literally thousands of comic book pages and art images were created here, and you can see a lot of them over at ArtValt. But now it’s a model shop. All the tools have been sitting there since I built the Hachette Yamato a year or so ago.
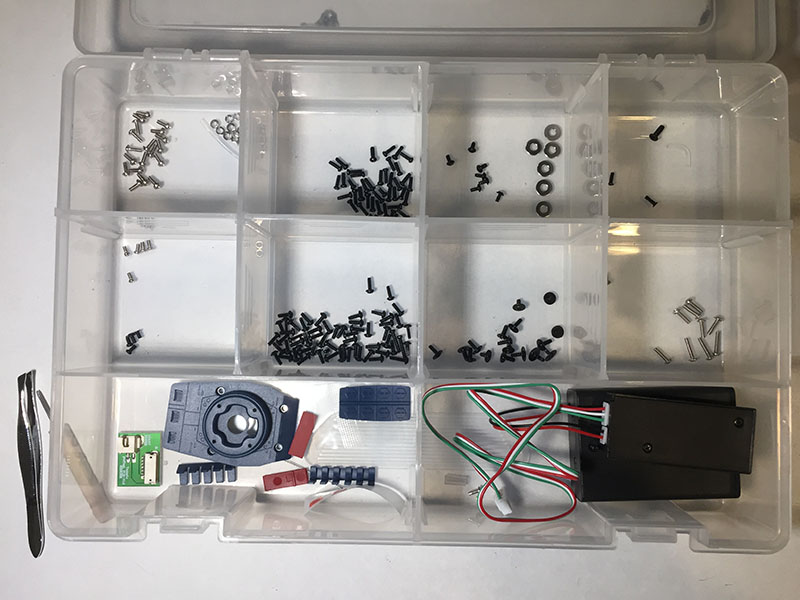
This is the storage case that came with the Yamato model, and it’s currently filled with all the leftover bits, including two electronics testers that will probably never be used again.
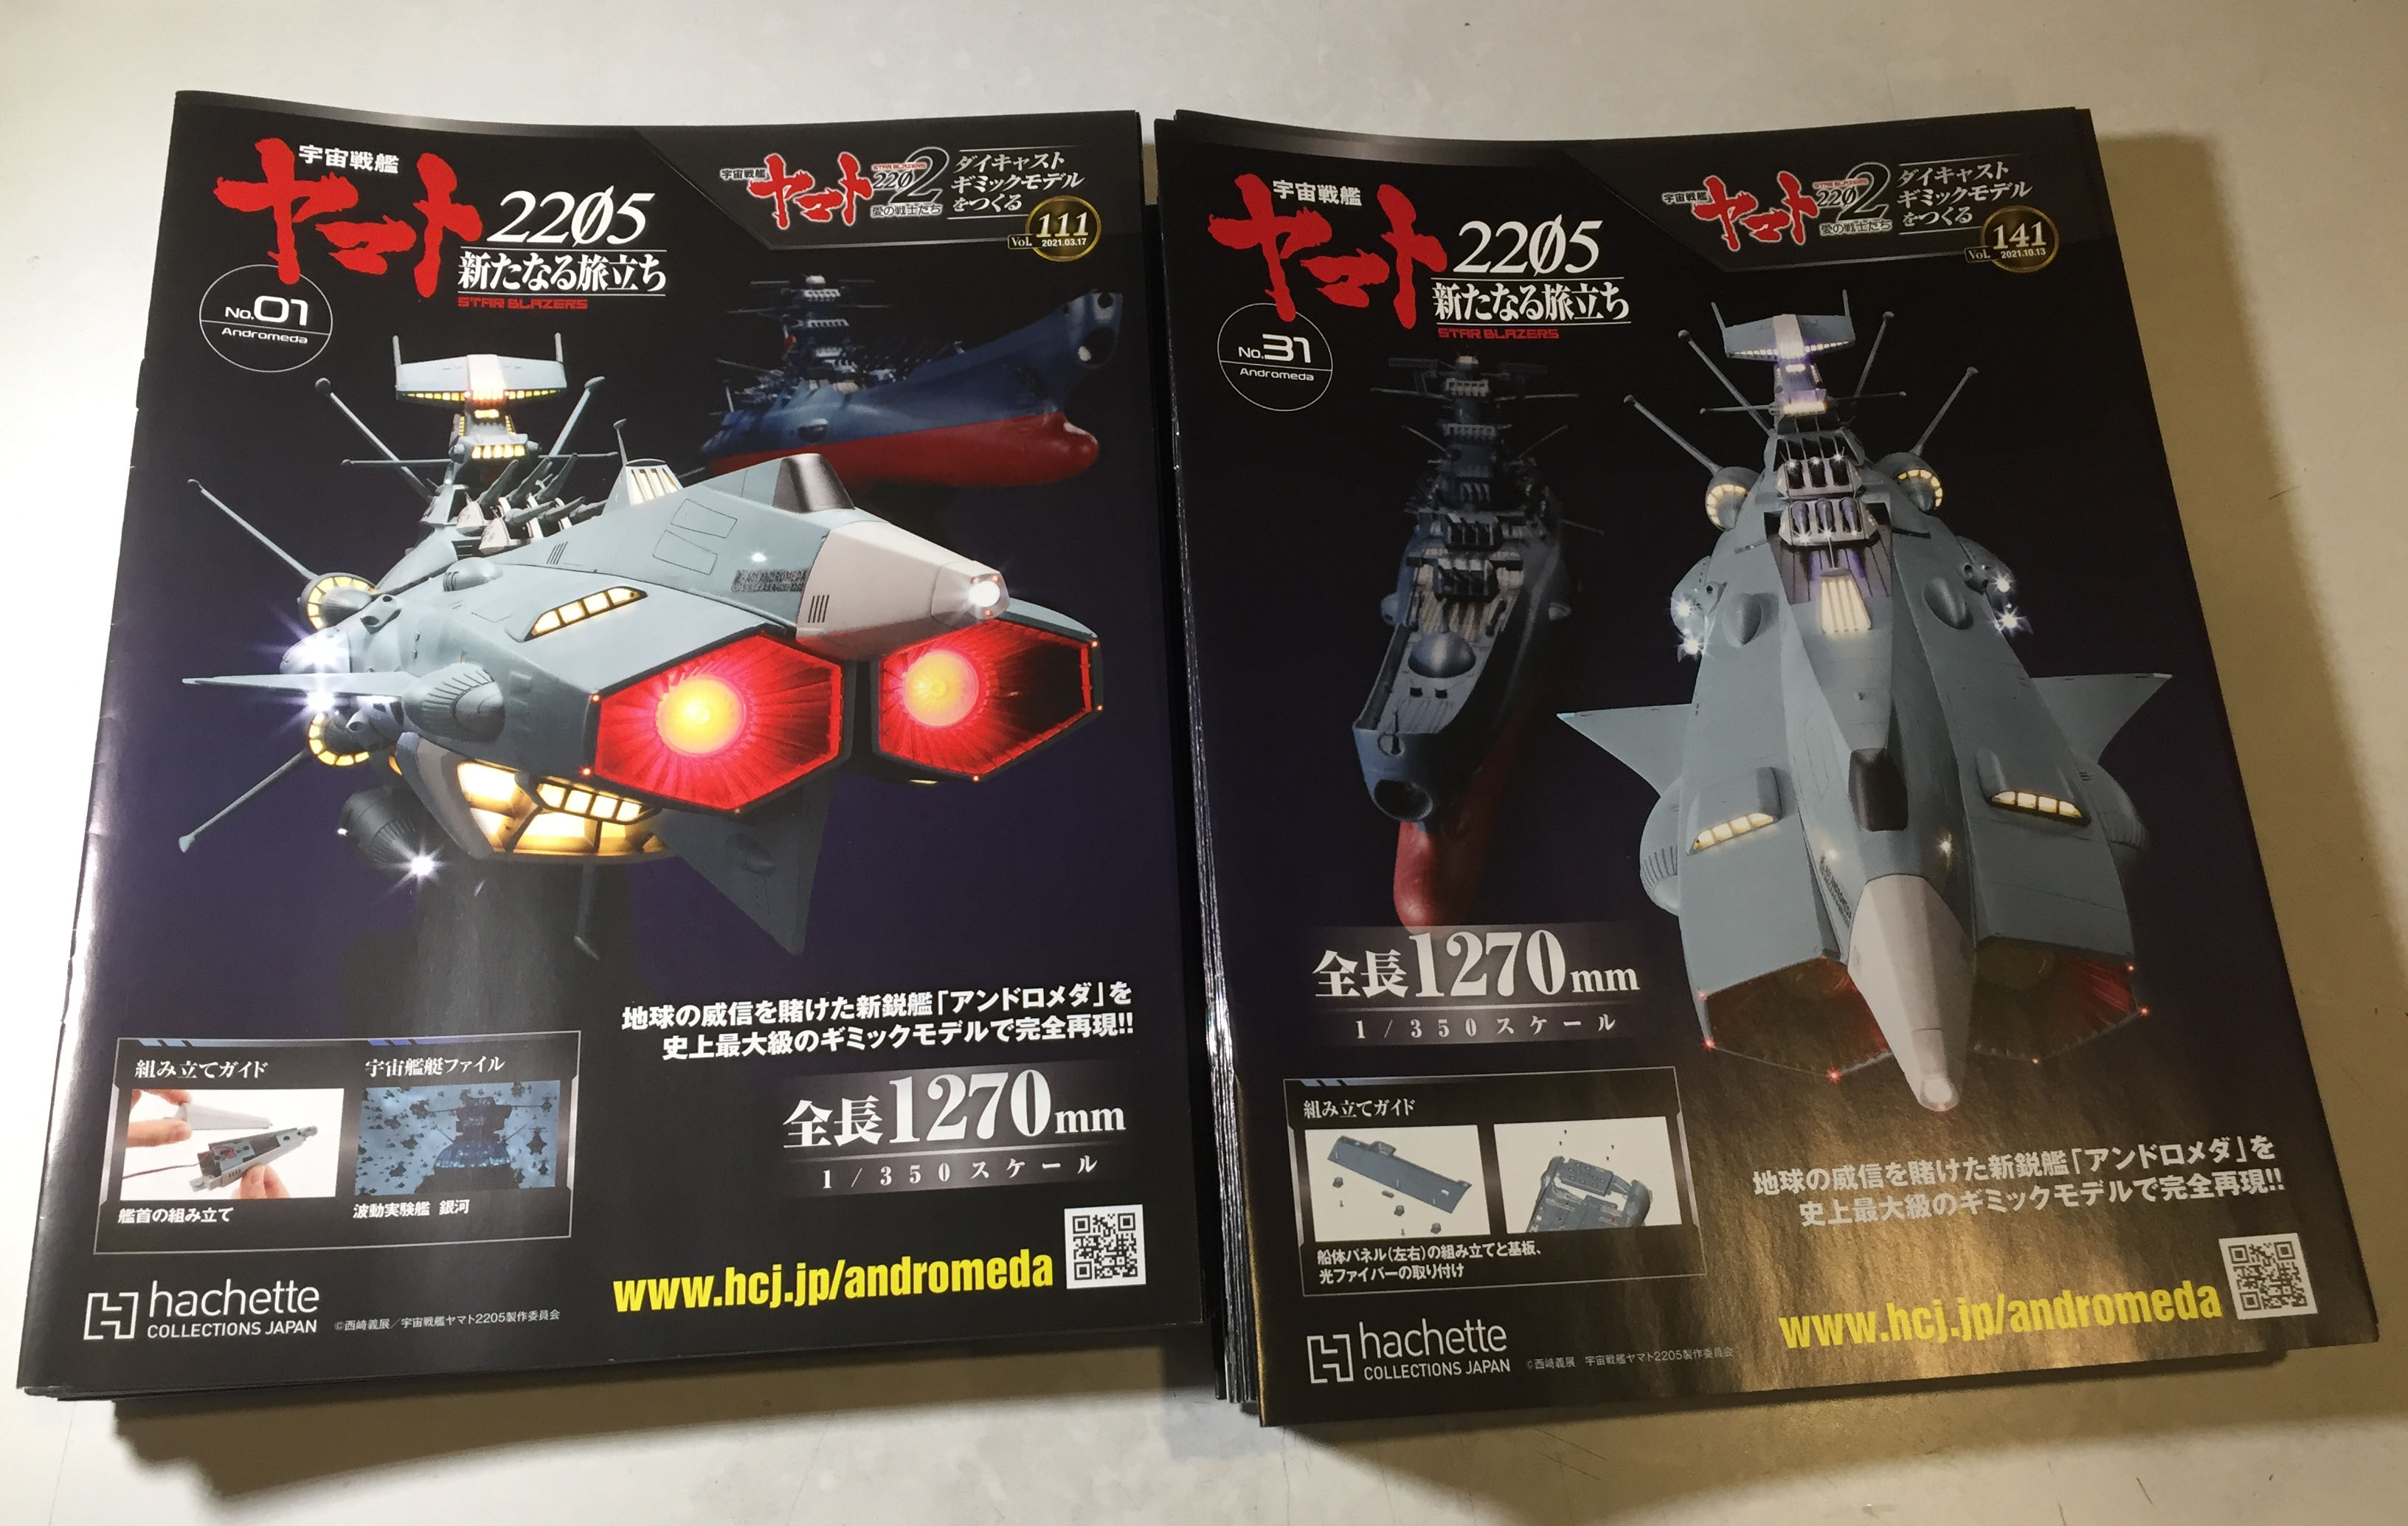
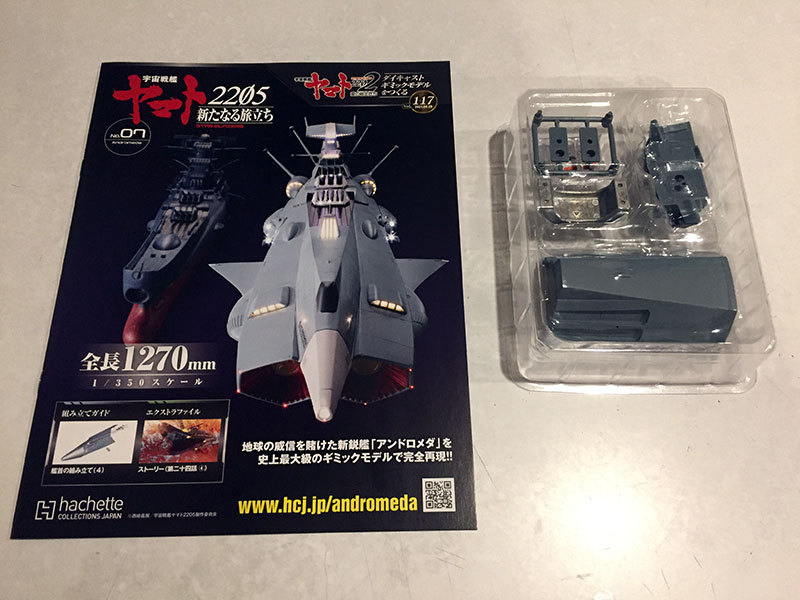
All 60 Andromeda instruction books are stacked up, so let’s dive in.
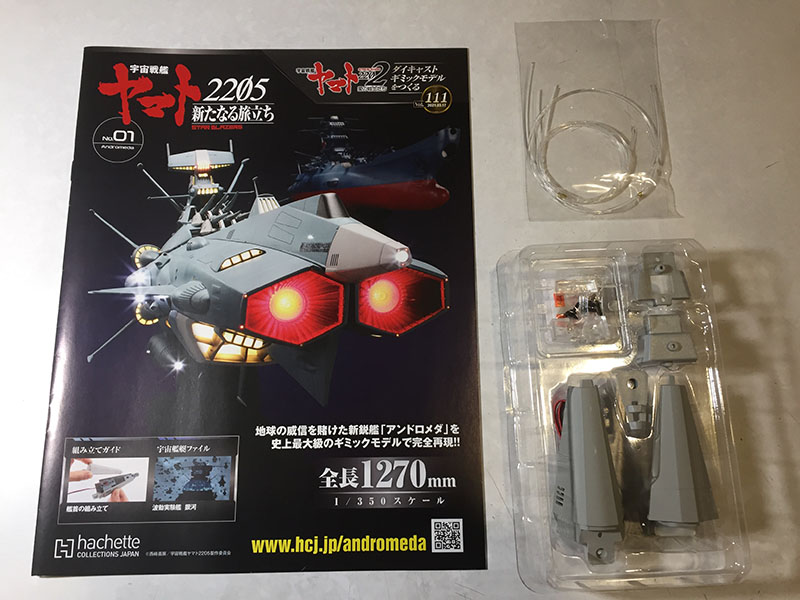
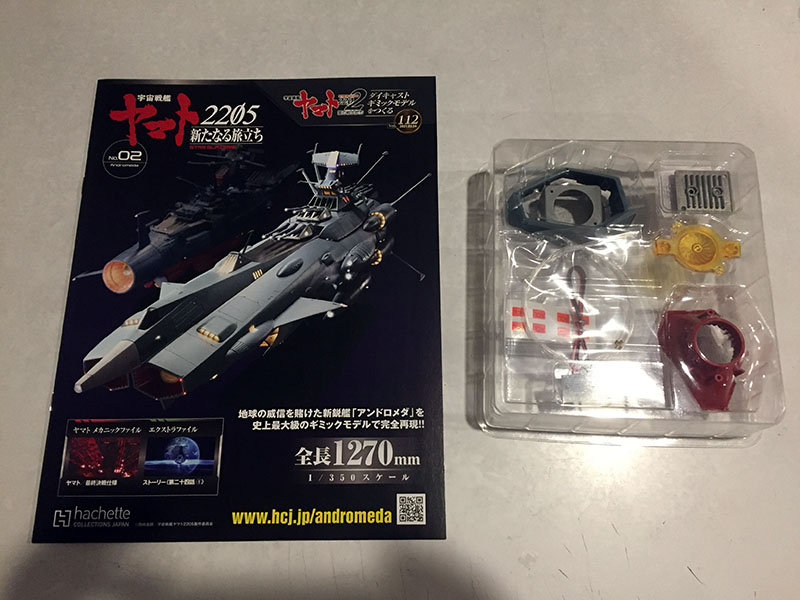
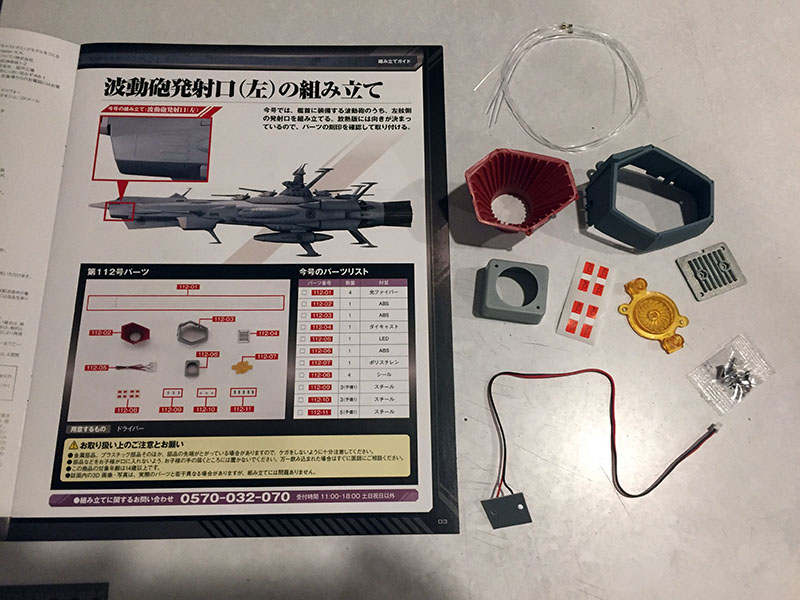
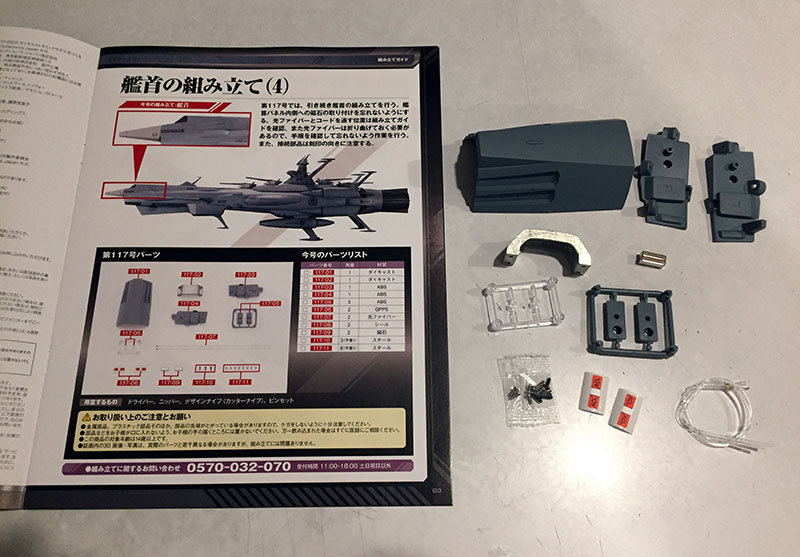
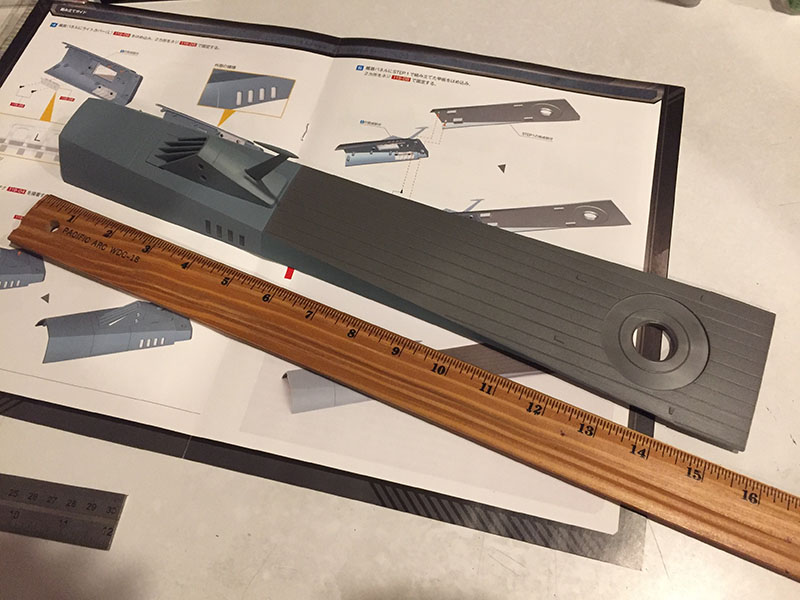
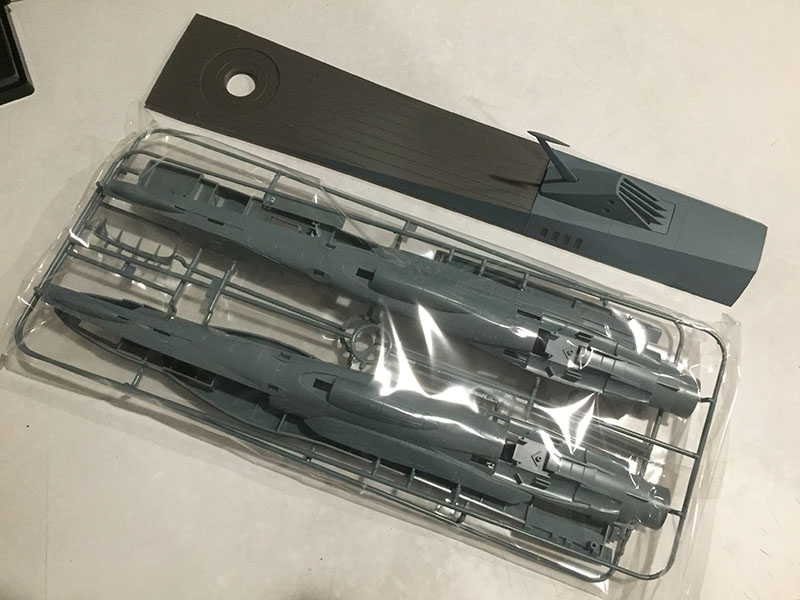
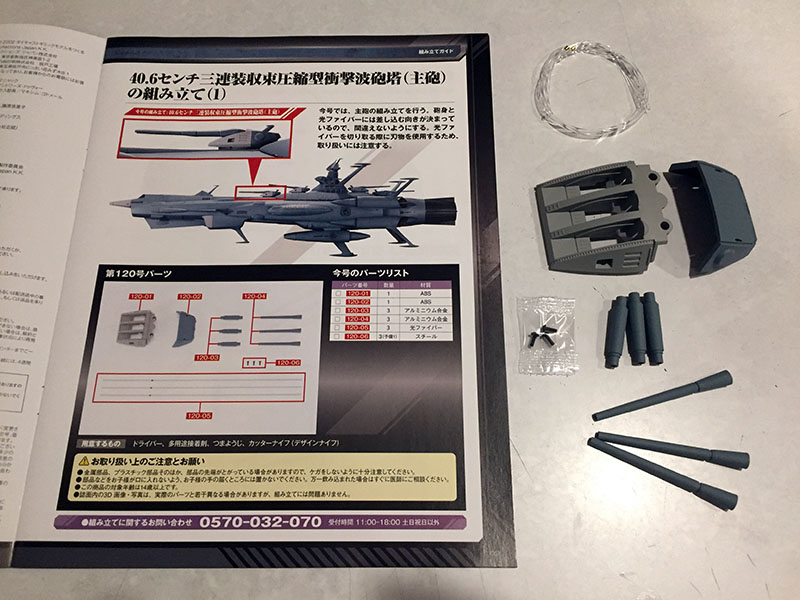
Volume 1 (111 in the series) and its parts. The bag up top contains coiled-up fiber optics. They’re a pain in the ass to work with, but ya gotta get used to ’em.

All parts accounted for. We’re starting with the tip of the bow. On other models, this is usually just a cap. But not at 1/350 scale.
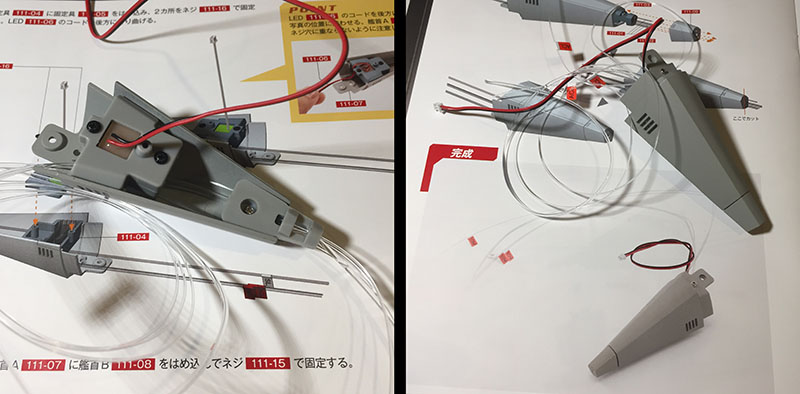
There are two types of lights in this model, mini-bulbs that transmit through fibers, and powered LEDs. The bow tip is only the first volume, but it already uses both. At right is the finished part. You can see what makes the fibers so aggravating. They were so tightly curled at the factory that the curl is permanent. And they insult you in the instructions by showing them long and straight (see the printed image on the left). They will ALWAYS be a mess and will ALWAYS get in your way. It’s an endurance test.
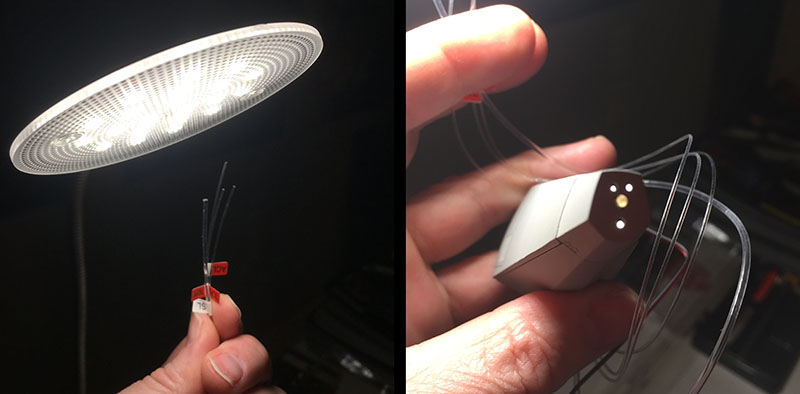
You can take the edge off by doing impromptu lighting tests to preview how they’ll look. By holding one end up to my desk lamp, the light instantly transmits to the other end. And now you can see how many lights are built into the nose. You don’t get that in a regular model kit.
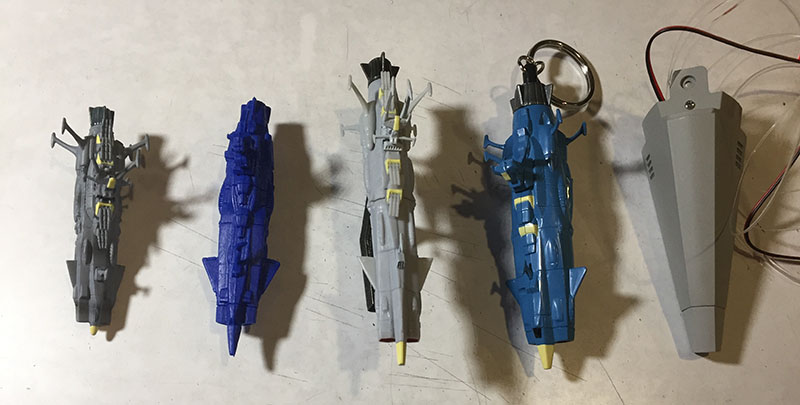
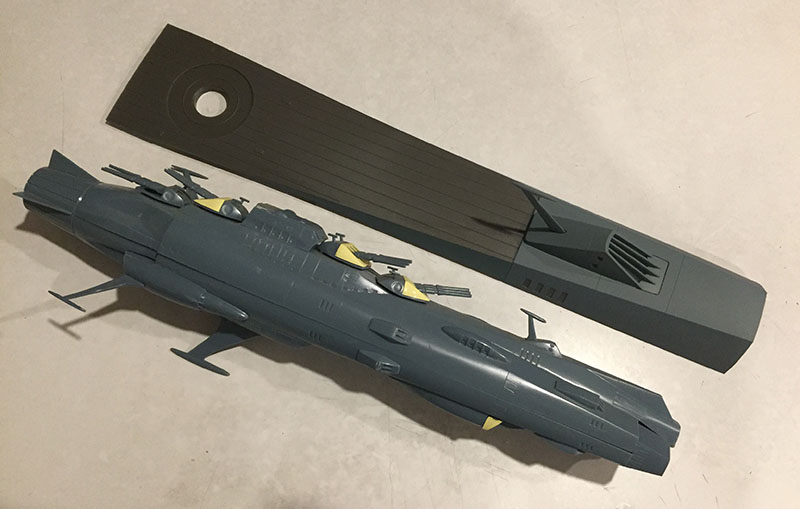
Here’s some fun; I pulled out my various mini-Andromedas for size comparison. Right off the bat, the 1/350 nose is already larger than these four miniatures from various sources: a convenience store mini, a 1978 gum-rubber toy, a Bandai miniature, and a Banpresto keychain. All have been outsized by the nose part. And this is just Volume 1.
Volume 2 parts.
All this for just one of the WMG muzzles.

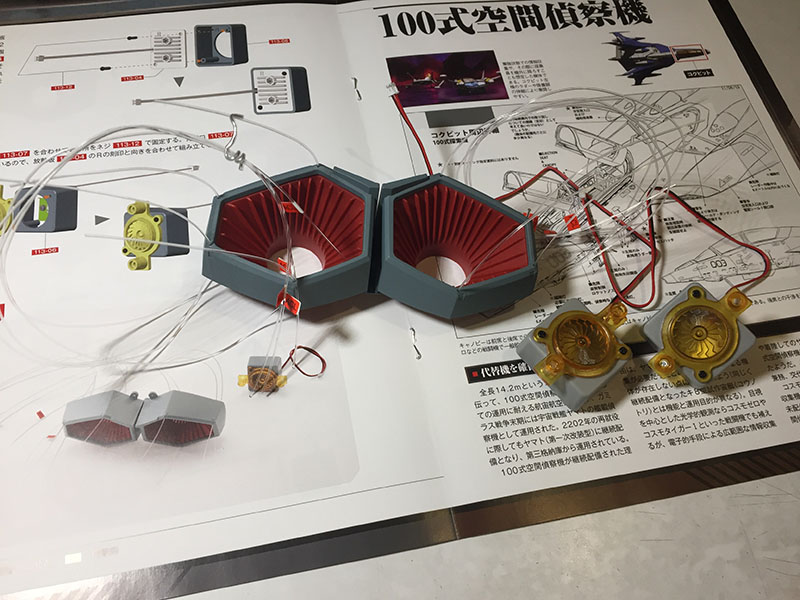
There are two components: the gun port (with fibers) and the firing gate (with LED). That’s all this volume contains.
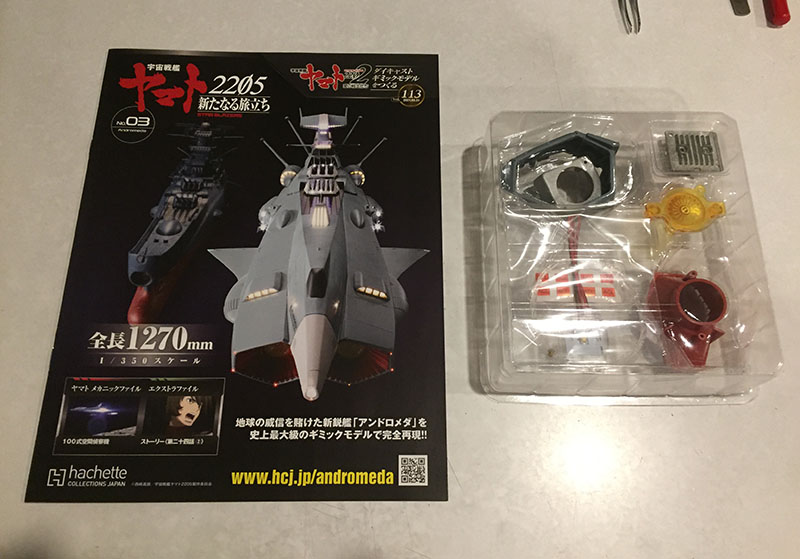
Here’s Volume 3.
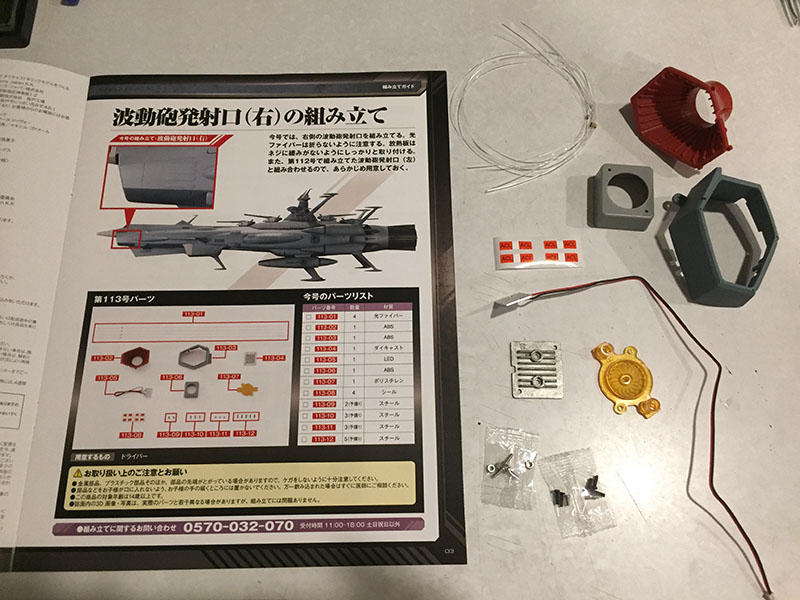
It’s got the parts for the other WMG muzzle.
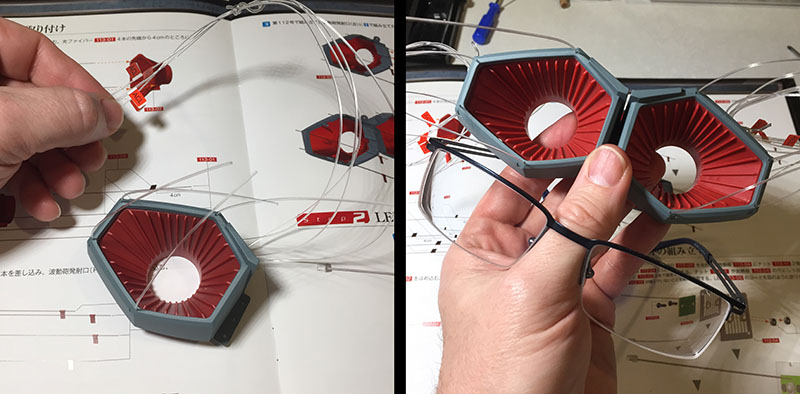
After putting the port together, I had to confirm my suspicion that these two ports together could be worn as glasses. Aaaaand YEP.
Volume 3 complete.
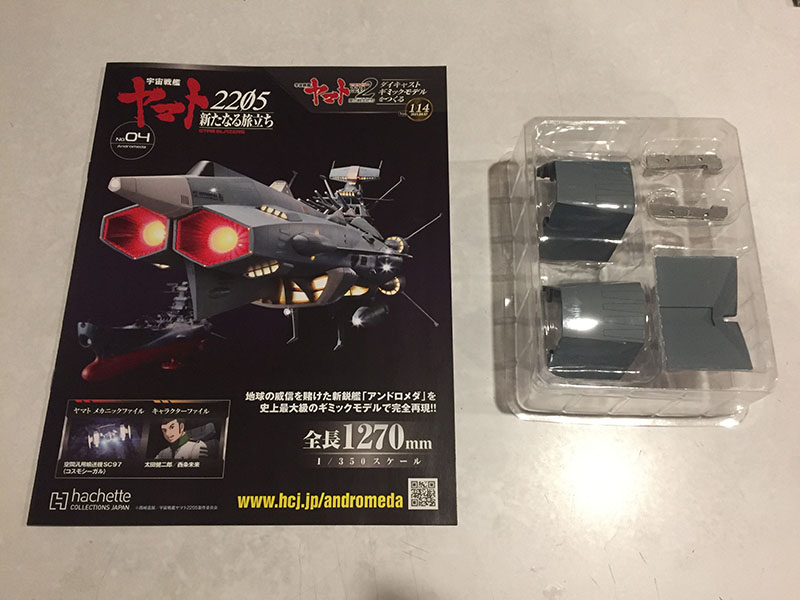
Volume 4, launch!

This is the cowling that sits just behind the WMG muzzles.

Very little construction this time, just attaching brackets to the inside of the cowls. Effortless.

Volume 5 already.

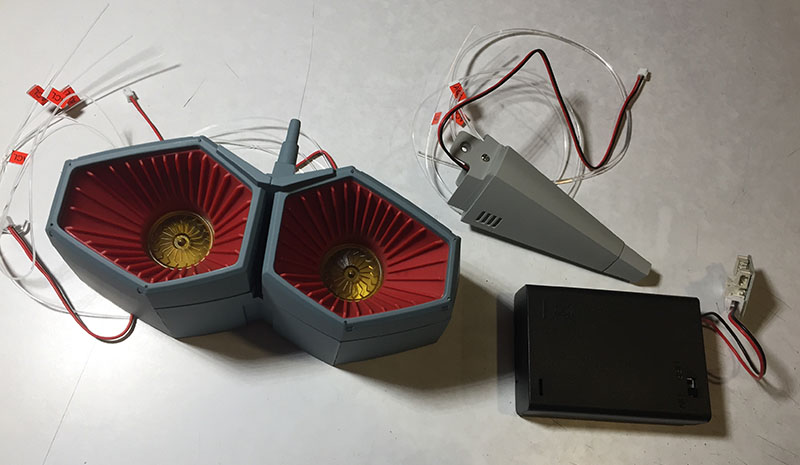
It’s got what looks like a connecting part, and our first electronics tester.
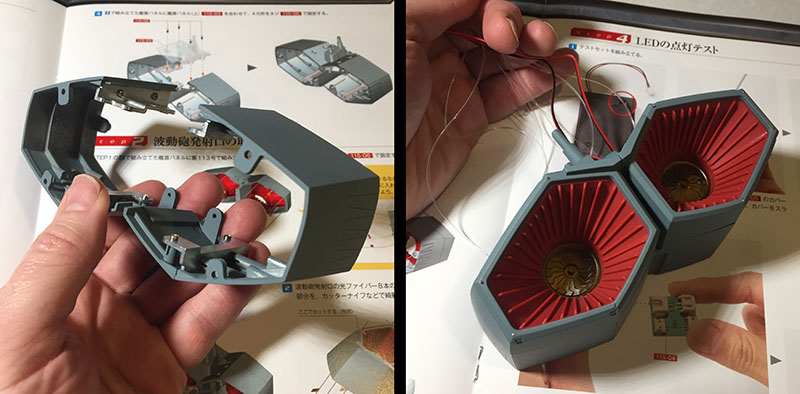
The connector allows us to assemble the full WMG spread. Which now has a LOT of fibers coming out of it.
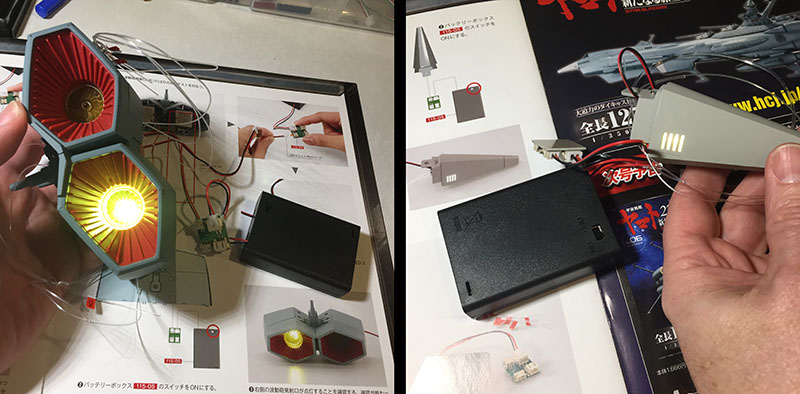
Load up the tester with 3 AAs, and BINGGG! LEDs are working fine.
This is the entire project so far. 55 volumes to go.
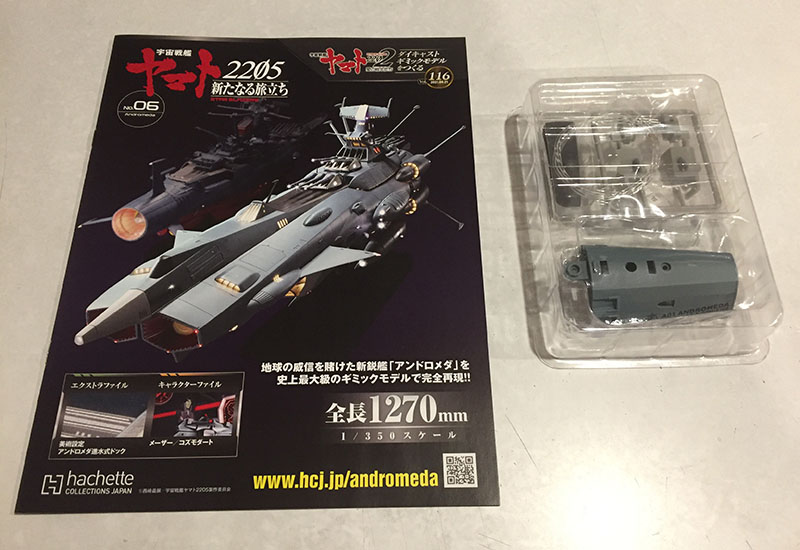
Here’s Volume 6.
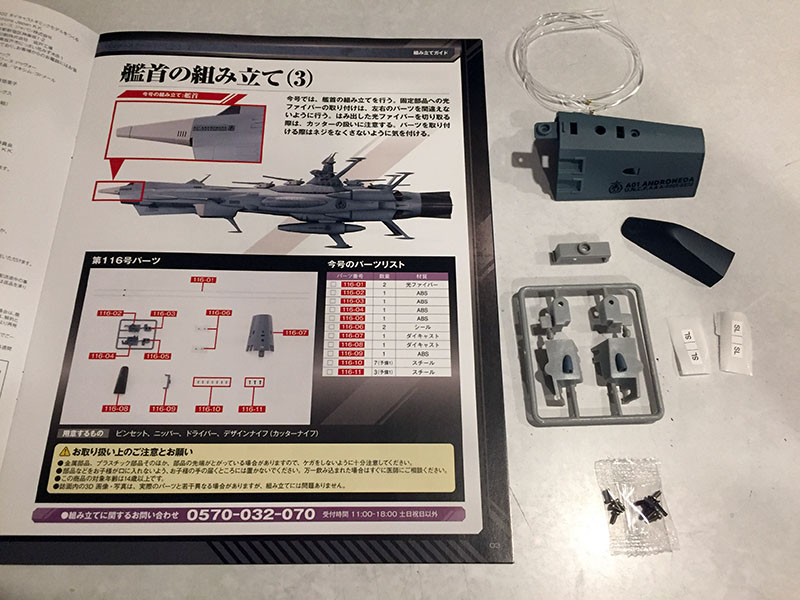
More parts for the bow area, internal and external. And more fibers. The little white things are identifying labels for each fiber. That’s vital when you have to eventually connect them to the correct light sources.

Assembly is pretty simple this time. Install two fibers into the hull part and then attach the nose to it.
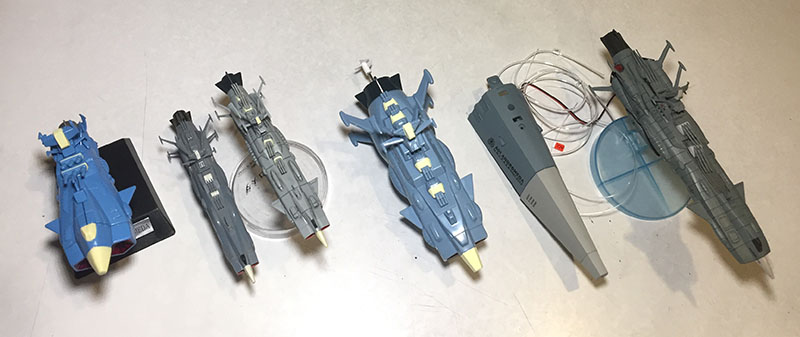
It only took 6 volumes to out-size the next round of Andromedas in my collection. From left to right: cutaway display model (Banpresto), Mecha Collection model kit (Bandai), Mecha Collection miniature (Plex), watership toy (Banpresto), and the 1/350 nose piece. At far right is the Cosmo Fleet Special miniature from Megahouse, which is still just a bit larger. But not for long.
Hello, Volume 7. Whatcha got for me?
Looks like another exterior hull part and some internal stuff. More fibers, natch.

This new segment gets added to the previous two, new fibers get installed, and now even more of them spray out the back end. You can’t see it, but there are now two small but very powerful magnets tucked inside the hull. We’ll see what they do in the next volume.
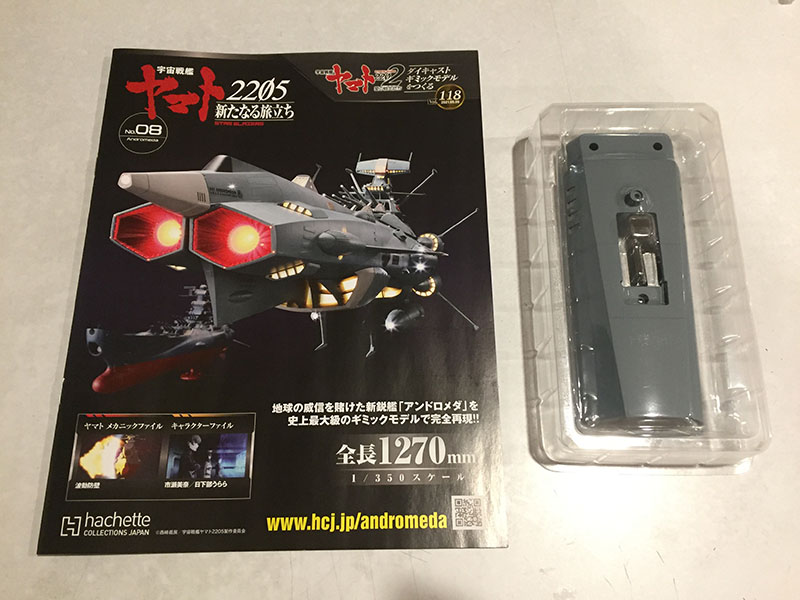
Let’s go, Volume 8.
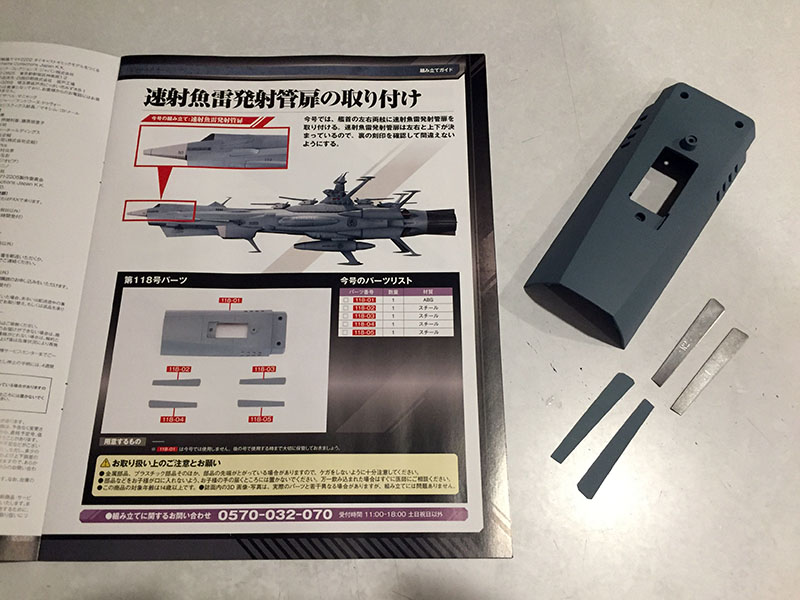
Very few parts, but we’ll move another step along the upper hull. And there are four metal strips, painted on one side. What are they for?

Simple; they’re the cover plates for missile launch tubes. The magnets installed in Volume 7 hold them in place. That makes them removable if you want to display them that way.
And that’s it for Volume 8. Not attaching the next hull part yet, because it’s got some internals to take care of.
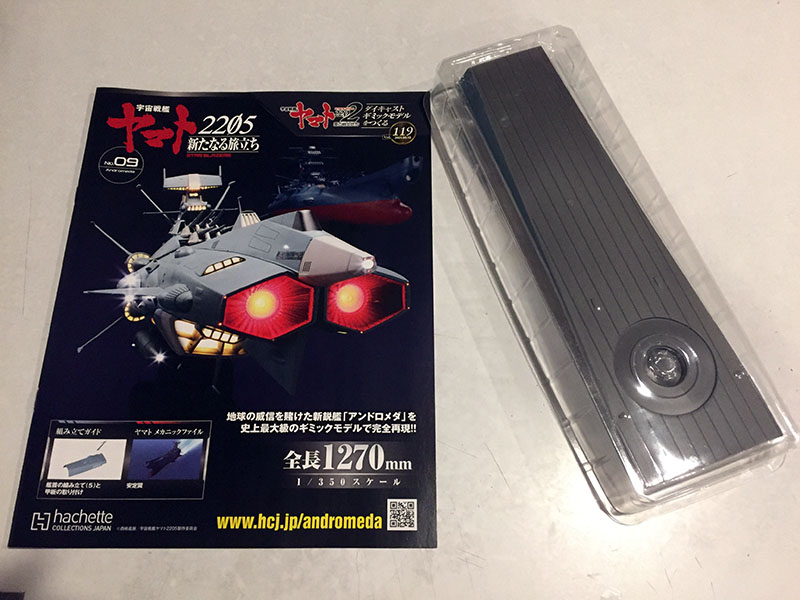
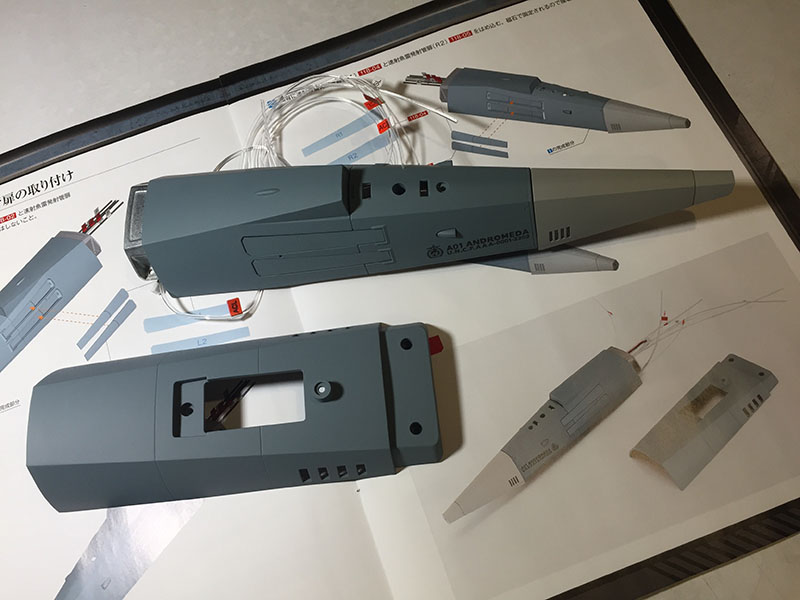
Volume 9 has the first “whopper part.”
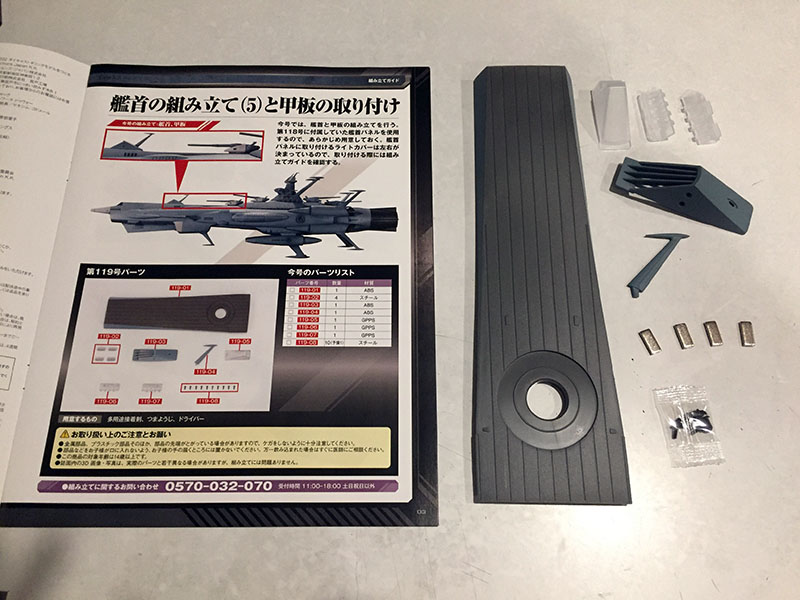
It’s a big upper deck plate and some smaller items. The four metal tabs look like the magnets that were in Volume 7, but they’re not magnetic.

They get glued into the underside of the deck plate, which tells me they’ll be held in place by some forthcoming magnets. Next, the bulge on the upper hull gets a translucent part installed.
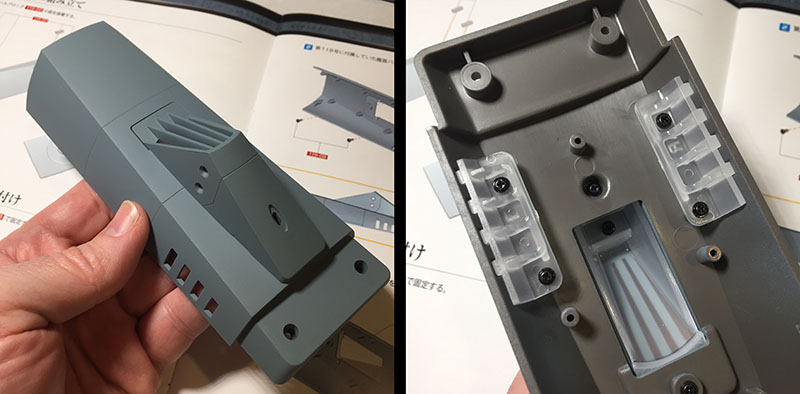
Then it gets attached to the hull segment from Volume 8. The underside gets more translucent parts. These will be lit by internal LEDs.
Finally, the hull segment gets mated to the deck plate, and you can see how long this single piece is. The deck plate ends at right around the midpoint of the ship.
Now that we have a BIG part, let’s see how it compares to some bigger Andromedas. First, the classic Bandai 1/700 (or so) model kit from 1978. Yes, mine is in a shameful state of disrepair. None of the parts are broken, they just fell off over time. I remember being so excited to get that model, and disappointed to find out how simple the construction was. It only took a couple hours. It didn’t live up to the hype.
Lastly, here’s the new 1/1000 Bandai Andromeda from 2202. I haven’t put it together yet, but you can see that this one big part pretty much matches the length of its entire hull. That now covers every other Andromeda in my collection. From here on, this beast is in a class all by itself.

On to Volume 10.
The first gun turret appears! How will it be lit?

To be specific, each cannon has a fiber in it to light it up as if about to fire. And that’s all we do in this volume. However, this is where it gets tricky. They suggest that you glue the pieces of the cannon together, but my standard glue doesn’t get them to adhere. That means I have to turn to superglue. And that stuff is DEADLY. One wrong move, and you get a permanent flaw. I’ll see if I can proceed without it.
“After putting the port together, I had to confirm my suspicion that these two ports together could be worn as glasses.”
you can’t throw a line like that out and not back it up with proof!
Sorry, too late now. Yeah, that’s the ticket…