
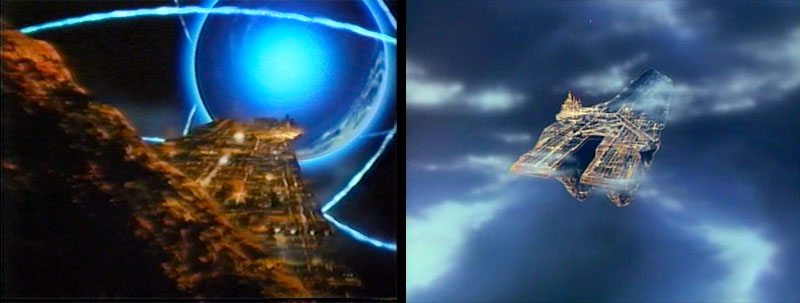
Establishing shots of City Satellite Uruk, completely different from A to B.
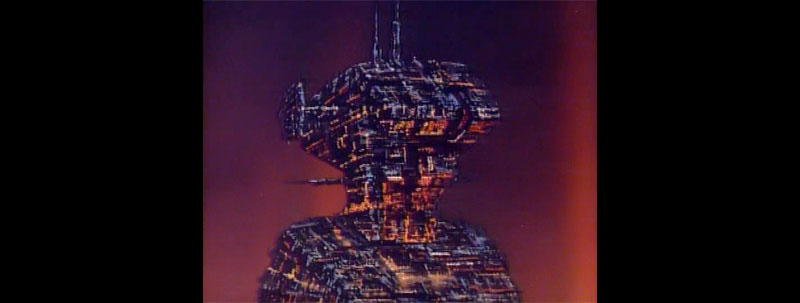
Version B included an extra shot of Emperor Lugal’s Giant Tower of Evil Management Inc.
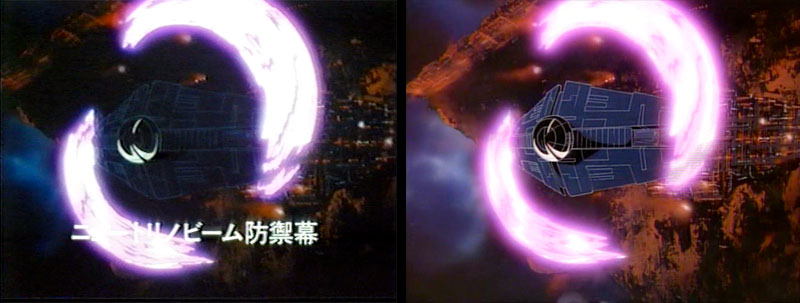
As Yamato approaches, the Emperor orders the Neutrino Beam generators to power up and form a protective shield. They are captioned in Version A.
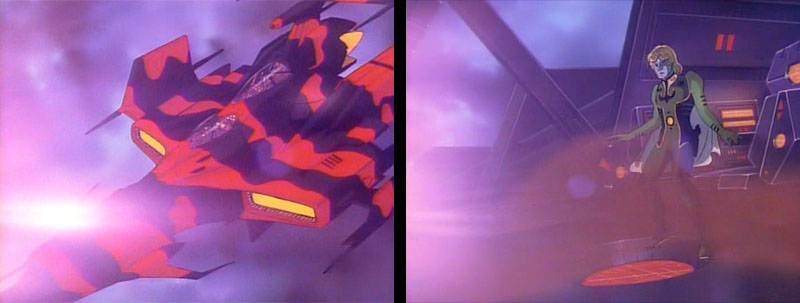
Unfortunately for Lugal de Zahl, his father raises the shield before he can land, which puts him on the wrong side of the door. He realizes this in these two new shots from Version B.
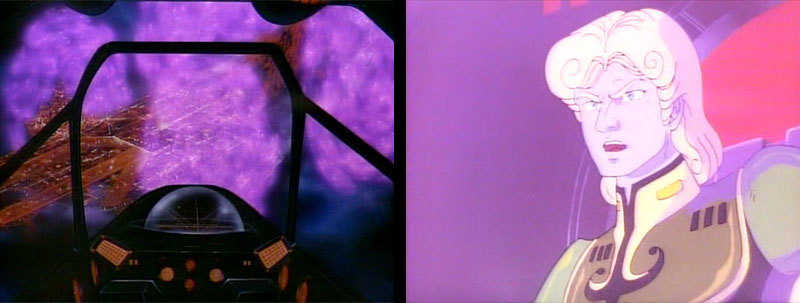
Above left is another new shot from B. This sequence was much simpler in Version A and included the reaction shown above right. In both versions, Lugal is vaporized in his head-on crash and we instantly see the neutrino shield as bad news.
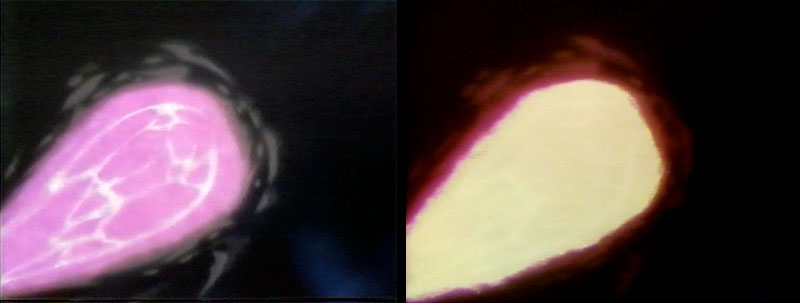
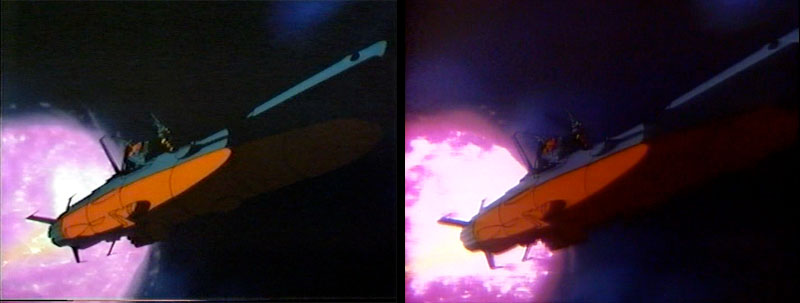
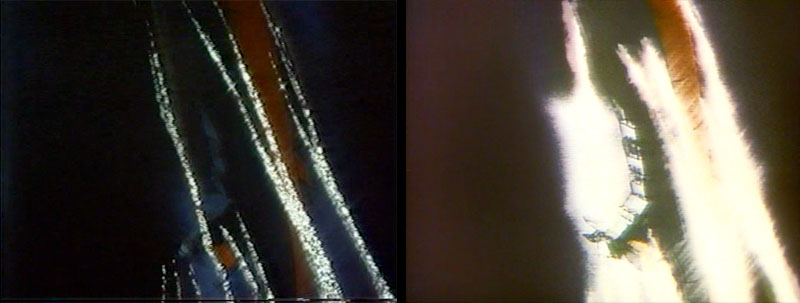
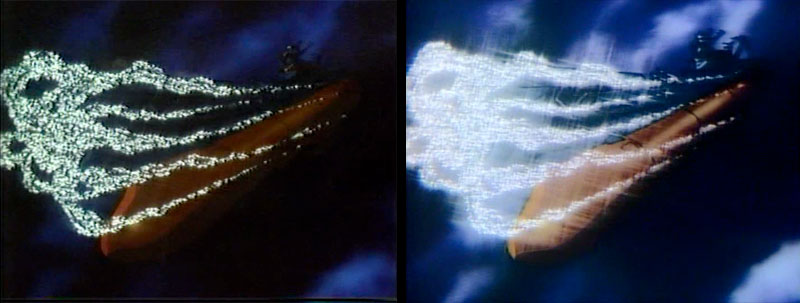
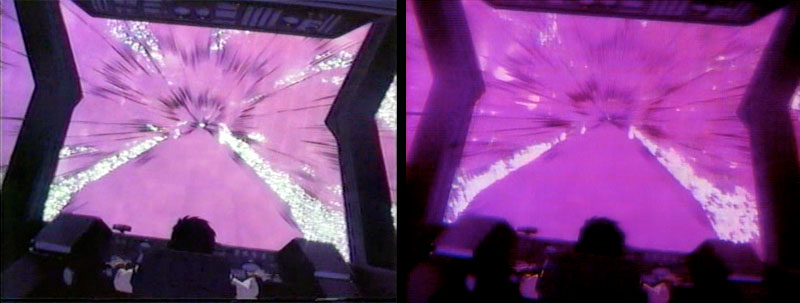
Yamato turns in time to avoid Lugal’s fate, but a huge ball of glowing neutrino energy is fired at the ship. This is the beginning of a sequence that was highly enhanced with “solarization” effects in Version B. This is a video process that creates some unusual artifacts, as we will see.
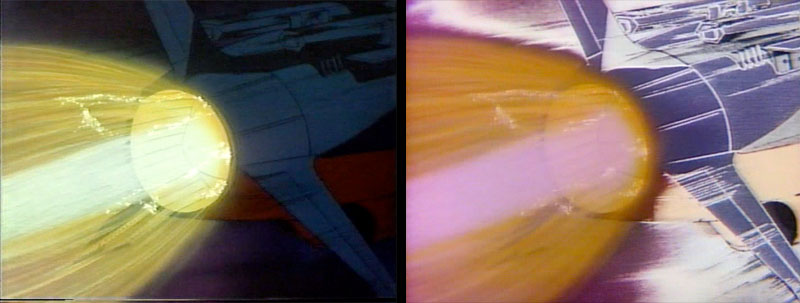
Yamato‘s engines power up to full blast as the energy approaches. Version A featured the straight animation. Version B color-blasted the sequence with solarization that probably looked better on a movie screen.
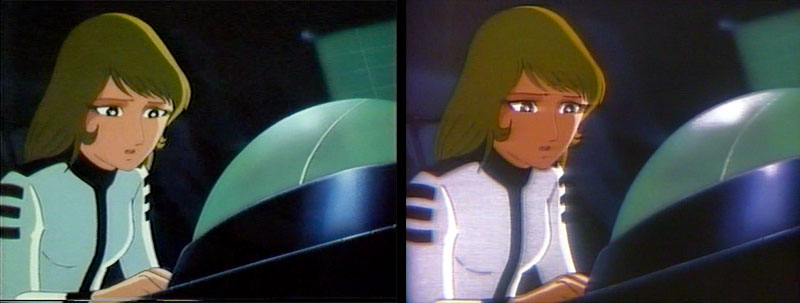
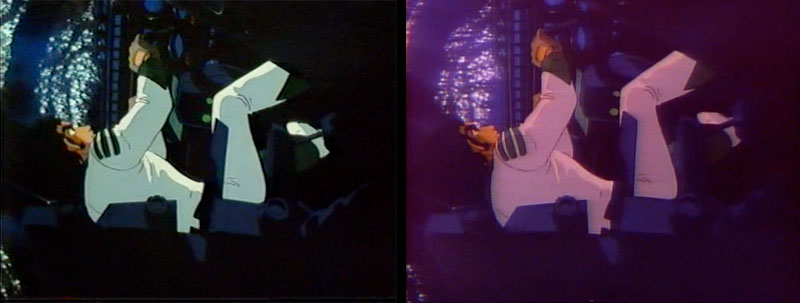
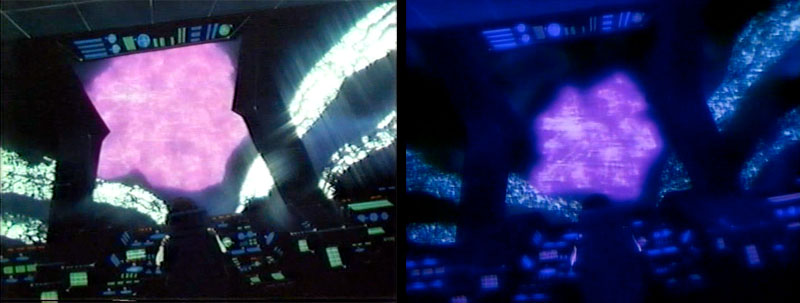
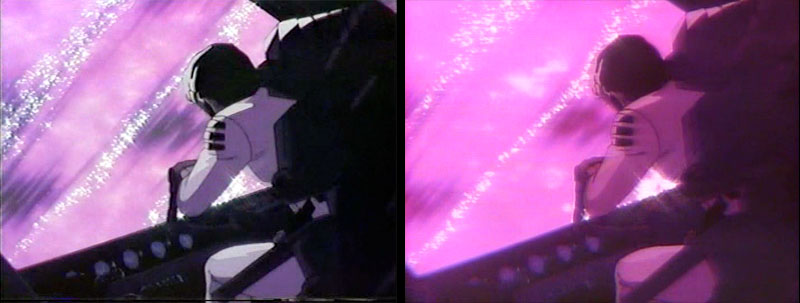
The treatment continued inside the bridge. It’s possible that the film-to-video transfer boosted the contrast even more, giving it a truly eye-scorching look.
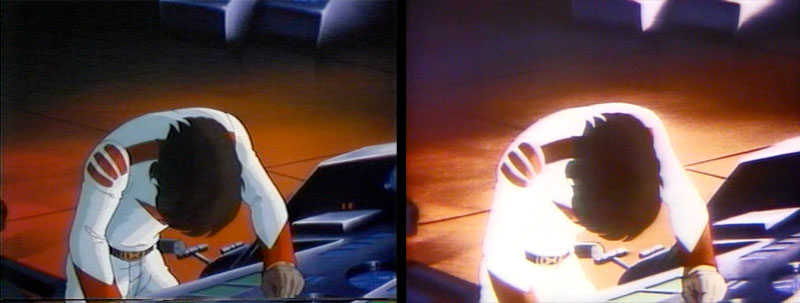

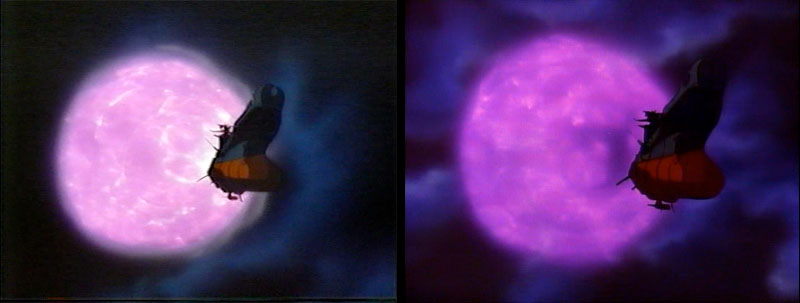
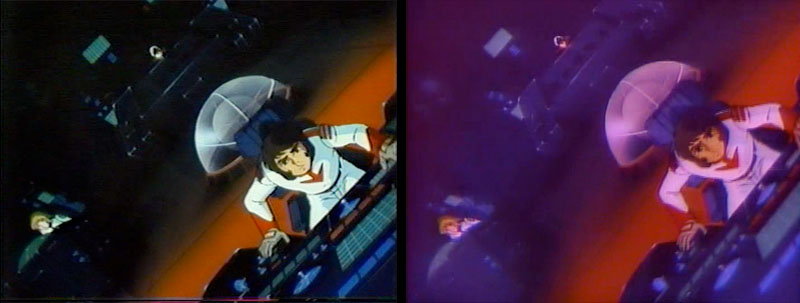
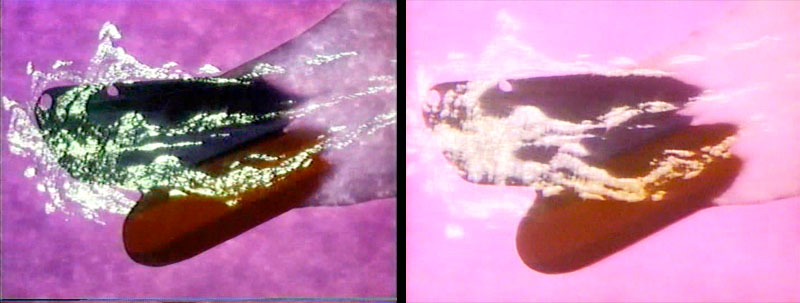
Things look utterly hopeless as the ship is overwhelmed…but then turns out to be protected by a cocoon of Wave-Motion energy. That was lucky!

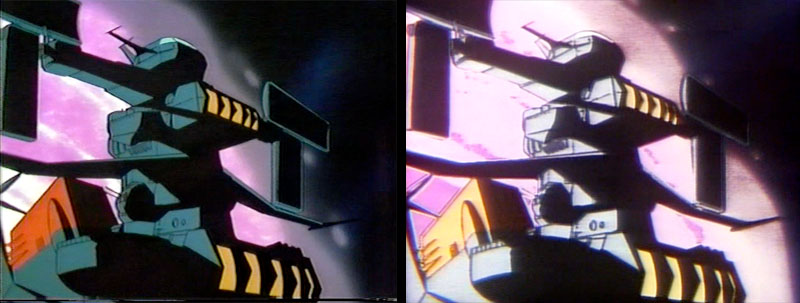
Glowing with the power of righteousness, Yamato climbs up out of the blast and begins a huge arc back down toward Uruk. All these scenes were color-shifted for Version B.
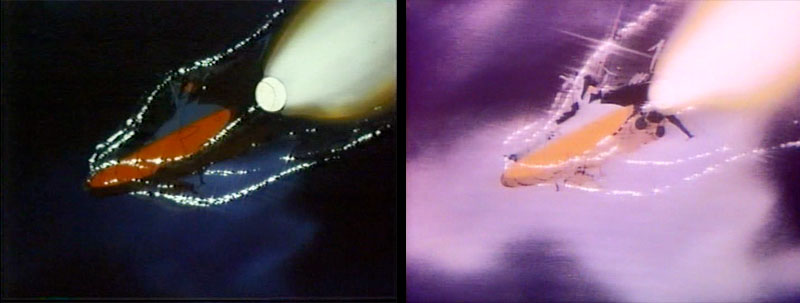
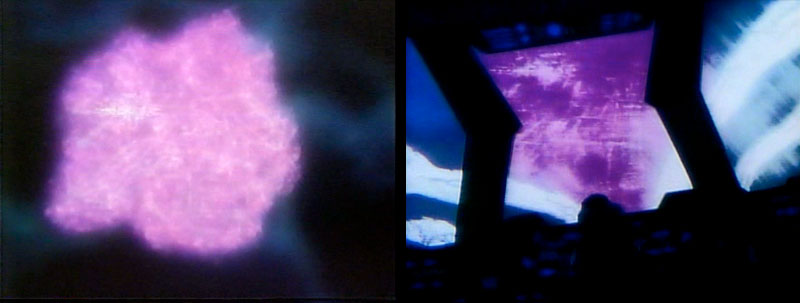
Here the two versions diverge briefly. Version A cuts outside the ship for a view of Uruk surrounded by neutrino energy. B stays inside the bridge for the approach.
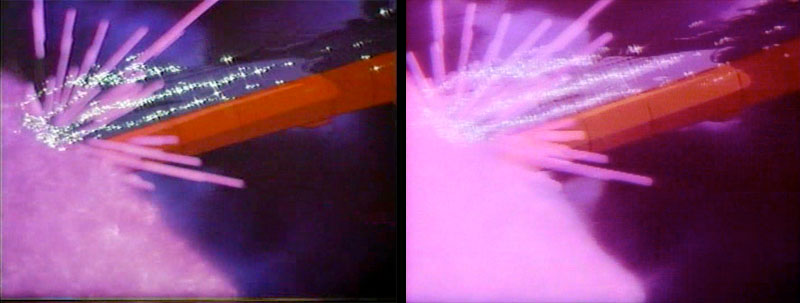
Yamato thumbs its nose at the neutrino shield and plunges straight in.

Next stop, Emperor Lugal’s front porch!