
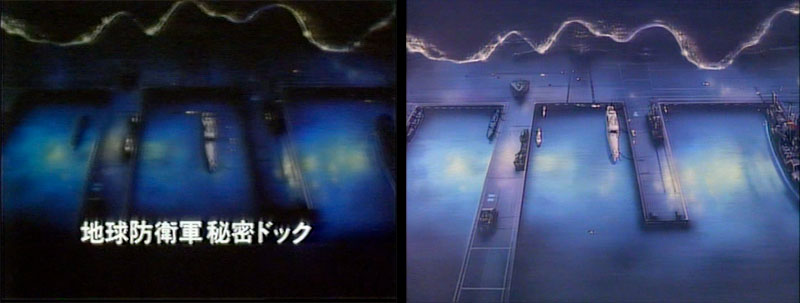
Yamato limps home after its first attack by Lugal de Zahl and rests in a giant underground EDF ship dock. It gets a caption in Version A.

A newly-minted EDF fleet rises to intercept the approaching Dinguil task force. The caption was dropped from Version B and the sky colors were brightened.
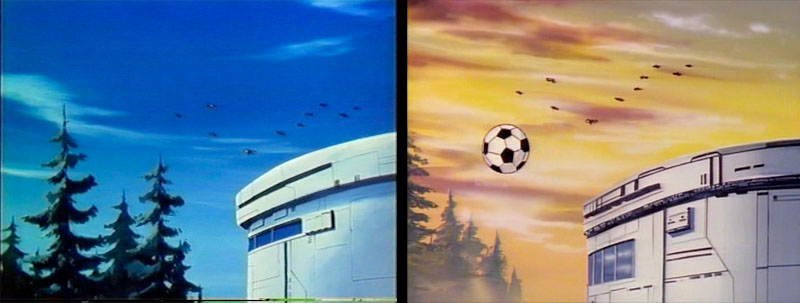
In Version A we see the ships from the ground. In Version B the shot is changed and a soccer ball flies through.
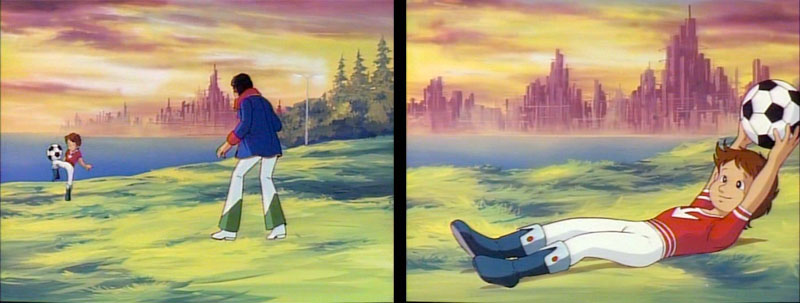
This leads us to an entirely new scene for Version B; Shima and his little brother Jirou (AKA Jordy Venture) have a rare playful moment together.
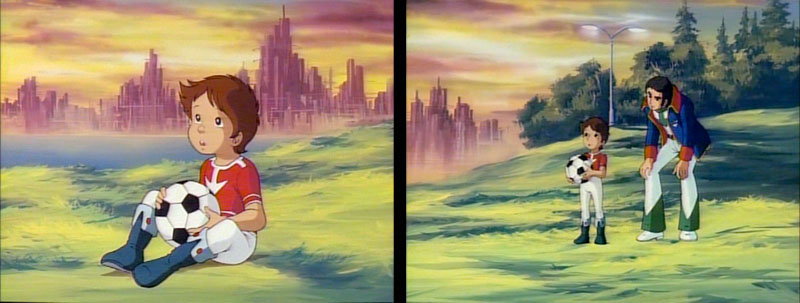
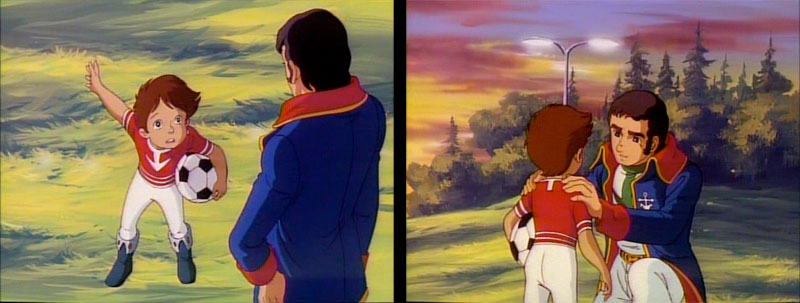
Shima does his best to reassure his little brother that everything will be fine, but we the audience instinctively know better, don’t we?
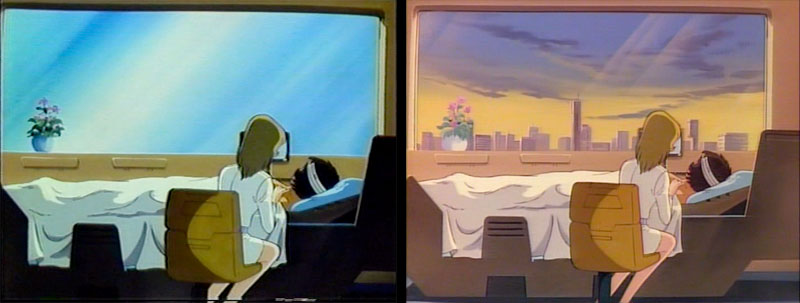
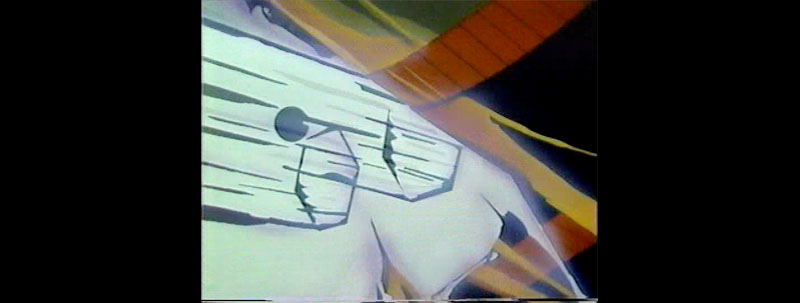
Cut to Yuki tending Kodai in the hospital. The view outside his window is considerably improved in Version B.
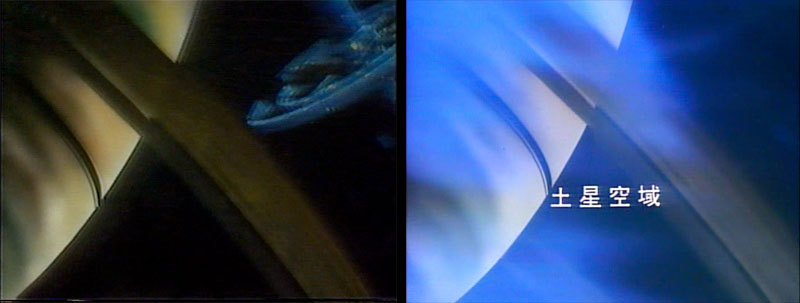
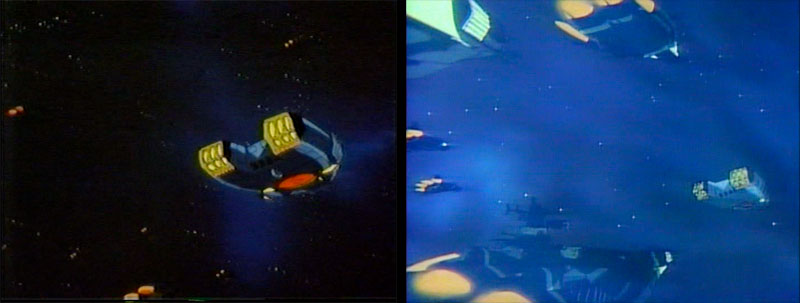
Meanwhile, in outer space we have two quite different scenes. Version A puts a space colony closer to Saturn. Version B puts them farther apart and enhances the scene with mist and a caption.
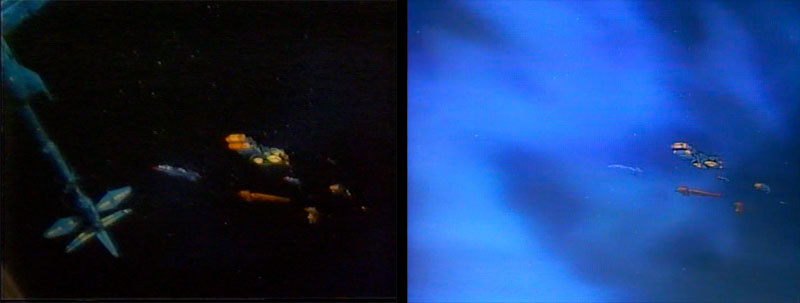
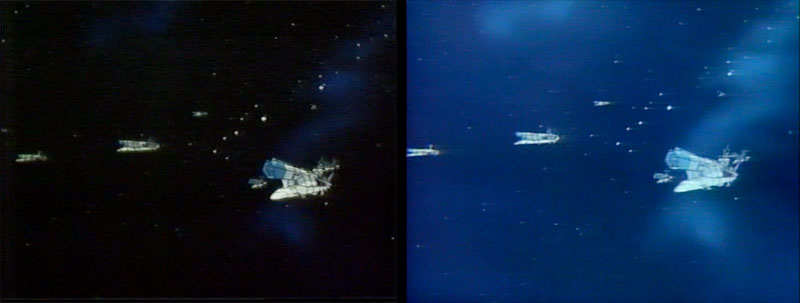
The shot then pans to the right for a look at the Earth emigration fleet. Version B includes the space colony, but the shot is opened up much wider.
A new shot from Version B: the Dinguil task force warps into the midst of the emigration fleet.
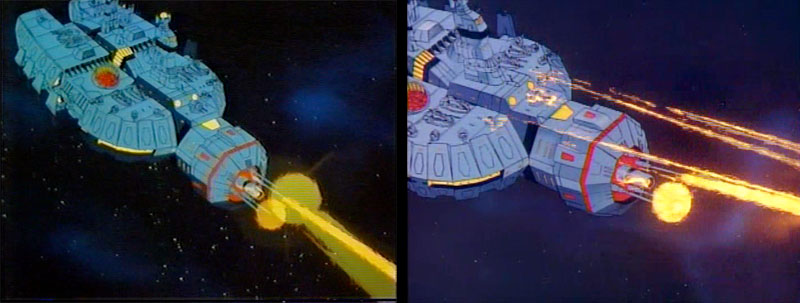
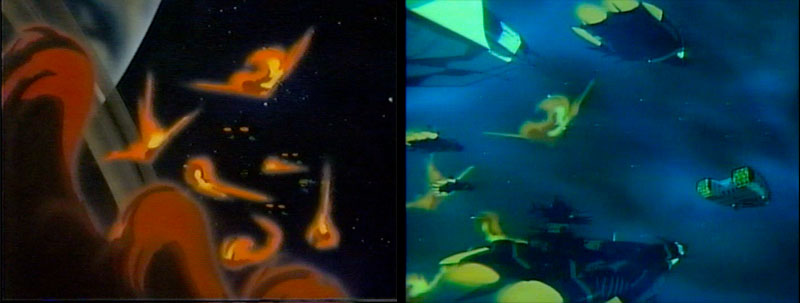
Lugal’s command ship opens fire. The shots are framed differently in A and B.
The Dinguil ships cut down the emigration fleet with ease and charge on ahead. They are closer together in Version B and the scene is enhanced with mist effects.
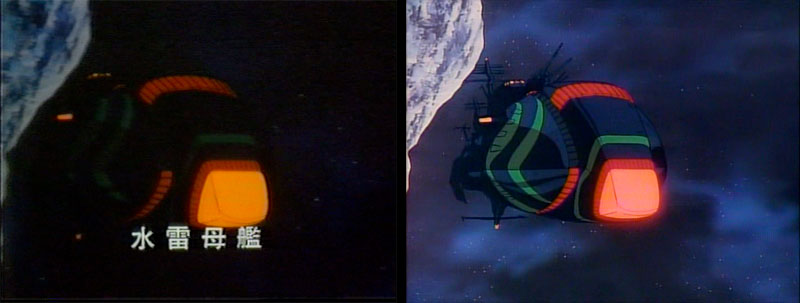
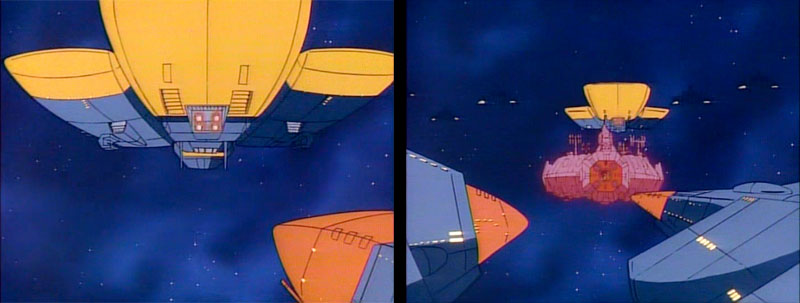
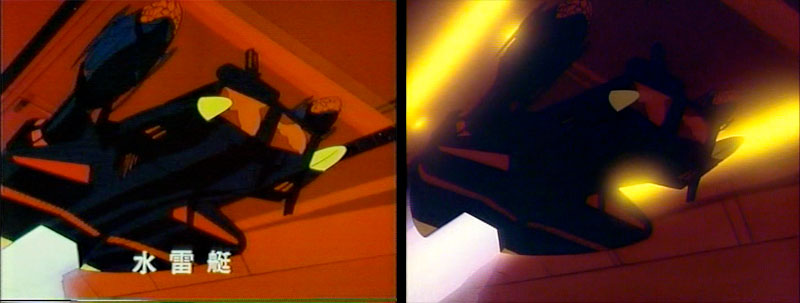
Cut to a Dinguil carrier, which is captioned in Version A.
A rare example of a scene that appeared only in Version A: closeup of a fighter firing up its engines inside the carrier
The fighter itself is shown launching in both versions, but is only captioned in A.
The EDF battlefleet closes in. Mist effects enhance the scene in B.
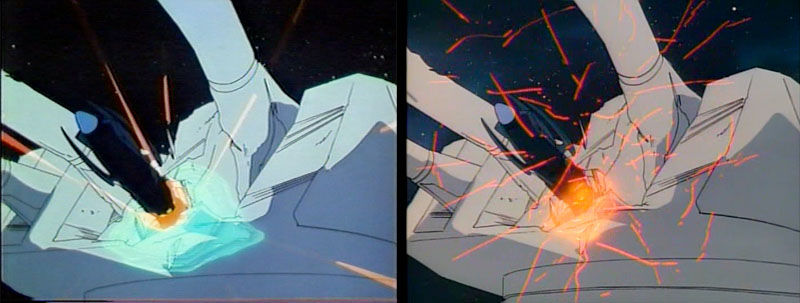
A hyper-radiation missile hits the lead EDF battleship. The radiation effects are different from A to B.
The EDF fleet falls quickly. The closing shot is changed considerably from A to B.