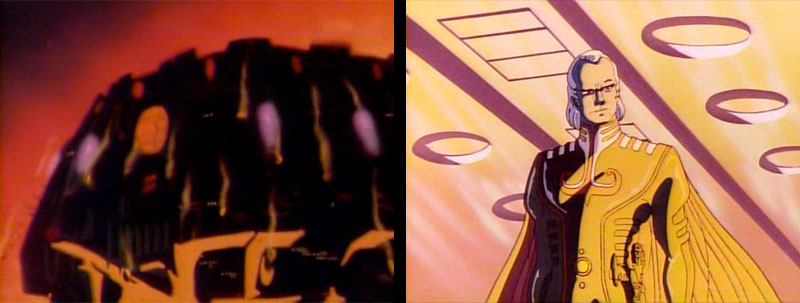
Lugal is prepared for unwelcome guests. He powers up his Robot Horse, which gets a caption in Version A. The horse was fully-painted in Version B.
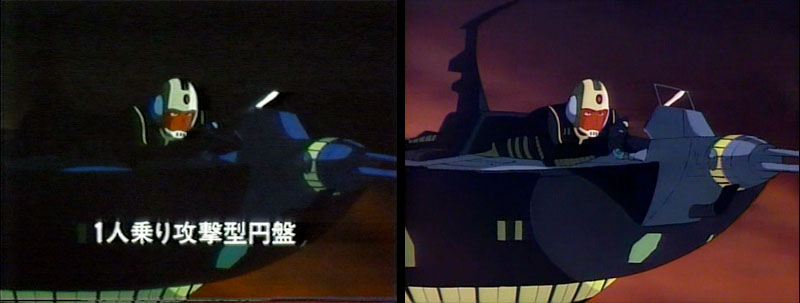
Also in the Dinguil arsenal are one-man flying attack platforms, as captioned in Version A.
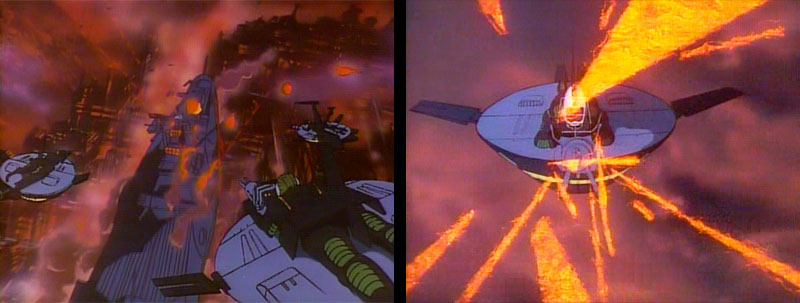
The platforms close in on the crash-landed Yamato for a firefight with the crew on deck. The scene shown above left was new in Version B. They start firing, and one of them nails Shima with a mortal blow.
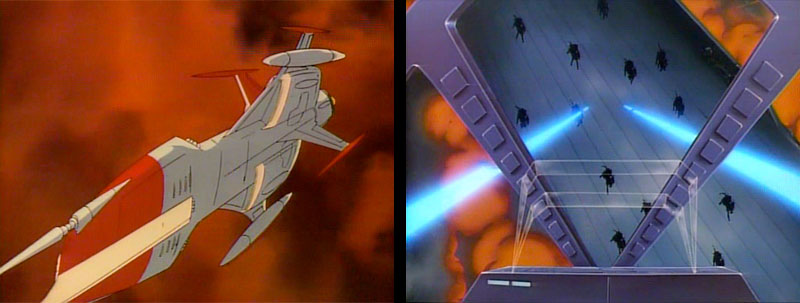
Kodai orders Shima back to the bridge and launches in the Cosmo Zero. In Version A he simply flies to his next stop. Version B adds a few scenes of him strafing Lugal’s phalanx of Robot Horses.
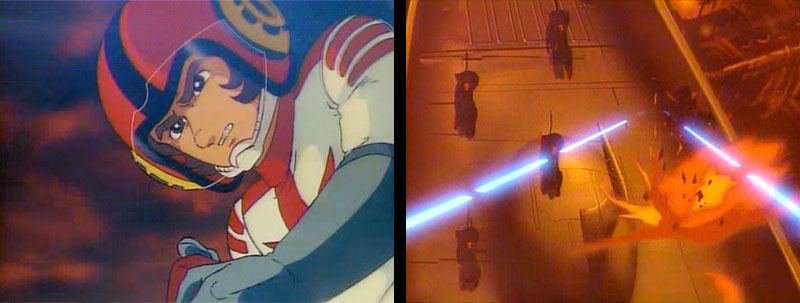
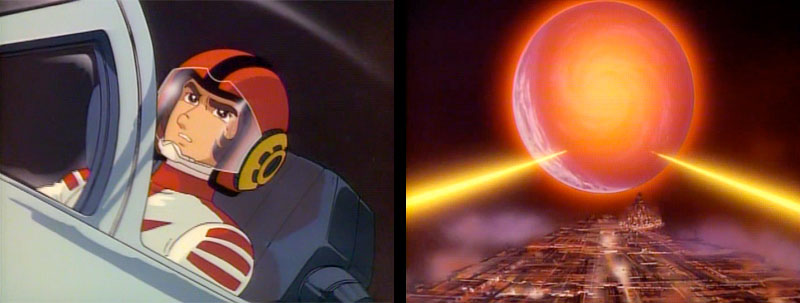
Following this, Kodai spots the warp beams firing on Planet Aquarius and turns all his efforts toward stopping them. This is where Versions A and B converge again.

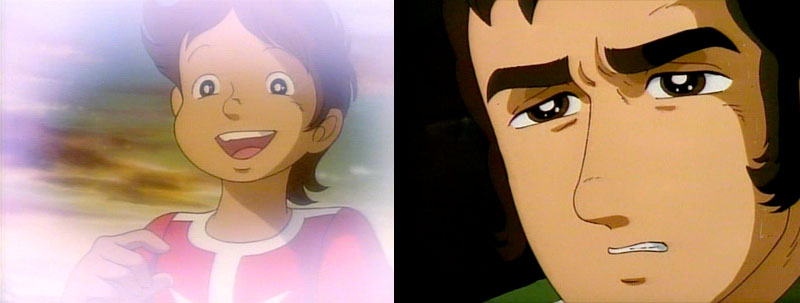
Despite mortal wounds, Shima struggles mightily to support Kodai’s effort. After doing his part, he pauses for a memory of more pleasant times with his little brother. As with all previous scenes involving Jirou, these were new to Version B.

Even if you haven’t seen the movie yet, you probably know where this is going…
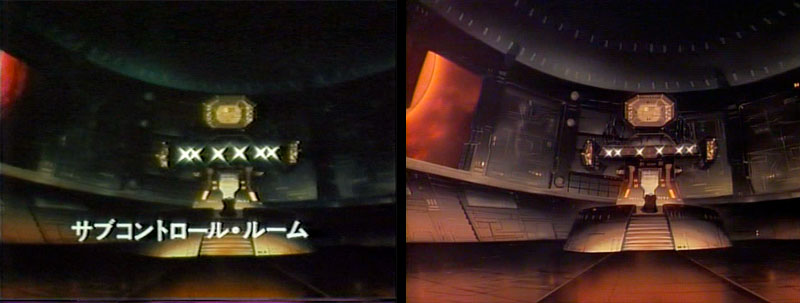
His plot thwarted and his City Satellite crumbling, the Emperor falls back on plan B: propel Aquarius toward Earth with his other warp generator from the Sub-Control Room. As usual, it is captioned in Version A only.
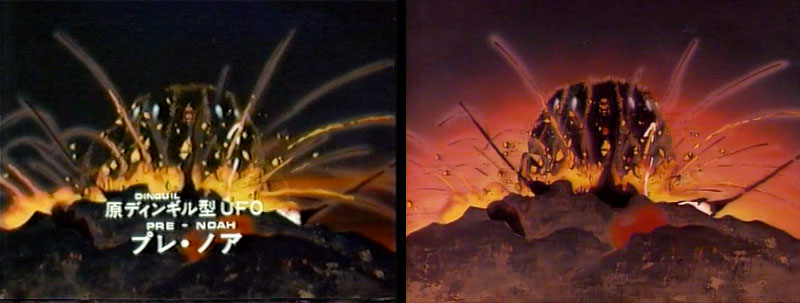
His next move is to escape in his ancient spaceship, the same one used by early Dinguilians to rescue Earthlings from the Biblical flood. Unfortunately for the Dinguilians, they chose the wrong Earthlings. Those jerks turned on their kindly hosts and mutated their culture to its present aggressive state. So really, this story is about chickens coming home to roost.
Version B gives us a closer look at one of these ships before cutting inside. This intermediary shot is not in version A, but Lugal is in both.
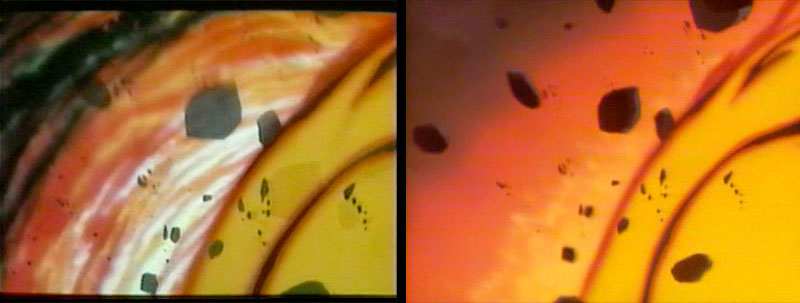
Uruk starts to explode. The colorful background of this shot in Version A was removed from Version B.
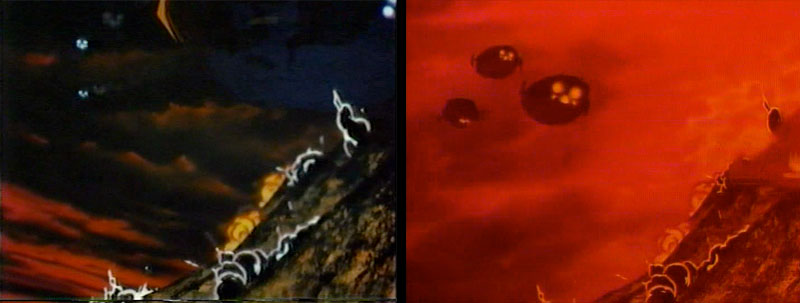
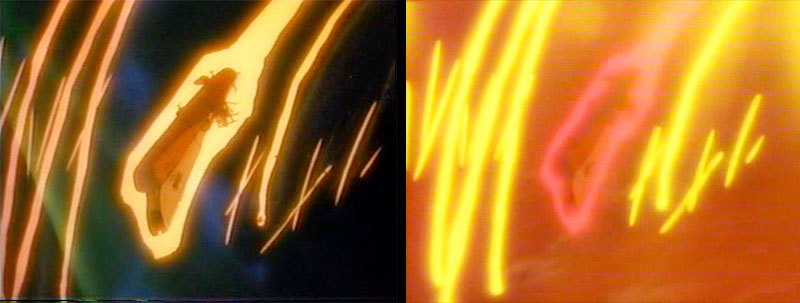
The next scene also differed quite a bit from A to B with the ships climbing away into a blood red background.
This color scheme continued into a shot of Yamato trying desperately to rise as Uruk collapses beneath her.
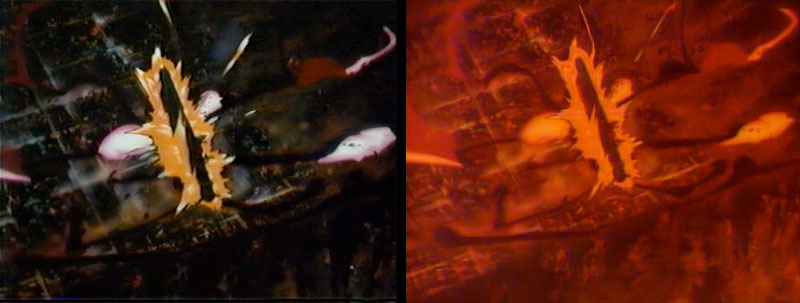
Ultimately, Yamato falls straight through the crumbling Uruk before powering up. This was another case of heavy color enhancement in Version B.
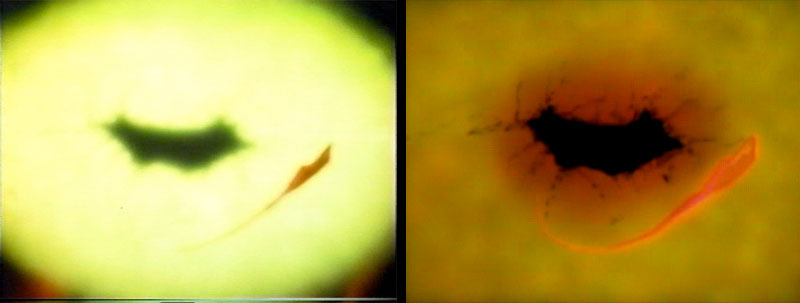
The final destruction of Uruk is quite different from A to B. Version B preserves more detail and closes with the satellite splitting in half as shown below. Version A just ends with a big glowing ball of energy.