
Argo–Collision in Warp!
By Arthur Painter (with notes from Tim Eldred)
The Argo is approaching Brumus, the 11th planet of the Solar System. The Star Force is expected to join Earth Defense Forces at Saturn in 2 days.
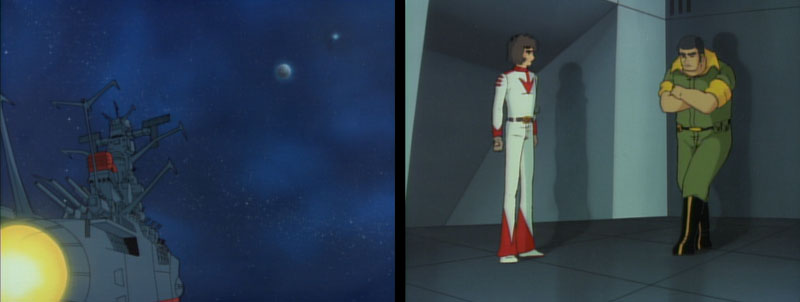
Sgt. Knox appears on the bridge, asking Wildstar to speak in private. Wildstar seems a little hesitant, but follows the Marine out into the hallway, where Knox requests permission to visit Brumus and pay his respects to the men he left buried there. He’s aware the Star Force is on a tight schedule, but promises his visit will be a short one.
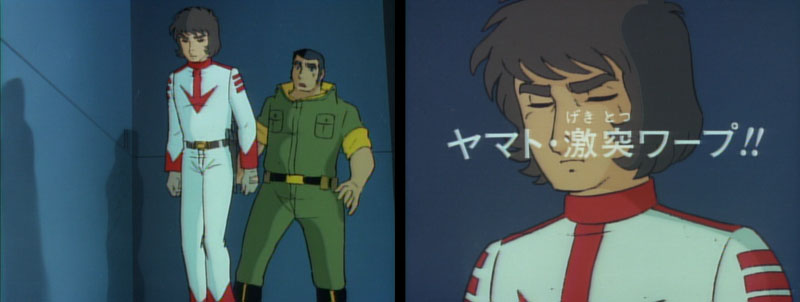
Wildstar’s reply is a curt refusal, citing his orders. Knox gets uncharacteristically emotional as he makes another appeal. Wildstar sounds exasperated and dismissive as he gives his final answer: “I’m sorry about your friends, but we have to think of our mission, and that is to save lives.” He walks away, leaving Knox fuming. Kicking the wall several times, he rants about Wildstar’s lack of “heart.”
“Lousy officer!” he bellows. “What does he know about guys ya live and die with?” Wildstar, within earshot of that comment, has a look on his face that reveals his sympathies.
Knox and Wildstar’s interaction is an echo of Wildstar and Captain Avatar’s relationship in the first few episodes of Series 1. Wildstar blamed Avatar for the loss of his brother, and Wildstar felt similarly dismissed after their first meeting. Later, Wildstar questioned the Captain’s abilities as a leader (a complaint Avatar overheard), before learning that Avatar himself suffered a personal loss much like his own. Here, Knox is so wrapped up in his own anger and grief he can’t see that the object of his rage really does understand how he feels. And like Avatar, Wildstar overhears a bitter, angry complaint about his command decisions. But as acting Captain, he has to consider the bigger picture, regardless of personal feelings.
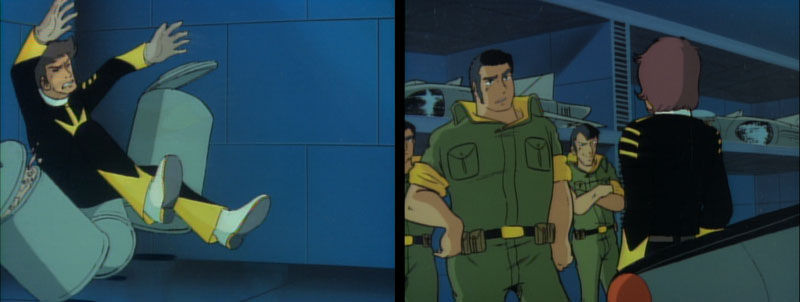
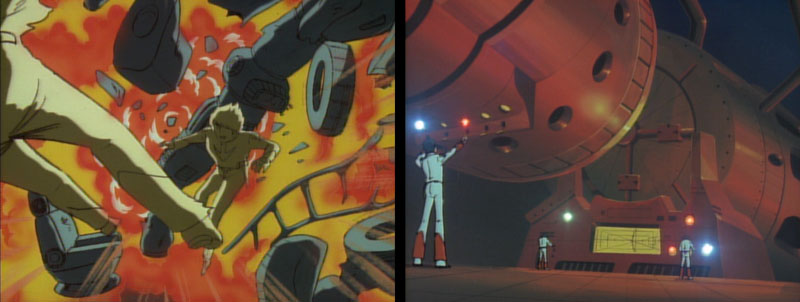
Knox proceeds to deal with his frustration in his typical way: he beats people up. In Yamato 2, the very next scene is of a Black Tiger pilot crashing into a pile of cannisters. Two more are slammed into a wall.
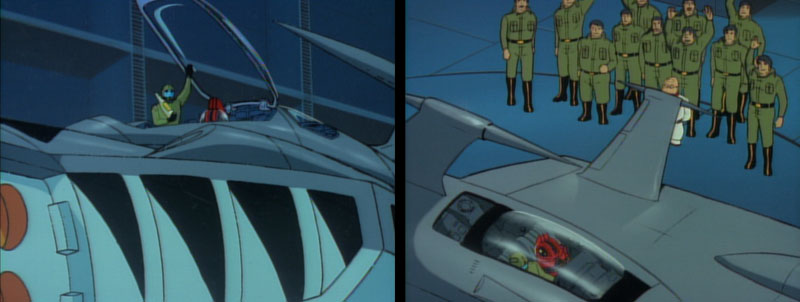
Hardy is in front of his fighter, lost in his work, when a looming shadow approaches. He turns to see Knox, flanked by several of his Marines, who says he needs to “borrow” his fighter. Hardy fearlessly replies “nobuddy flahs MAH plane!” As things start to escalate, Conroy rushes in. The hangar is his domain and he won’t abide any fighting. Knox repeats his request. Conroy’s response is “no way,” in a voice thick with contempt. Knox cracks his knuckles in anticipation of “changing his mind.” Conroy, despite just laying out a “no fighting” rule, eagerly prepares to go a few rounds.
On the bridge, Knox’s request is weighing heavily on Wildstar’s mind. Venture, no longer wrapped up in his own grief over Trelaina, notices the pensive look on Wildstar’s face. Since the Argo will reach Saturn in 2 days and the Comet Empire fleet is expected in 3 days, Wildstar decides they can risk a stop at Brumus “just for 5 or 10 minutes.” Before Venture can talk him out of it, IQ-9 wheels in announcing a fight in the hangar.
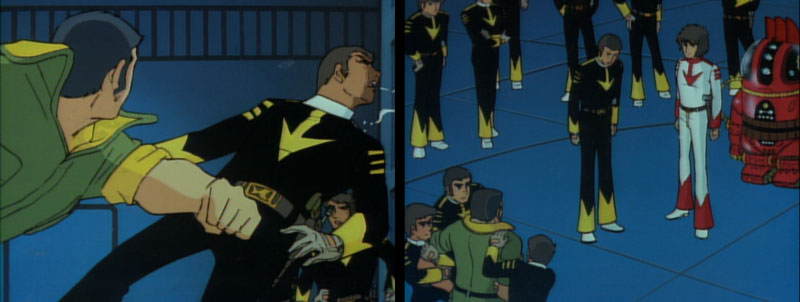
On the flight deck, Conroy is getting his licks in. First is a punch to Knox’s jaw, followed by a flurry of hits to the body, finishing off with an uppercut. Knox stays on his feet and counters by kneeing Conroy in the gut, then a left cross that knocks the pilot down. This short but intense display of violence was edited out of Star Blazers.
Wildstar and Venture separate the combatants. Conroy, his face bruised and swollen, tells the Deputy Captain that Knox wanted to take off in an Astro Fighter that was being repaired. Rather than mete out punishment, Wildstar orders Knox to go to Brumus. Before he shows too much gratitude, Wildstar clarifies that this is an order, and tells IQ-9 to go with him.
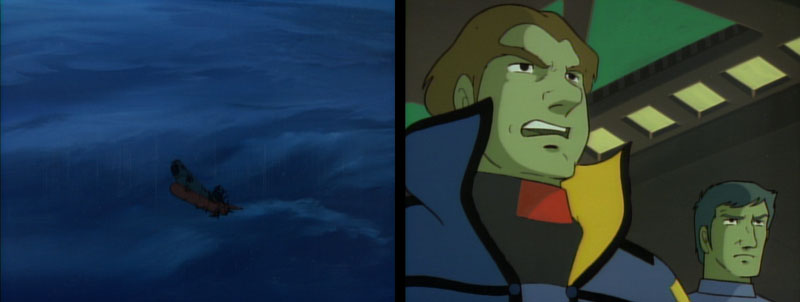
A short time later, Knox walks to the waiting torpedo boat. Dr. Sane calls after him, holding a bottle of “Captain Avatar’s spring water” [sake], a gift Wildstar sent in honor of Knox’s fallen Marines.
Story note: 11 marines are seen with Dr. Sane, waving Knox off. If this is the entire complement (and there’s no reason to assume it isn’t), it marks a loss of 9 marines since they were originally picked up by the Star Force.
As Knox heads to Brumus, the Argo‘s time radar activates, showing a large enemy fleet that was in the area three hours ago. Sandor muses that Brumus may be functioning as an enemy supply base.
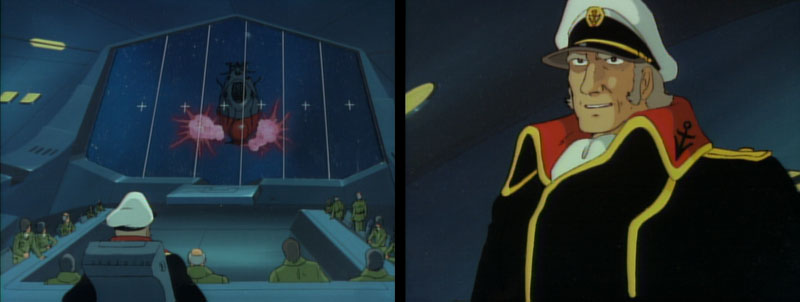
Before they can act on this information, Commander Singleton calls, demanding to know why the Argo has stopped at Brumus. Wildstar doesn’t even get a chance to answer before Singleton shows him images of the near-panic taking hold of Earth’s population. Citizens are even swarming back to the underground cities. Singleton is emphatic: the Star Force must join the fleet as soon as possible.
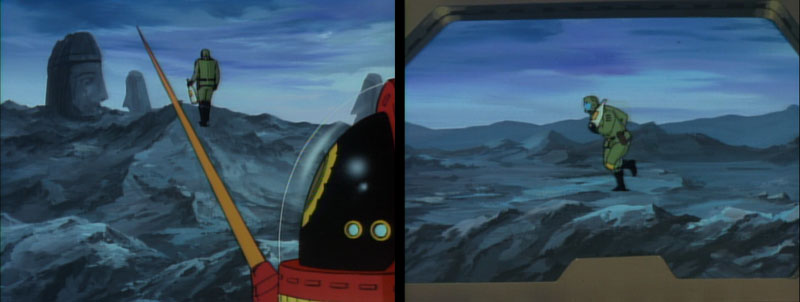
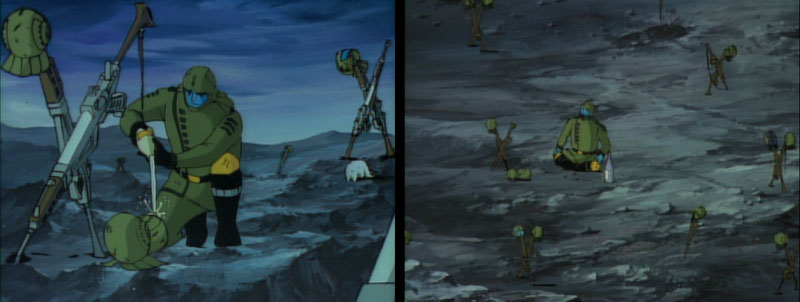
Knox lands his ship and walks past the unexplained “Easter Island” heads that litter the landscape. IQ-9 follows, bothered by a feeling of unease. Seeing the ruins of the Marine base in the distance, Knox’s face lights up and he begins running toward it.
Several Comet Empire troops observe Knox on a monitor, but decide not to reveal their presence just yet.
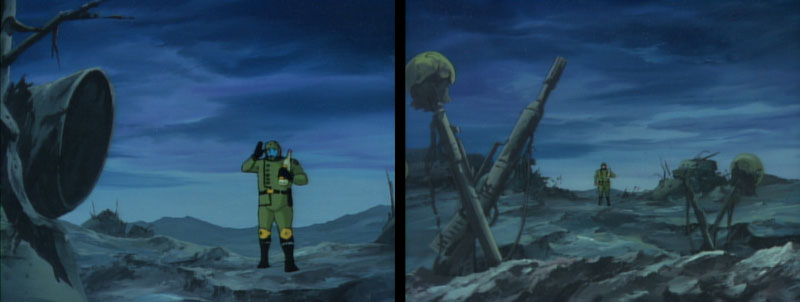
Knox walks through the ruins of the base and (in Yamato 2) calls out to the ghosts of his soldiers, telling them he has returned. Star Blazers joins the scene at the point where he finds the makeshift graveyard. It’s an eerie and moving scene. Knox, not given to sentimentality, stands reverently reunited with the men he left behind. He had promised to come back (in Episode 6), and now he’s fulfilled his vow.
Star Blazers has been criticized for sanitizing much of the death and violence in Yamato. While this is true, it should be noted that Tom Griffin (of Griffin-Bacal Advertising, Star Blazers‘ scriptwriters) stated a good deal of the censorship was of “personal violence.” While there were blatant changes made to the fates of several characters, it was never implied that nobody died in the Star Force’s many battles. In Star Blazers, death isn’t denied, it’s just changed from explicit to implicit. Scenes like this one, where respect is paid to those who have fallen, is tacit acknowledgment that this is a war story, and in war stories, people die.
This is what made shows like G.I. Joe (produced just a few years later by Claster Productions and Griffin-Bacal) so insulting. They had all the violence, but removed its detrimental effects. The philosophy behind this was to protect kids. In my opinion, removing the consequences of violence in a show for children borders on irresponsible. A kid watching G.I. Joe would learn that guns don’t kill, punches don’t leave any marks, and every pilot parachutes safely away from an exploding plane. Star Blazers, even without explicit violence, included scenes like this one that were stark reminders of the price paid in the fighting. Even Knox, one of the toughest characters in the Star Blazers saga, is stung by the consequences of war.
The Marines’ retreat from Brumus didn’t allow for ceremony, so graves were dug quickly and marked by rifles and helmets. Walking among them, Knox pours the “spring water” onto the helmets; a drink for his fellow soldiers.
Story note: the liquid freezes almost instantly, probably faster than alchohol would, so the “spring water” explanation is actually a better one in this case. In Japan, it is customary to cremate dead bodies rather than burying them, so grave markers are symbolic rather than actual resting places. It is possible to assume that the same is true here.
The Argo descends through Brumus’ atmosphere and is picked up by the same Comet Empire troops who were observing Knox. Seeing an excellent opportunity for an ambush, the officer in charge orders an attack. Around the area, hidden missile silos break through the surface of the planet, demolishing the ancient statues as they rise.
Story note: IQ-9 is not able to detect the underground enemy missile launchers before he literally trips over them. He was also not able to detect the magnetic force field devices in the tunnel satellite back in Episode 12. His ability to detect underground objects must be limited. But he was capable of flying the Type 100 recon plane in Series 1, and can also control the mid-size torpedo boat as we see in this episode. Even a genius can’t do it all.
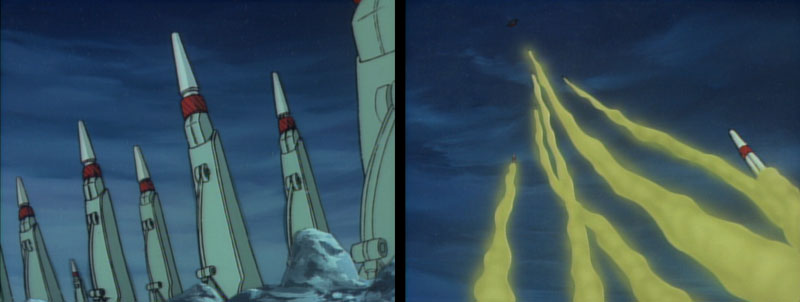
The Argo easily evades the first wave of missiles. Eager announces that another wave is approaching, followed by a report from Nova that a small fleet is ascending from the planet. The Star Force wasn’t even supposed to stop here, and now they’re caught in a two-pronged attack.
Knox is greatly offended at the notion that the eternal resting place of his fellow soldiers has been defiled by the enemy.
The Argo engages the enemy fleet. Gun turret #2 obliterates a destroyer with one shot.
Meanwhile, the ground-based silos launch a seemingly endless supply of missiles at the Argo. Knox manages to take out a few of them with his torpedo boat before he’s called back to the ship. (Accompanied by another cut from the 1978 “Disco album.”)
Both Venture and Sandor stress to Wildstar that they can’t afford to take much more punishment. As if to punctuate the point, the ship shudders from an explosion. Energy blasts rake the Argo on the port side, followed by about a half dozen missiles that strike to starboard. Wildstar orders the ship to ascend out of range. The enemy fleet follows. (As the Argo pulls away, a close look seems to show the port wing is extended, but not the starboard. Maybe it was damaged, or blown off?)
At 70,000 Mm, Wildstar orders the Wave-Motion Gun prepared for firing. Venture is shocked. With both the enemy fleet and missile base below them, this is the Star Force’s opportunity to destroy them in one fell swoop. The fact that there are Marine soldiers buried there, not to mention the mysterious alien artifacts, may be what alarms Venture.
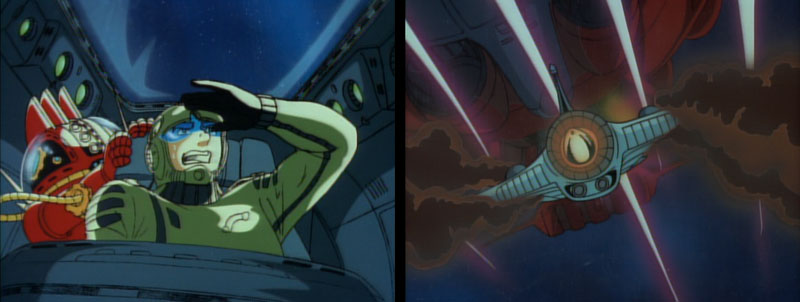
As Knox makes his approach to the hangar, he’s bracketed by a pair of shots that make him swerve wildly. The enemy fleet fires another round, this time striking near the hangar and sending debris flying toward Knox. More energy beams strike the Argo‘s underbelly, including a direct hit on the third bridge. In Yamato 2, the hapless third bridge crew gets blasted by the explosion. (They must have known it was coming…)
Meanwhile, the engine room is readying the Wave-Motion Gun. While we’ve seen these preparations many times before (usually reusing the same animation), this time it’s shown from the starboard side of the engine room. After seeing so many views from the same perspective, this one stands out.
Production note: It was established in Series 1 that the ship would consistently travel right to left while outbound to Iscandar and left to right when inbound to Earth. The same basic approach was taken in Series 2, which may be what motivated this choice.
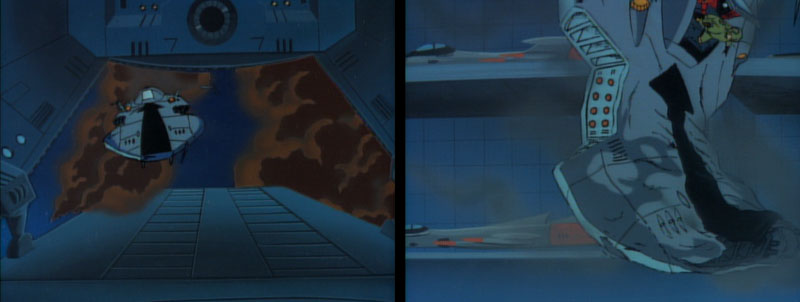
Knox says to go ahead and leave without him, but Wildstar urges him to try again. This time, Knox makes it into the hangar. On the way in, he clips the torpedo boat’s dorsal fin, causing his ship to flop nose-first into the floor. A close look reveals that Knox and IQ are ejected from the cockpit by the crash.
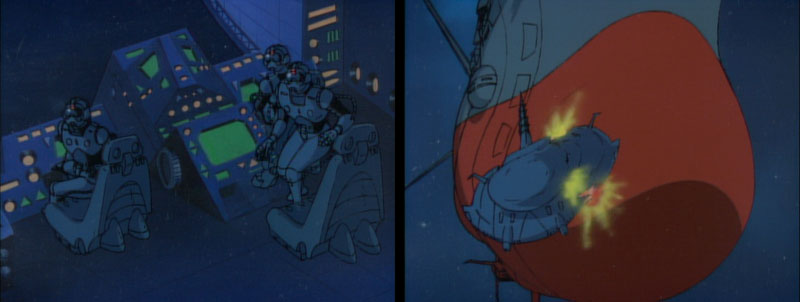
Knox arrives on the bridge. For the first time, he dons the anti-flash goggles and hunkers down next to Orion. (When Knox was on the bridge for the WMG firing in Episode 12, he wore a blindfold). The Wave-Motion Gun obliterates everything in front of the Argo; the fleet, the missile base, and, it seems, the entire face of the planet.
Story note: for whatever reason, Knox does not object to the fact that his friends’ graves no longer exist.
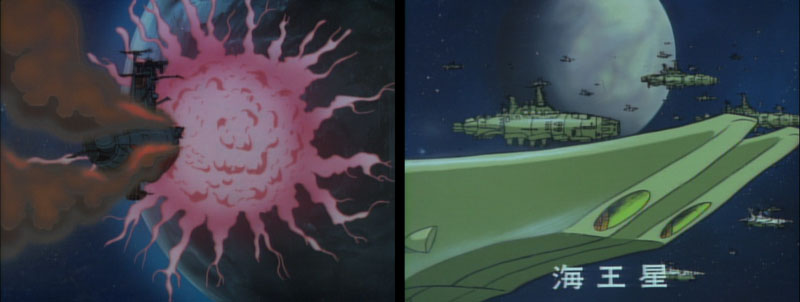
General Bleek’s main force is just passing Neptune (identified by a Yamato 2 caption) when he receives word that the Star Force has destroyed the ordnance base on Brumus, along with the 4th battle fleet (called the 25th assault fleet in Yamato 2). Bleek smiles, a gleam in his eye. He seems pleased to have a challenge on his hands.
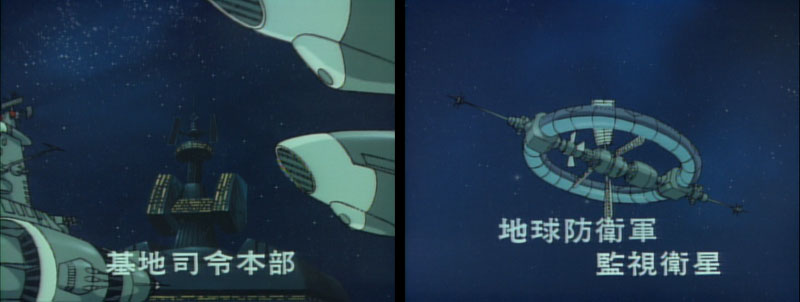
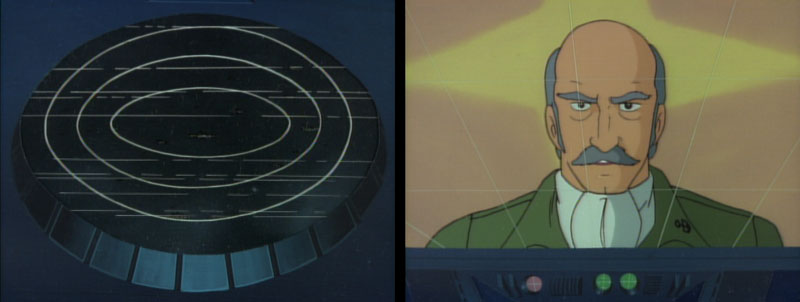
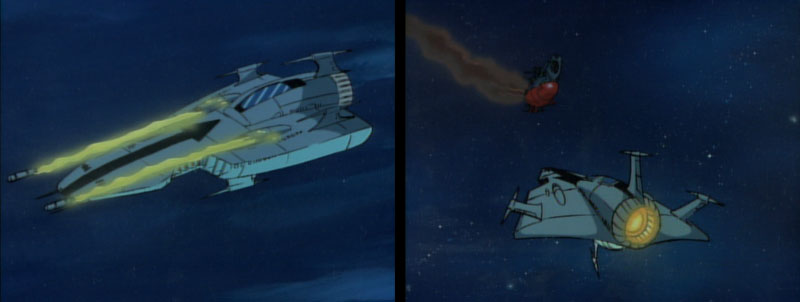
Meanwhile, at the EDF Titan base (labeled “Command Center” in Yamato 2), Gideon is informed that their “spy in the sky” surveillance satellite has detected the enemy fleet at Neptune. Before they can analyze the fleet, the satellite is detected and destroyed by Bleek’s forces. While any one of the Comet Empire ships could have destroyed it, they send out a small craft (a type only ever seen in this episode) which locks the satellite in place with tractor beams before destroying it. They may have sent out this ship to prevent their capital ships from getting any closer, and thus being identified by Earth intel.
In Yamato 2, the satellite is given a nicely animated and detailed intro, complete with a caption. The designer put in an amazing amount of work into a mecha that has less than 30 seconds of screen time.
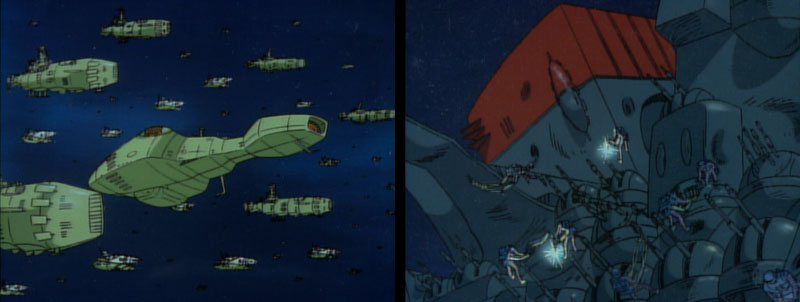
Production note: this episode was storyboarded by the master of the craft, Yasuhiko Yoshikazu. It’s possible that he designed the ship and the satellite on his own. Fittingly, the next scene is of the ship being repaired by crewmen in space armor, also a “Yas” highlight from the original series.
The Argo begins repairs. Meanwhile, the planning and navigation teams have figured out a way to do a large warp that will put them in the Saturn area, thereby making up the time lost to the battle and repair work.
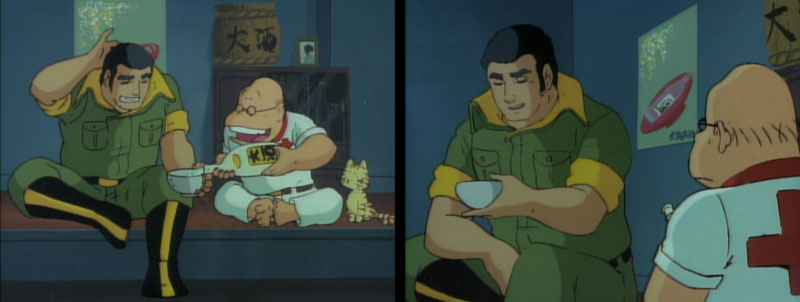
Yamato 2 contains a brief post-script to Knox’s storyline. In the Med bay, Dr. Sado [Dr. Sane] pours sake into a bowl for Saito [Knox]. Between sips, Saito admits that Kodai [Wildstar] is a good man. Sado laughs.
As soon as the repairs are completed, the Argo performs a warp. Since Star Blazers didn’t include the Med bay scene, the scene shifts abruptly from the repair work to the planning to the execution of the warp.
A Comet Empire recon plane scouts around the Saturn area, gathering intel on Earth forces. Yamato 2 provides this ship with a name: Beedas. The pilots are warned by Bleek himself to be careful, but to no avail. The Argo emerges from its warp right in front of them, smashing the small ship against its bow without even noticing. Both sides are now without direct recon of their enemies.
Gideon is informed of the Star Force’s arrival. He’s so ecstatic to hear the news, he even allows himself to laugh. They are welcomed to Titan by a message from Gideon. For some reason, they seem surprised to hear that he is in charge.
Beginning with this episode, the pace picks up considerably, with each subsequent episode ratcheting up the action and drama until the end of the series.
Gear episode! From the Knox- Conroy standoff to the small details like the hapless recon ship that gets in the way of the Yamato after the warp, everything just exudes brilliance. Derek shows great maturity and leadership here especially when he “orders” Knox to visit Brumus.
I agree. This is one of my favorite episodes. The action, emotion, dialogue, and voice acting are excellent in this one. The image of Knox sitting among his dead comrades after pouring Doc’s sake..er, I mean spring water on their improvised headstones is beautifully touching.
The dialogue between him and Homer as the Argo is leaving is funny, too.