
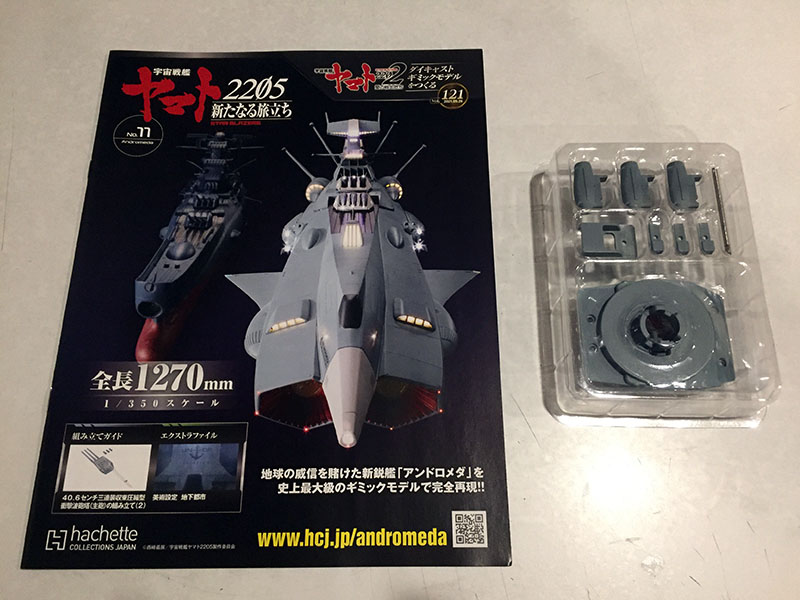
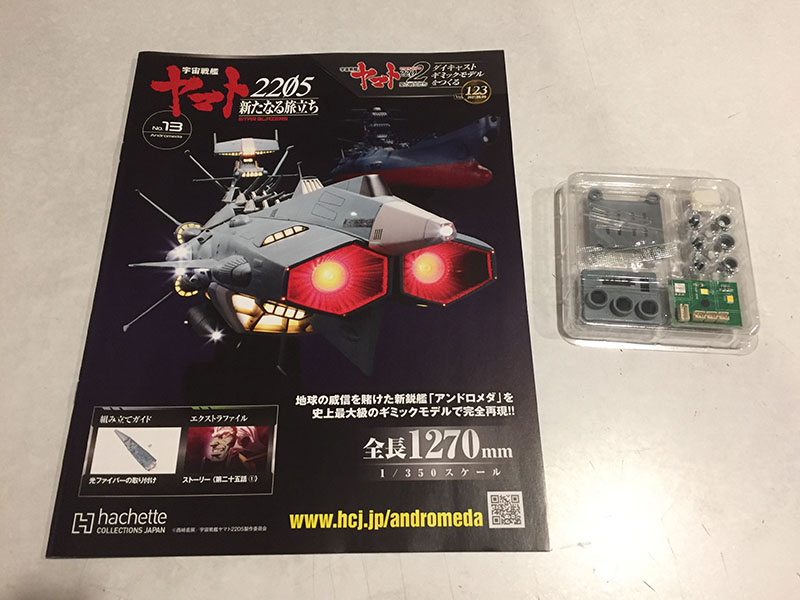
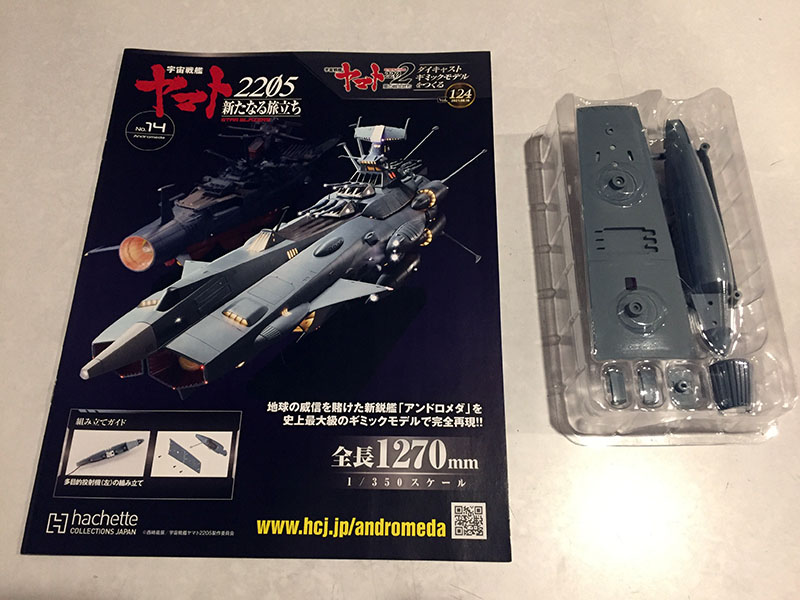
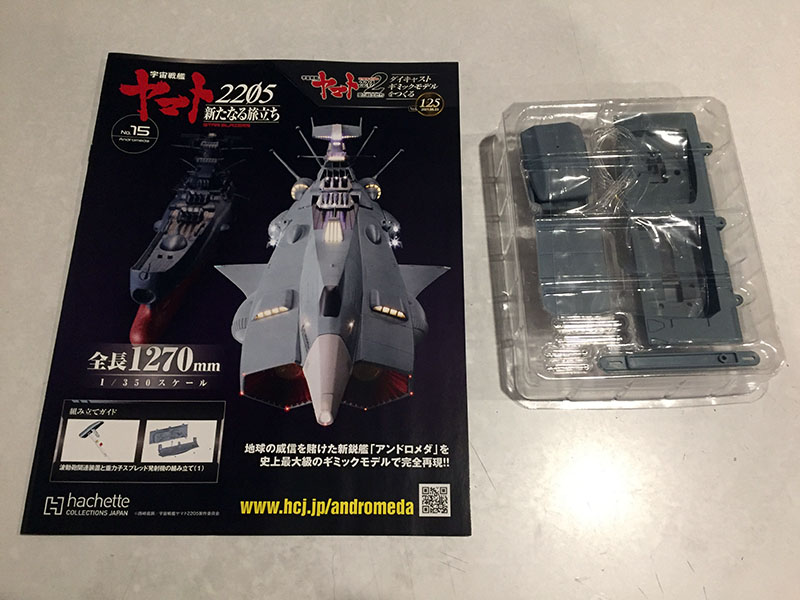
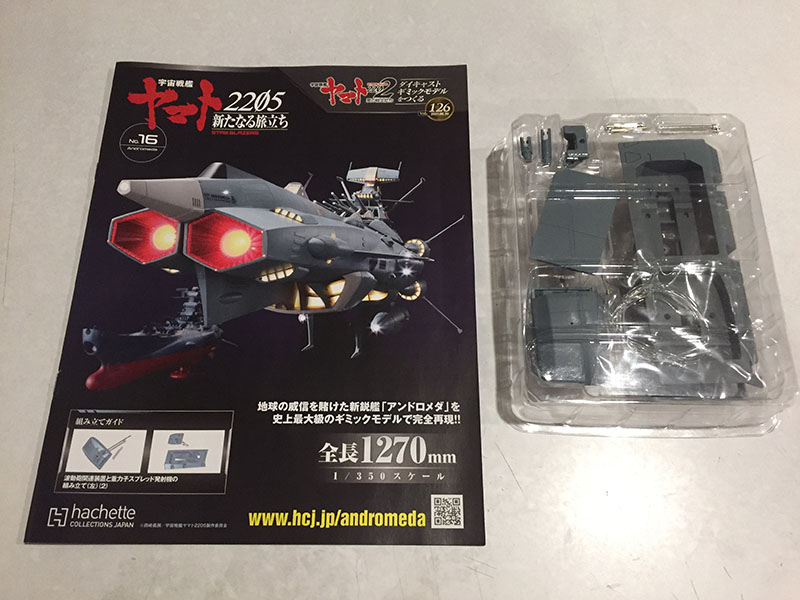
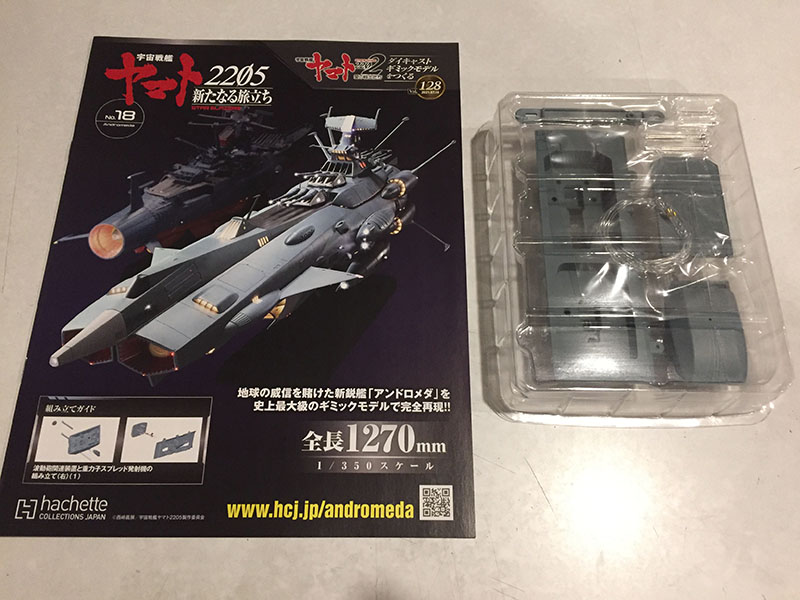
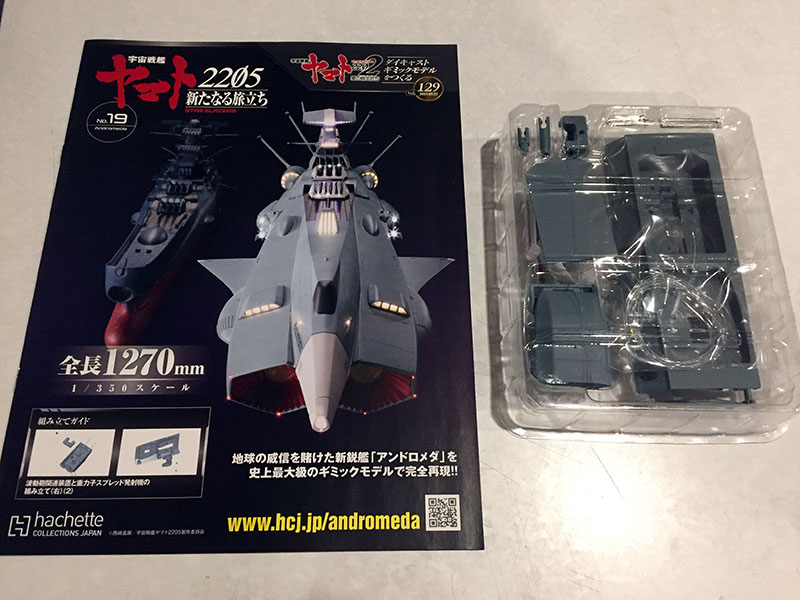
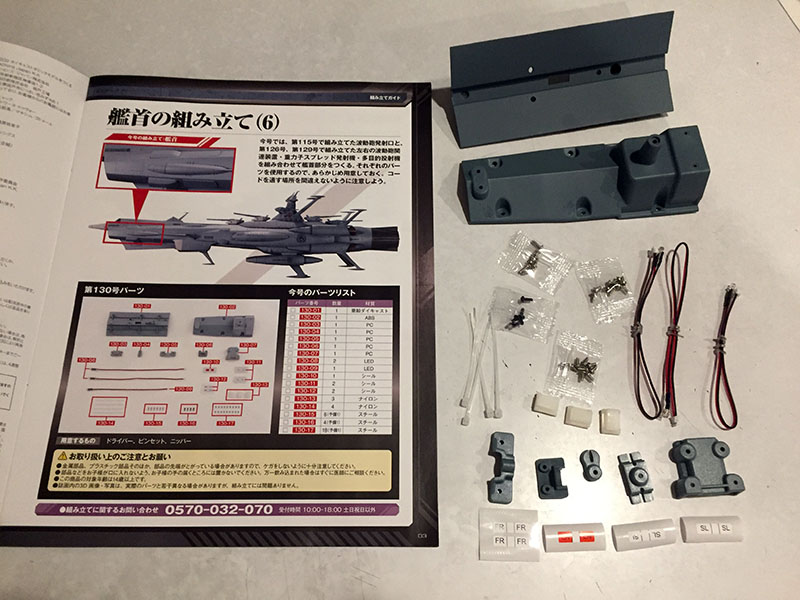
Time for Volume 11.
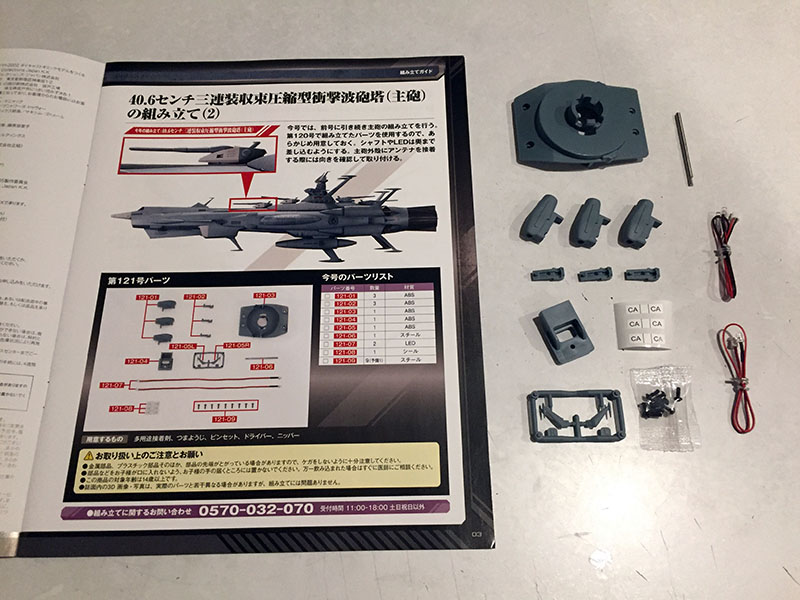
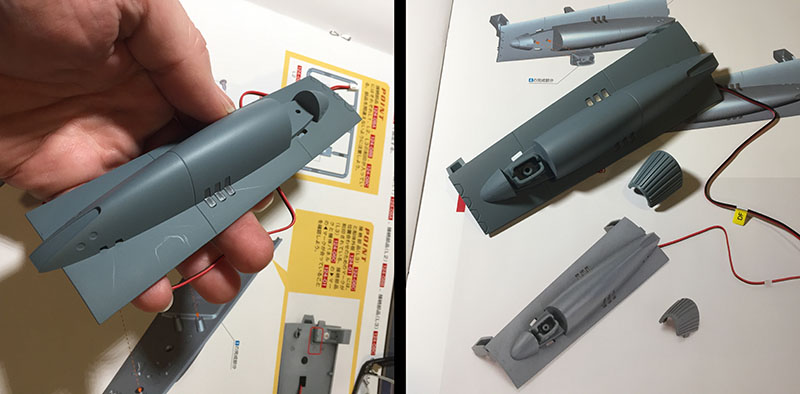
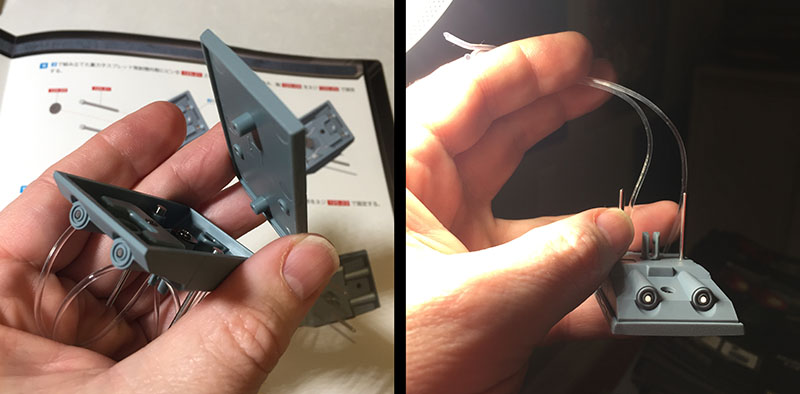
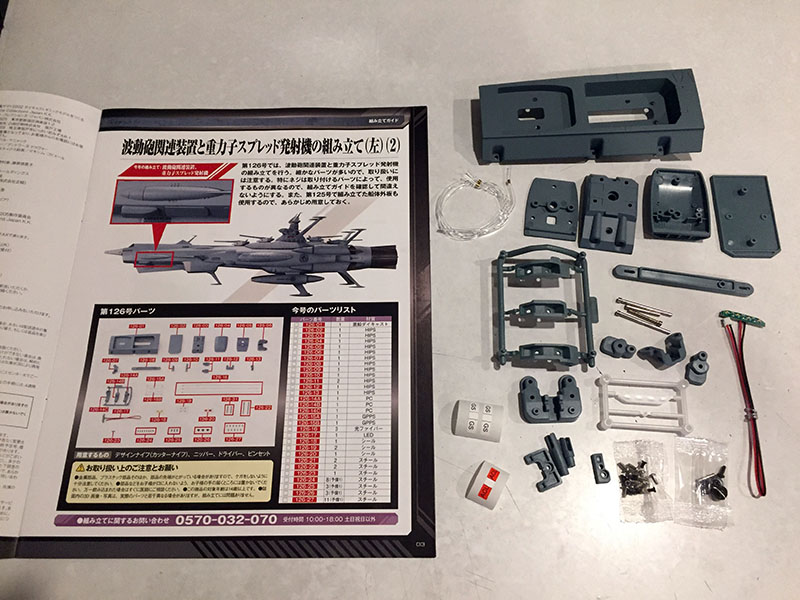
Here we have the rest of the parts for the first gun turret.
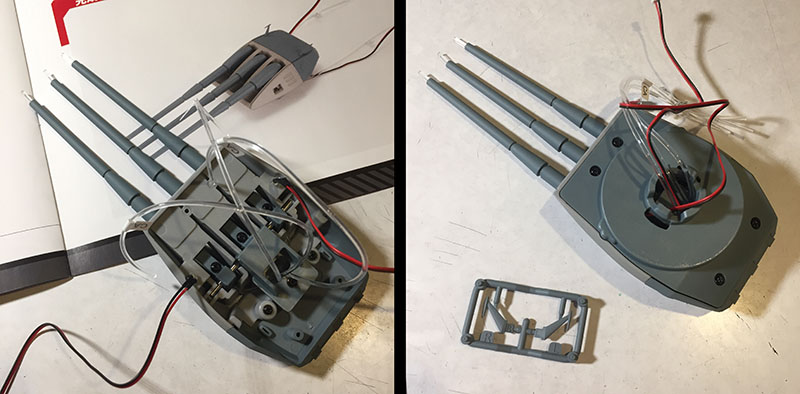
Looks easy, but it sure wasn’t. In addition to root parts for the cannons, there’s a light bulb on either side. Getting them to stay put while threading wires through the socket (along with those curly fibers) was no fun at all.
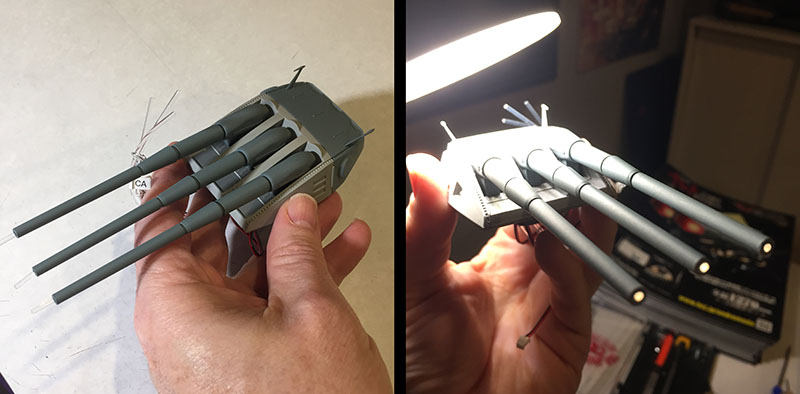
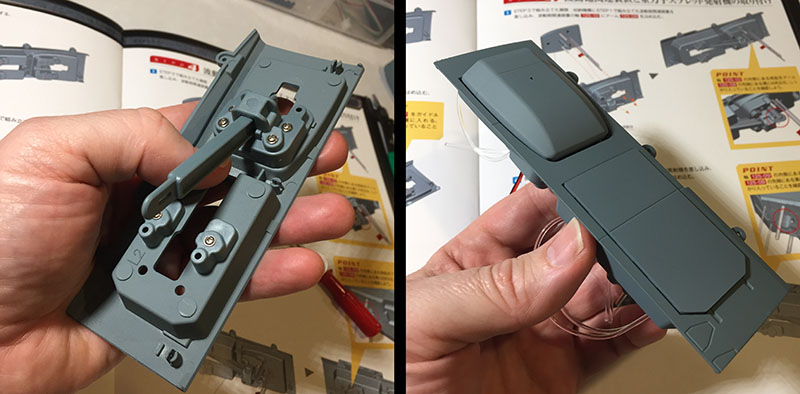
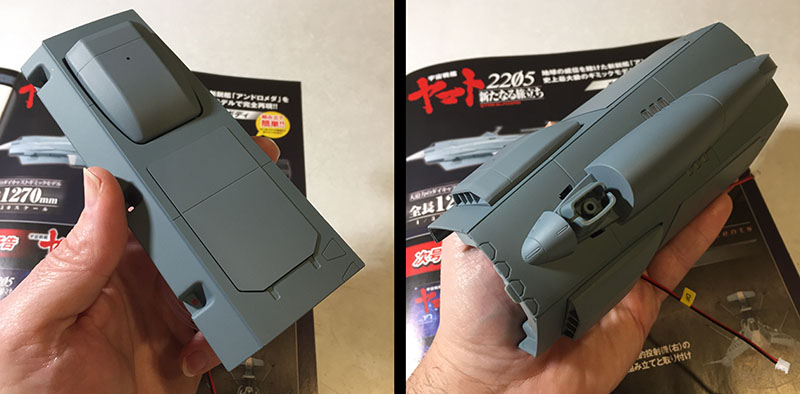
Done. The two fins on the top were supposed to be glued in, but they stay inserted perfectly well without glue. And here’s the reward, a preview of the fiber lights inside the barrels. Cool.
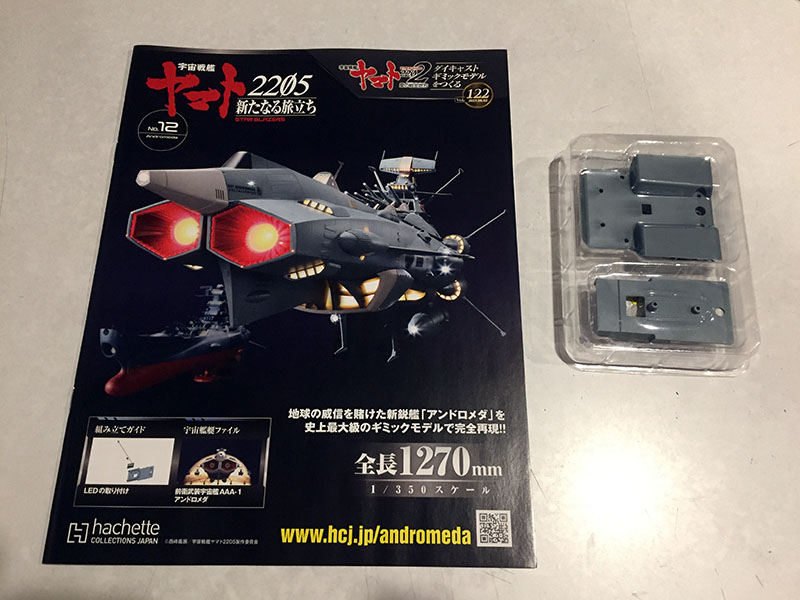
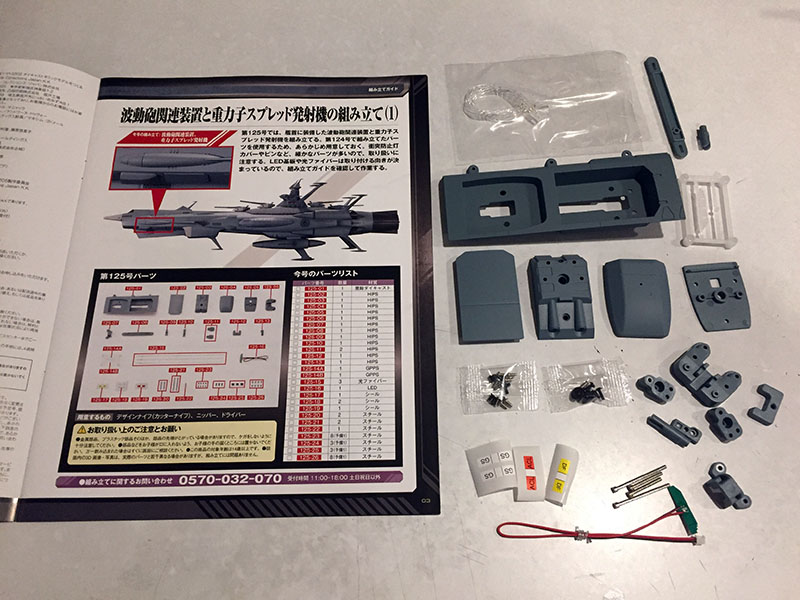
Let’s go, Volume 12.
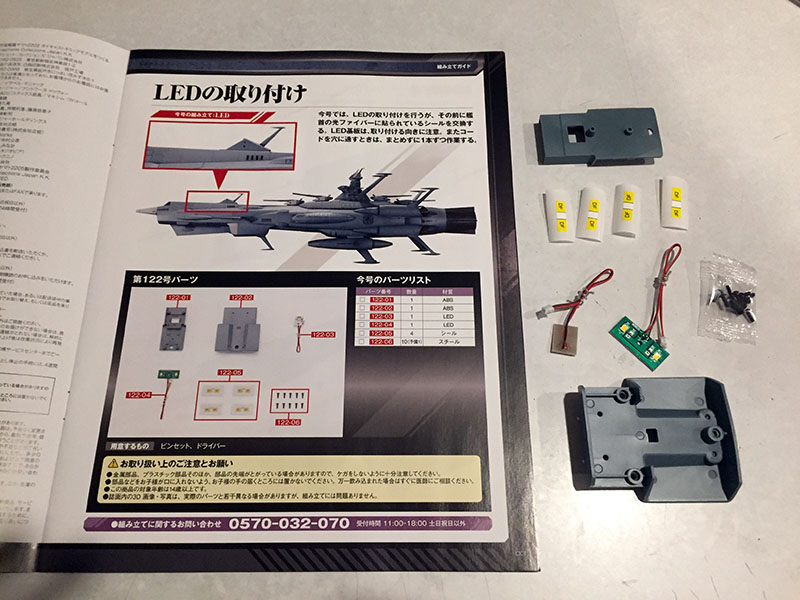
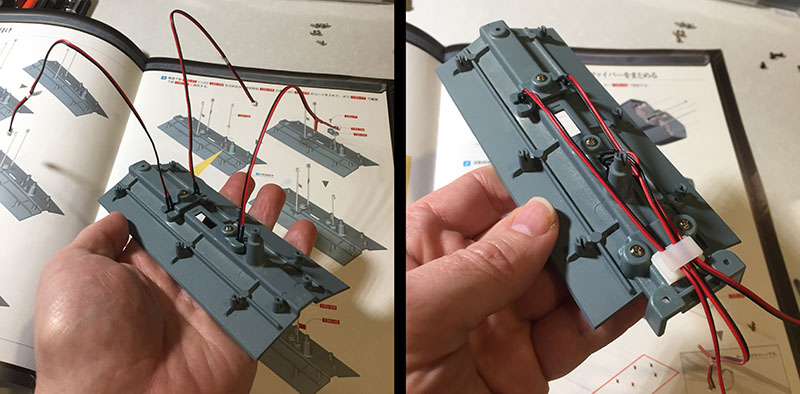
Looks like just internal parts this time. And a couple LED circuits.
The first step was unexpected; with all the complexity that went into engineering this model, the good people at Hachette do slip up from time to time. Here’s the first Andromeda slip-up: one of the fibers way back in Volume 1 should have been labeled DF instead of SL. There’s an extra DF label in this volume, and the first job is to cover over that old SL label. The trick is trying to figure out which SL fiber they’re talking about. Process of elimination and my ability to preview the lighting allowed me to identify it without much fuss.
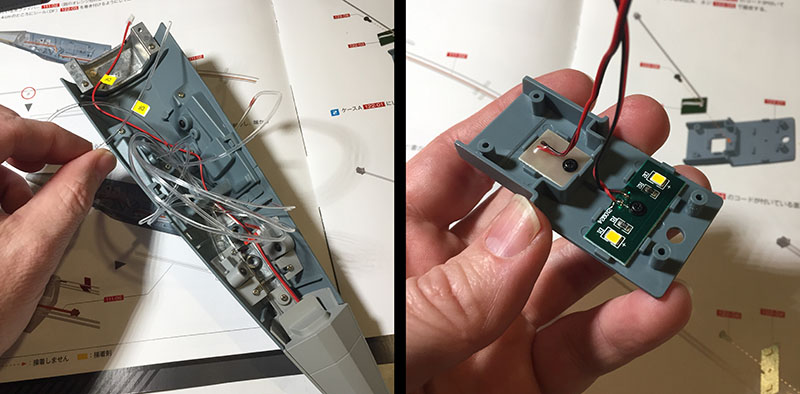
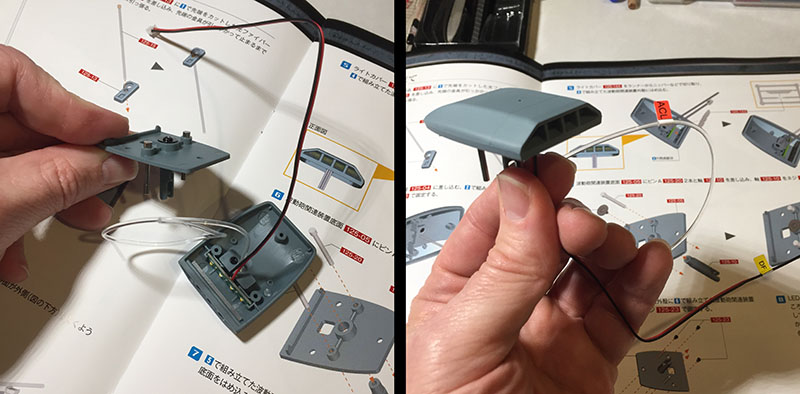
With that done and an SL label added to the LED wire coming from the nose, we’re on to new things. This internal part has two LED circuits attached to it, each facing in a different direction.
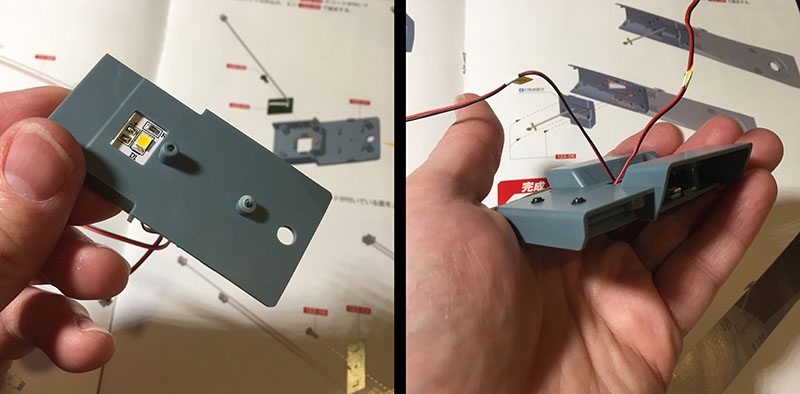
Once this piece is clamshelled together, there’s an opening on either side for the lights to shine through.
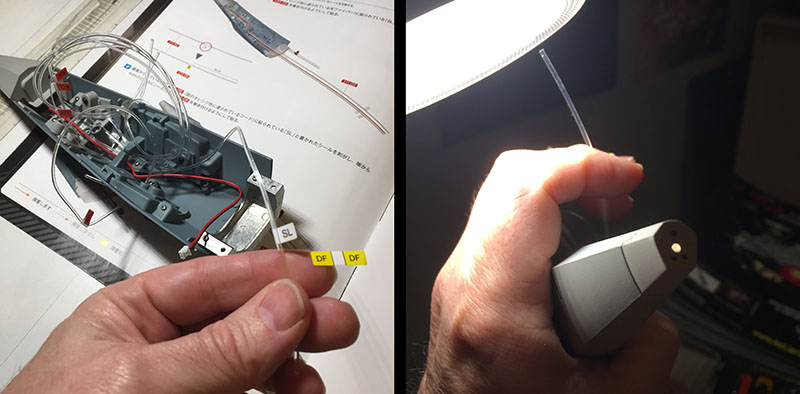
It gets installed underneath the big hull section, right under those segments with the translucent parts from Volume 9.
The wiring fits into the electronics tester, so let’s give it a whirl. And there we go! I keep expecting something like this NOT to work, but it does anyway. You came through again, Hachette.
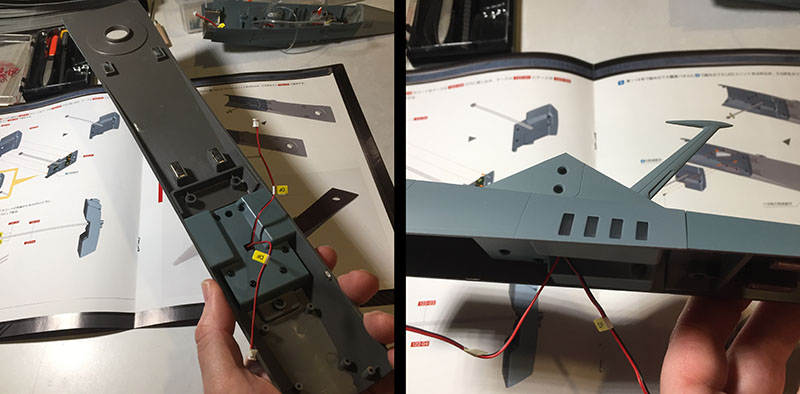
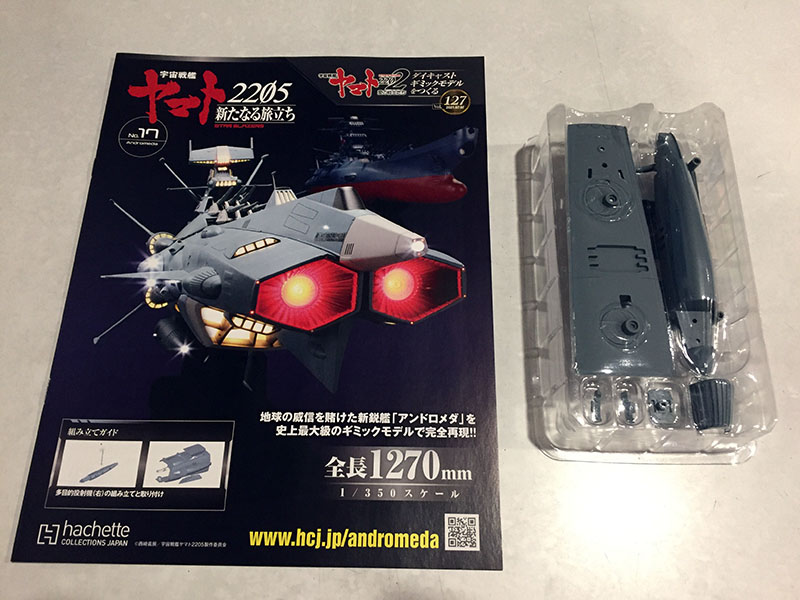
Here’s Volume 13.
Not many parts in this one, but they unlock a lot of steps.
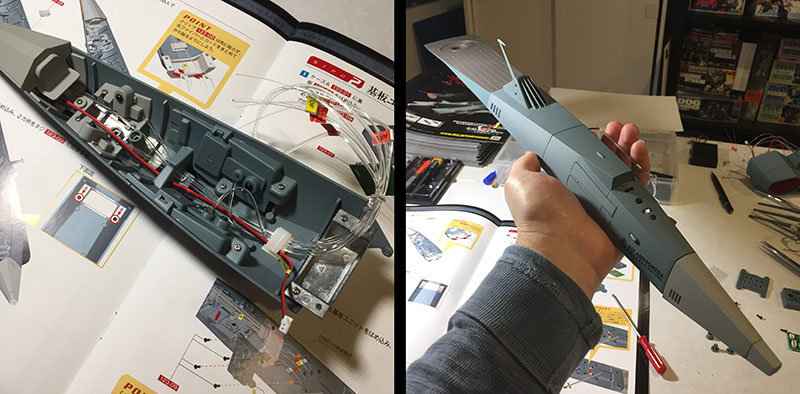
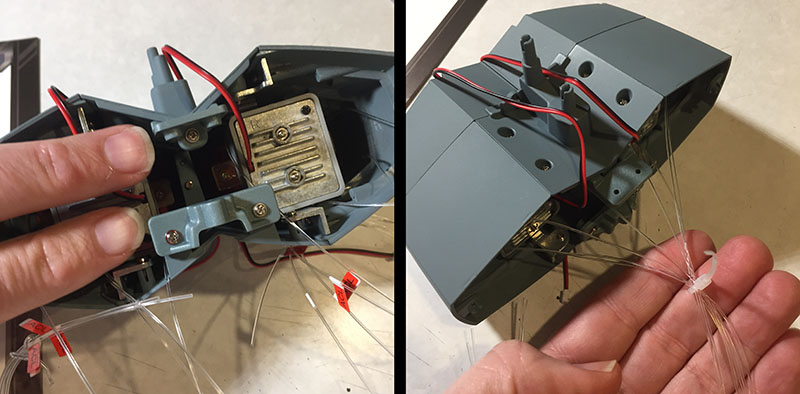
First task is to tame all the unruly wires and fibers coming out of the prow by clipping them down to the interior. Then the prow can be bolted onto the foredeck into one really long piece (25″ from tip to tip, representing about half the length of the entire model).
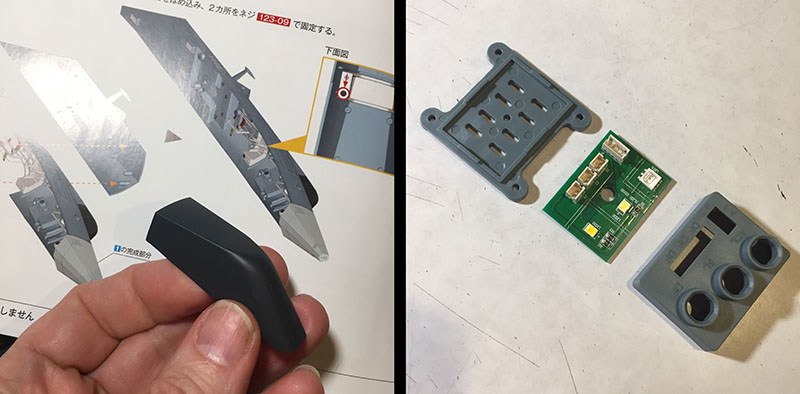
Oddity: the images in the instructions show the black cowling already in place, but there has been no instruction yet to attach it. This is a mistake on the Hachette side. Next, assemble a distributor bus. There are LEDs on the circuit board that will supply light to fibers.
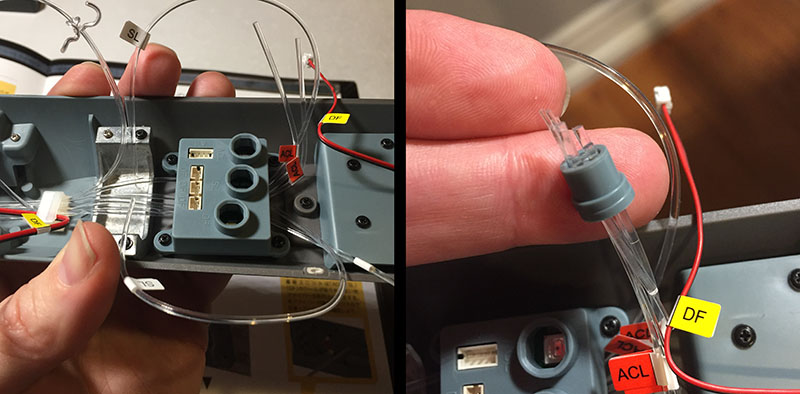
The box is assembled and secured under the foredeck. Next, all the curly fibers from the prow get stuffed into endcaps. This is the least pleasant part of the whole process so far. Every fiber has a mind of its own, and the last thing it wants to do is get stuffed. So each of these is a test of patience. Somehow, they all get done.
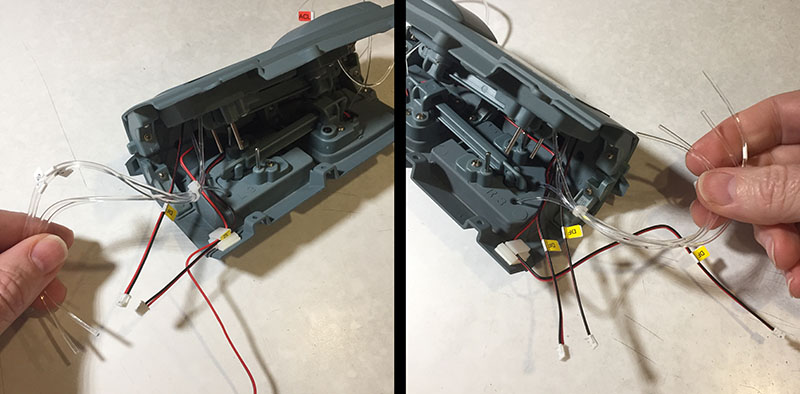
One by one, the capped fibers are plugged into the distributor bus. Now the tips are right up against an LED that will send light all the way to the other end of each fiber. Turning the whole piece to the side, you can see where all the fibers stick out. Hopefully they won’t prevent the major hull pieces from resting together. And that’s it for Volume 13.
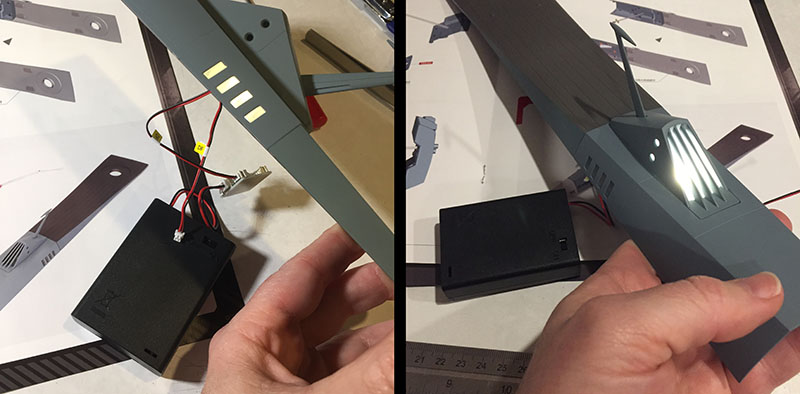
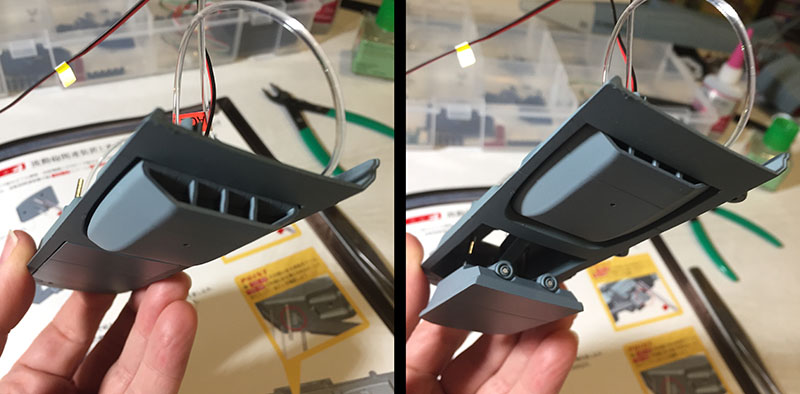
Big parts in Volume 14. That always means more hull is about to get added.
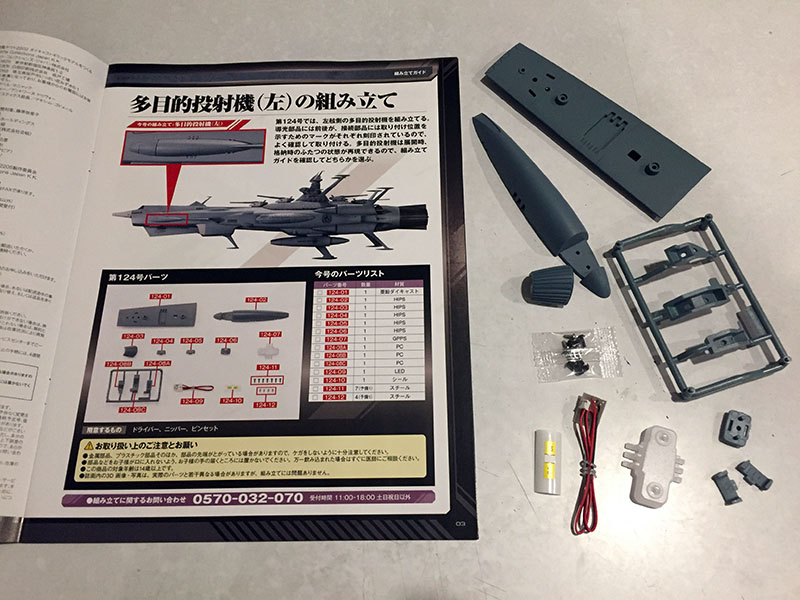
This will be the side panel just behind the WMGs.
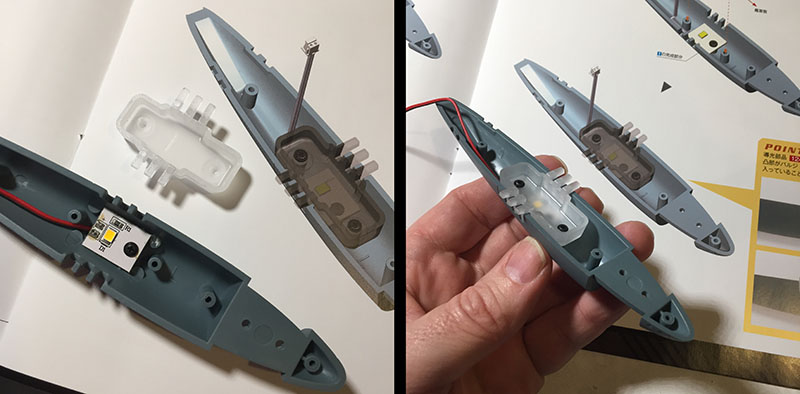
Step 1, insert an LED. Step 2, cover it with a translucent part that will spread out its light.
The “bulge” then gets attached to the hull panel. Those abrasions on the hull piece were there when I opened it. Nothing to be done about them, which is a bit disappointing. At right, the finished piece.
Volume 15 is the first of four almost identical sets.
These parts will add up to the upper and lower panels of the forward section, and they’ll each have two working components.
I don’t know the official name of the first component, so I’ll just call it an intake. It was part of the original ship design.
The second component was added to the revised ship design. It’s called a Graviton Spreader, and it lights up.
Left: the hull panel they attach to has a lever inside it, like a seesaw. Right: both components are now attached to either end of the seesaw.
Left: first position with the intake raised up. Right: second position with the Spreader raised up.
With all that put together, this hull panel attaches to the side panel from Volume 14 and we’re done. Now, three more just like that.
Volume 16 is just like 15…
…but now the direction is flipped the other way.
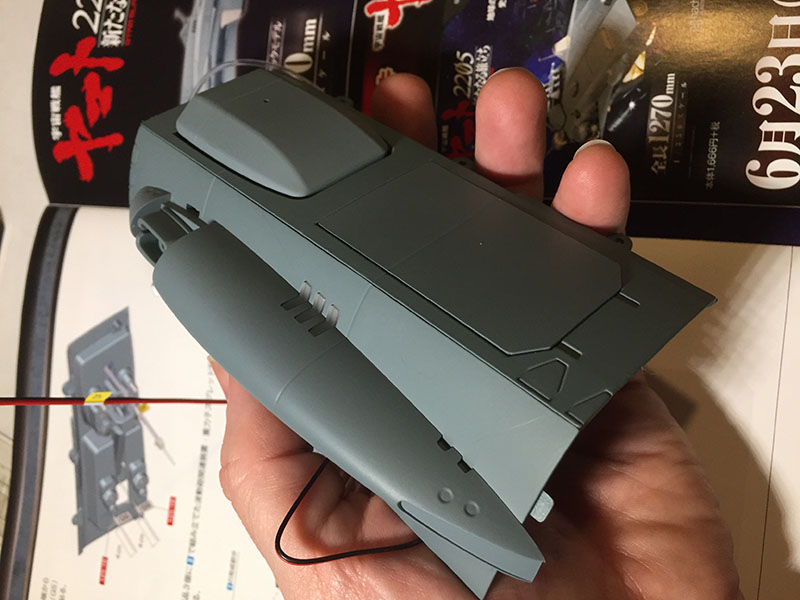
All components assembled, and then attach it the previous two. One side of the forward section is now finished.
Volume 17 is the flipside of Volume 14.

Same parts, just the other side of the ship.
And there they are.
Volume 18 is the flipside of 15.
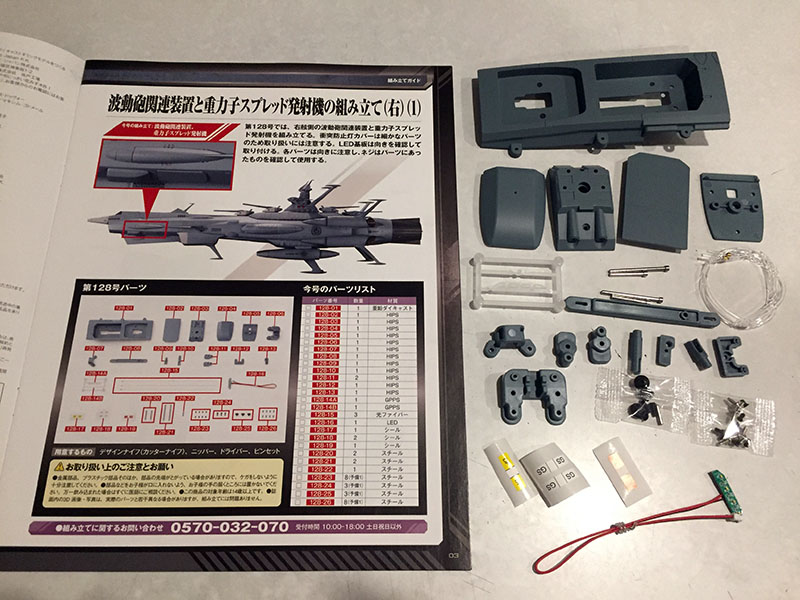
All the components and their hull panel.
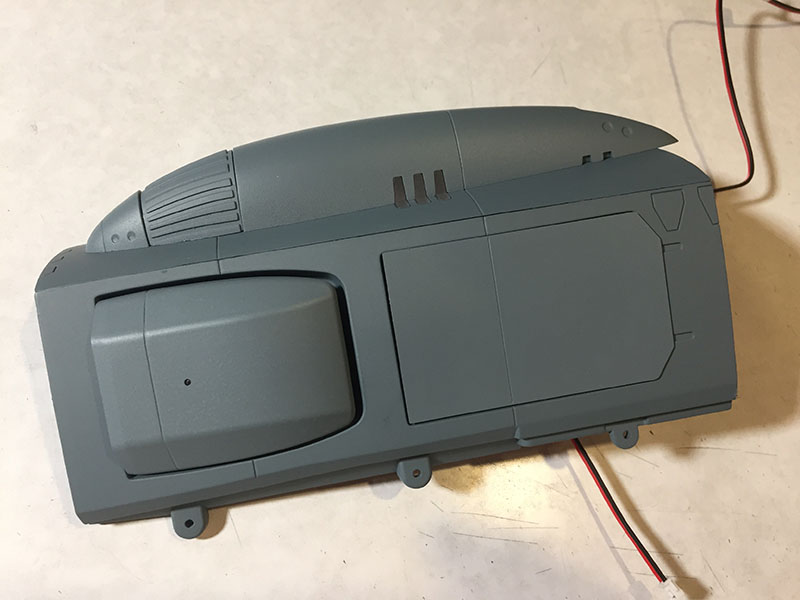
Done and attached to Volume 17. Yep, this is pretty repetitive.
Volume 19 finishes off this series.
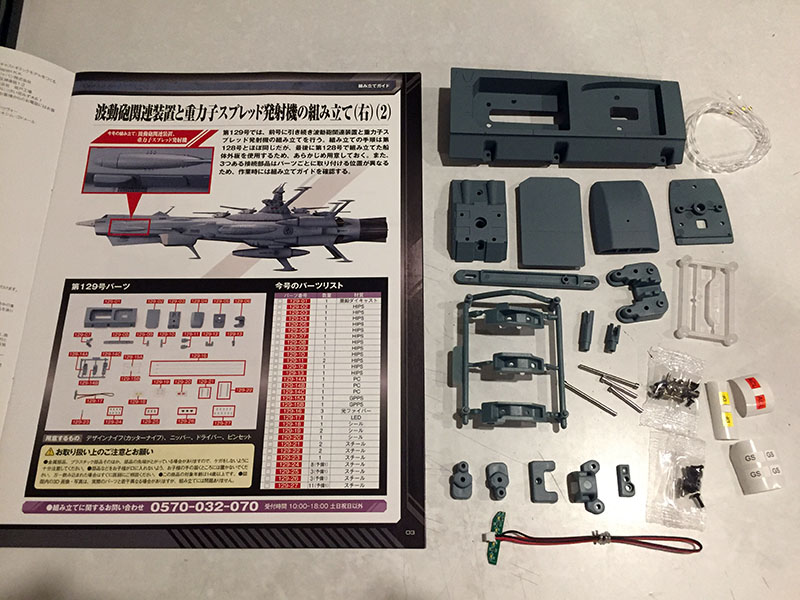
It’s the flipside of Volume 16.
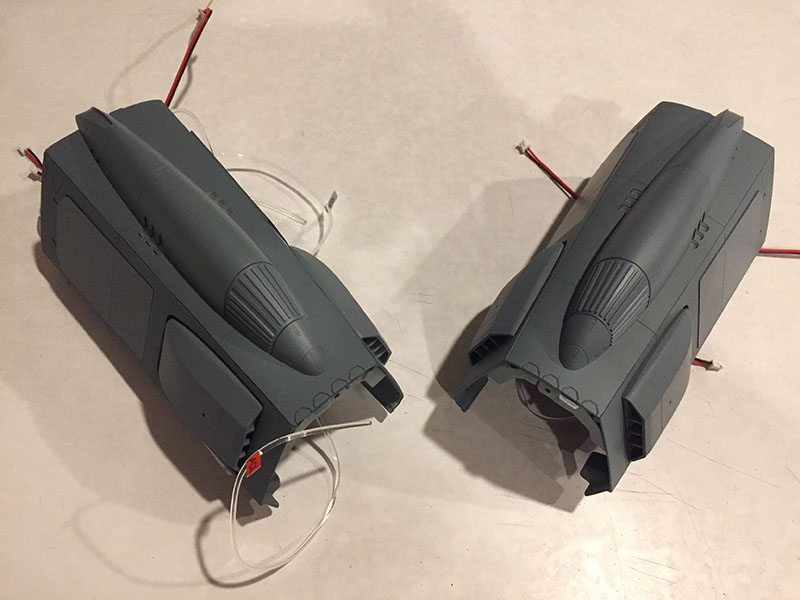
And now both sides of the foreward section are complete. Glad to have that done. But strap in…
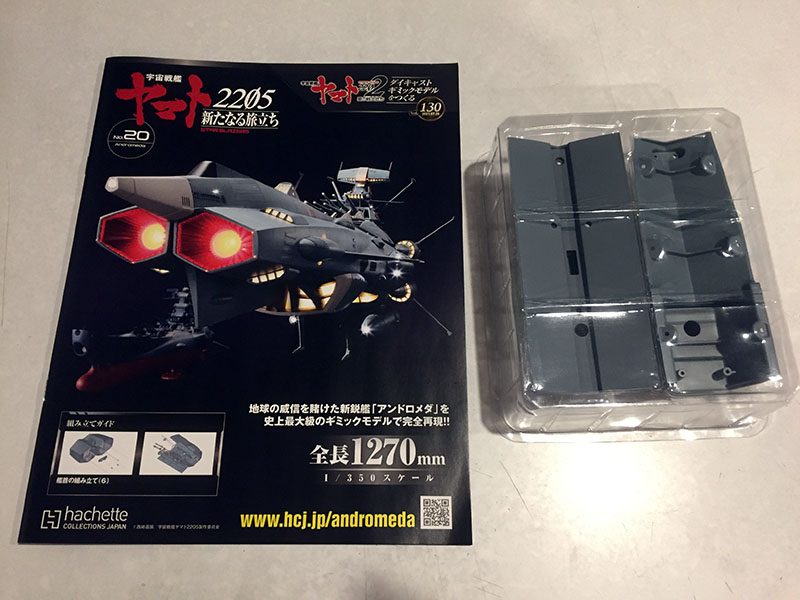
…because Volume 20 is a DOOZY. Even though it doesn’t look like it from the outside.
These parts will allow us to assemble all the pieces of the forward section into a single unit.
The first step is to wire up this V-shaped panel and secure the wires with a clip. This will become the top.
Next, we go to the WMG section, which has been sitting dormant for a while. First step (at left) is to attach two “connectors” to the top and bottom. This is where the WMG section will mate with the next section. Take note of this, it’s important for later.
At right, we finally get to tame those rotten curly fibers with a little zip tie. That was satisfying.
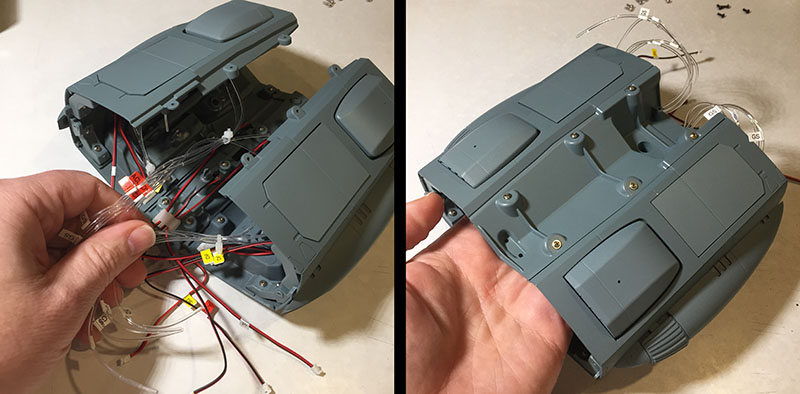
Next, we do the same with all the fibers coming out of the parts we assembled from Volumes 14-19. In case it’s not evident, they are clearly marked L and R so you know which side they go on.
Then those sections attach to the V-shaped panel. Remember, that’s on the top of the ship.
Here it is flipped over, and now we put the bottom on.
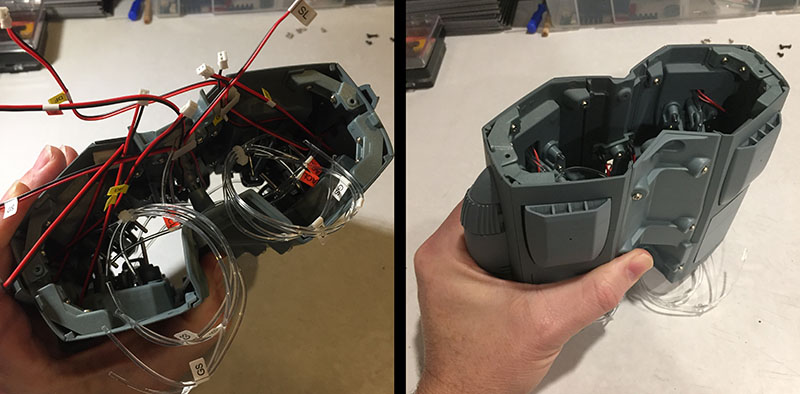
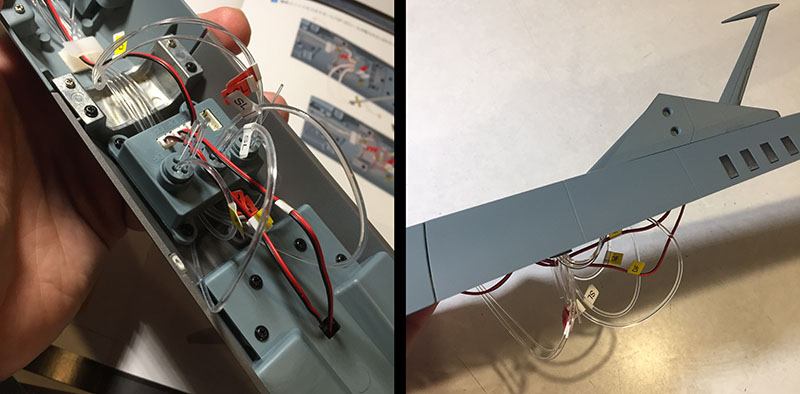
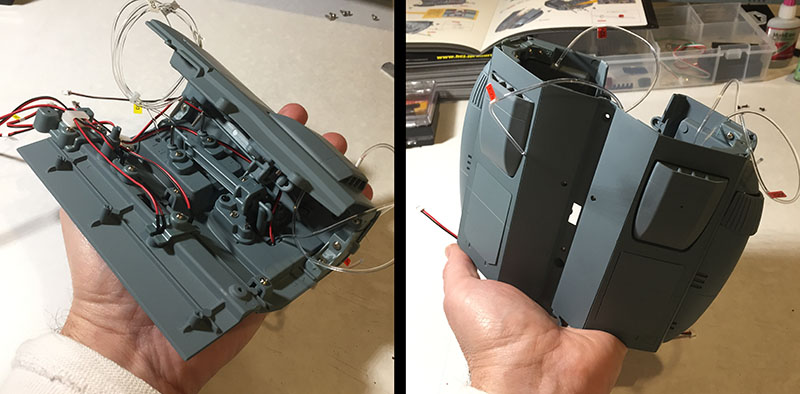
The entire “component section” is assembled, and you can see what a riot of fibers and wires it is in there. The whole thing is the size of a pair of binoculars.
And here’s the big move. In order to mate the WMG section with the “component section,” all of the WMG fibers have to get pulled through that riot and out the back end. THEN, the two sections get bolted together at those connector points I mentioned earlier.
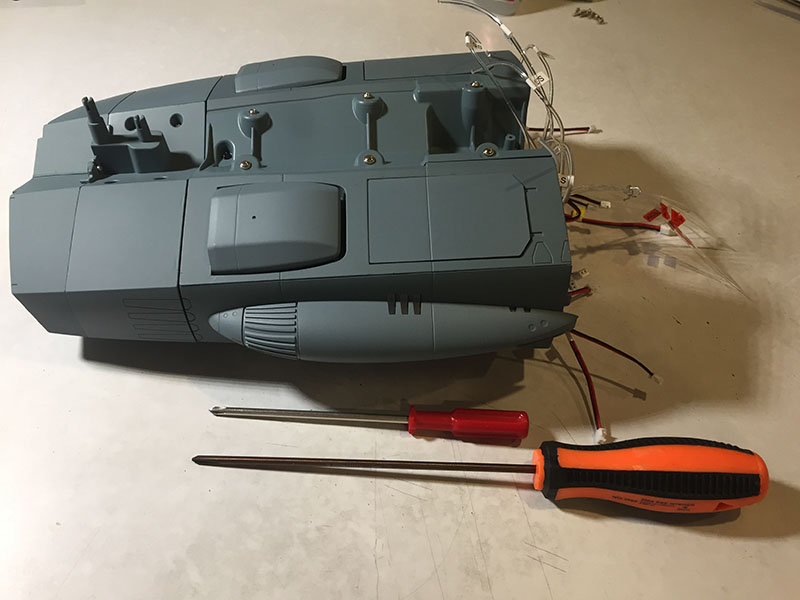
Now that’s one big hunk of metal. It looks like we’re done, but we’re not.
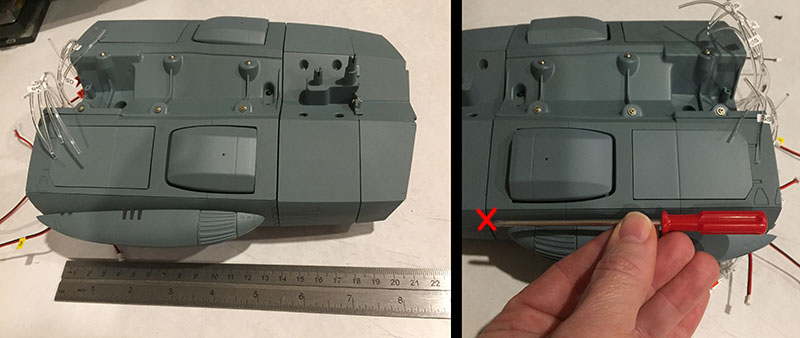
At left, here’s a ruler to give you an idea of how big this portion of the ship is. And now we get to something really, REALLY dumb. After attaching the two sections together, they don’t feel quite secure. The WMG section is a bit wobbly. But the bolts at the connector points are as tight as they can get. That’s because there are TWO MORE connection points that still need to be screwed together, and they’re on the SIDES. More accurately, the INsides.
In the photo at right, X marks the spot where those screws go in, on the INSIDE. In order to manage that, I need a screwdriver twice as long as this one, magnetized to keep the screw from dropping into the guts and probably being lost. This is a job for Ant-Man. And he ain’t here. If I want to get rid of the wobble, I have to put everything aside and find a longer screwdriver. Specifically, a Phillips #0 with a shaft longer than three inches.
The search wasn’t as easy as it should have been. Two major hardware stores in my area offered nothing, so I had to fall back on Amazon. Never my favorite option. But there it was. A few days later, I had it in hand and it worked like a charm.
This actually ended up having unexpected benefits. The longer screwdriver offers a lot more torque, so once I started using it the struggles I had trying to get those stubborn screws into place VANISHED. No more aching hands. I wish I’d gotten it a year ago. It would have made the Yamato build MUCH easier.
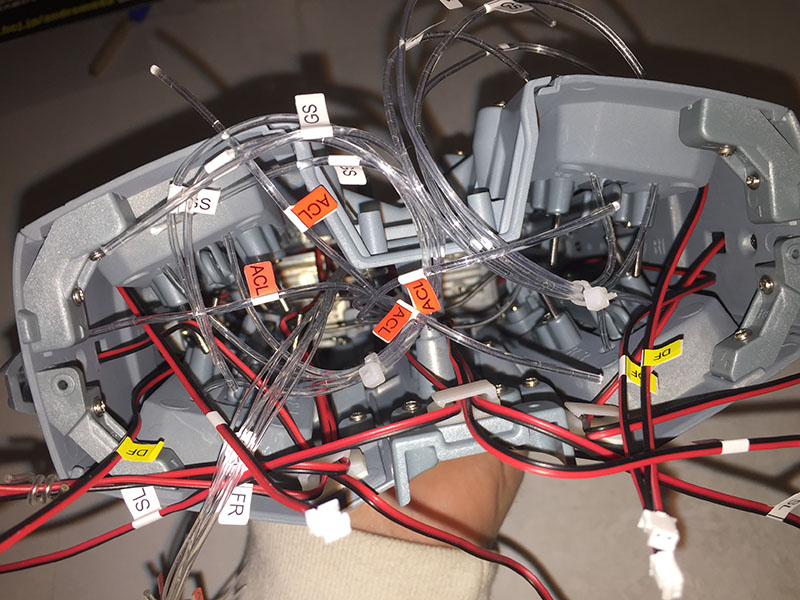
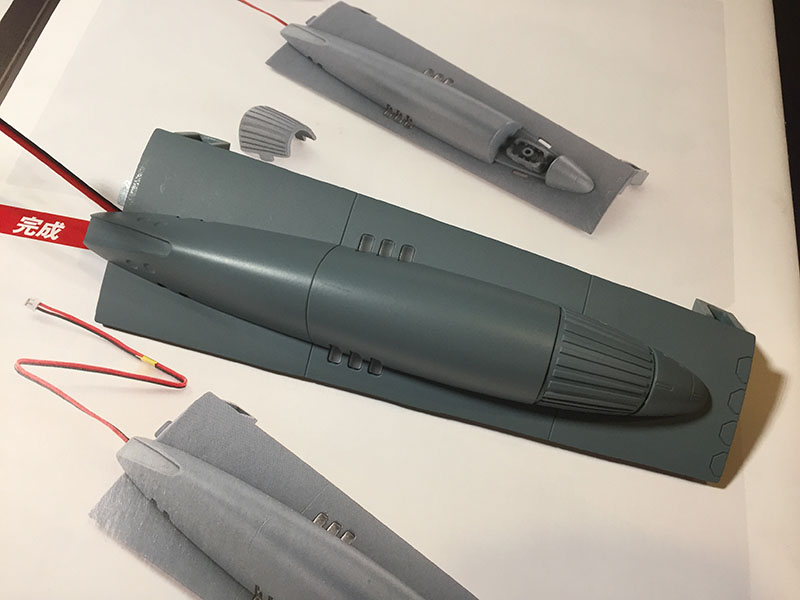
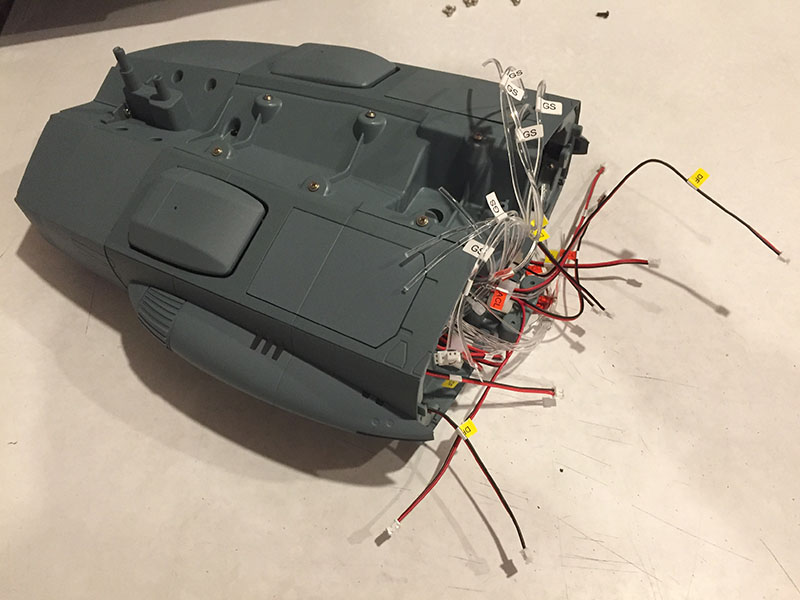
Before we move on, here’s a look into the guts of what we have so far. It’s pure chaos, what some builders referred to as “fiber optics hell.” But it will be tamed as time goes on.
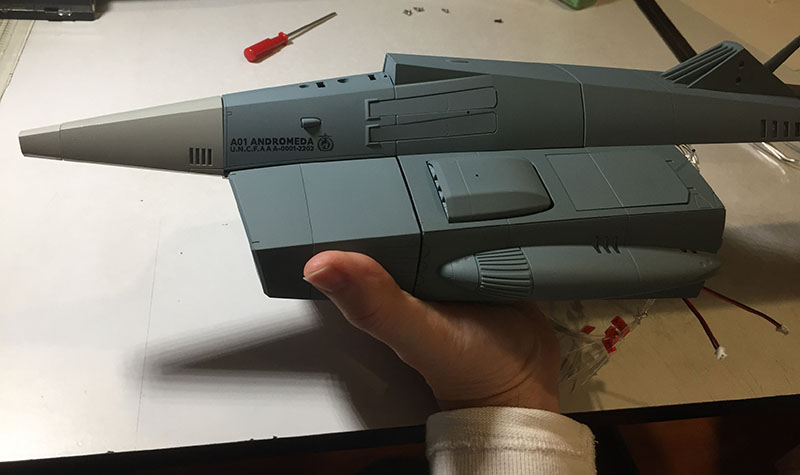
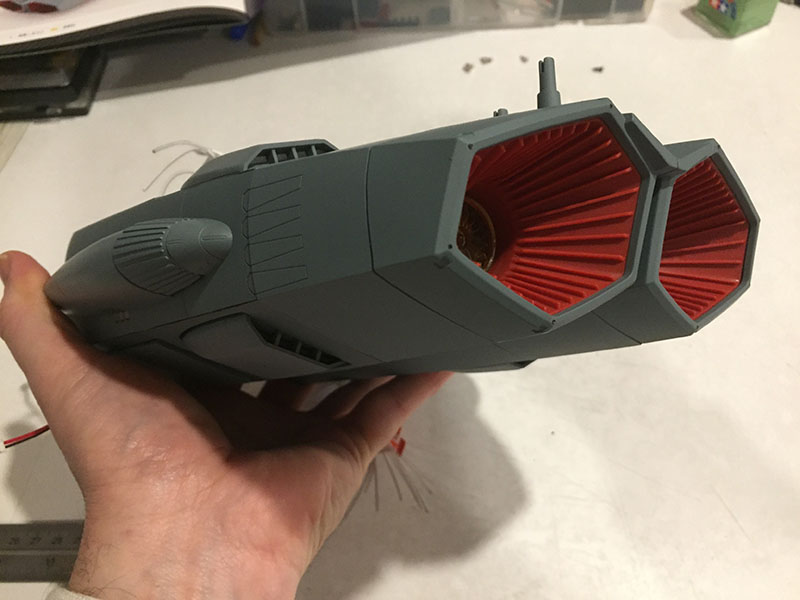
And now, here’s the business end of Andromeda all put together. I put the nose section on for a test fit, and it looks great. Onward.