
Charge! Destroy the Argo!
By Arthur Painter (with notes from Tim Eldred)
Production note: This is a truly exceptional episode thanks to the involvement of superstar animator Yoshinori Kanada. He previously contributed to Series 1 and did key animation for most of the space battles in Farewell to Yamato. As you watch this episode you might notice that the characters pose a little more dynamically, the machinery seems more alive and energetic, and the action scenes have a more three-dimensional feel. You’re not imagining it; that’s Kanada style. He would go on to do another memorable segment in a later episode of Yamato 2, then make bigger contributions to the rest of the saga. Read our tribute to Kanada here.
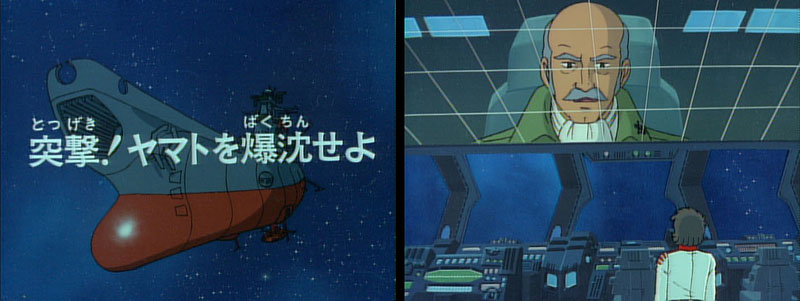
We open with a regularly-scheduled communication with Earth Defense Command HQ. Since the EDF only has sketchy information about the Comet Empire, they are relying on the Star Force to gather more intelligence. The signal soon fades out. Wildstar says some encouraging words to Homer, which is a nice change from Venture’s recent treatment of him.
The information that Singleton related back to the Star Force is actually more than they really know. All they’ve been told so far is that the White Comet is a source of danger. Somehow, the Commander knows it’s a “disguise for the Comet Empire.” The Yamato 2 script is clear that they know nothing about their new enemies. They don’t know if the Gamilas (Gamilons) have returned, or if the enemy is even remotely human. The need for more information will influence some of Kodai’s [Wildstar’s] more controversial decisions later in this episode.
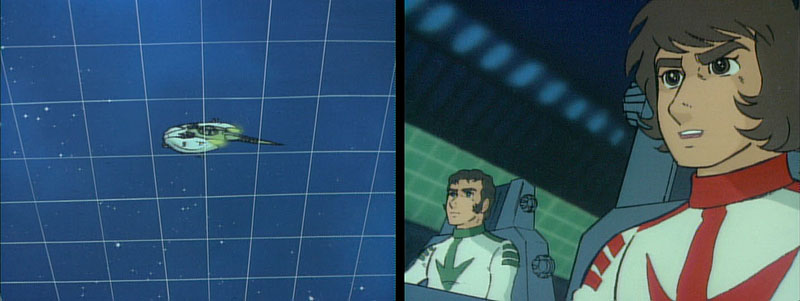
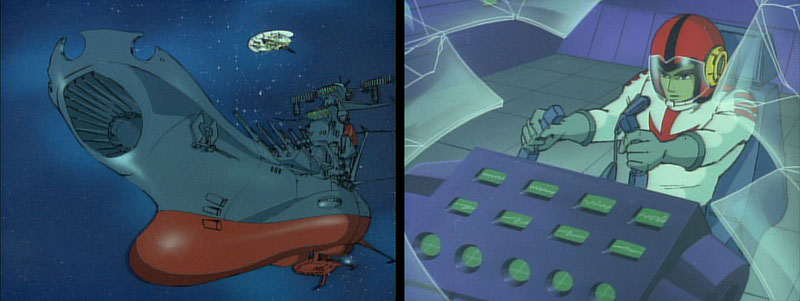
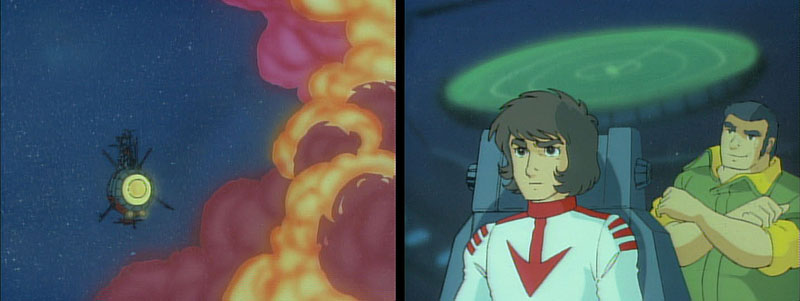
Eager suddenly reports a Space Scorpion, the Comet Empire’s standard fighter craft, on radar. It’s 1,100 Megameters out, well out of the Argo‘s gun range (10 Mm), which means the fighter probably doesn’t know the Argo is near. Wildstar orders Conroy and Hardy to intercept.

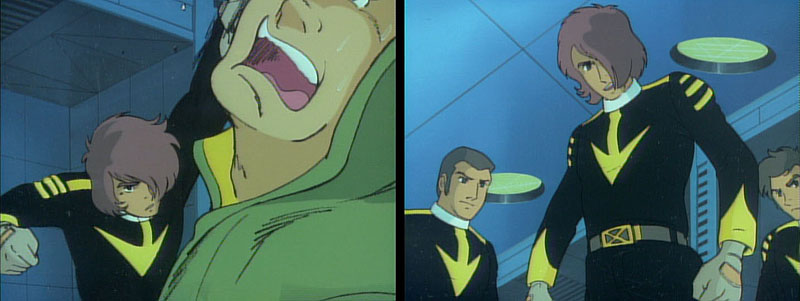
Conroy hops into his Astro Fighter and quickly launches. Hardy makes it to his plane, but before he can climb in he turns to face a green-clad figure running up to him. “Hey, Knox…” is all the southerner gets to say before getting belted. Knox hops into his fighter and takes off, promising to take good care of her. This is Knox’s payback for Hardy refusing to let him fly two episodes ago.
Despite Knox’s previous boast about being a capable pilot, he’s clearly out of his depth and nearly crashes into the Argo‘s superstructure after clearing the launch pad.
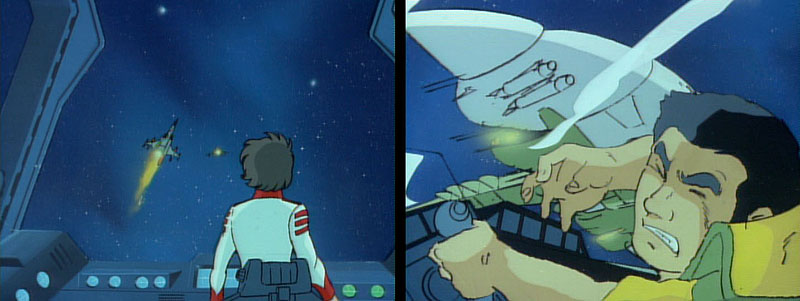
Both fighters quickly close the distance to the enemy plane. Conroy first tries the radio, asking the pilot to identify himself and his home planet. The enemy replies with a brace of missiles. The two planes begin dog-fighting, and neither one seems to notice Knox’s plane flying haphazardly nearby. Instead of taking any kind of evasive maneuvers, Knox merely ducks when the planes swoop over him.
Wildstar orders Conroy and Knox to capture the enemy ship, but Knox refuses. It’s the same enemy that attacked and killed his men on Brumis and he vows to destroy it. He soon gets his chance, lining up the fighter in his crosshairs. He fires. The enemy plane manages to evade Knox, but Conroy is able to approach from a different angle and cripples the ship.
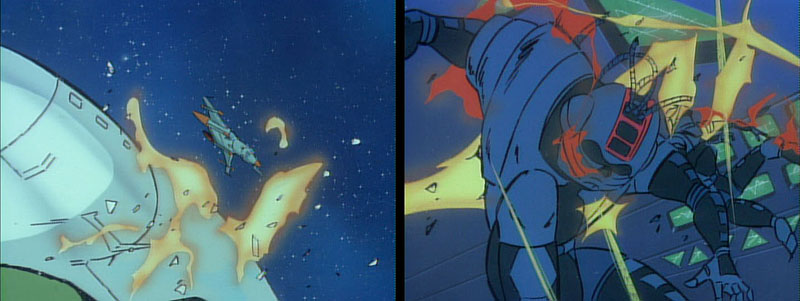
Knox, ignoring Conroy, makes another sweep at it. Yamato 2 allows a brief look inside the enemy cockpit as it’s pierced by laser fire, killing one of the Scorpion’s two crewmen. (The original model sheets for the fighter indicate that it has a crew of three, but only two are seen.)
General Torbuk is informed by Major Hyrex [Commander Destor] that their pilot has been captured.
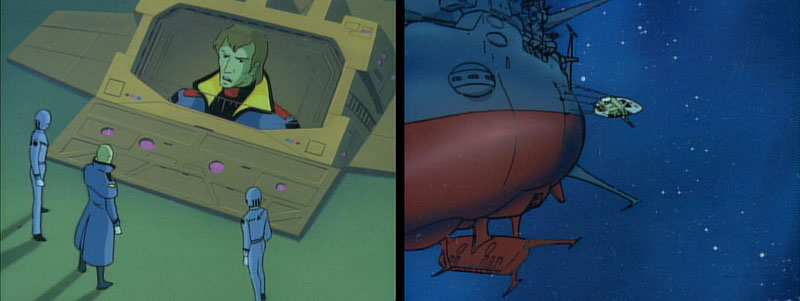
Later, the Star Force has the enemy ship moored to the outside of the ship via cables. This is a much more practical idea than what they did in the first series, where they took an enemy ship inside the hangar. If it had been rigged to explode, it would have been a disaster. (Besides, it’s substantially bigger than an Astro Fighter and may not have fit through the hatch.)
In the hangar, Knox regales the crew about his daring capture. Conroy “reminds” him that he went against the Captain’s orders. Before things can escalate further, Hardy steps in. In Star Blazers they put up their dukes to fight, but Sandor interrupts them before the violence can begin. In Yamato 2, Yamamoto [Hardy] gets in a quick first punch before he says anything. Saito [Knox] accuses Yamamoto of blindsiding him, to which Yamamoto replies, “You did it first.”
I’ve always liked Hardy. He stands out among the crowd, with his bushy hair and unique “southern gent” drawl. His accent is not quite like anything I’ve heard before or since, but it’s an affectation I think is rather charming. I also like the way he puts up his fists to fight, assuming a gangly, slightly awkward stance. Even his poses show character!

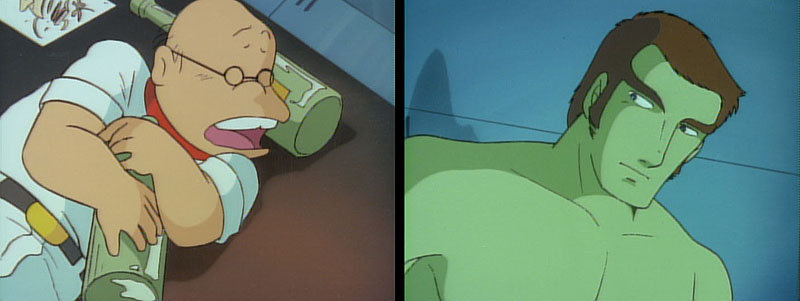
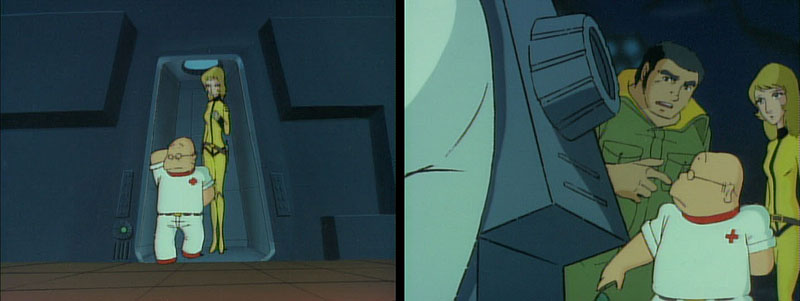
In the medical bay, the prisoner is kept in a room with a sick Star Force member, under the watchful eye of Dr. Sane. I can only assume that quarantine procedures have advanced enough that they can tell the prisoner isn’t carrying any “space germs” (as Dr. Sane mentioned in the Gamilon prisoner episode), or else they’re being extremely risky letting the enemy mix with Star Force crew.
Production note: the presence of a Star Force crewmember in the same room (and what looks like even the same bed) isn’t explained except for the possibility that he provided Dr. Sane with a comparative bio-sample. It’s also possible that this was an animation error and the other patient was meant to be a second enemy pilot, caught only after the cel was drawn. Changing the skin tone to pink may have been the only remedy. Either way, he only appears here so it’s easy to ignore.
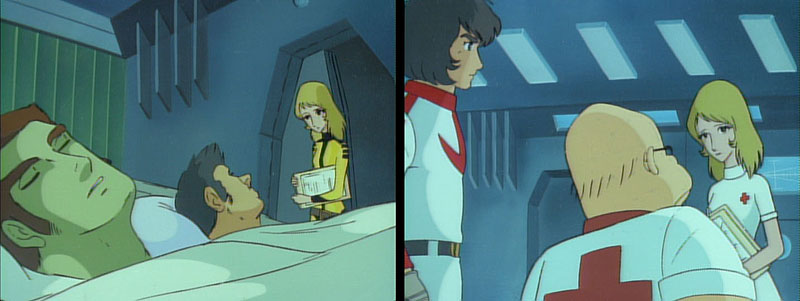
Dr. Sane gives Wildstar a brief summary on his findings so far: as with the Gamilon prisoner captured back in Series 1, the Comet Empire prisoner is no different than a human being. Nova hands Dr. Sane the computer analysis, which has the same conclusion: the prisoner is essentially human. Wildstar tells Dr. Sane to have the prisoner sent to the interrogation room where Peale can start questioning him. Dr. Sane seems reluctant to give him up, but Wildstar, as per his conversation with Commander Singleton, says that Earth Defense needs as much information as they can get.
Nova performs double duty as head of the Life Services group and nurse. She’s become so good at switching between the two jobs she can change her clothes in seconds! She enters the room in her Star Force uniform, but is in her nurse uniform when she hands the analysis to Dr. Sane.

Dr. Sane and Nova lead the blindfolded prisoner down the hallway through a crowd of spectators. Knox wants to take a swing at the guy, but Dr. Sane makes him back off. As they continue down the hallway, Knox laments that the prisoner is being “treated like somebody special.” In Yamato 2, his line is “I should have killed him earlier like I did the other guy,” referring to the enemy plane’s other crewman.
The prisoner is strapped into a metal chair. Yamato 2 shows a much more menacing view of it, with close-up shots of the prisoner’s hands and ankles locked in. A metal helmet with wires is on his head. We’re introduced here to Willam Peale [Yasuhiko Yamada], identified in the Star Blazers Perfect Album as a xenobiologist, which is a subset of the Life Services group, although his division gets to wear a blue lab coat over their uniform. Also in the room are Dr. Sane, Nova, and Wildstar. There’s a gallery above from which Knox and several unnamed crewman watch.
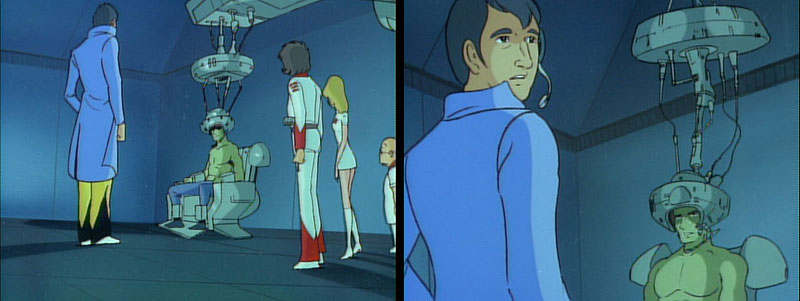
Peale orders the blindfold removed and demands to know the pilot’s identity and where he came from. There’s no explanation for how they expect the prisoner to be able to speak English (or Japanese), but the helmet and pick-up microphones may serve as a universal translator. Peale asks several other questions: what galactic system do you come from, what were you doing out in space, but the prisoner’s only response is “I don’t know.” Peale becomes insistent. “You’ll have to talk to us sooner or later!”

In Star Blazers, we’re explicitly told that the chair is some kind of clunky looking lie detector. In Yamato 2, its true purpose is revealed. At the press of a button, an electrical current is sent through the prisoner’s body. Then a dial is turned, increasing the juice. The prisoner cries out in pain. Yuki puts her face in her hands and yelps. The dial is turned back down, giving the prisoner a brief respite.
Dr. Sado is operating the shock controls at Yamada’s command. Dr. Sado is hesitant and looks extremely upset, since he’s violating what is often regarded as the number one rule of doctors: primum non nocere (“first, do no harm”).

Unable to get any answers, Peale asks Dr. Sane if there’s anything about the alien’s physiology that would prevent him from not registering on their “polygraph.” Dr. Sane answers that he found nothing, adding a slightly defiant “in the short time I had to examine him.”
“It’s as if he can turn his mind off completely,” Peale says.
“Maybe he can,” replies Dr Sane.
In Yamato 2, Yamada intends to use “truth drugs” on him next, but Dr. Sado refuses, saying they may be lethal.

Derek steps in, saying he doesn’t believe they’ll get any answers with this approach. Respectfully, Derek says he hopes he does as well if he’s ever taken prisoner. Admitting that they have no accommodations for prisoners, he’s left in the care of Dr. Sane. A smirk comes to the prisoner’s face when Derek mentions the lack of a brig. In Yamato 2, the smile is one of pride when Kodai calls the prisoner a “true warrior.”
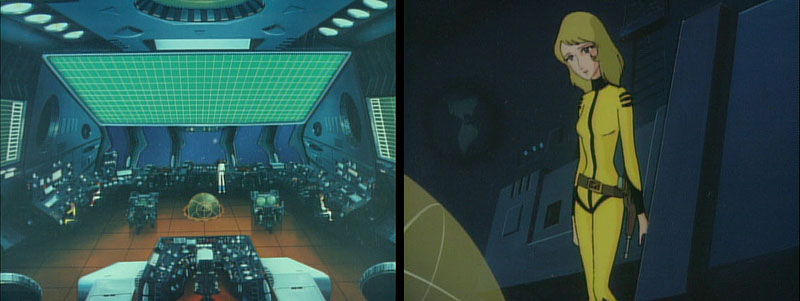
On the first bridge, Wildstar, Venture, Sandor, and Orion discuss the situation. Venture lays doubt on Peale’s ability as an interrogator, an opinion Orion seems to share, stating that “Peale probably didn’t understand the kind of man he was interrogatin’.” He further suggests that his capture could be part of an enemy plan; the Star Force may have been set up to take him prisoner. Nova arrives and tells Derek they were interrogating the prisoner “the wrong way.” Dr Sane is now drinking “milk” with him.
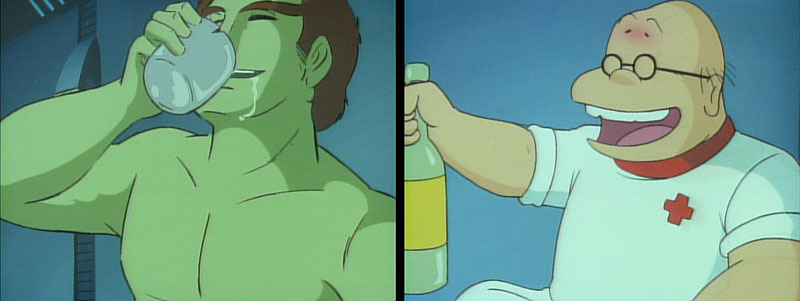
In the med bay, the enemy pilot and Dr. Sane (and Mimi!) are sitting around drinking milk. Star Blazers has an edit here; the prisoner is suddenly shown sneaking away, with no indication of how he got past Dr. Sane. Judging by most of the edits in the American version, you’d almost assume that Star Blazers censored out a scene of violence here. However, that’s not the case.
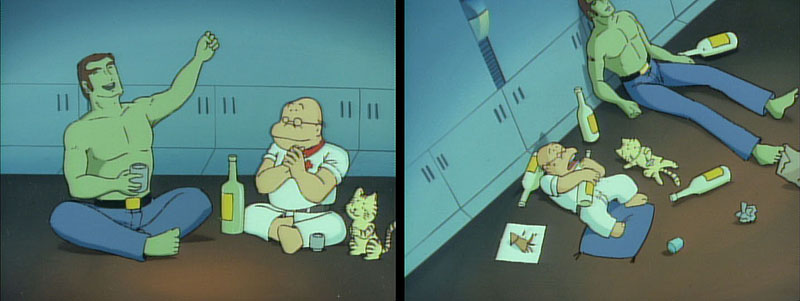
In Yamato 2, the drinking scene continues (unmistakeably involving alcohol) with Dr. Sado asking the prisoner to sing a song. To the doctor’s delight, he does. This fades into the next scene, still in the same room, but time has obviously passed. The three merry drinkers are now asleep, or so it seems. The pilot opens his eyes, sees his opportunity to escape, and creeps out of the room. I don’t see any reason to have cut the scene. It wouldn’t even require any additional dialogue to show them sleeping and the prisoner sneaking off. One explanation could be that even little kids would know “milk” doesn’t usually cause one to pass out.
Production note: The pilot’s song is intentionally unintelligible in Yamato 2. The words were from the Russian folk song Katyusha played in reverse. Hear the real thing here.
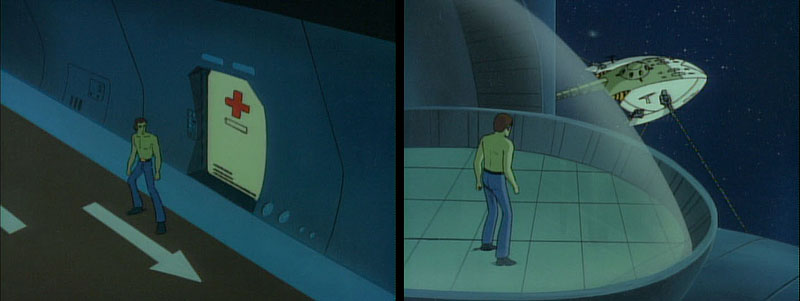
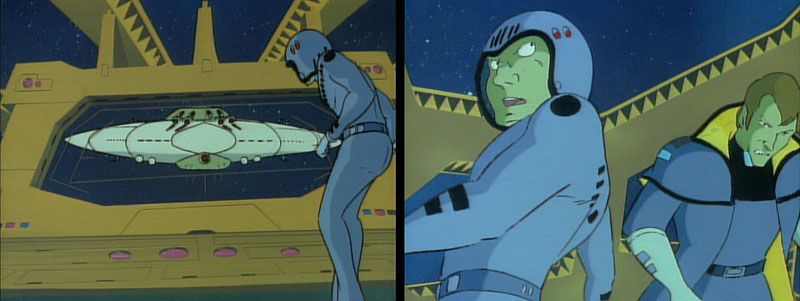
The prisoner makes his way to the aft observation deck, where he can see his moored fighter. The Argo seems to be on “night shift,” since the lights are down and there aren’t many people around. The pilot makes his way over to the hangar, where he’s spotted by Conroy, who calls the bridge. While Nova checks on Dr. Sane, Wildstar announces over the loudspeaker that the enemy has escaped, but orders the crew not to stop him.
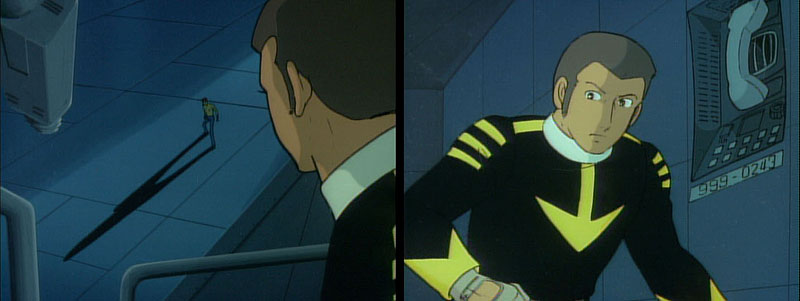
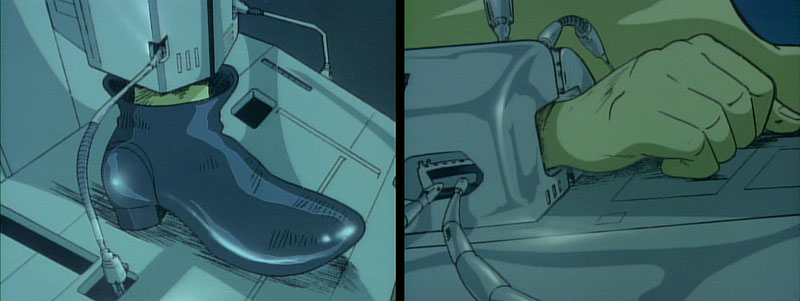
Story note: Conroy is shown speaking into an old-style, wall-mounted telephone complete with a 7-digit number on its ID plate. This was a far cry from the usual intercom-style communication system seen in other 1970s SF, and a continuing reminder that we’re on a classically-designed naval vessel with hard-wired internal systems. A similar sensibility informed the design of the reimagined Battlestar Galactica.
The prisoner, now wearing a Star Force uniform, manages to find his way around fairly quickly and exits out onto the rear deck toward his ship. He uses a stolen gun to shoot off the mooring cables, then hops into the cockpit through the broken canopy. Despite getting shot up, the ship is in working order.
Wildstar orders Eager to track the fleeing ship, and Venture to follow it.
Approaching his home fleet, the pilot identifies himself as “Mazer” and addresses his commander, Major Hyrex. Mazer, aware that the Argo is following, claims to have led them there. Hyrex scoffs at the idea. “You take a vacation and come back to give me orders? You were taken prisoner by the Star Force, weren’t you?”
Mazer doesn’t deny it, but says that he did not reveal any information.
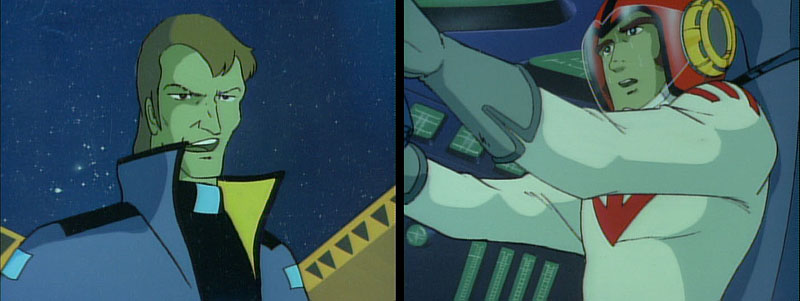
“Forget it, Mazer,” says Hyrex. “You’ve been a prisoner. We don’t want you back. The Comet Empire never accepts returned prisoners. We know we can never trust them again.”
Mazer, in a sweat, continues heading for the fleet. He once again insists that he didn’t talk to the enemy, a fact undermined by the uniform he now wears. Hyrex claims their “no-prisoner return” policy is “a rule of Prince Zordar that can never be broken.”
In Yamato 2, this may simply be Destor’s [Hyrex’s] rule rather than an across-the-board policy of the Comet Empire.
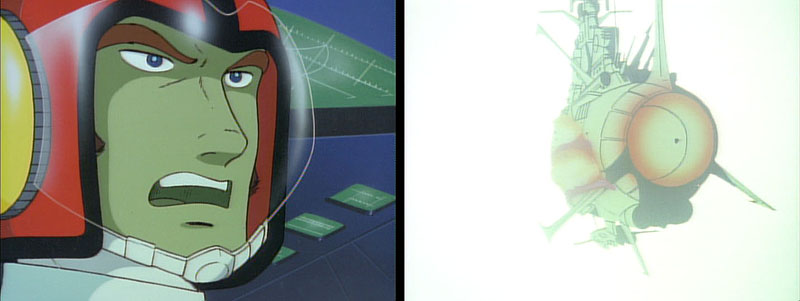
Mazer continues on his course directly for the flagship with a look of determination. Just before colliding, he veers off and flies in figure-eights around the ships.
Production note: Mazer may have been disorientated at the last moment owing to a double-vision of Hyrex’s command ship through his broken canopy. (Not really, it was just a double-exposure animation error.)
The Argo soon catches up to the enemy fleet. Wildstar sees they aren’t allowing the fighter to land. It turns back and heads for the Argo. Wildstar has Homer open up communications with Mazer with the intention of taking him back. He feels the pilot will be more willing to talk now that he’s become an outcast.
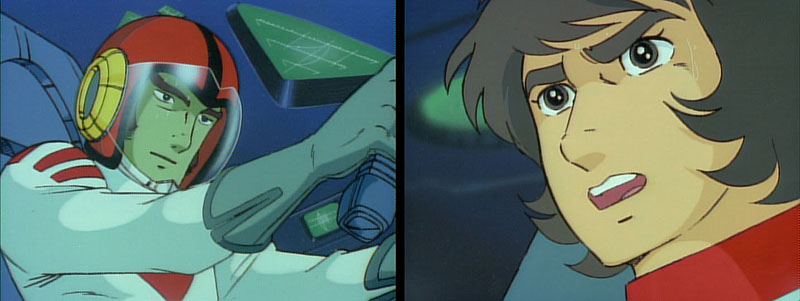
Homer quickly establishes radio contact. Wildstar offers him a place on the Argo, not as a prisoner, but as a soldier. He prompts him for a response. The pilot says nothing. “We respect your allegiance to your nation,” Wildstar says, “but does it respect you?”
That is a great question, I think. Soldiers are expected to pledge undying loyalty to their nation, but what does the nation owe the soldier in return? This is similar to the dialogue in Yamato 2, but it had some resonance with the contemporary debate about the treatment of America’s Viet Nam veterans and the obligation the government had to help them.
Star Blazers inserted a clip of Mazer, re-using animation from seconds before, of Mazer’s pained response. “My name…is Mazer. I don’t know what to do.” Another great moment; it’s impossible not to feel sympathy for him.
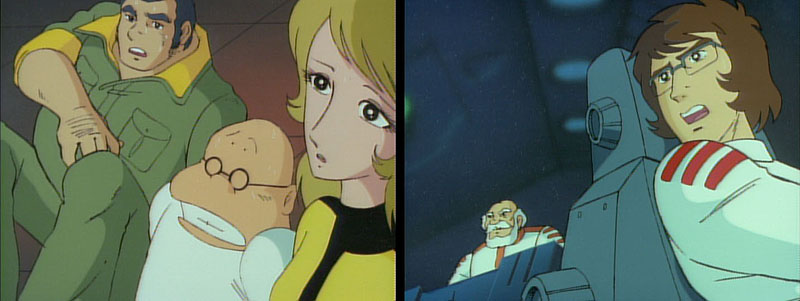
Instead of that clip, Yamato 2 shows Yuki and Dr. Sado walking onto the bridge. Sado apologizes to Kodai for being careless and allowing the enemy to escape.
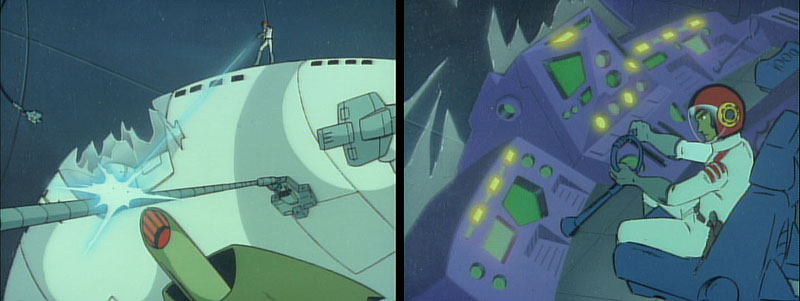
The pilot continues flying directly toward the Argo. Sandor informs Wildstar that the plane is loaded with bombs. Tension mounts with Mazer holding all the cards…then he abruptly swerves and rams into the side of the Argo, near where he had been docked.
In Yamato 2, Mazer’s last words are “Glory to the great Comet Empire,” indicating he did not give up his allegiance. But while the attack was deliberate, Sanada questions why Mazer didn’t come straight for the command bridge.
Star Blazers leaves open the question of Mazer’s motive, with Sandor asking, “what was he trying to do, land or attack?” With all the other cuts made for American TV, it was surprising that Mazer’s final act was actually shown. There may have simply been no way around it, which says a lot about the boldness of the writing and–in this case–the editing as well.
Note from Matt Murray: This scene is the only example of the apparent “no suicide” rule (that seemed to govern all other similar instances) being broken, likely because, as suggested above, there was no way to remove it. There’s also a curious editing error in this sequence. As Mazer is flying back towards his own fleet, there is a scene on board Hyrex’s command ship in which a video screen shows the Argo with a smoke trail as the pilot addresses his commander. We see the same shot after Mazer’s crash, only this time with his Scorpion fighter on the display, despite the bridge officer declaring, “That’s the Argo.” The two shots are identical but for which ship is on screen; for some reason, they appear to have been edited into the episode in reverse order.
Story note: Though the possibility is there and gone in a flash, it’s really tempting to wonder how the story might have been different had Mazer accepted the invitation to join the crew as an equal. It would have intensified the tensions among the Space Marines and given Knox another reason to clash with Wildstar. Any information given by Mazer would have to be second-guessed until it proved true and this could have lead to more than one white-knuckle moment. If he had lasted all the way to the climax, Mazer would undoubtedly have played a major role in the Comet Empire invasion. Alas, like the Star Force, we’ll never know.
Incidentally, there are two inside jokes in this episode that both center on one of the Office Academy staff members, production manager Satoshi Yamada. His name was borrowed for the interrogation officer and his likeness was borrowed for Mazer. (His photo has yet to emerge, however.)
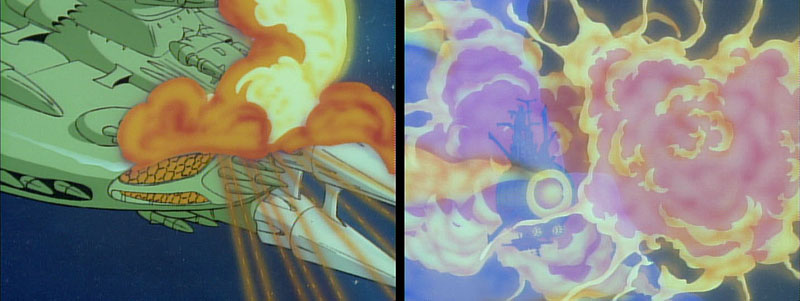
Now faced with the enemy fleet, Wildstar orders an all-out attack, telling Venture to head for the heart of the fleet so the enemy ships will hit each other. It’s a rather crudely-animated battle in light of the wonderful action scenes in recent episodes. The fleet is quickly destroyed, and Major Hyrex/Commander Destor gets a death scene in Yamato 2 that was deleted from Star Blazers.

This battle is probably the only time we see the pulse lasers used as an offensive weapon against a capital ship. In a bit of a reversal, the main shock cannons were used defensively, taking out several missiles.
Like last episode, this one shares many surface traits with a Series 1 counterpart. It should be noted that at the end of Series 1, Episode 13, we’re shown a brief montage of the Gamilon’s interrogation. The prisoner is shown sitting in a similar chair with a helmet under Sandor’s supervision. It could be surmised that the Gamilon was put through a similar procedure. The writers might have intended to write a full scene for that sequence, but didn’t have enough screen time for it. That could have been the basis for some of the creative choices shown here.
Yamato 2 allows the “good guys” to go to some uncomfortable places. Like my criticism of Kodai’s handling of the Shima/Aihara feud, I have to wonder if they went down this path due to Kodai’s inexperience. Would Captain Okita have approved of torture? Maybe he would, based on that moment from Series 1. Either way, there is no doubt that the Star Force finds torture distasteful in both the English and Japanese versions.
In WWII, Japanese soldiers were taught to fight to the death, and never surrender. Those few who did surrender or were captured often found themselves dishonored. Some committed suicide while in captivity, others changed their names and remained in their captor countries, too ashamed to return home.
Because the Japan’s WWII era bushido code viewed surrender with disdain, Allied POWs were treated harshly, and beatings, executions, and forced labor were common. (Japan had not ratified the 1929 Geneva Convention on the Prisoners of War, and thus did not feel obligated to follow them.) Any interrogations (especially in the field), were usually brutal and followed by a quick execution.
Here, it’s the Japanese side that (despite the grudging use of torture) is offering the better way. The Comet Empire, on the other hand, seems to be following the Japanese WWII tradition of “never surrender, fight ’til you die.” It may be representative of how things had changed in Japan in the years since the war.
Why wasn’t the Argo still smoking from the fighter hit after the enemy fleet was destroyed? That was some really fast fire extinguishing and repairs.
Fire is extinguished pretty rapidly by the vacuum of space. The show frankly tended to err is the other direction more often than not.