
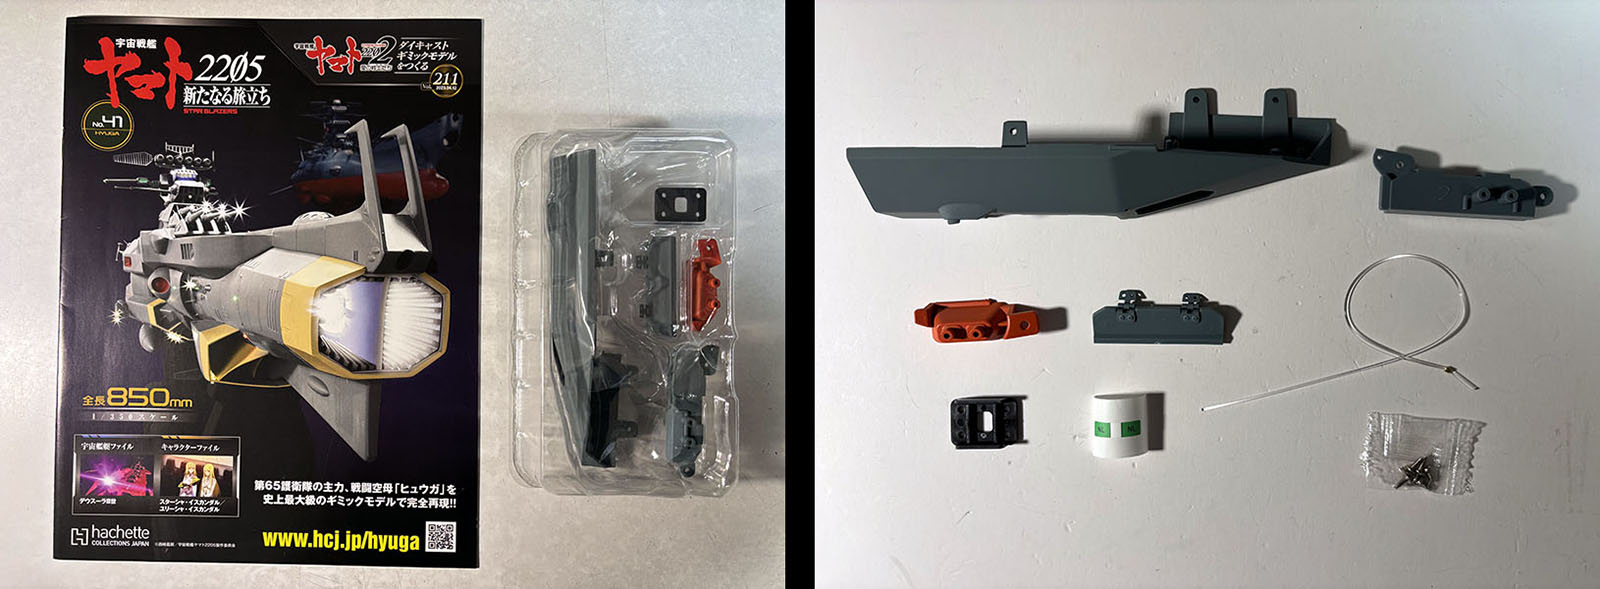
The next ten volumes focus mainly on the upper sides of the hull, which are lined with compartments and other features. Volume 41 starts us off with a portion that will land on the starboard side.
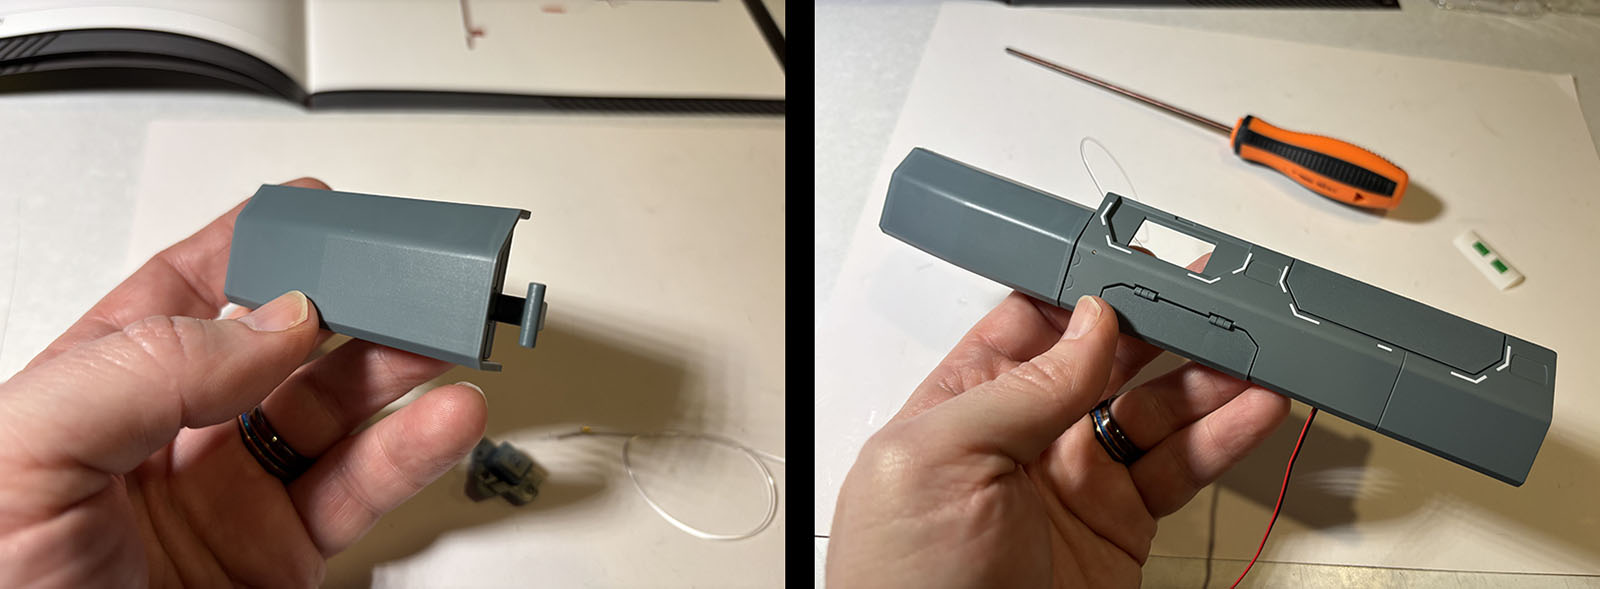
It’s pretty simple; install a lateral thruster, a fiber optic string, and a hatch cover. This is the second such hatch cover I’ve been given. Its hinges are pre-attached, but they need to be super-glued into their sockets. And you already know super glue gives me the willies. But this goes OK.
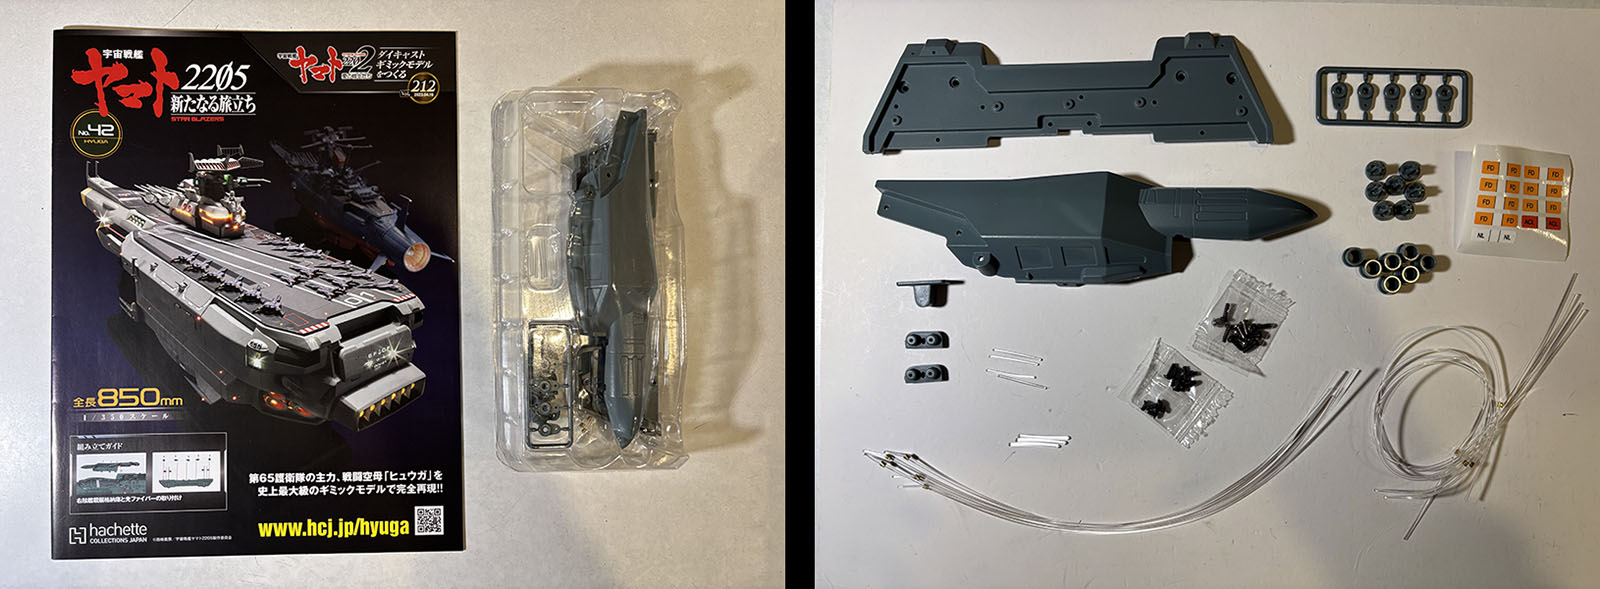
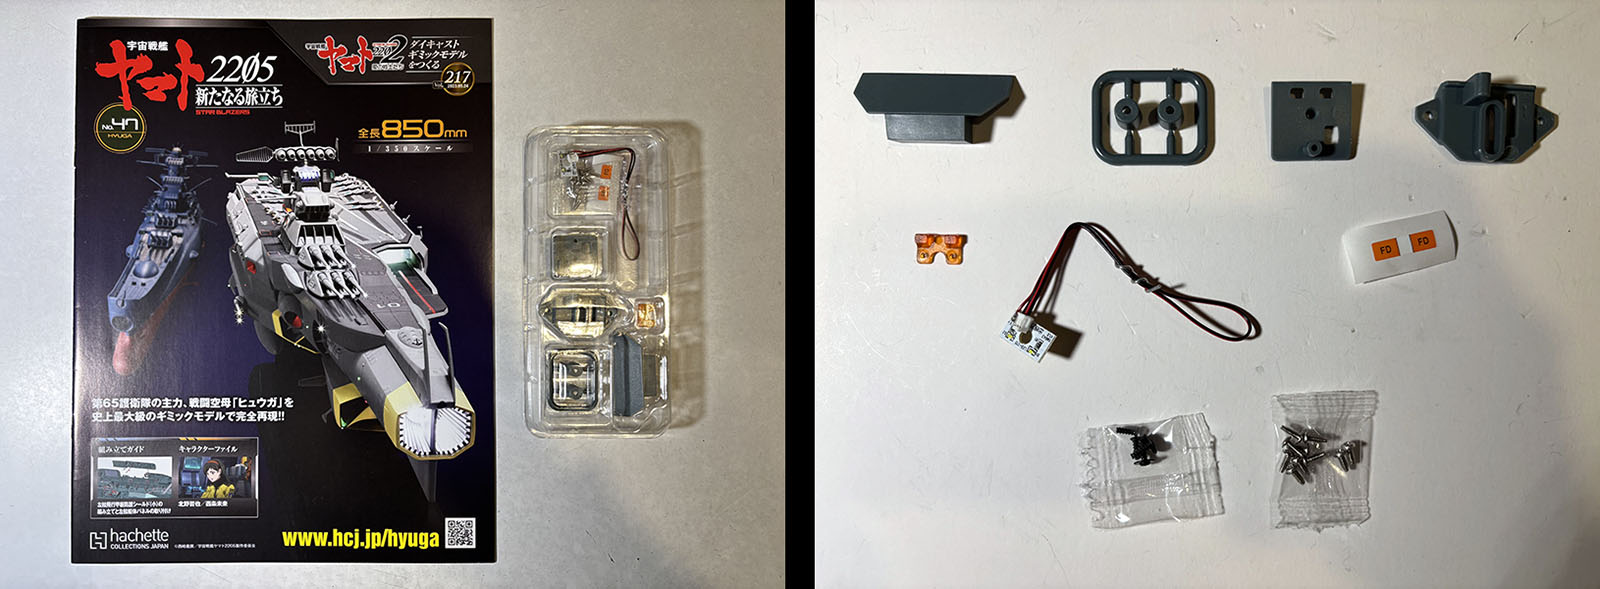
Vol. 42 contains an adjoining segment and a whole bunch of other things, including a whole bunch of fibers and seven caps to contain them. This one’s gonna be long road.
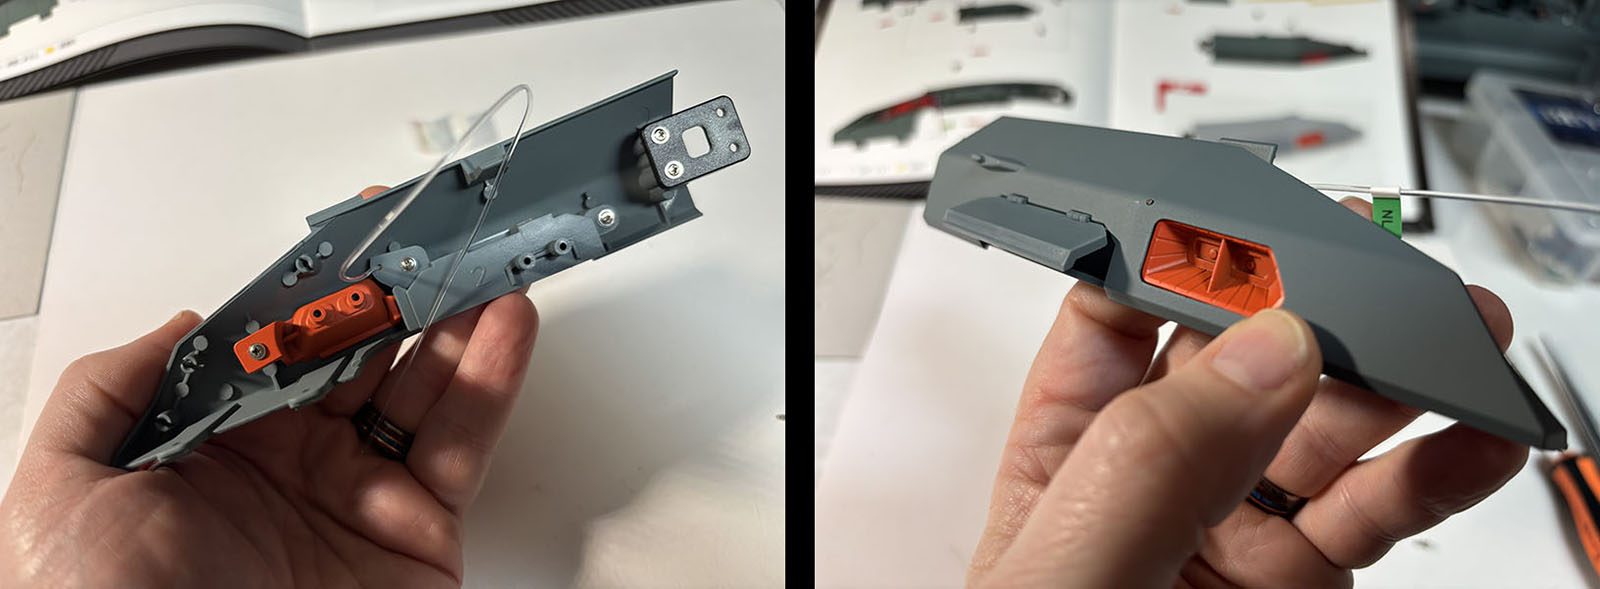
The hull segment is an easy one; attach a bracket to the inside and then bolt it to the last segment. We now have the leading edge of the upper hull on the starboard side.
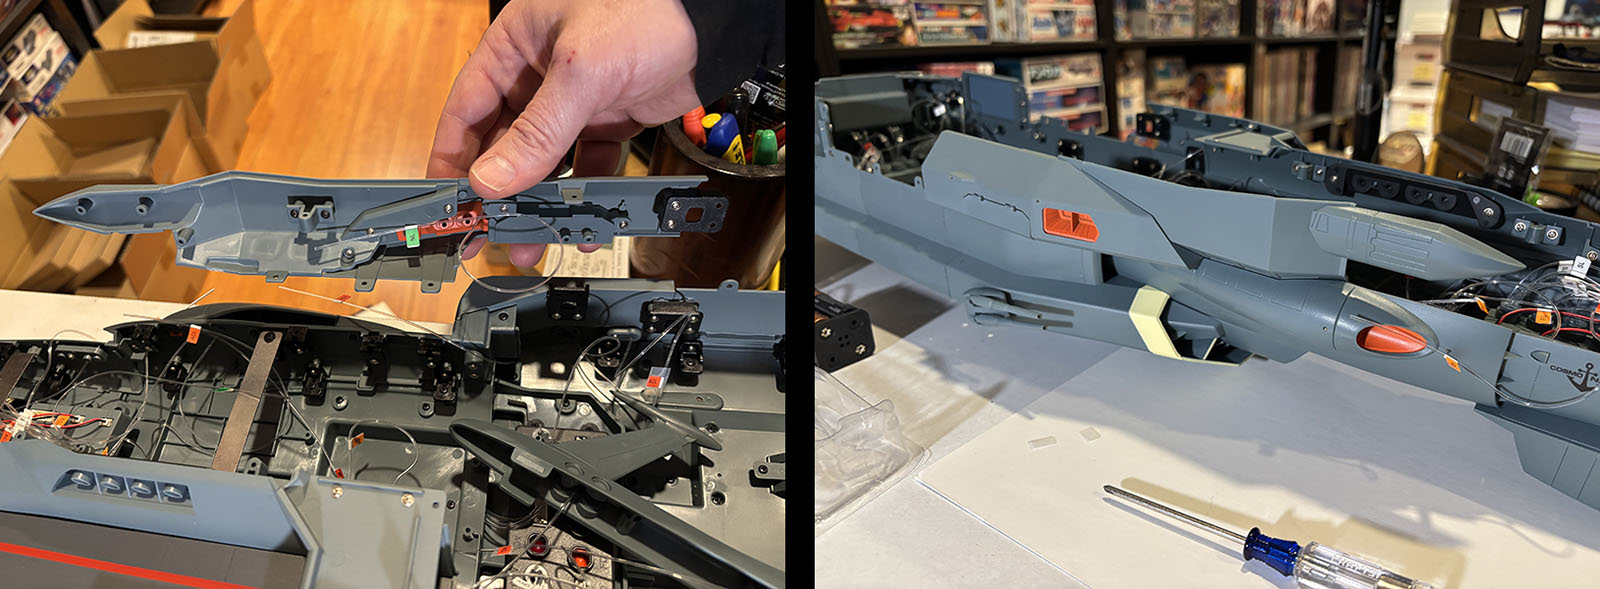
It then attaches to the main body and goes back to the midship area. It looks weird once it’s on, but future parts will help fill it in.
Next comes the aft surface panel, which gets festooned with no less than 9 fibers for individual lights.
Bolting it down to the main body is easy enough, but now there’s a swarm of fibers to be collected, capped, and plugged. This is where the real work begins.

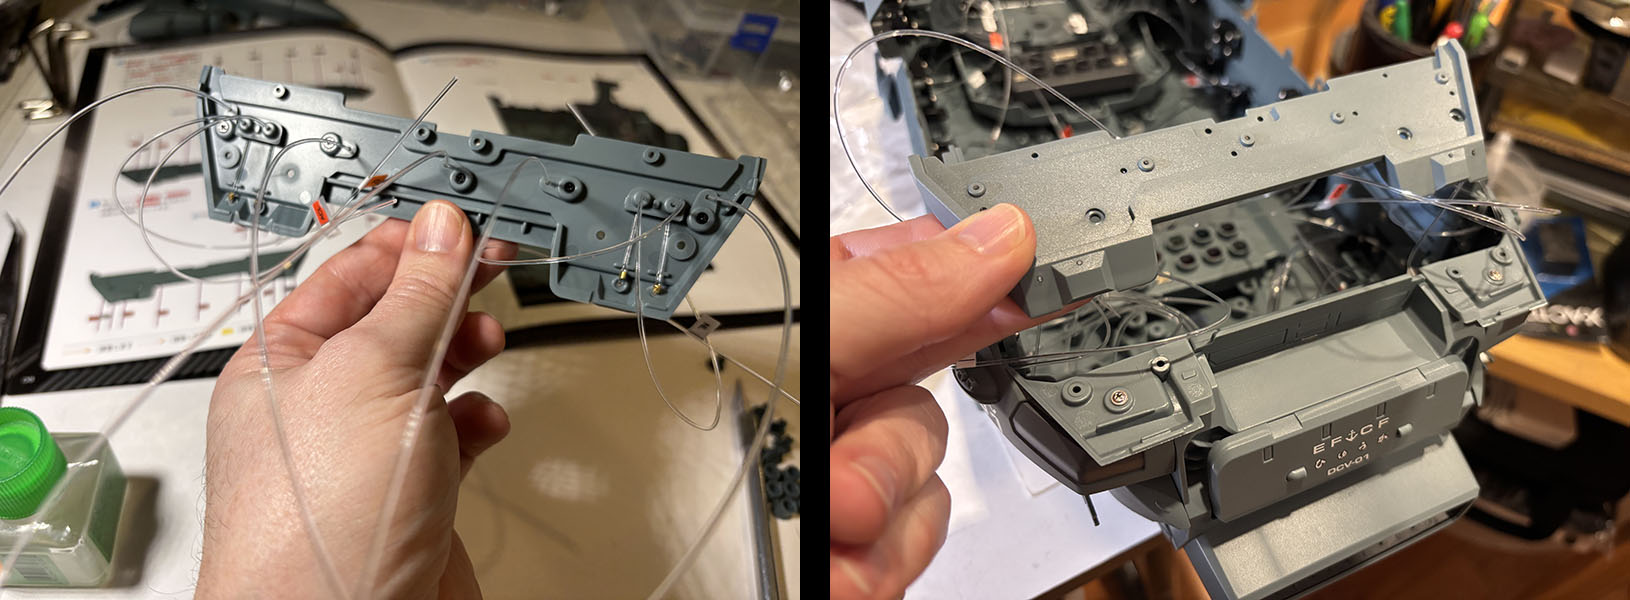
The first round turns out to be one of the hardest I’ve ever handled, including the Yamato and Andromeda models. There are four holes in these collectors, and two fibers had to be stuffed into each hole. And they’re flexible, like half-cooked spaghetti. No matter how many times I try, they DO NOT want to be tamed. I ended up having to carve out the holes to make them large enough to thread the fibers in without losing tension (or they’ll just fall out).
Then I have to get a cap over them to hold them together. They’re overstuffed, so they instantly start bending and crimping under the cap. By the time I get that cap on I’ve filled up a swear jar and my fingertips feel like they’ve been slammed in a car door. And this is just one of SEVEN cappings ahead of me.
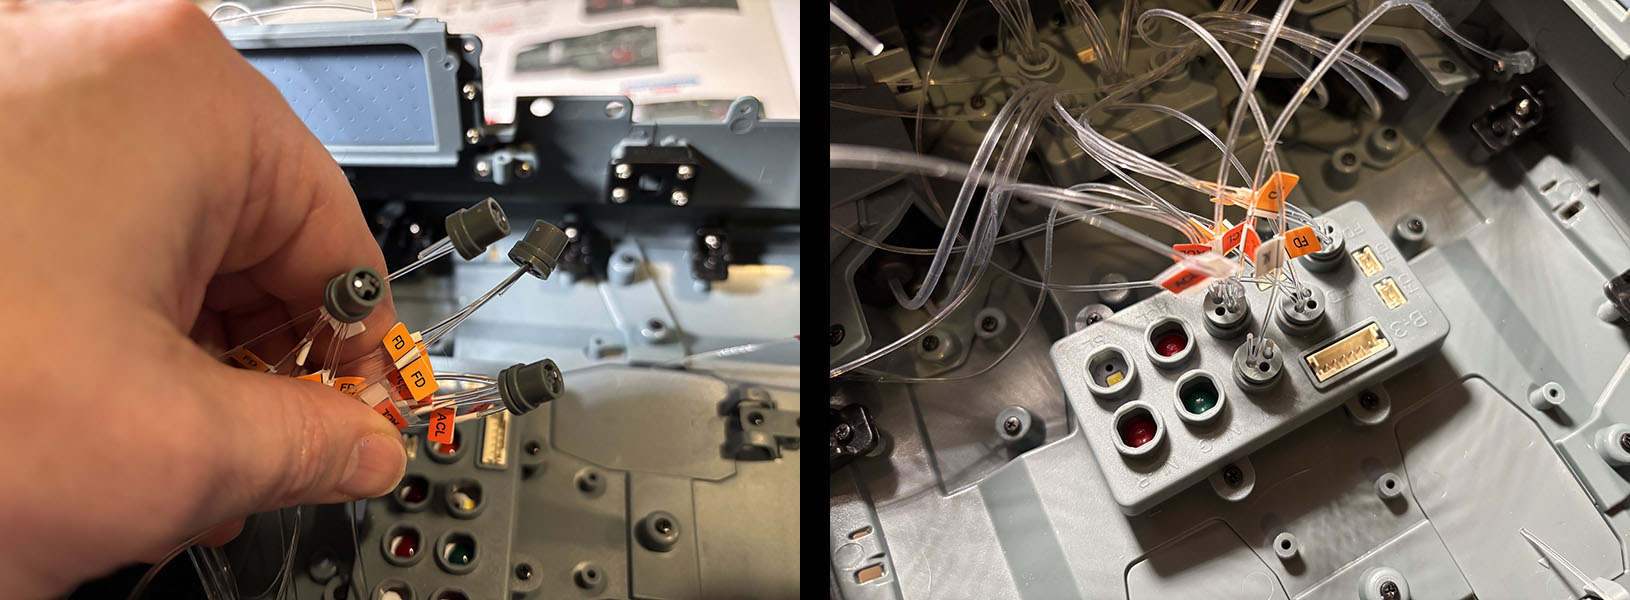
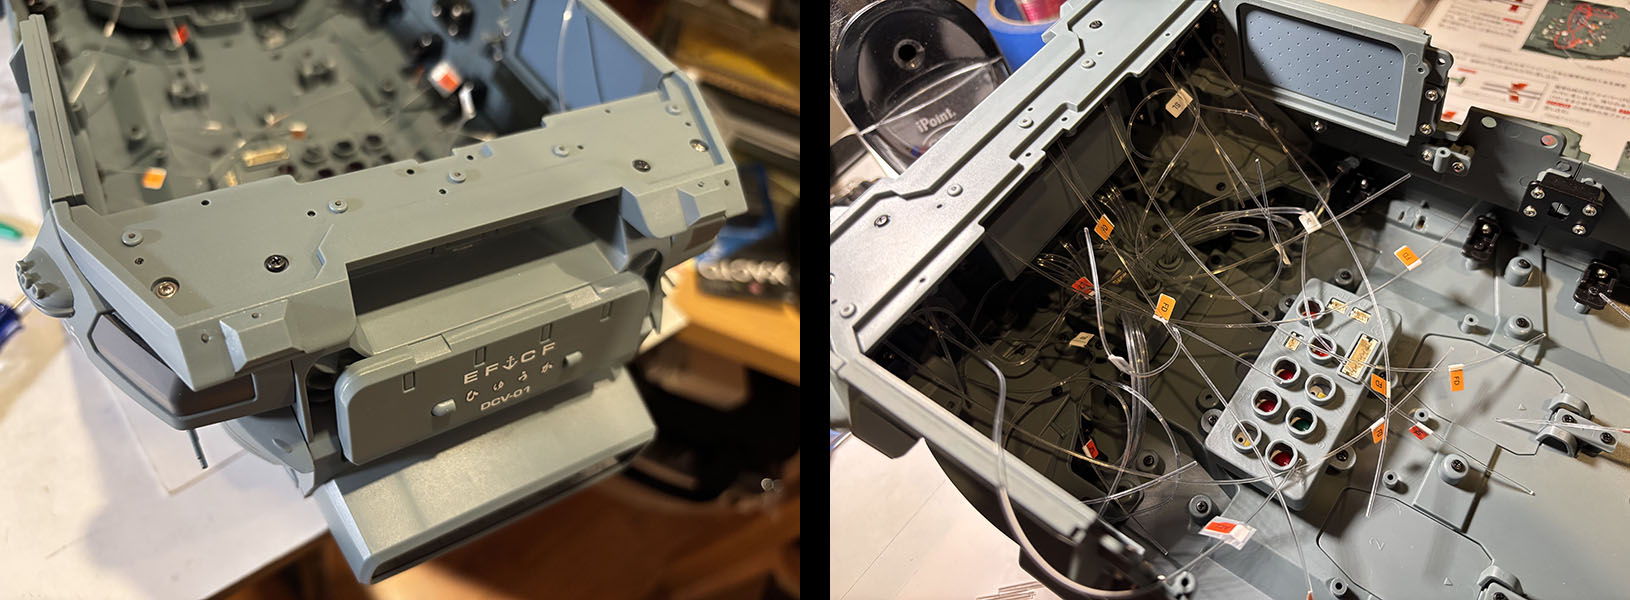
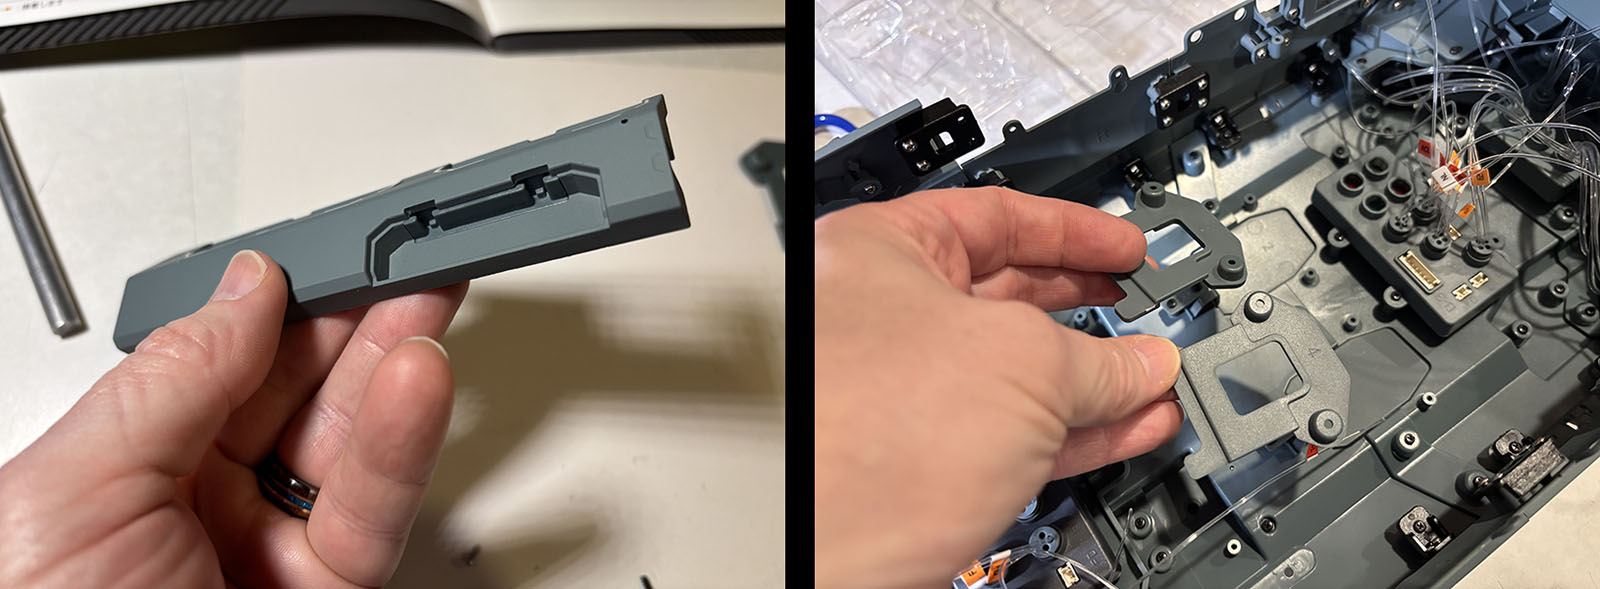
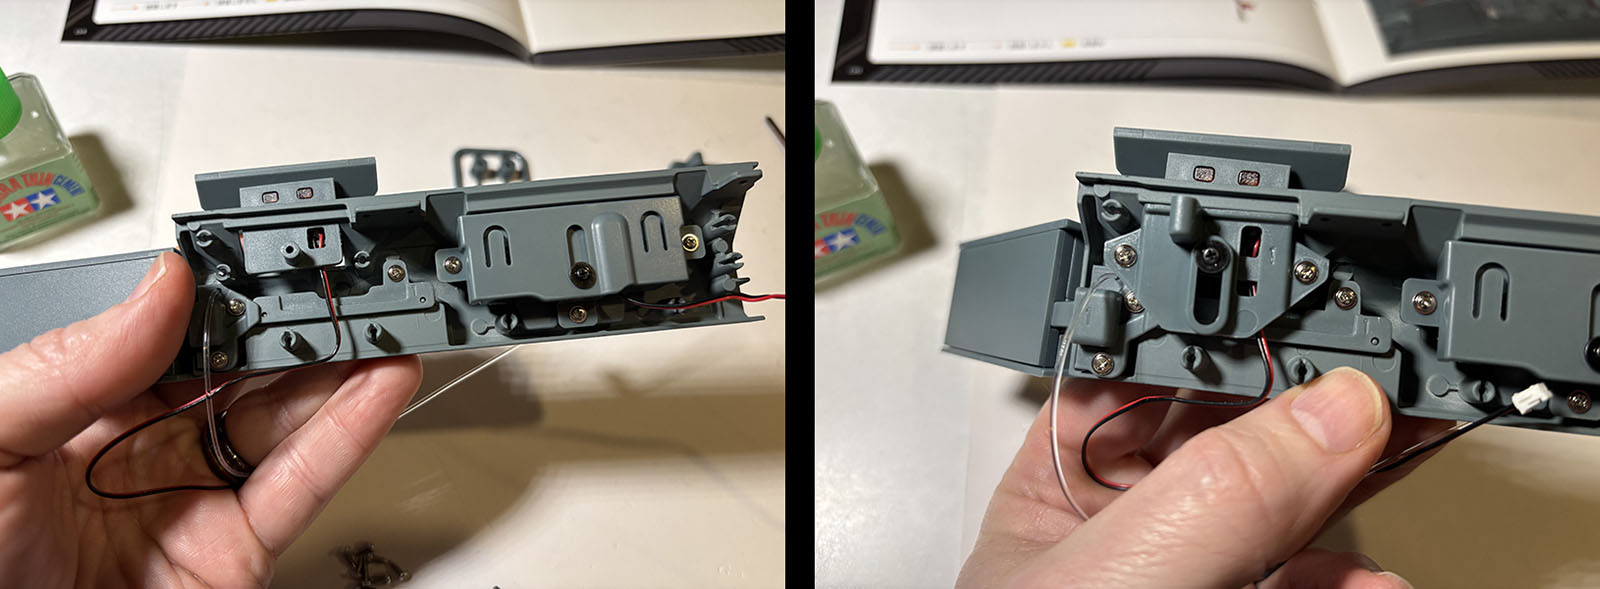
I expect the misery to go on for hours, but as it turns out I somehow picked the hard one to go first. Or maybe I just scared all the others into submission. Because they give up the fight pretty easily. I collect four bundles at the stern section and they all go into the distributor box.
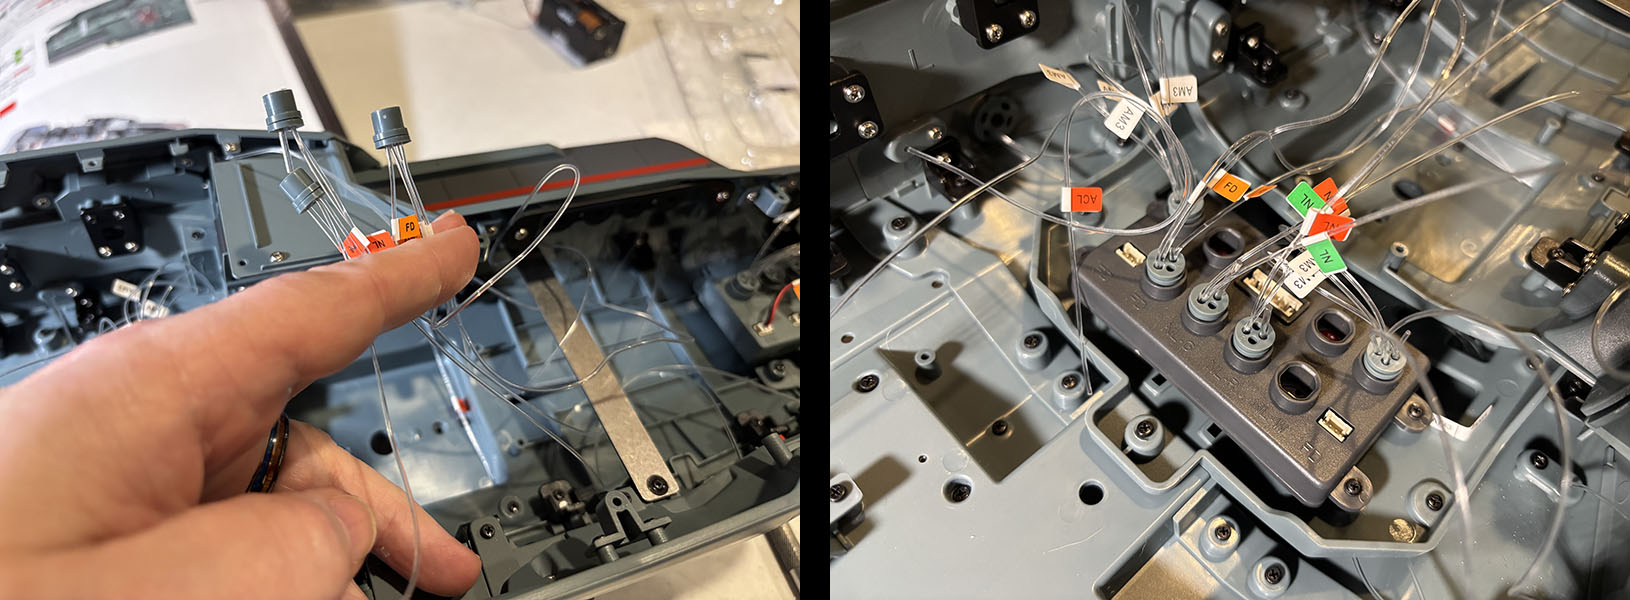
Now we move up to the midship section and collect three more. They also choose to cooperate and they go into a different distributor box.

All finished, and now the interior looks a little less like a wig in a windstorm.

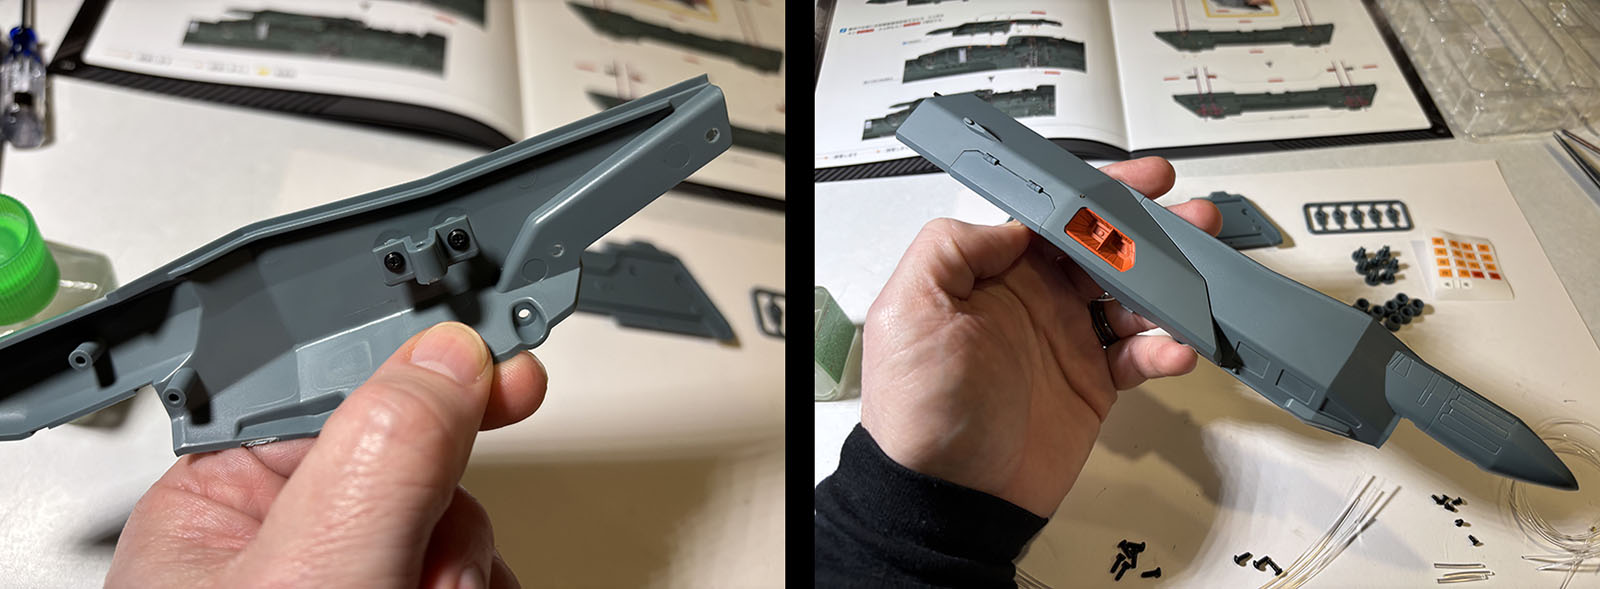
Here’s Vol. 43, which will help us finish off the leading edge on the starboard side.
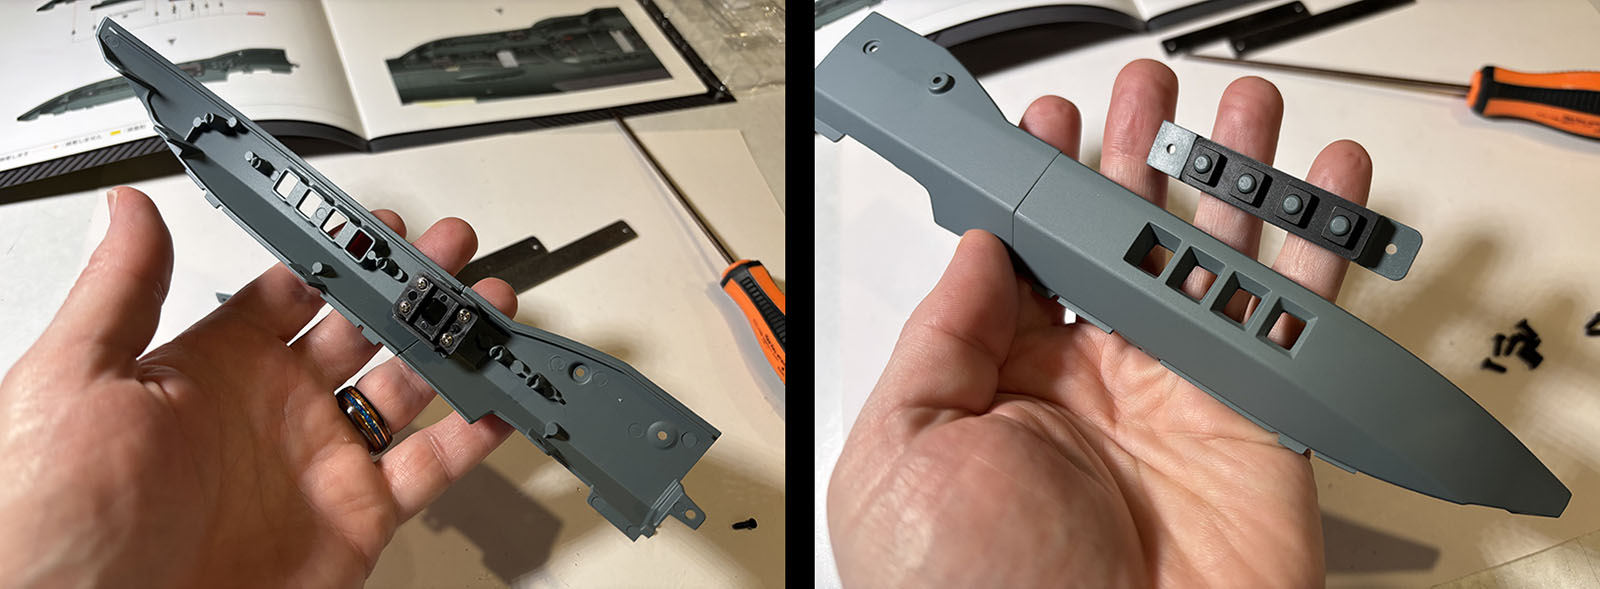
The two hull segments go together first, then we add a piece that’s been sitting around for a while. That row of squares came up all the way back in volume 12 and have been waiting for a home ever since. I can’t imagine the string of logistical decisions that led to this outcome, but I’m glad I didn’t miss a step that would require me to dismantle previous work.

Now this segment gets bolted into place and fills in the weird gap left over in Vol. 42 and we can see (below left) how the side of the hull will match up to the top deck.
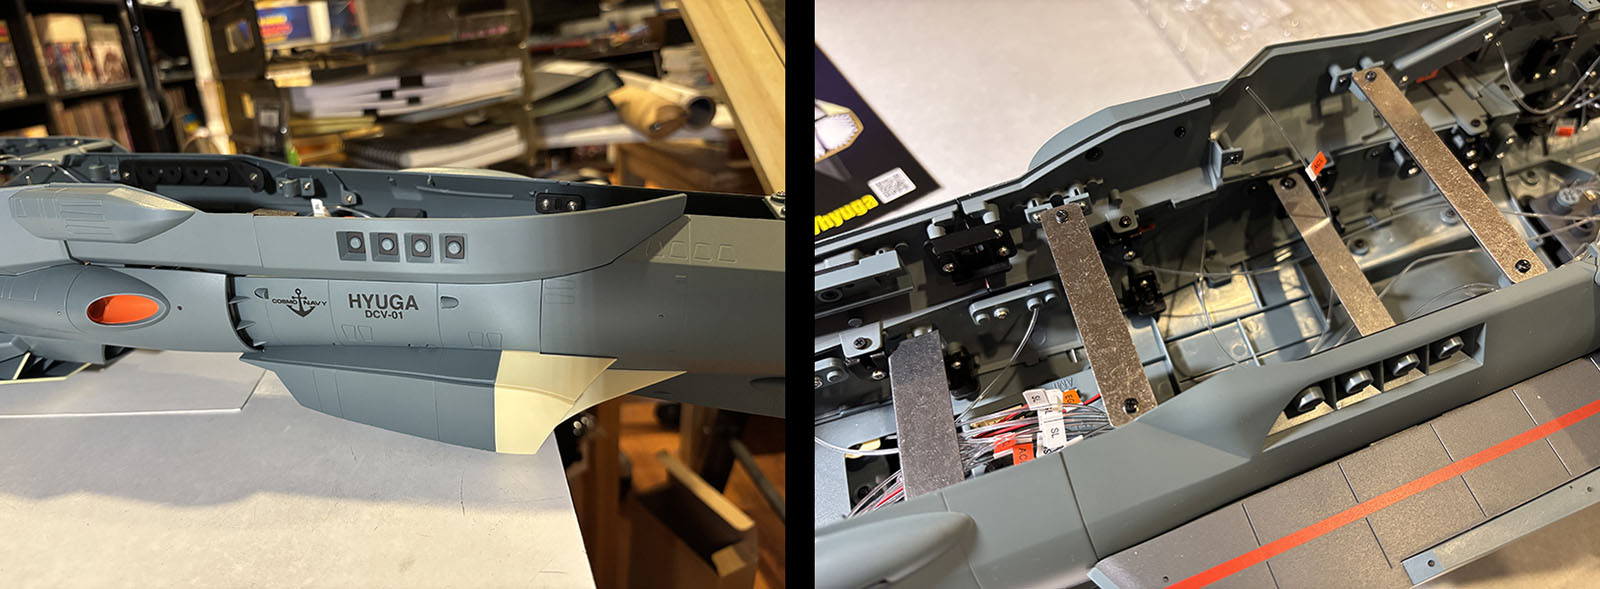
At right, you can see the last step in this volume; two metal braces go in to reinforce the forward section of the ship. There were already two in that area, and now extra solid.

Vol. 44 starts us on the process of building out the upper hull in the stern section. There are lots of interactive features in this area.
Left: we start with the port side, and the first step is just to install a compartment.
Right: these two interior panels go into the belly, over the two lower hatches.

Once in place, they reduce the size of the ports that get exposed when these hatches swing open. Not sure this feature will be worth much once the ship is on its display stand, but we’ll see.

Vol. 45 gives us more parts to attach to Vol. 44.
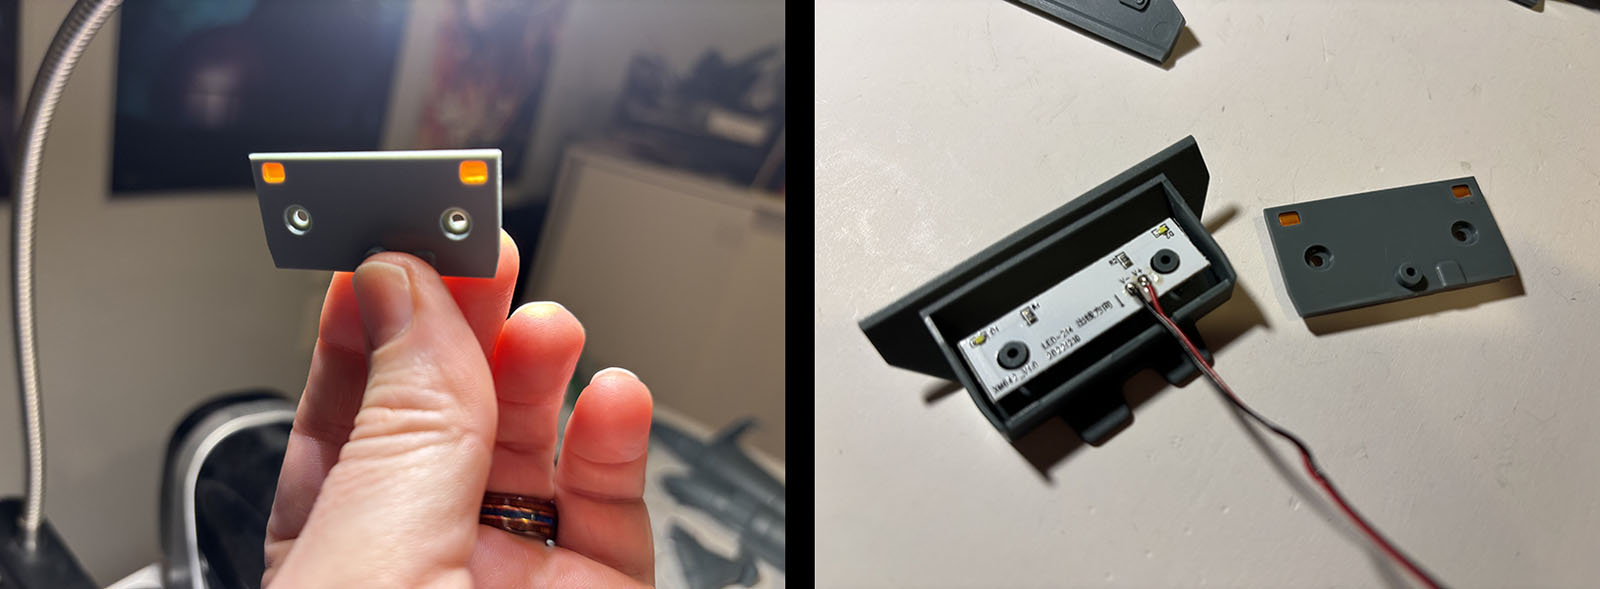
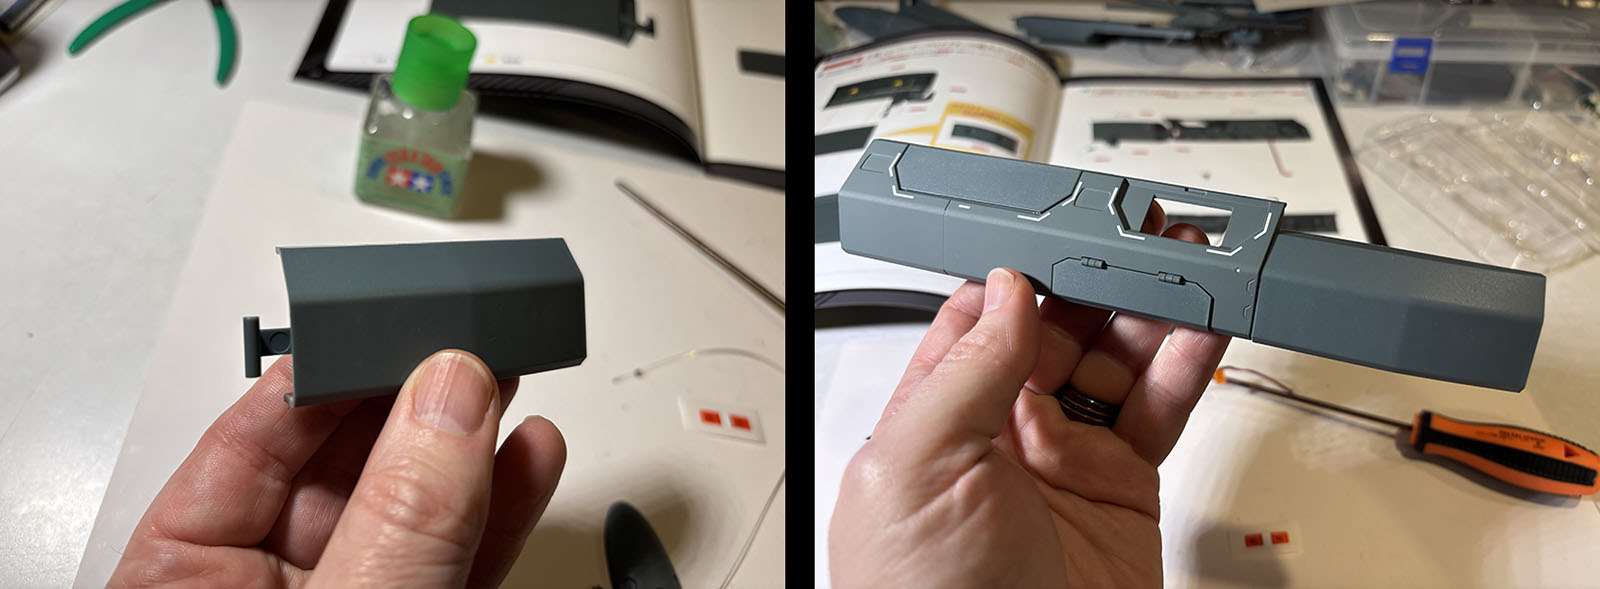
First, a clear color piece gets glued to the inside of this rectangular panel, which then becomes the “lid” of a box containing a small LED board. It will become a lighting signal for the flight deck.
Now that box slides into the hull segment and gets bolted into place. It will slide up and down. It’s actually a little sticky, but maybe it will smooth out with use.
You can see how it looks from the outward-facing side, both extended and locked down. Finally, another hinged compartment cover gets glued in and we’re done with 45.
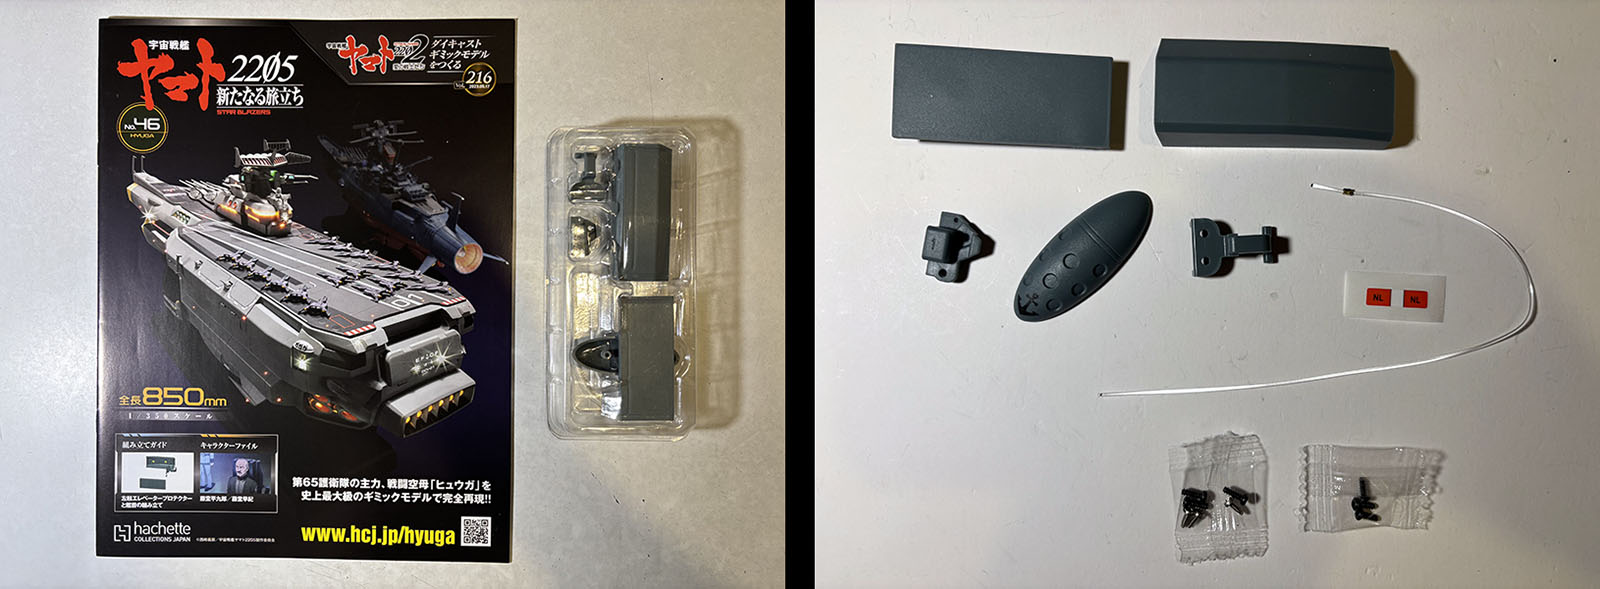
Vol. 46 is an easy one. We’ll construct a “door” to extend this hull segment.
It’s a simple piece with an interior, exterior, and hinge. Once completed, it gets bolted into place with a fiber next to it.

Lastly, we jump up to the bow of the ship, which we haven’t touched in a quite a while, and put these pieces together. The dome-shaped part wasn’t provided until this volume, but could have shown up any time. It just snaps into place. I let my grandson do it, because he was getting bored watching me fiddle with all the other stuff. He just wants to play with the model when it’s done.
Vol. 47 will conclude this hull segment. The last component is another signal light.

It’s constructed like the first one, but it’s smaller.
Here you can see it slide into place and get bracketed down. It raises and lowers with less friction than its neighbor.
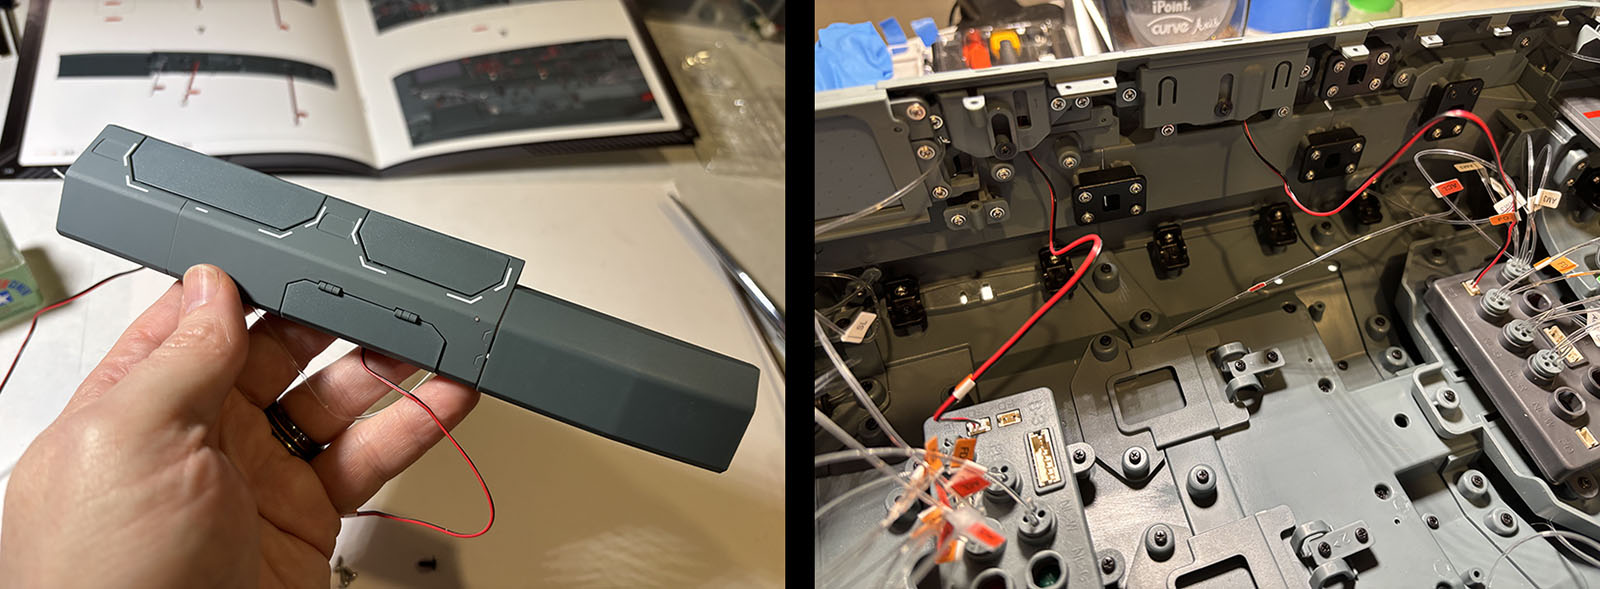
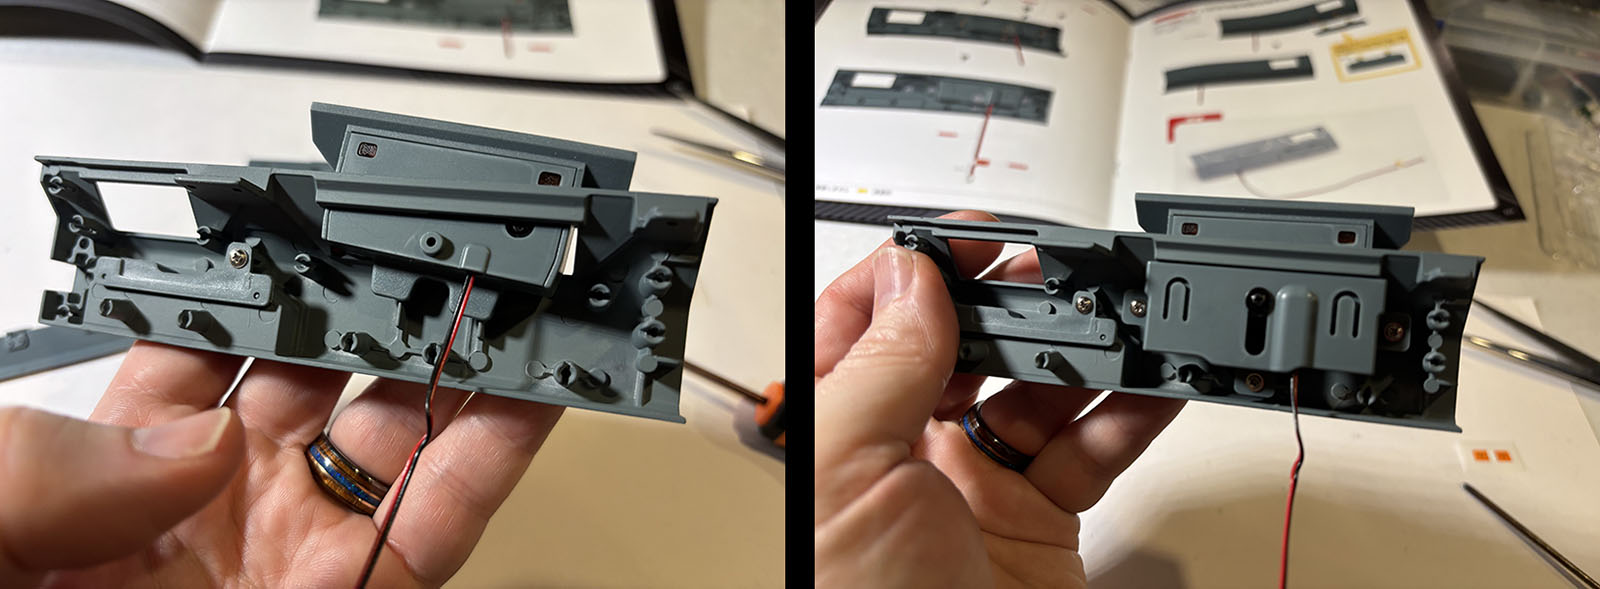
At left you can see the completed segment. At right you see it bolted into place (seven screws!) and the LED cables get plugged right in. We’ll be doing the same thing for the other side of the ship next.
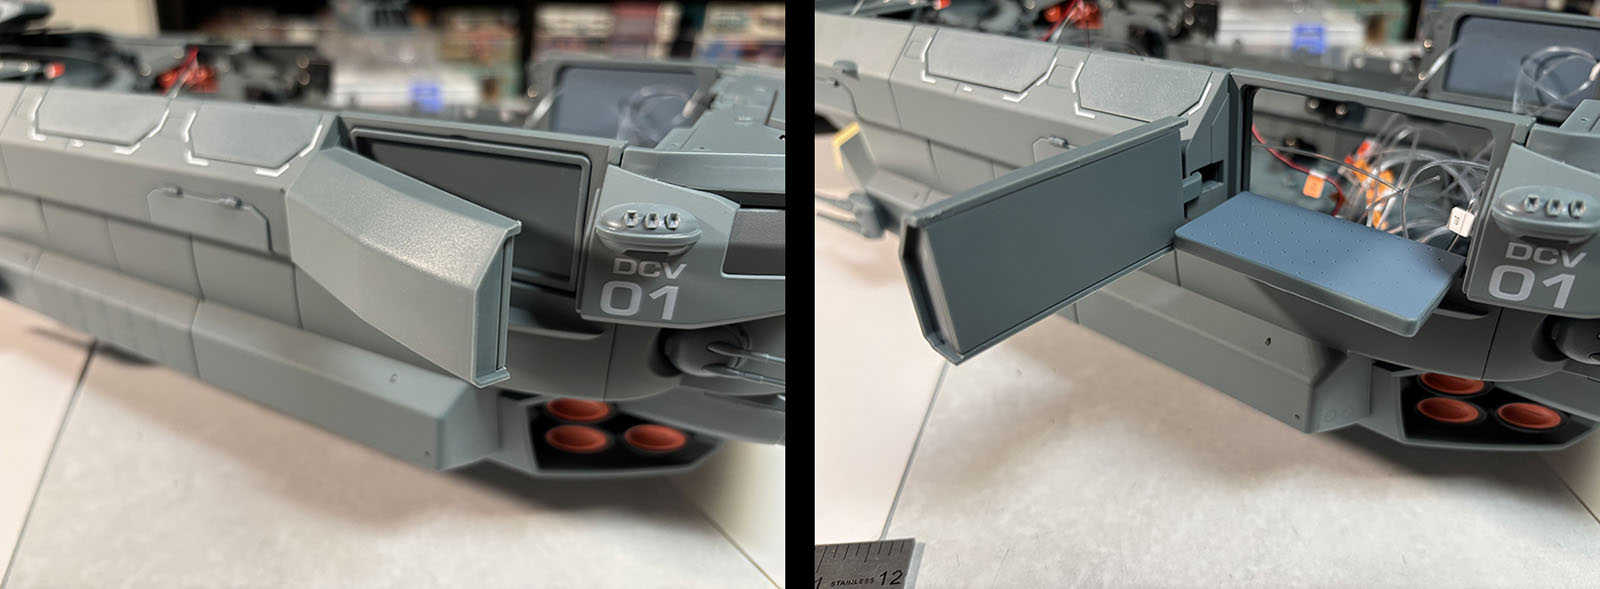
What about the “door”? It covers up the elevator platform at the stern. Open the door, flip the platform down, and you’ve got your action. The door is a little loose and rattles with even the slightest tremor of the work table, so I immediately tape it down before it makes me crazy.
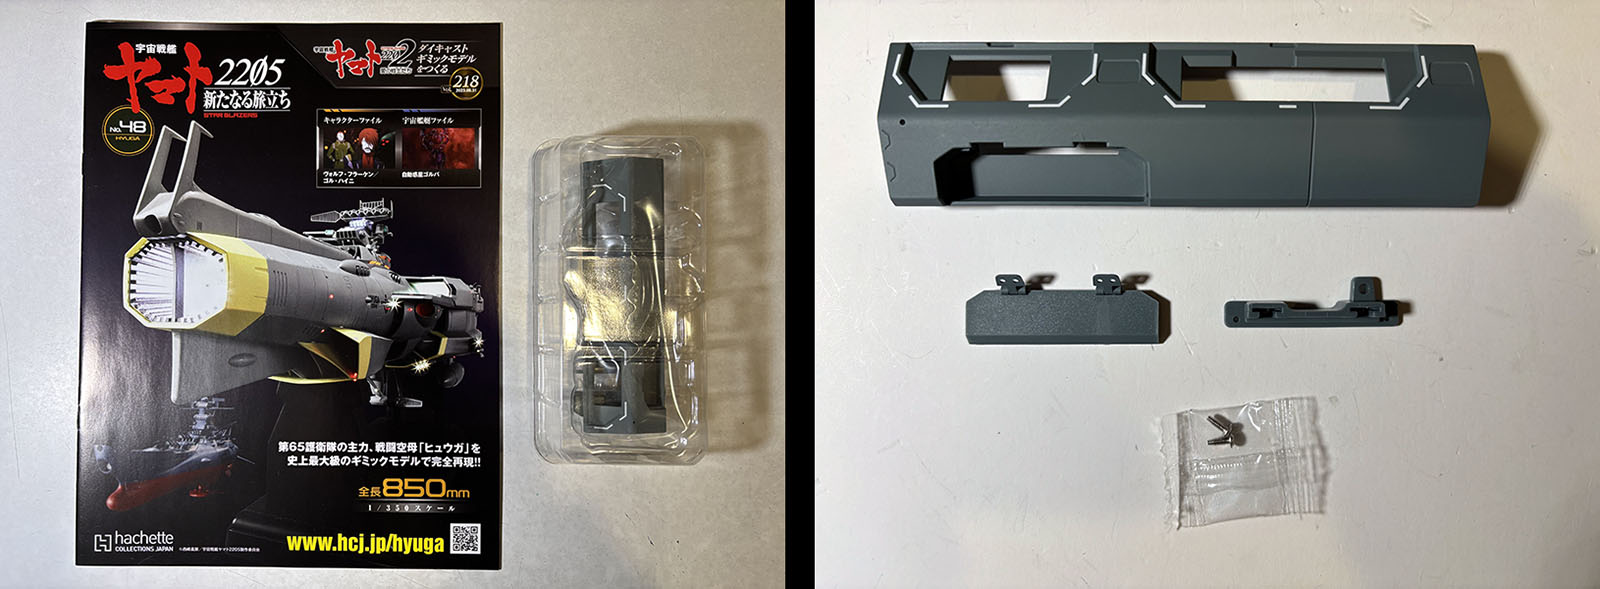
With Vol. 48 we jump over to the starboard side and start the process again.
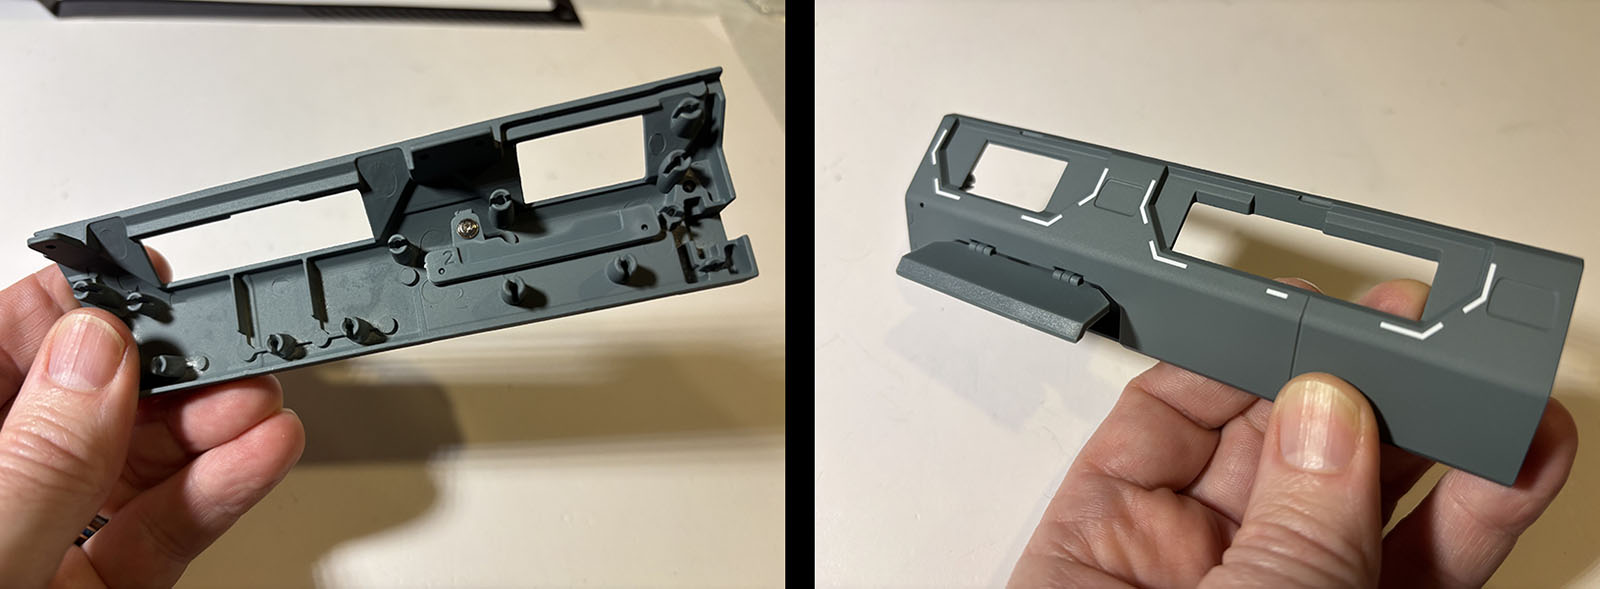
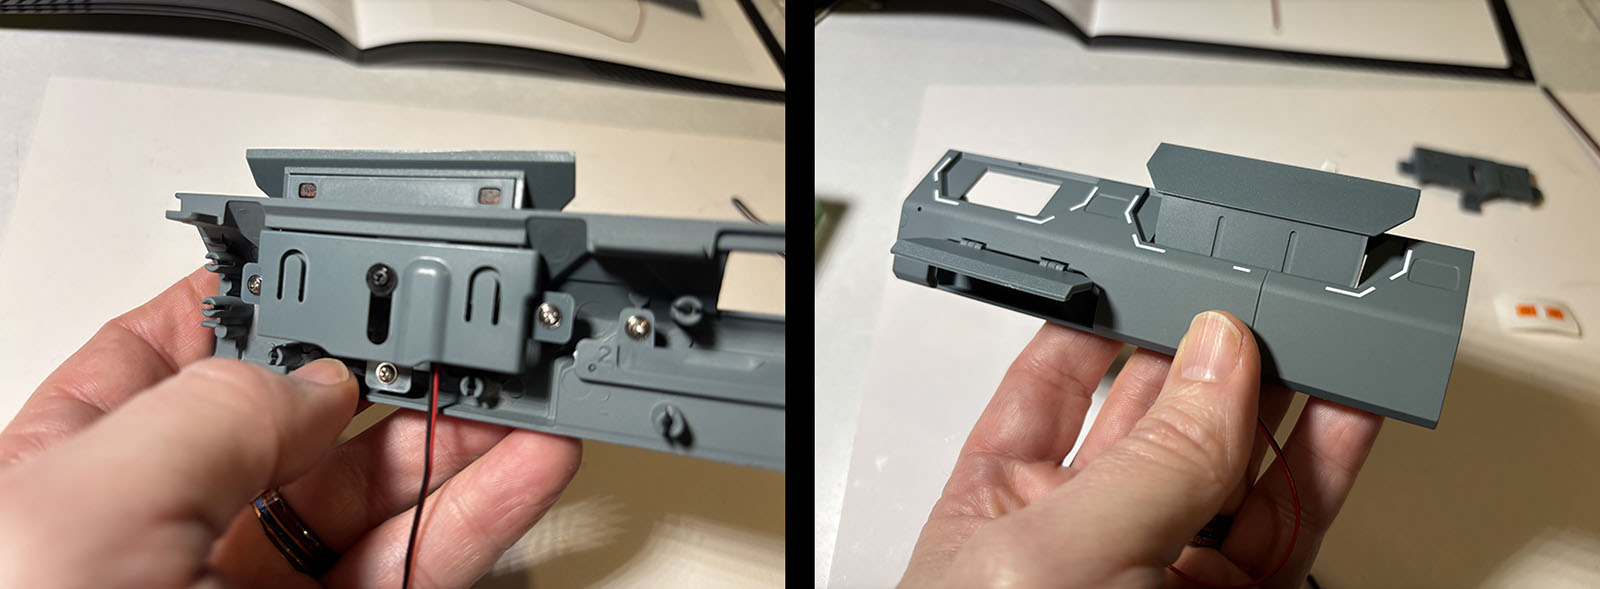
This is the flipside of Vol. 44/45 with a hatch door be glued in over a compartment.

Vol. 49 gives us the larger signal light component.
No issues with this one. It slides up and down easily.

Vol. 50 is the flipside of 46.
We put another “door” together and fit it into place. No sweat.
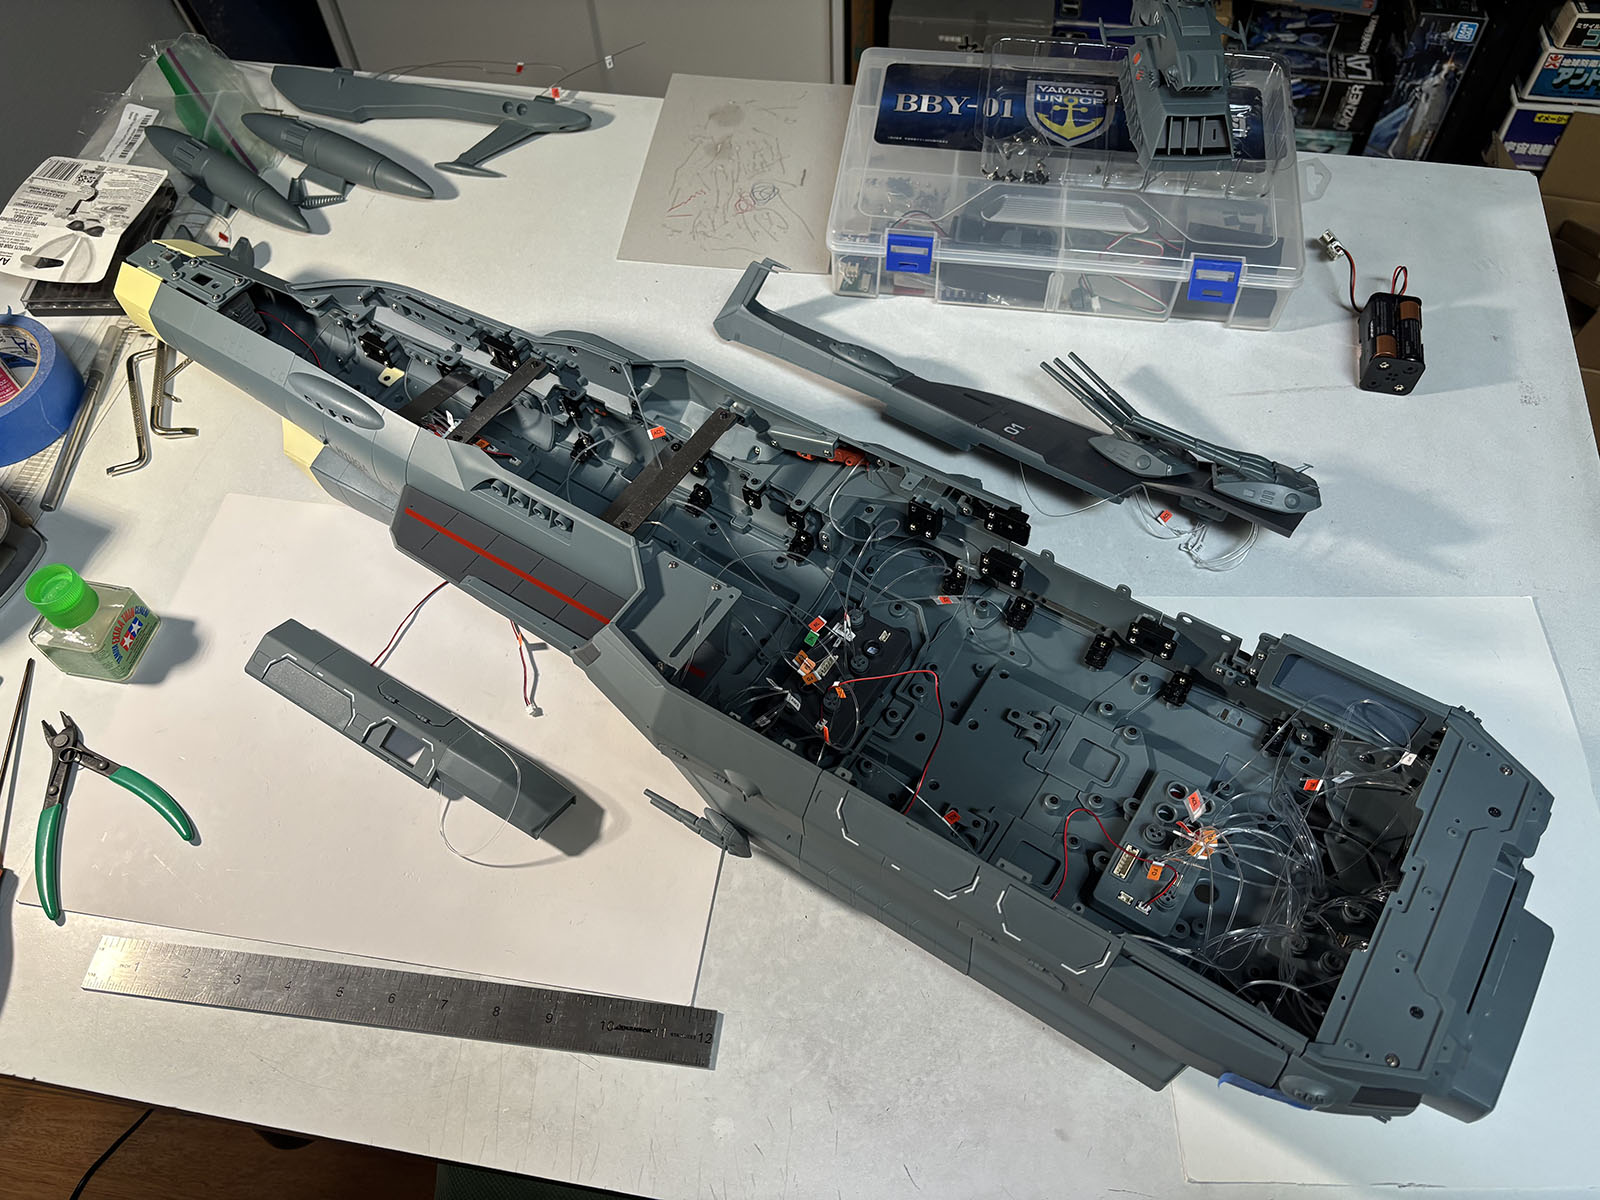
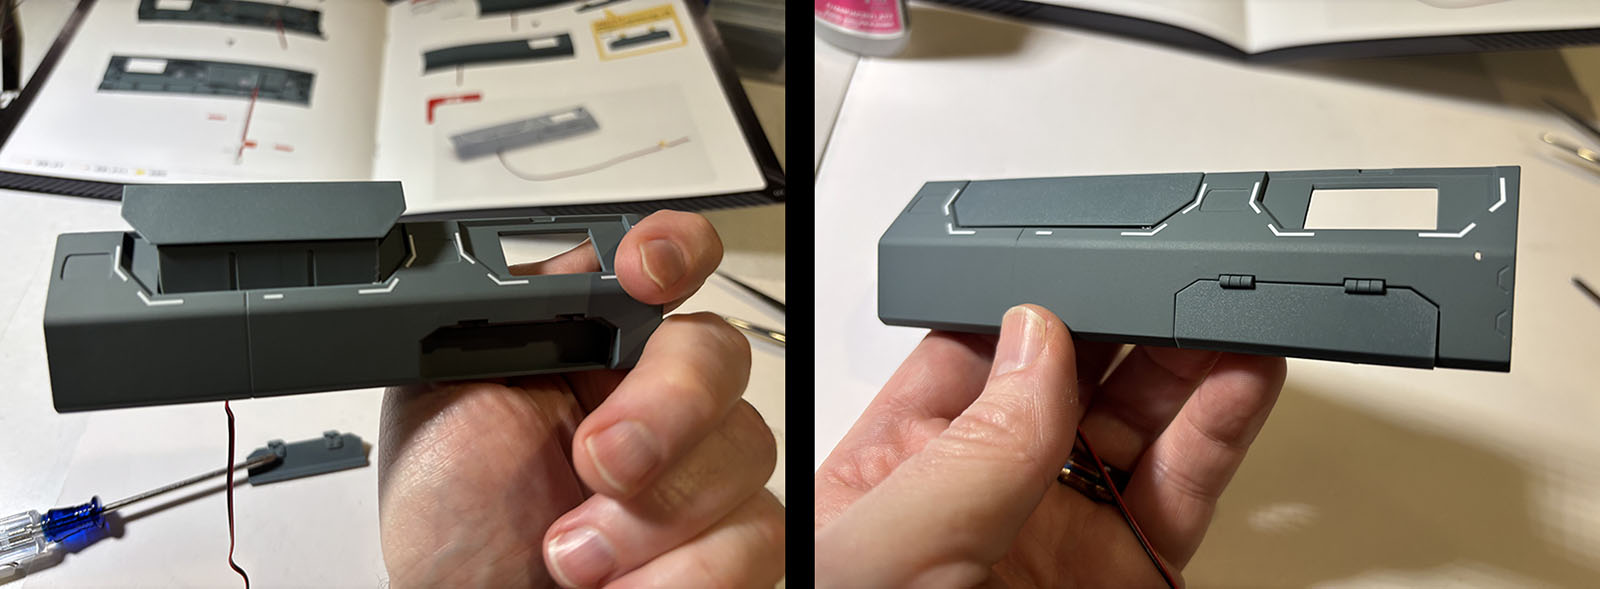
With ten more volumes in the can, this beast is shaping up nicely. And commanding a LOT of room on the table.
I have to admit I am curious as to whether you write your feelings and notes down as you are building or just remember what you went through and writeup after everything is built?
Thanks for asking. I built ten volumes at a time (taking a day or two), then switched over into writing mode so I wouldn’t forget the details.