
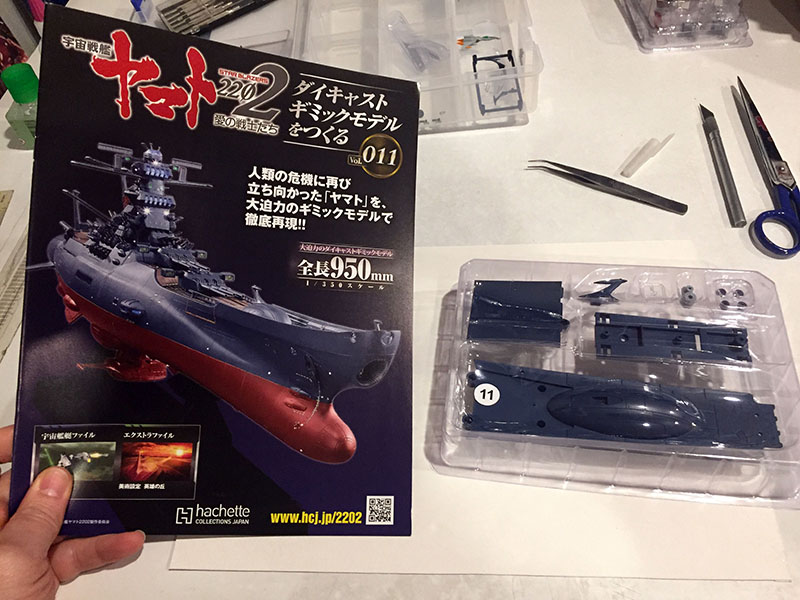
Volume 11 magazine and parts.
We’re heading back up to the forward deck and adding another hull plate.
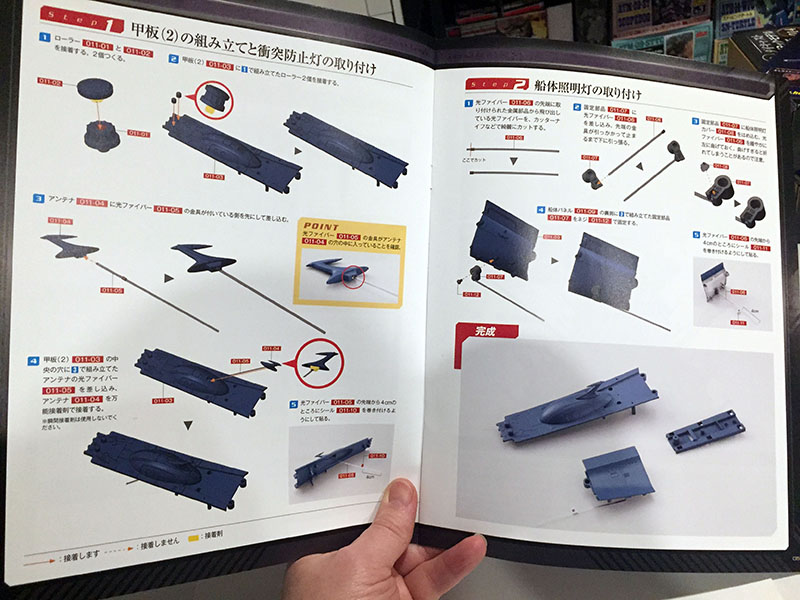
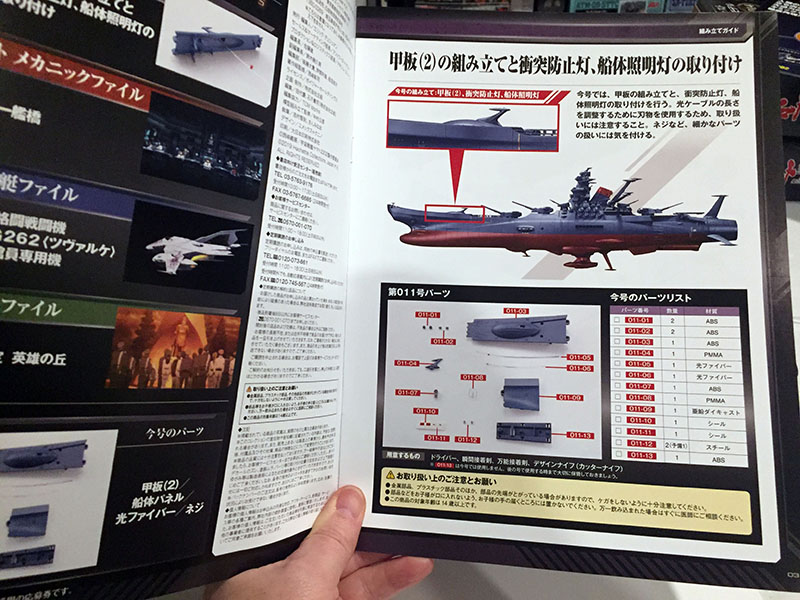
Instructions look pretty simple.
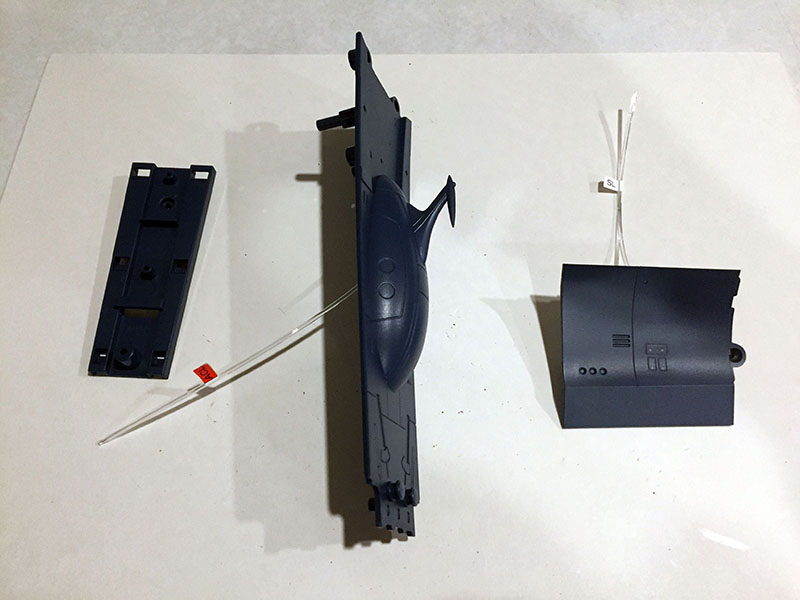
Done with Volume 11. I’m itchy about installing another fin this early in the game, since there are lots of opportunities for it to get broken off, but it has a light on it so there’s no option to leave it off. The part at left will contribute to the rocket anchor assembly.
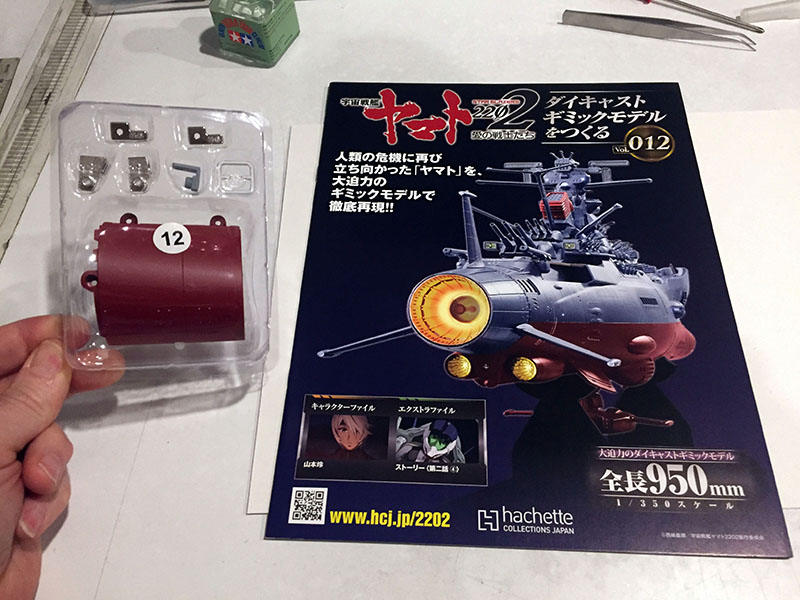
Another hull plate in Volume 12.
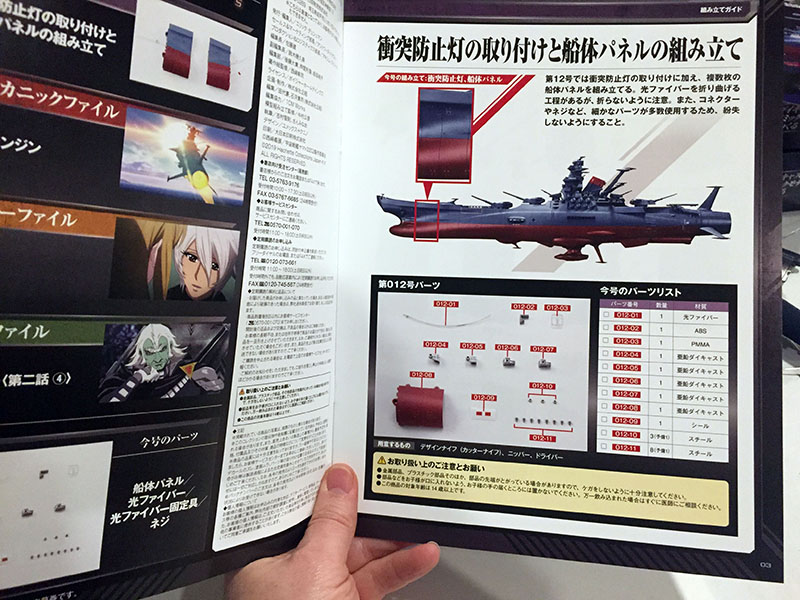
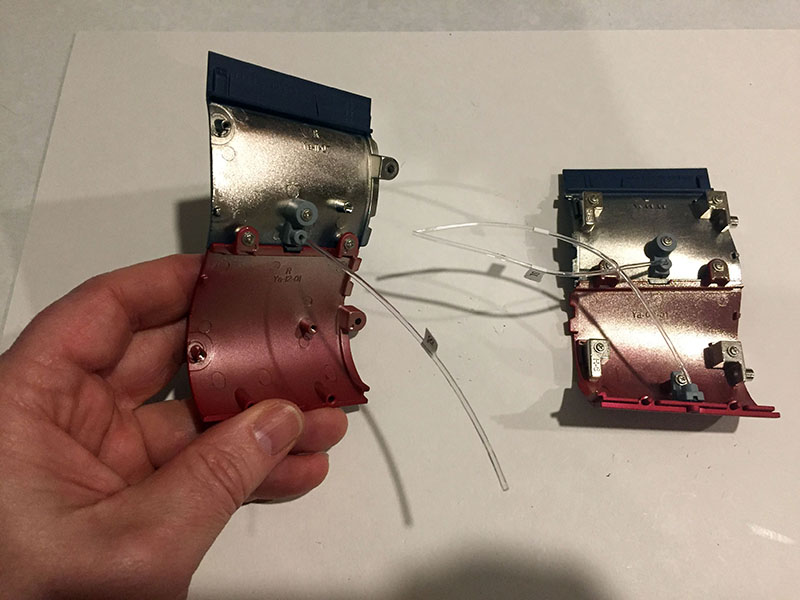
Back to the front flank. It requires four hull plates to get all the way around.
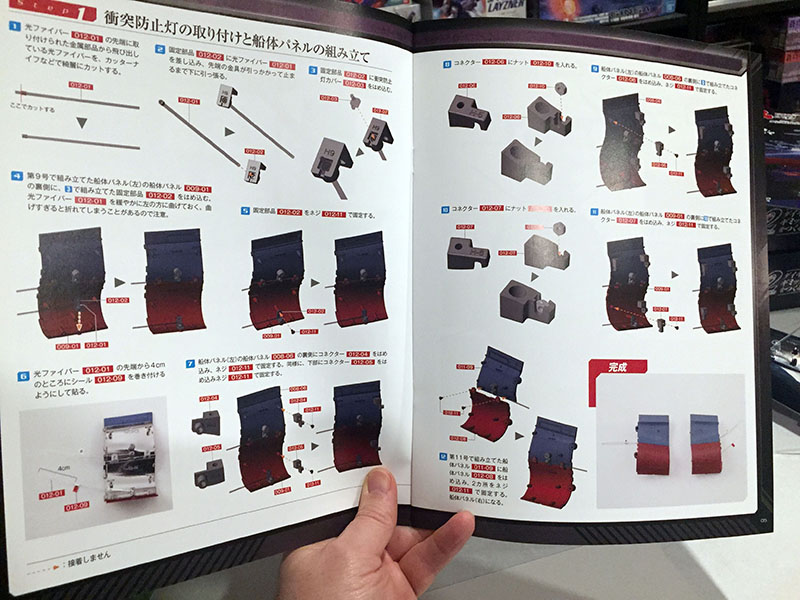
At the end of this volume we’ll have all four put together with their respective fiber optics. The hardware is for joining these plates to forthcoming plates.
Volume 12 done.
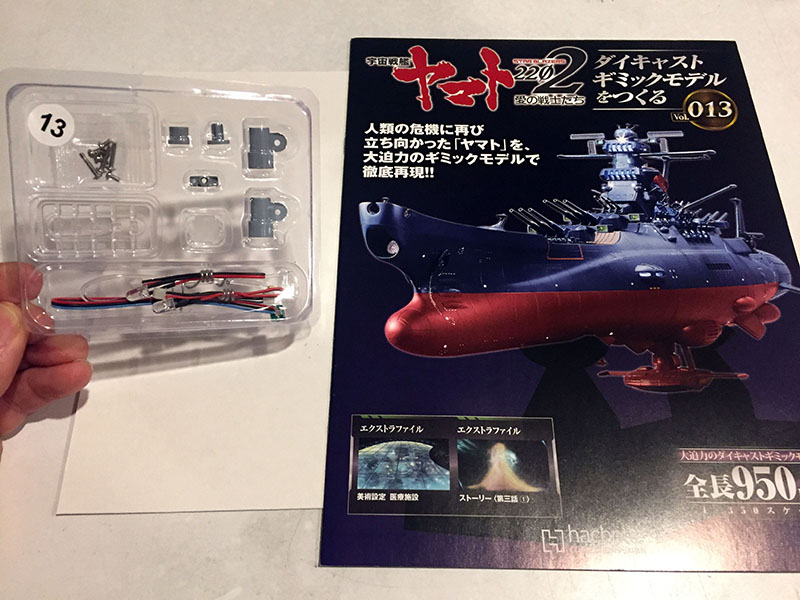
More internal parts for Volume 13.
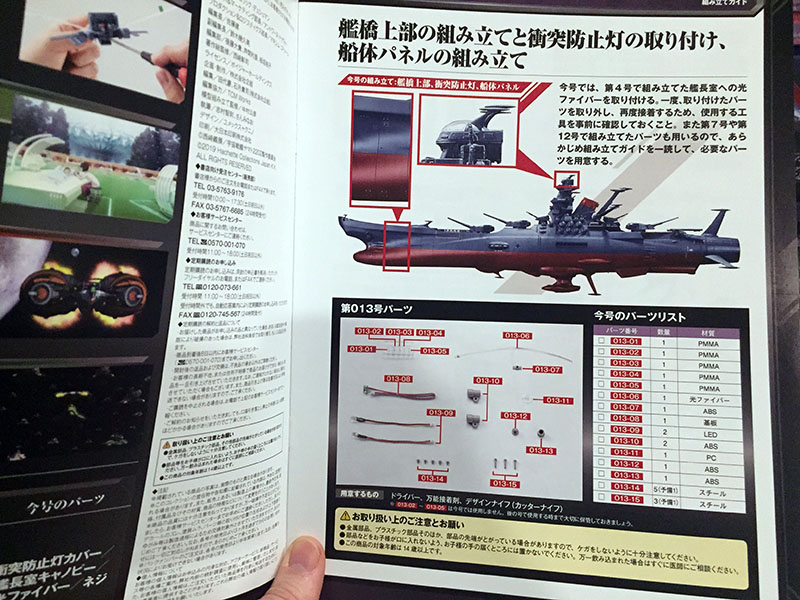
They’ll affect the front flank and the captain’s dome.

Specifically we’re going to install an LED in the dome and add our finished hull plates to the bow.
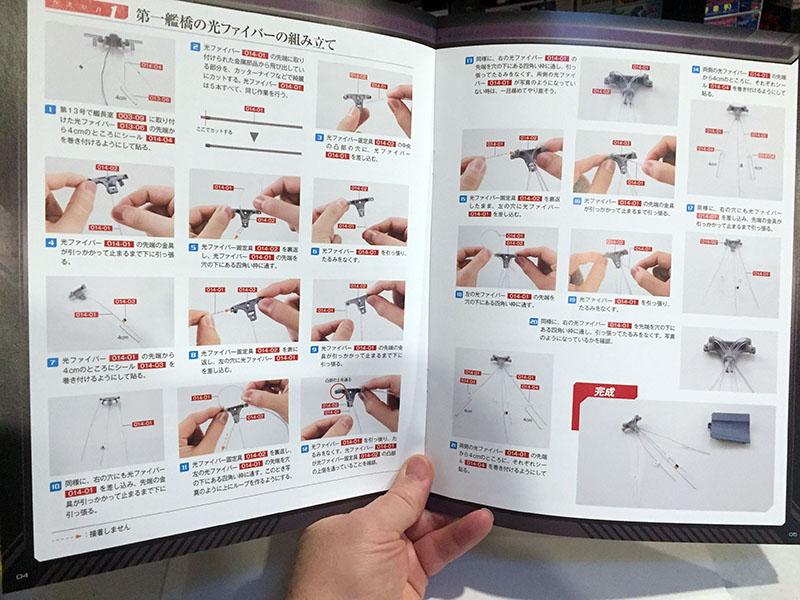
The clever bit is that hull plates on the starboard side screw in from the port side. Hull plates on the port side then have to screw in parallel with the axis of the ship. Another thing we’ll do in this volume is combine some fibers into a single end cap.
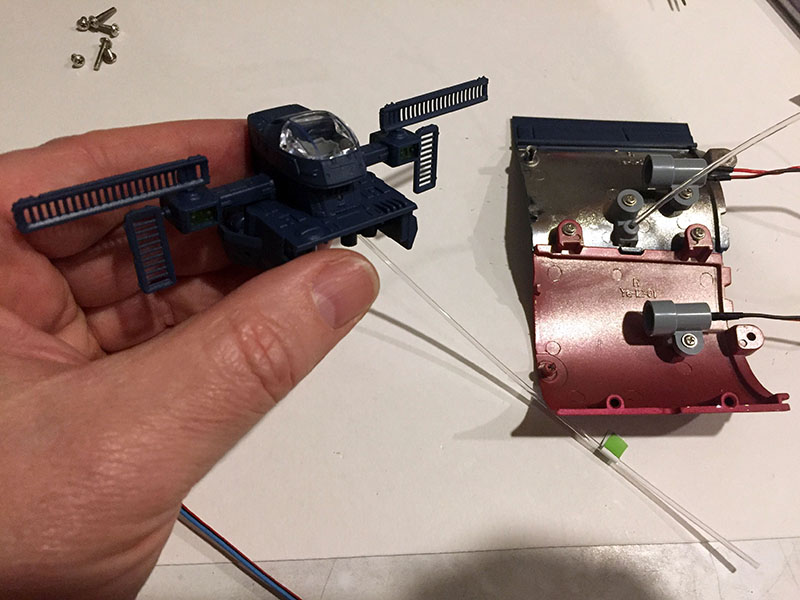
This is where I was really glad I decided not to put the fins on the captain’s dome. Getting the canopy on would have been MUCH harder with them in the way. It was really difficult to install. I was almost ready to shave off the pegs and glue it down instead.
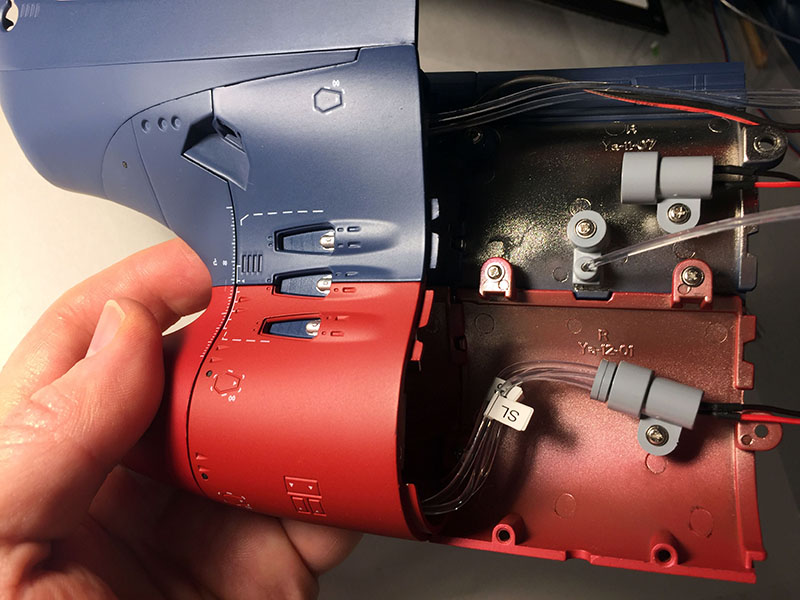
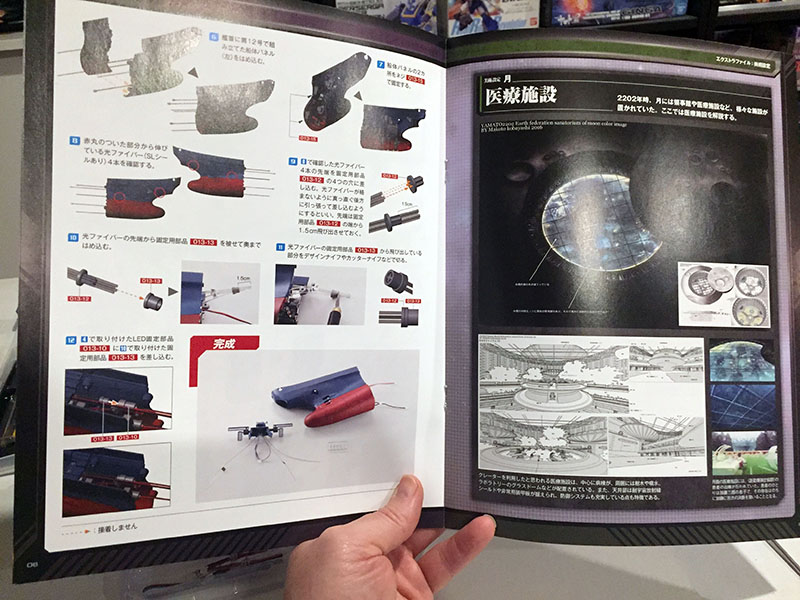
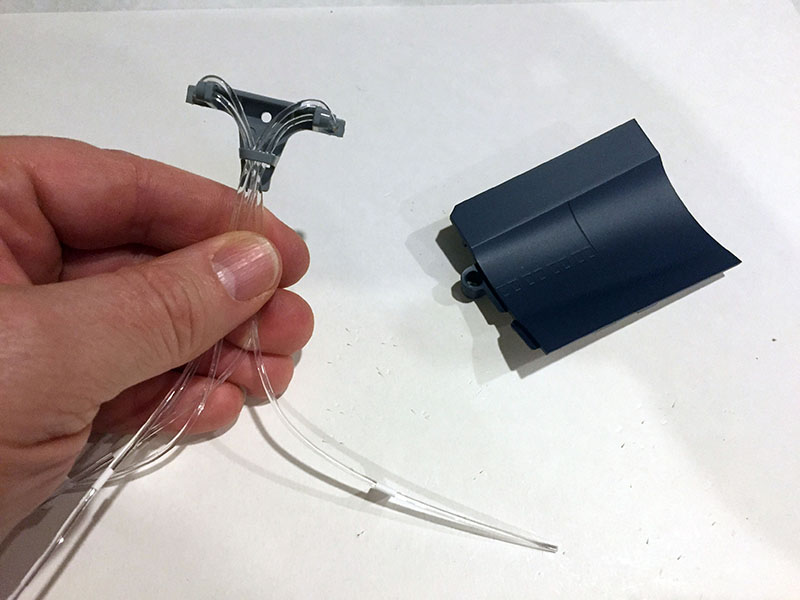
Here’s what went on inside the bow section. All four of the fibers with “SL” flags have been streamed into a single cap that butts up next to a light source. When that light is turned on, it will transmit down the length of each fiber to the clear part at the other end. The fiber can twist and turn and still transmit that light.
Done with Volume 13. The hull is now 7 inches long.
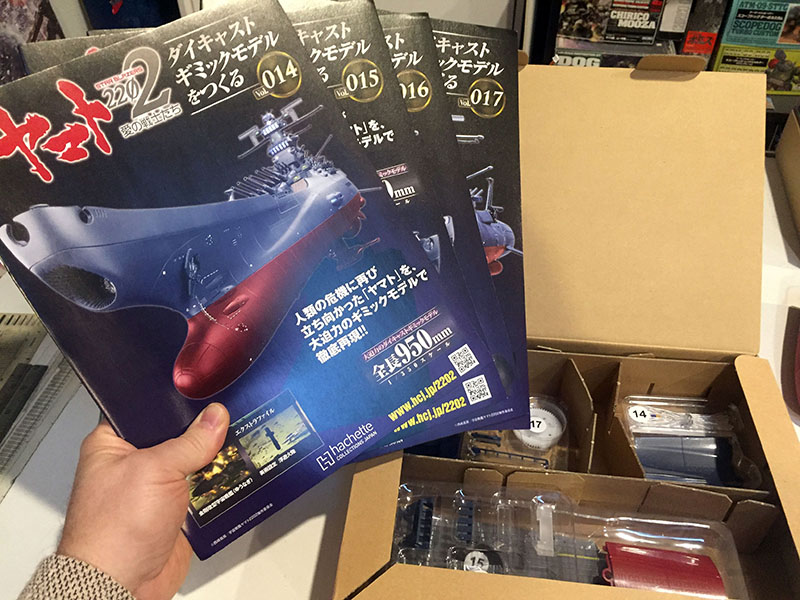
Next four volumes, ready to go.
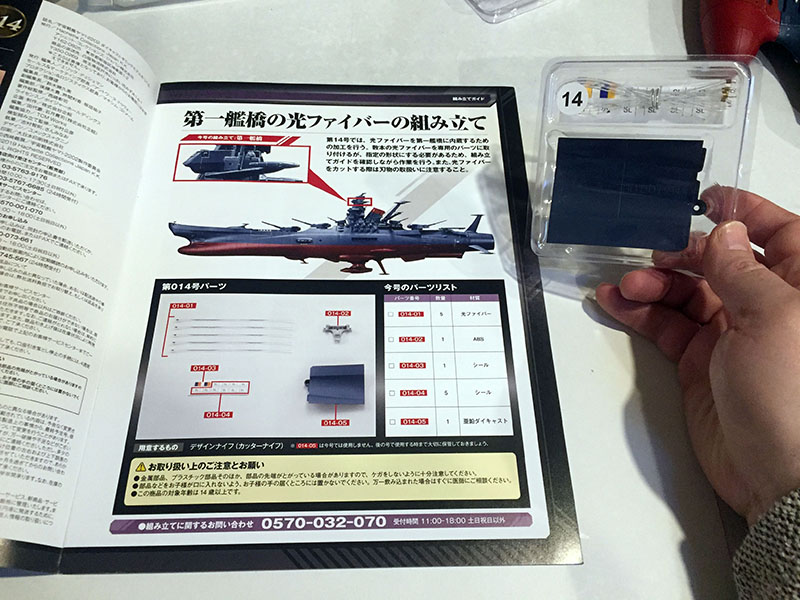
In Volume 14 we have another hull plate and some parts for the tower. We won’t do anything with the plate yet.
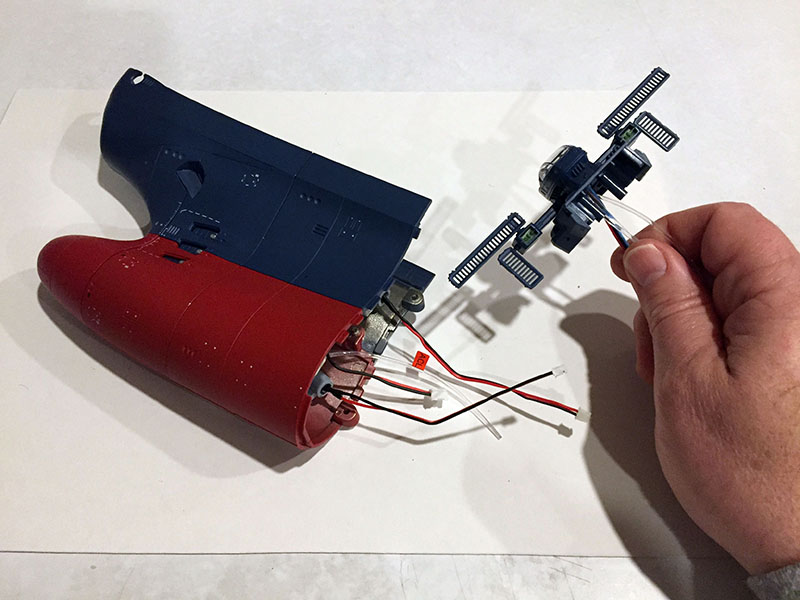
Instead we’ll string together this uterus-shaped device with some fibers to be used in the tower.
And there we go. Let’s move on and not dwell on this bit.
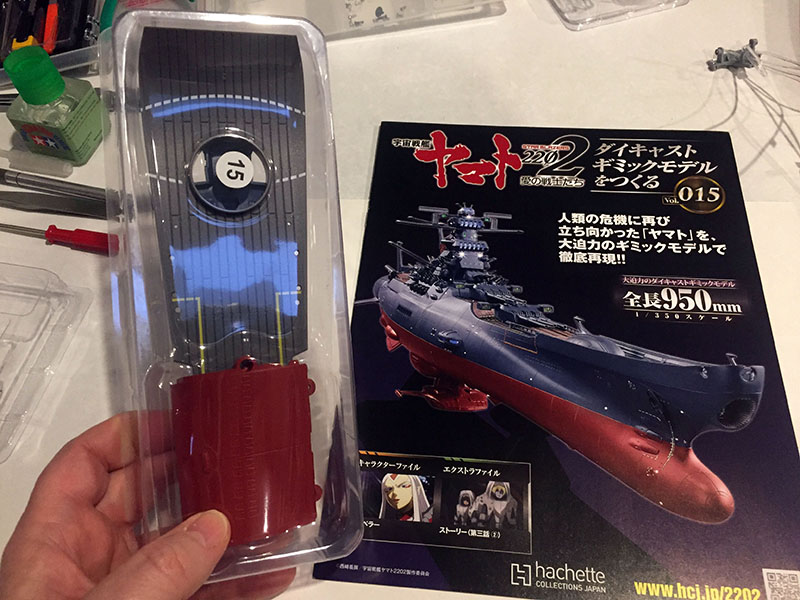
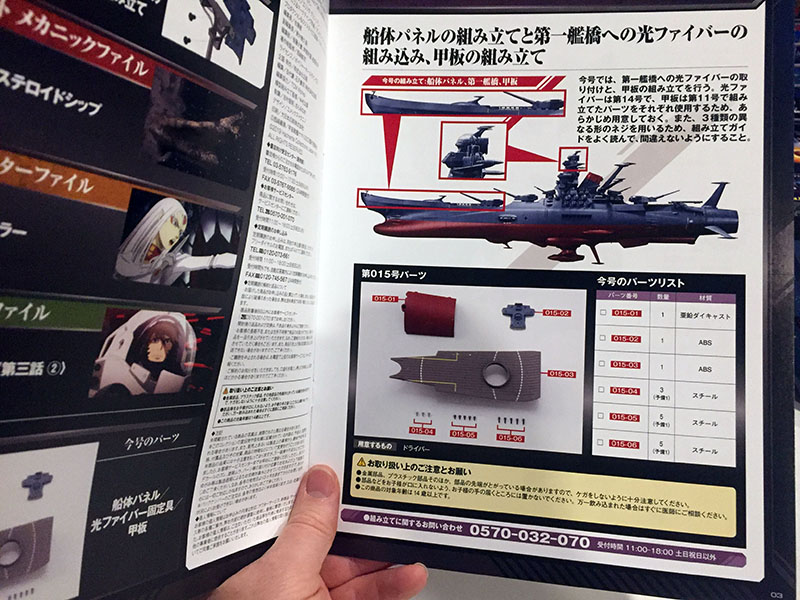
Volume 15 gives us a big, meaty exterior part and another hull plate.
Working on the forward deck and the tower again.
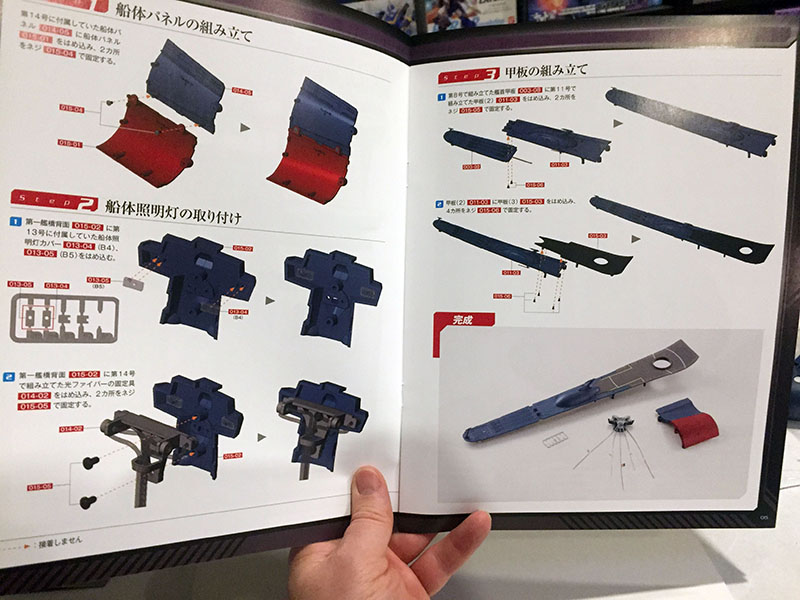
Two more hull plates come together, we install the uterus-thing, and assemble the whole forward deck. There was a misprint in this issue where some screws were mislabeled in the instructions, but everyone figured it out.
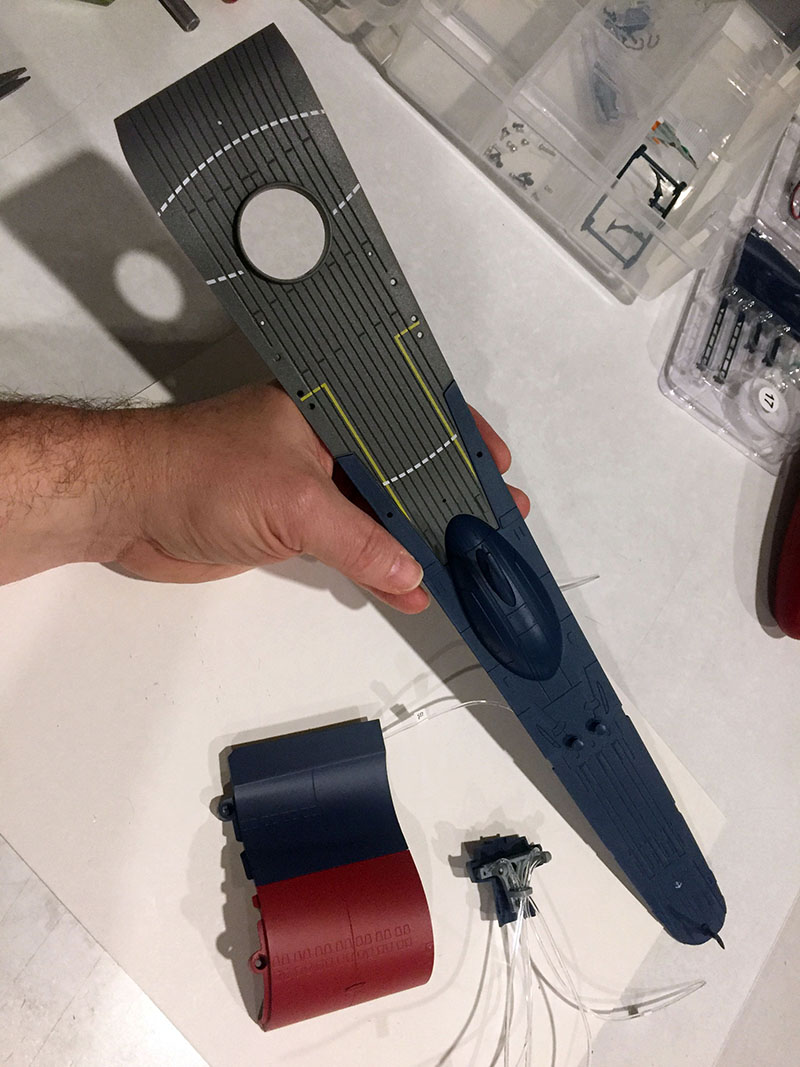
Done. 16 inches of forward deck.
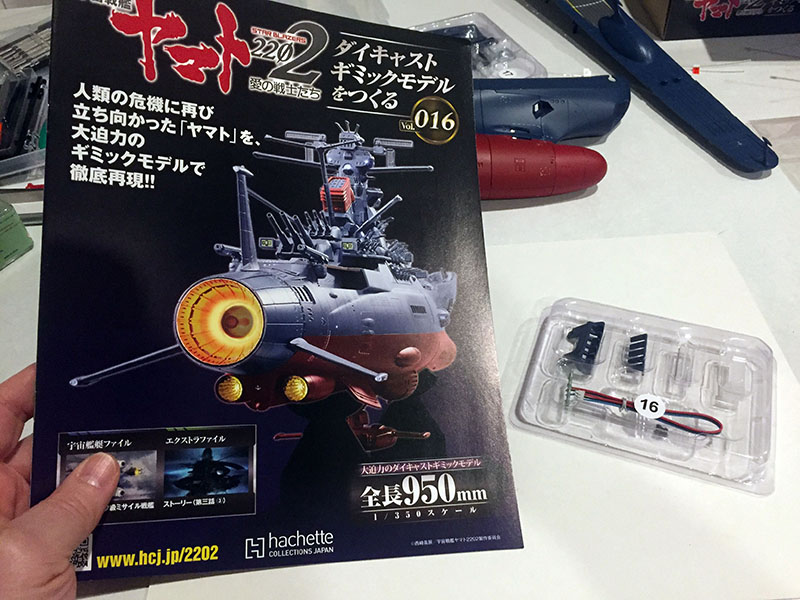
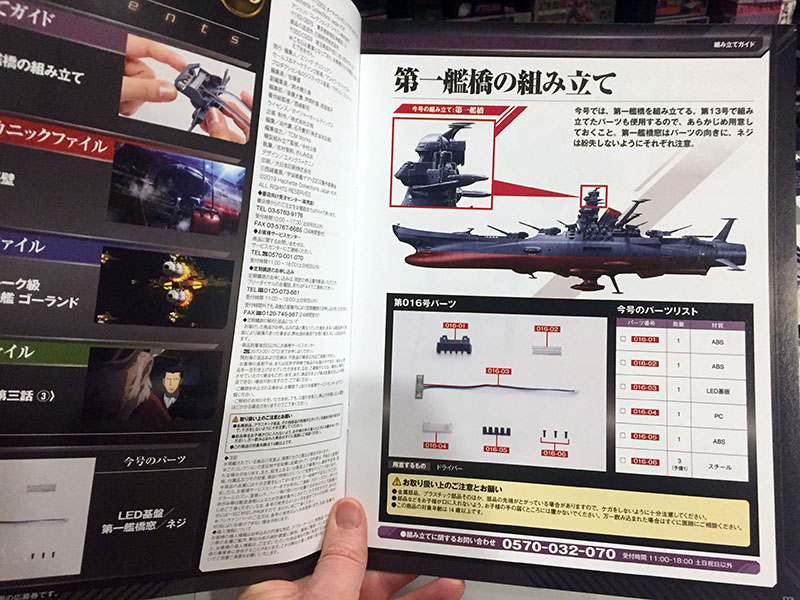
Volume 16. I spy bridge parts.
Yep, we’re still working on the tower.
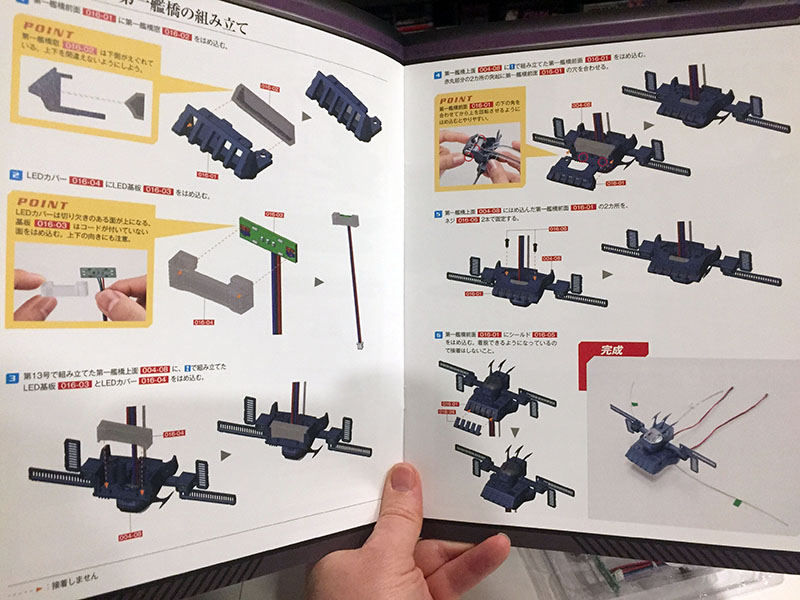
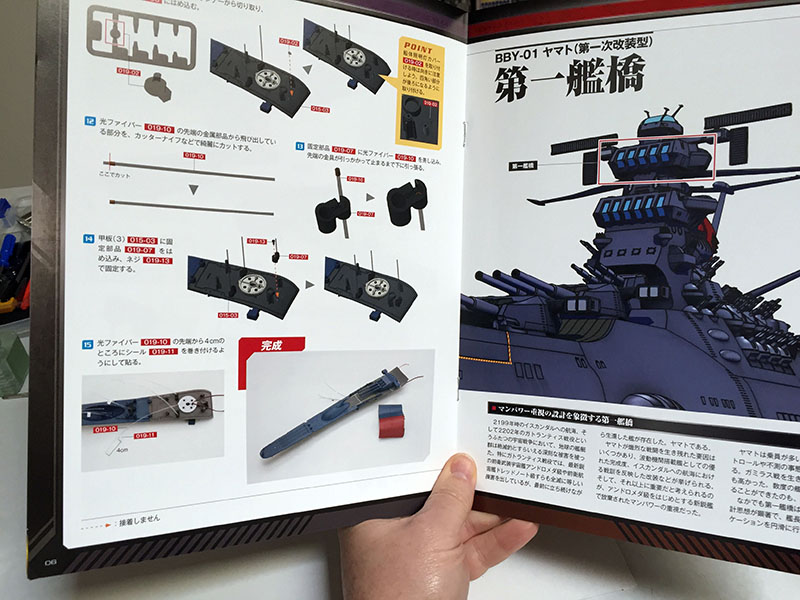
We’ll be adding the first bridge and its LEDs. They’re so bright they need a diffuser to spread them out.

There we go. There’s an option part with shutters that go over the windows. I don’t imagine many builders will use it. But it just lifts off.
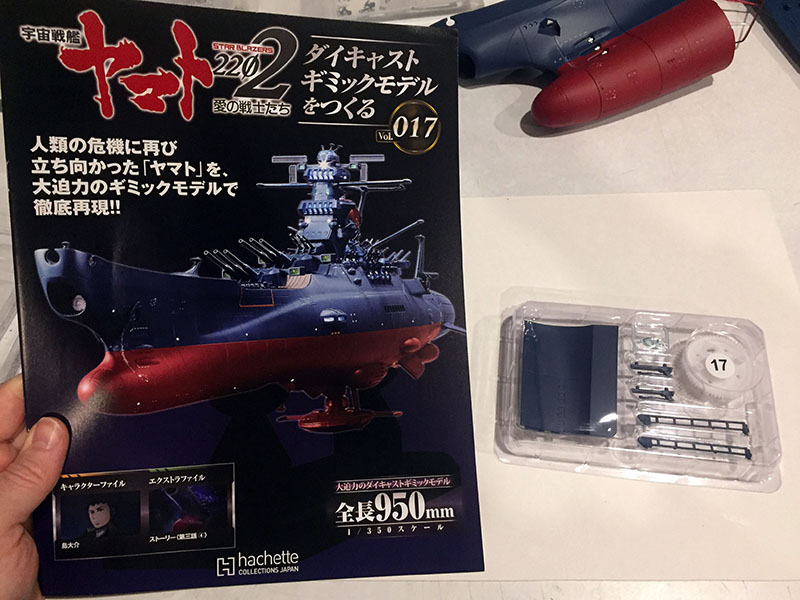
Volume 17 gives us more exterior parts and a large gear.
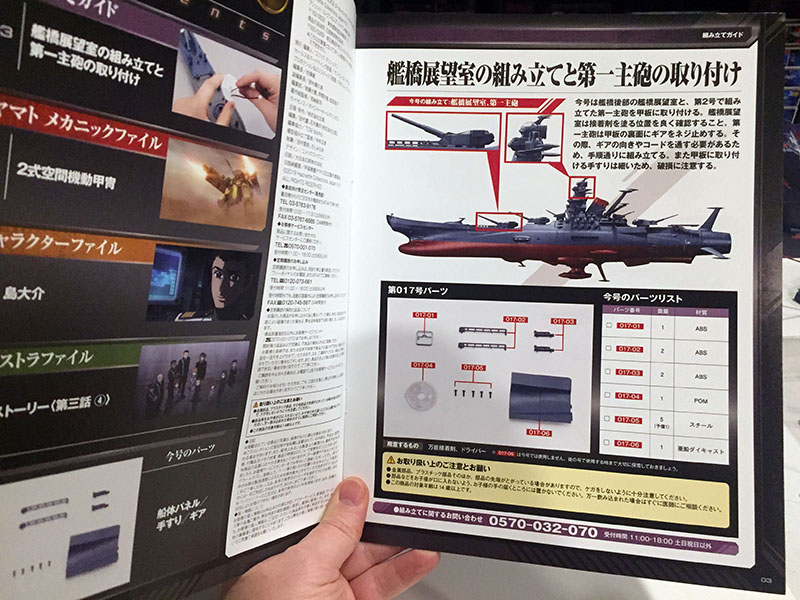
Back to the tower and also the forward deck.
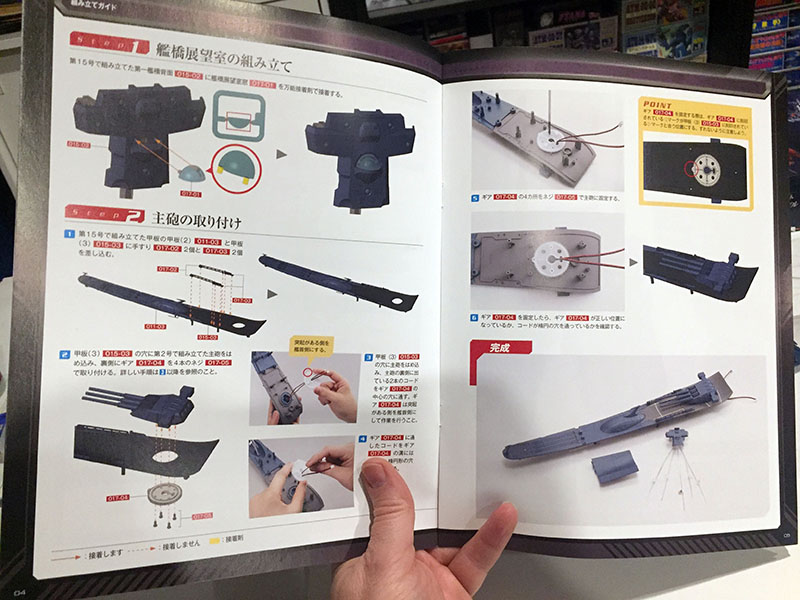
This time we’re putting the observation dome on the back of the tower and attaching the first turret to its main gear.
Done. There are four safety rails on the deck around the first turret, but they don’t glue down. Two of them just fall right off, so I decided to leave them off until the end. They’ll probably need to be glued.
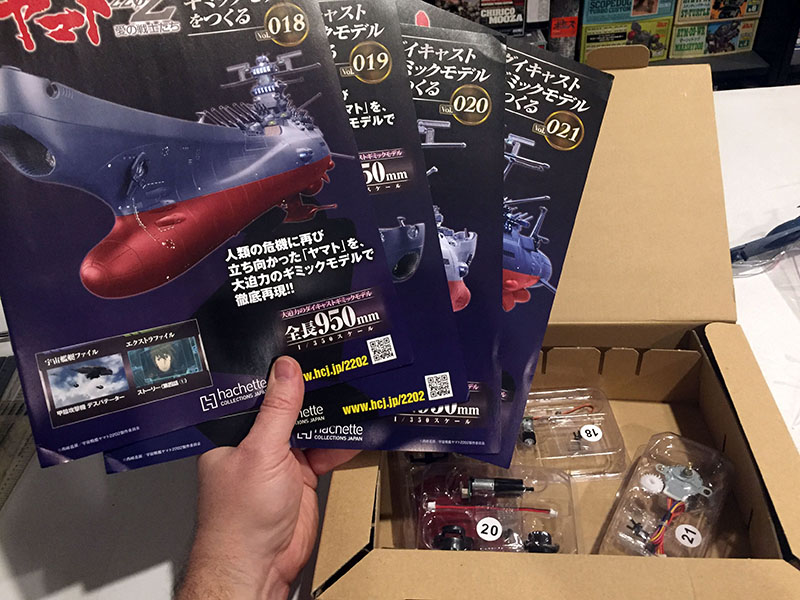
Next four volumes open!
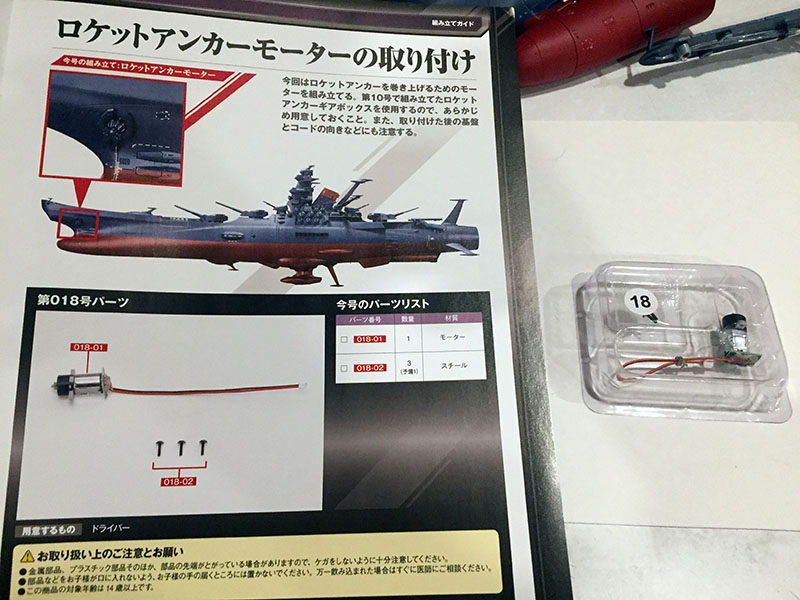
Volume 18 only has a few interior parts which will affect the rocket anchors.
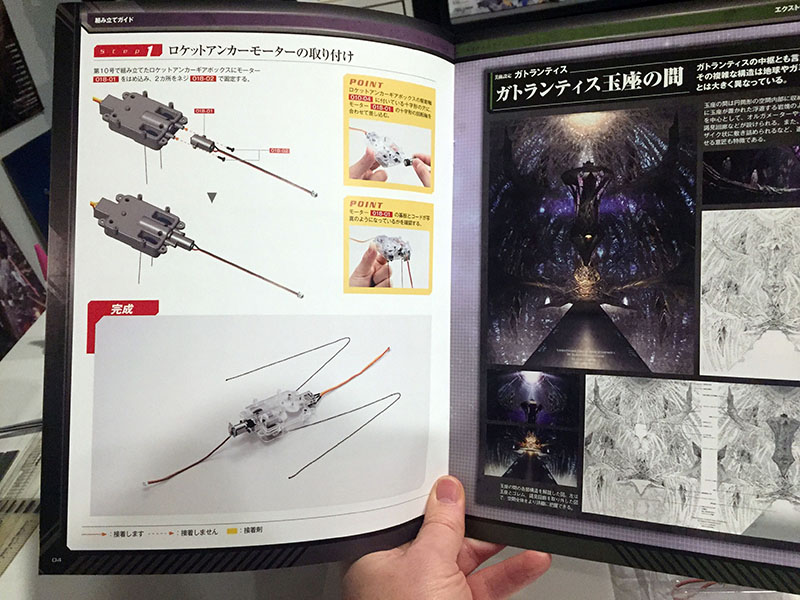
Here’s our first motor! It attaches to the gear box.
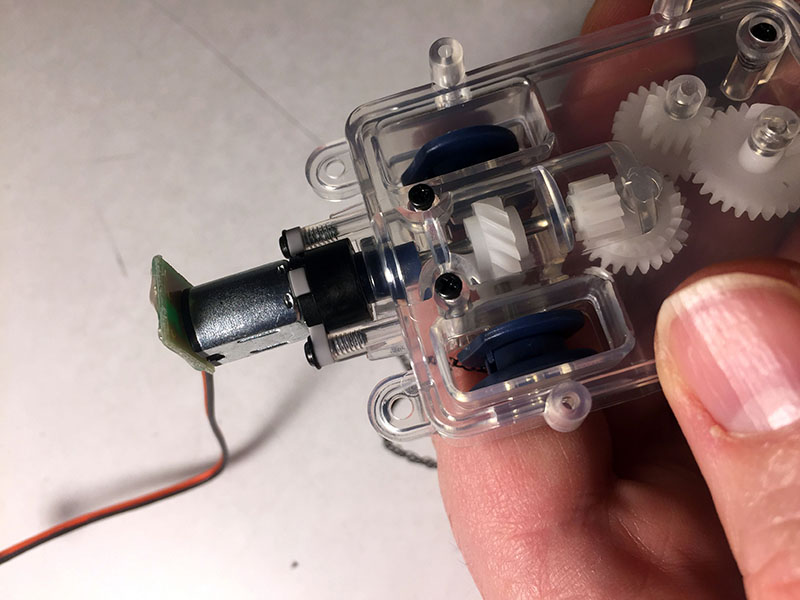
That was easy.
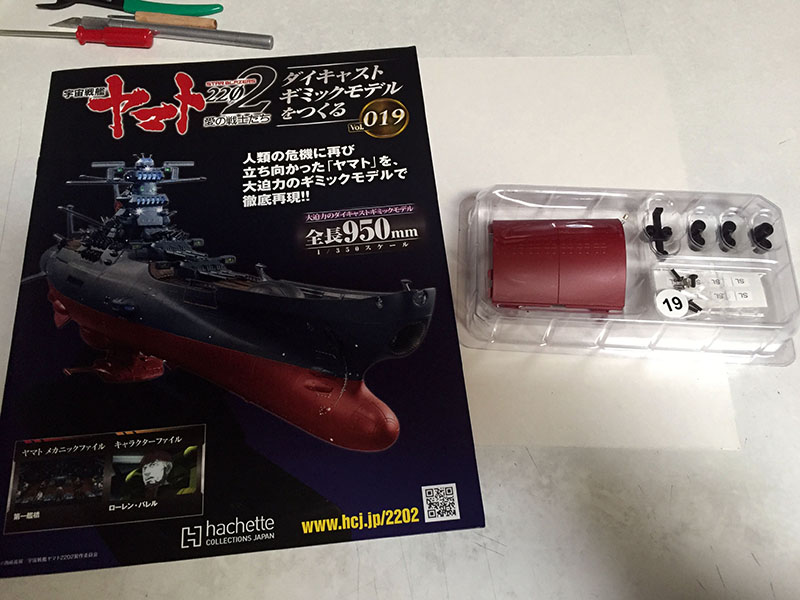
Volume 19 has another hull plate and a bunch of fibers
Our focus is on the forward deck and flank.
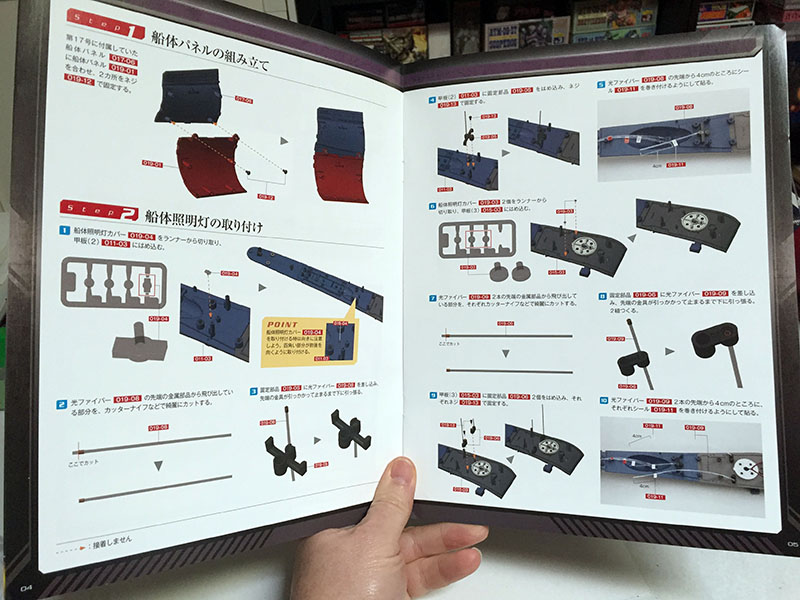
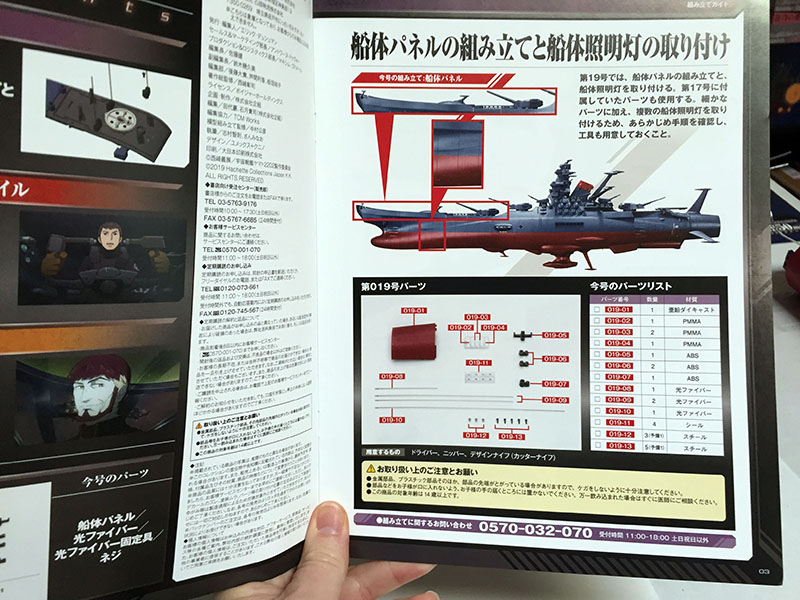
Two more hull plates get attached and we’ll add lights to the deck.
Installing fiber optics is routine at this point. Seven days earlier I had no clue how they worked.
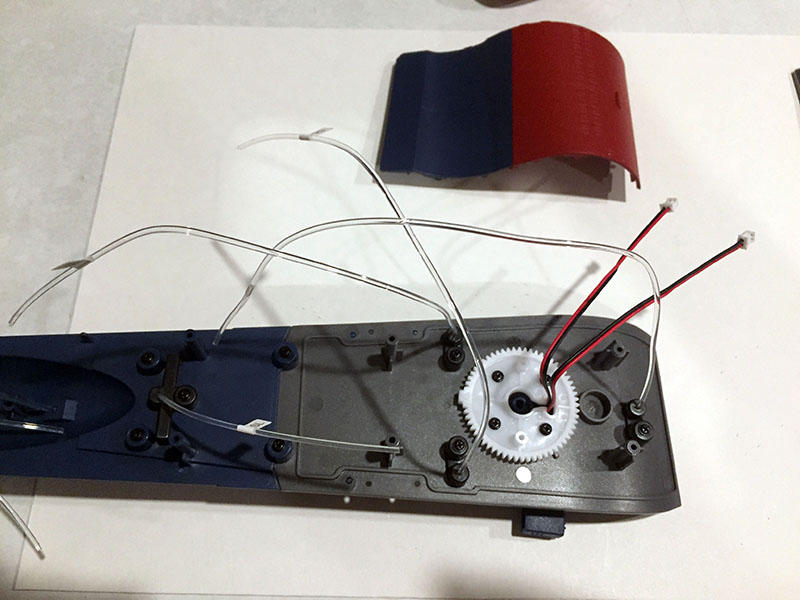
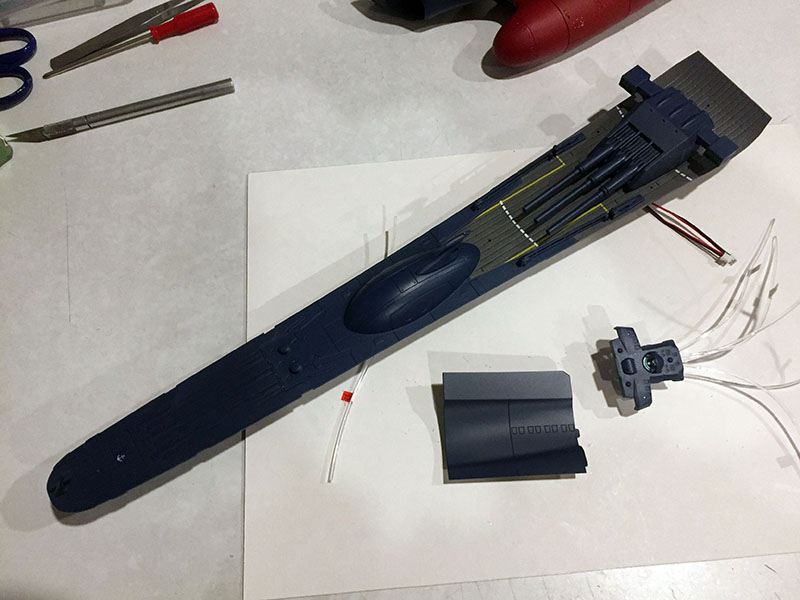
The area between the forward dome and the first turret now has its lights installed.
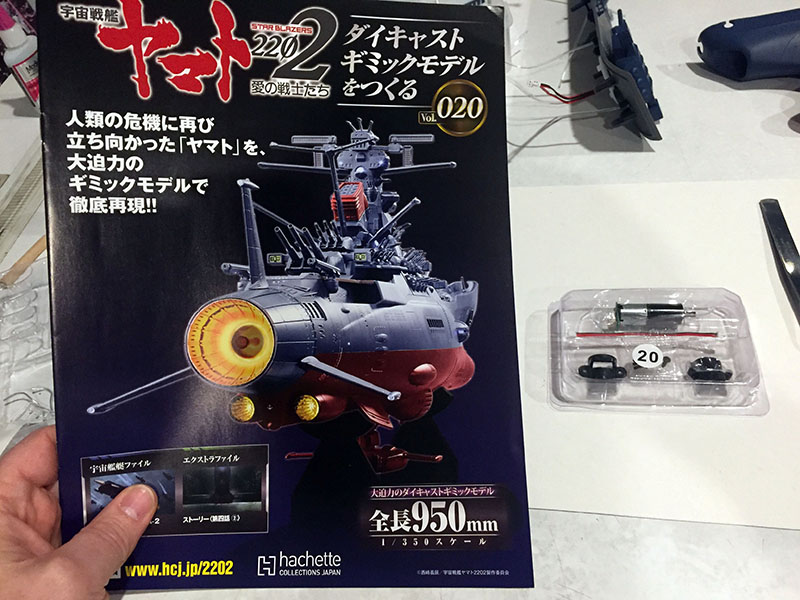
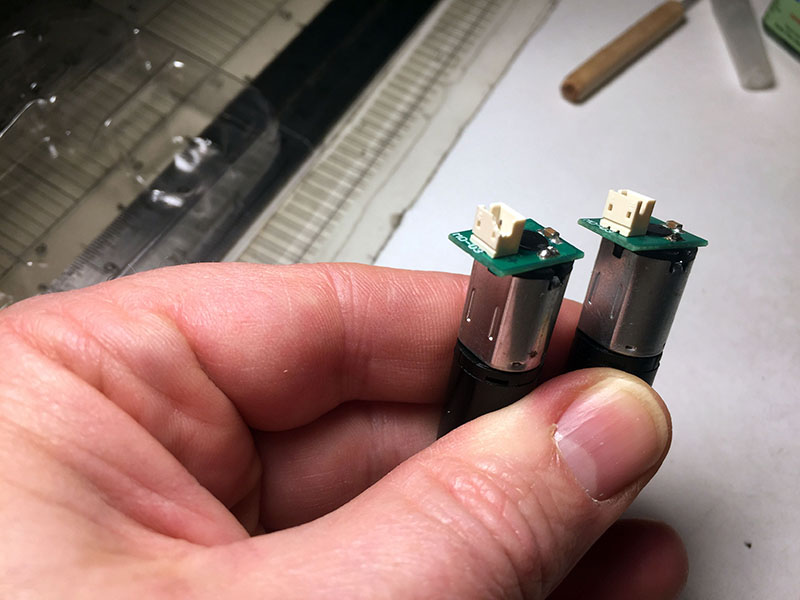
On to Volume 20. Looks like another motor.
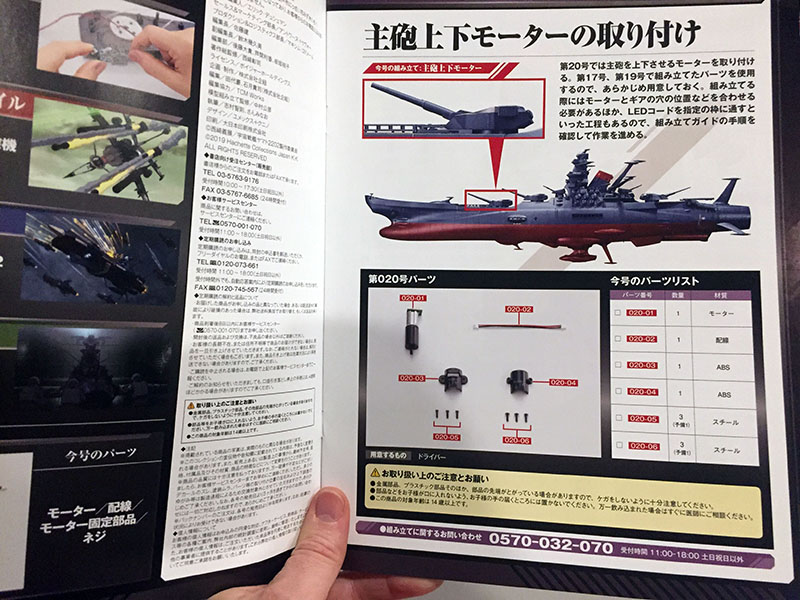
Yep, it’s the motor for the first turret.
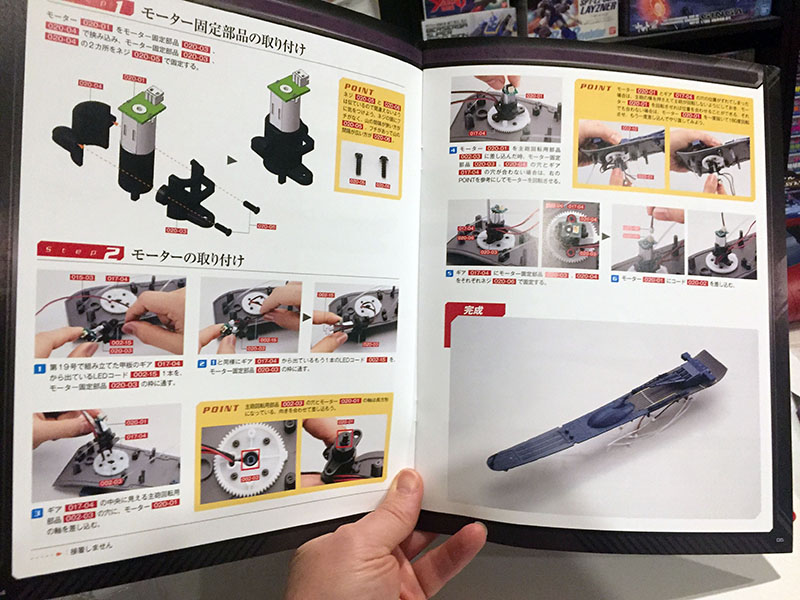
We put a bracket on this motor and bolt it to the big gear under the first turret. Obviously, we’ll be doing the same for the other turrets to come.
Whoops. Emergency! The socket at the tip of this motor is BROKEN. It’s where a wire assembly is meant to plug in. But by an incredible stroke of luck, I ended up with a DUPLICATE SET for Volumes 18-21. I was helping someone else fill in their gaps and ordered that duplicate set by mistake. I couldn’t send it back, so I just figured it was my fate to eat the cost. And now I know what fate actually had in store: an instant replacement for the broken motor.
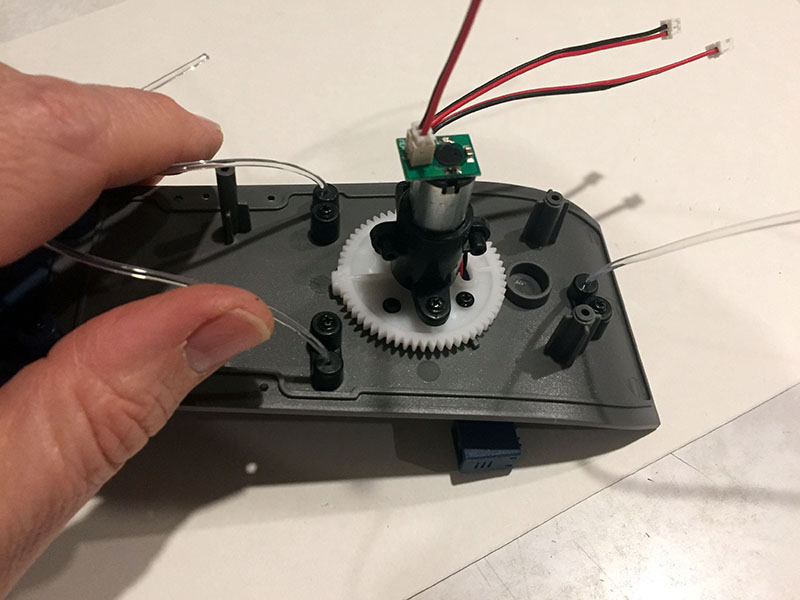
Motor installed, wires plugged firmly in their socket. Whew. That could have turned ugly.
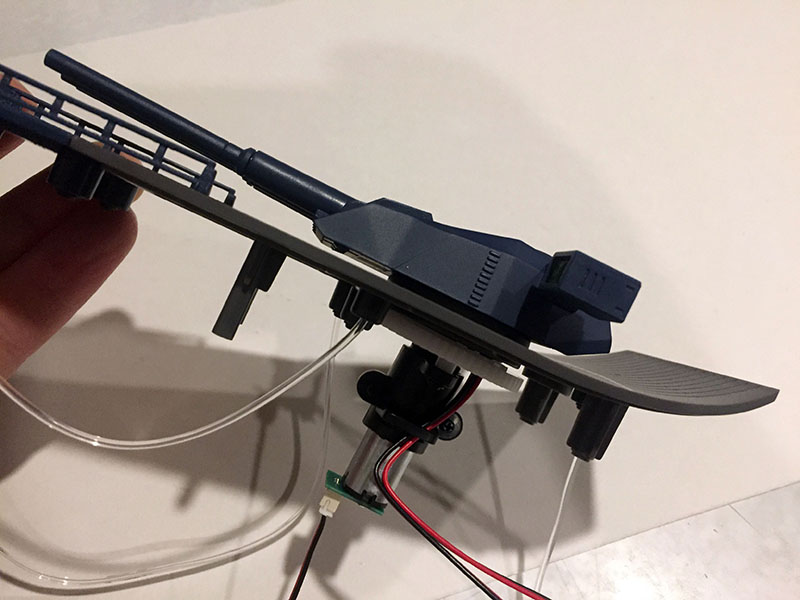
Here’s what it looks like in profile. It’s going to be sticking down deep into the hull. Hope it doesn’t run into a tangle of wires.
this all reminds me of that Dr Sane quote about all those boxes that look the same and what if there were some important screws left behind…
was wondering if it was worth the risk to hold onto all the packages till the end no knowing if there were quality control problems until after they were sold through…seems you lucked out!