
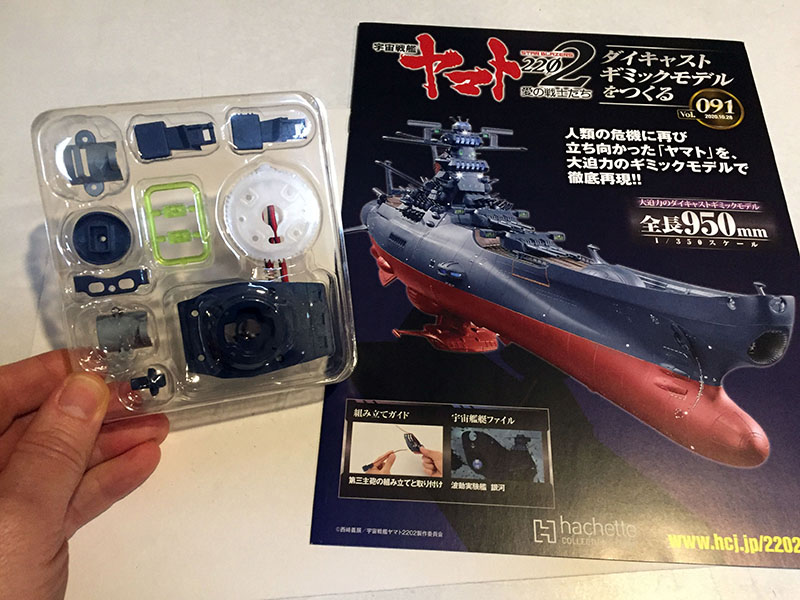
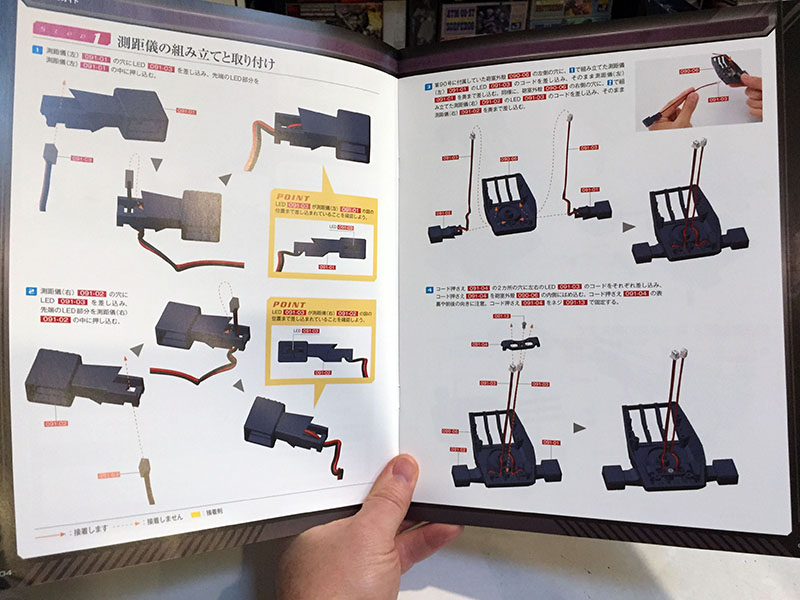
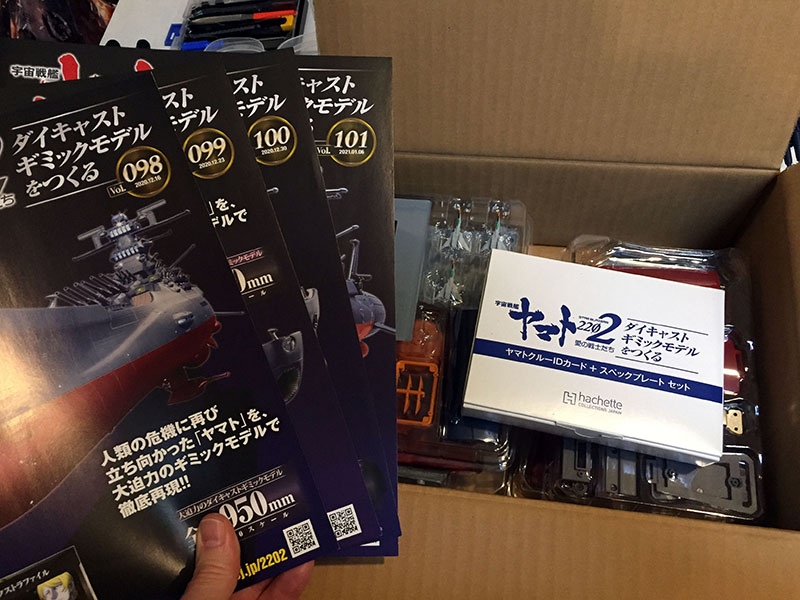
We’re movin’ now! Let’s go, Volume 91!
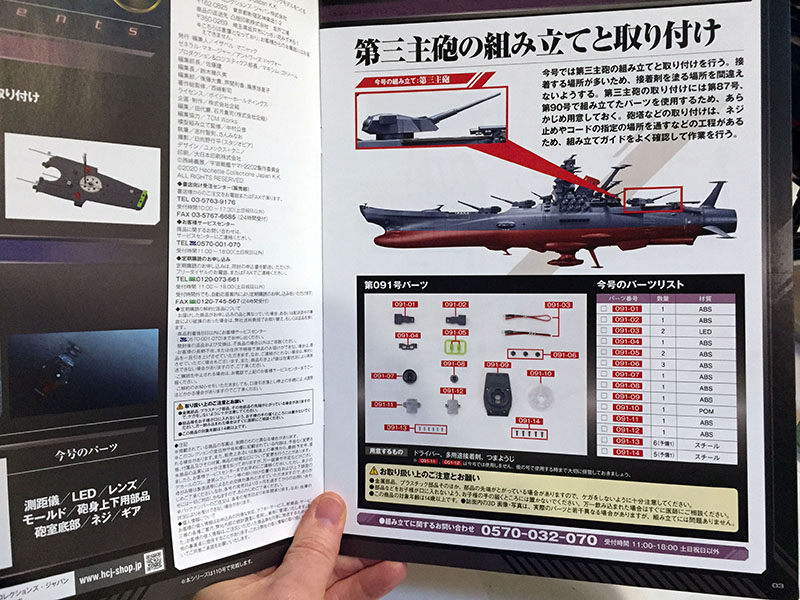
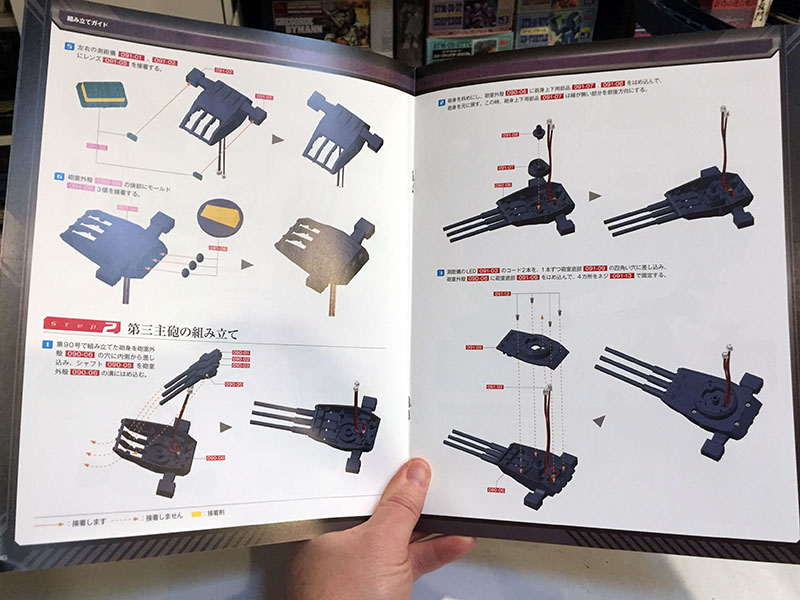
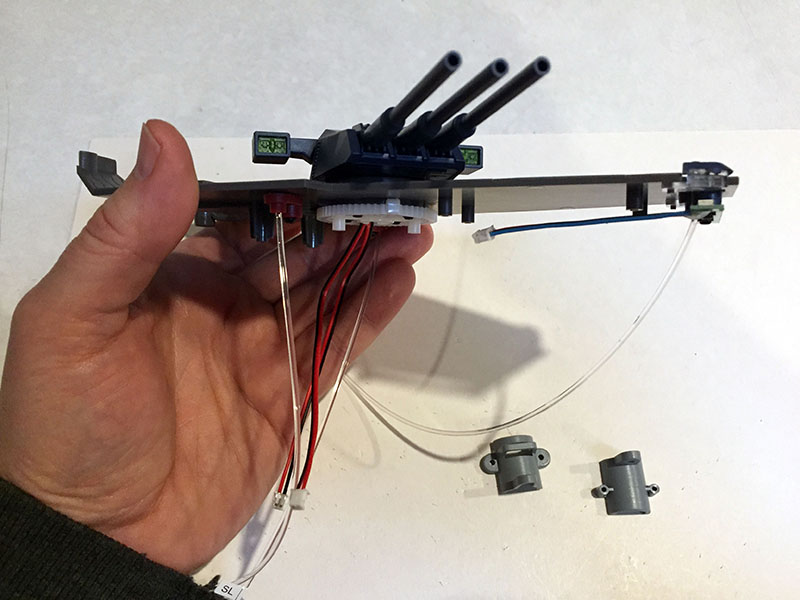
We’ll finish off the third main gun on the aft deck.
Instructions are very familiar. This is the third time, after all.
Yep, been here before.
We’ll get all the way through attaching it to the deck.
There. According to the calendar, it’s exactly two weeks since I started the project and assembled the first main gun. I feel like a different person now.
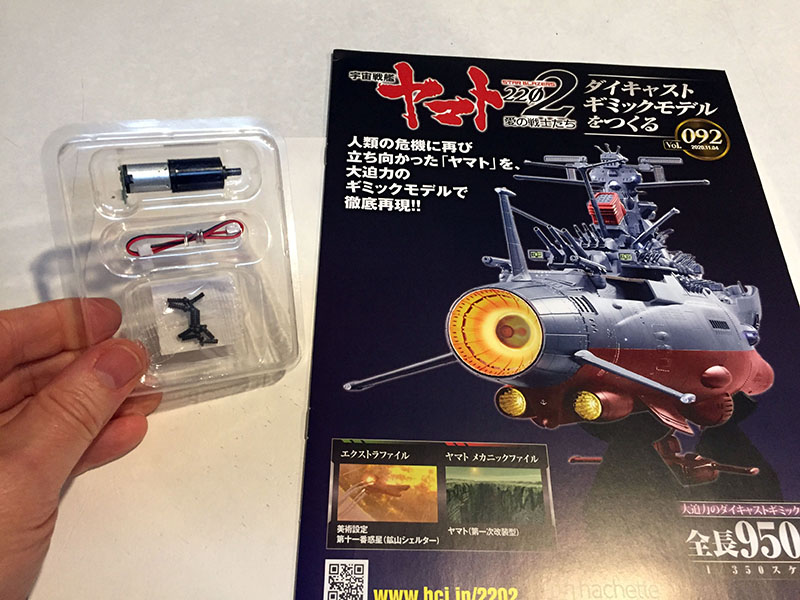
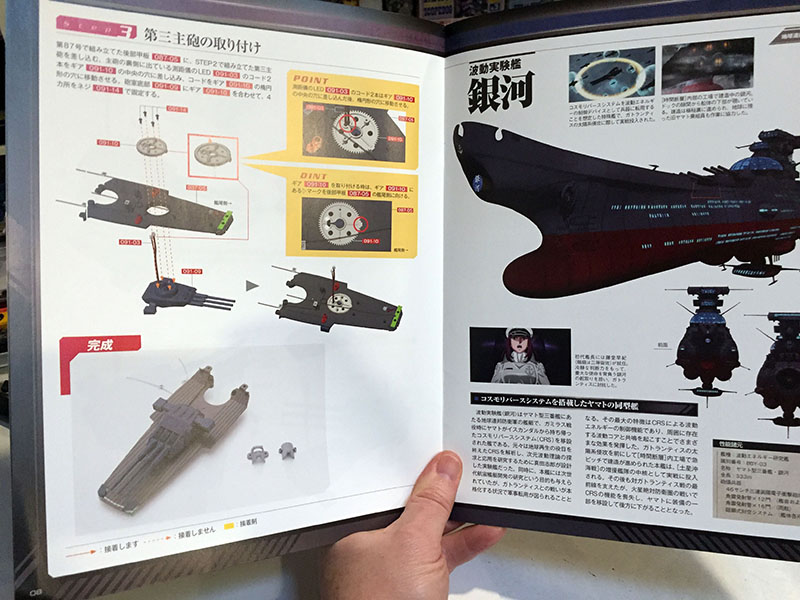
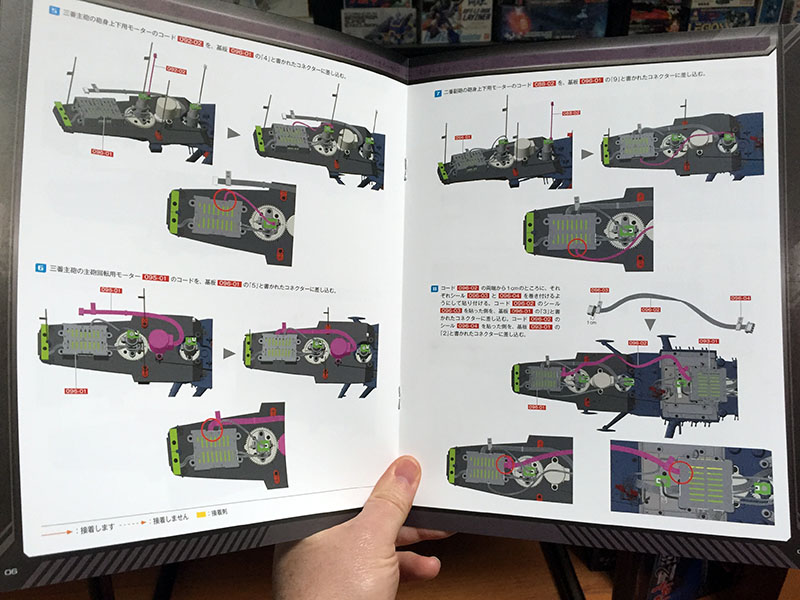
Volume 92 has another motor for us.
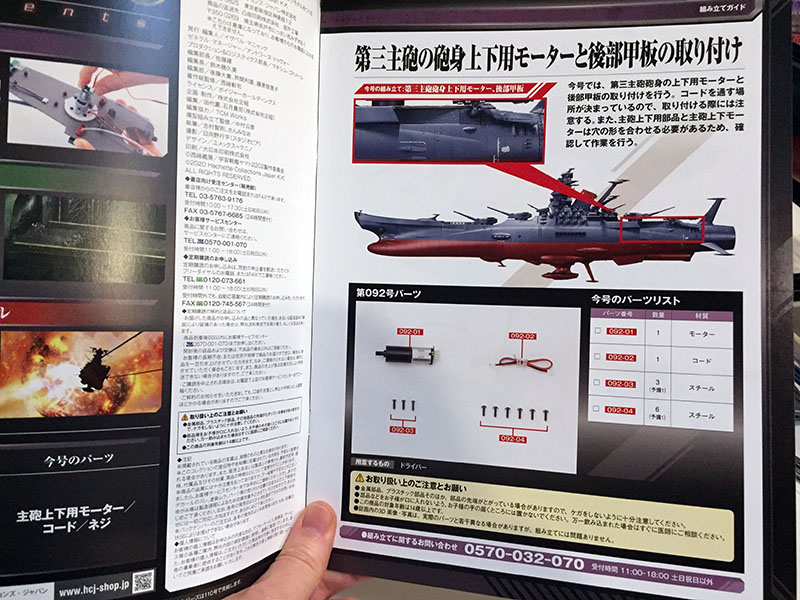
It’s for the gun that we just installed.

It’s the one that will raise and lower the cannon barrels. The only trick to this is making sure it’s properly aligned so they rest in a neutral position.
When that’s done, we’ll attach the aft deck to the middeck. Another big moment.
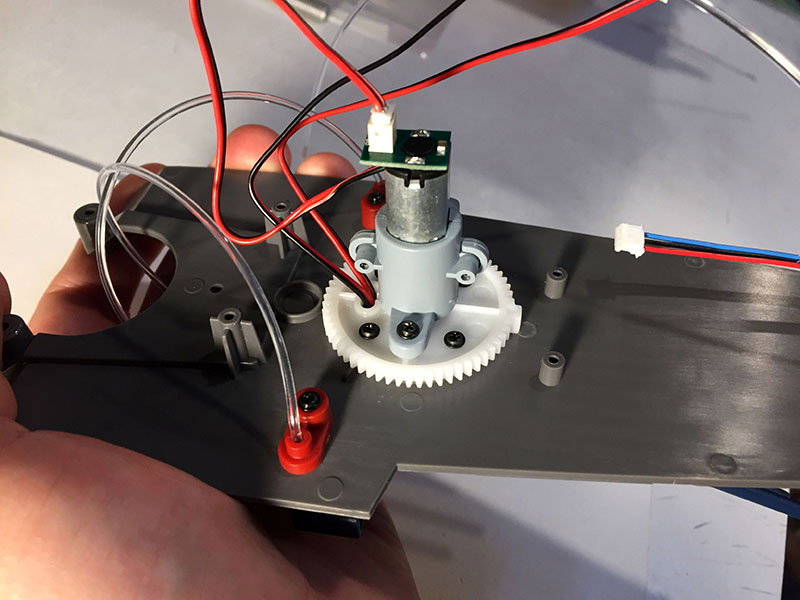
Motor’s on.
Deck’s attached. But we don’t have all the gun motors yet.
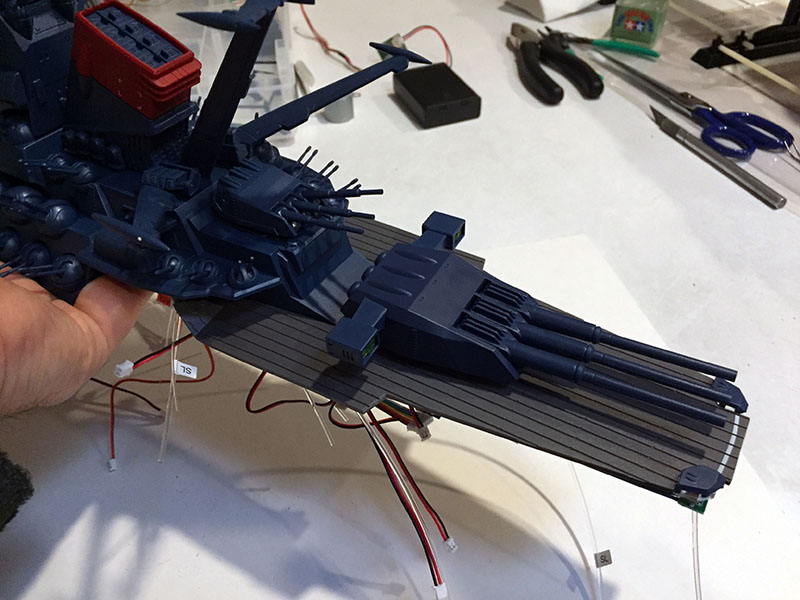
The whole gun deck is now assembled. It’s an impressive 18 inches from front to back. As big or bigger than most of the largest models and toy versions of the ship.
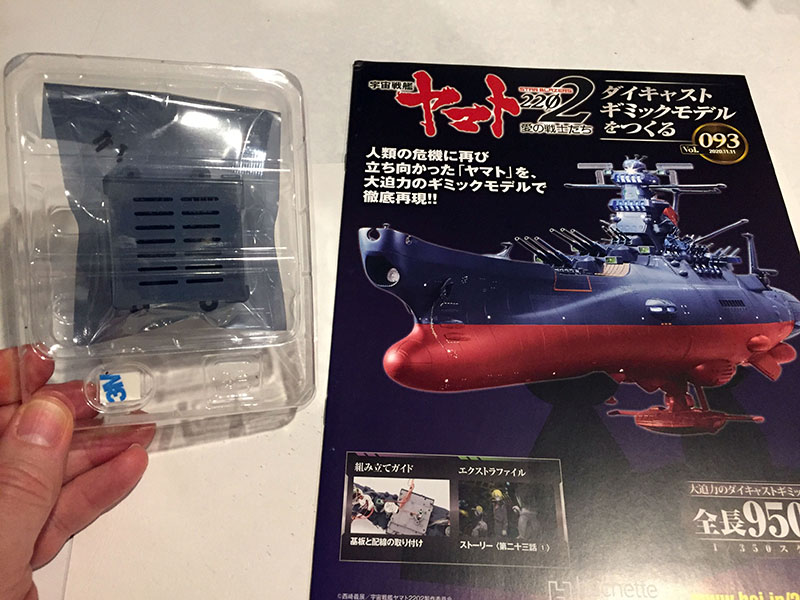
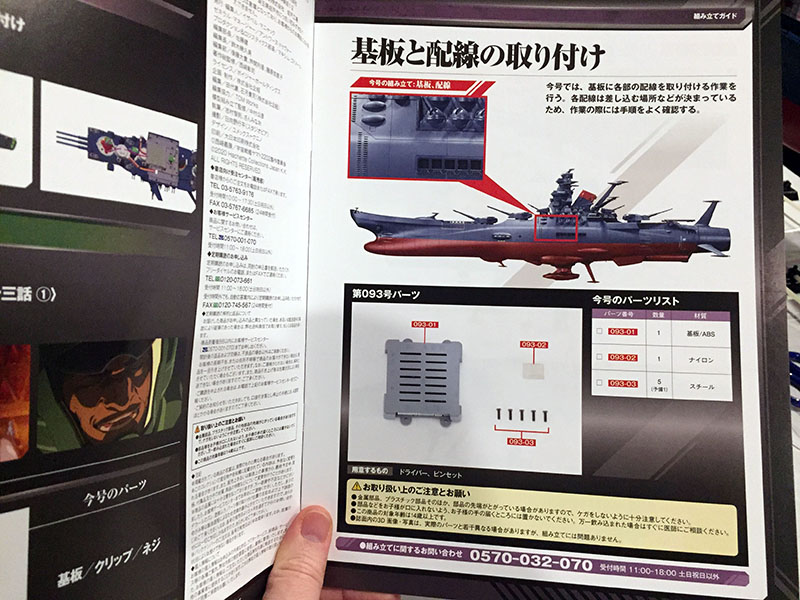
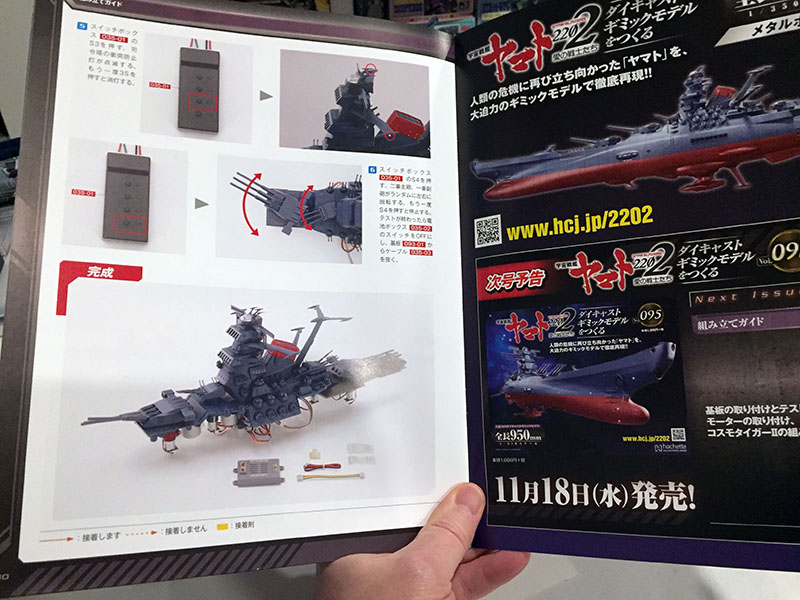
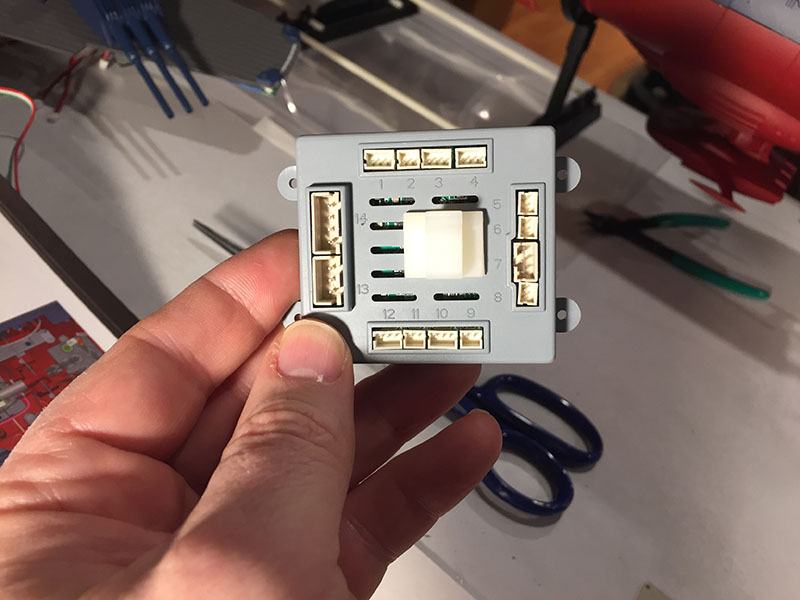
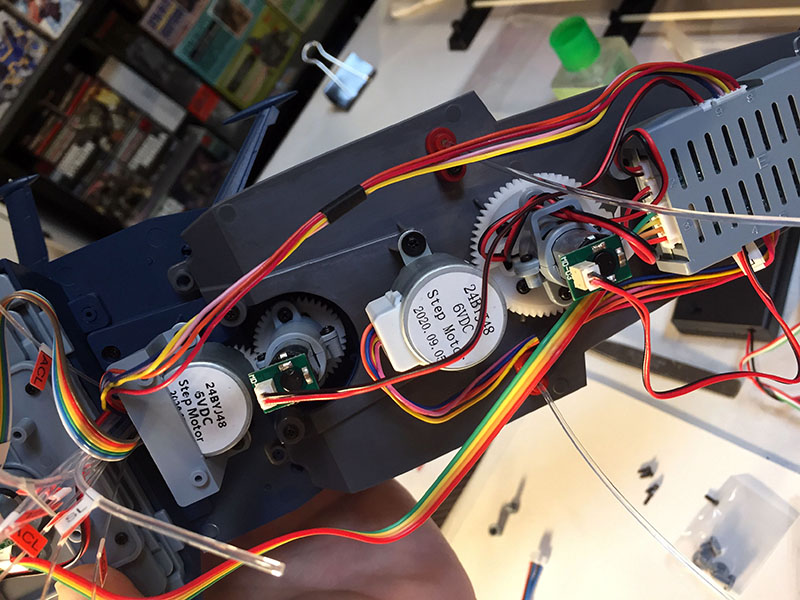
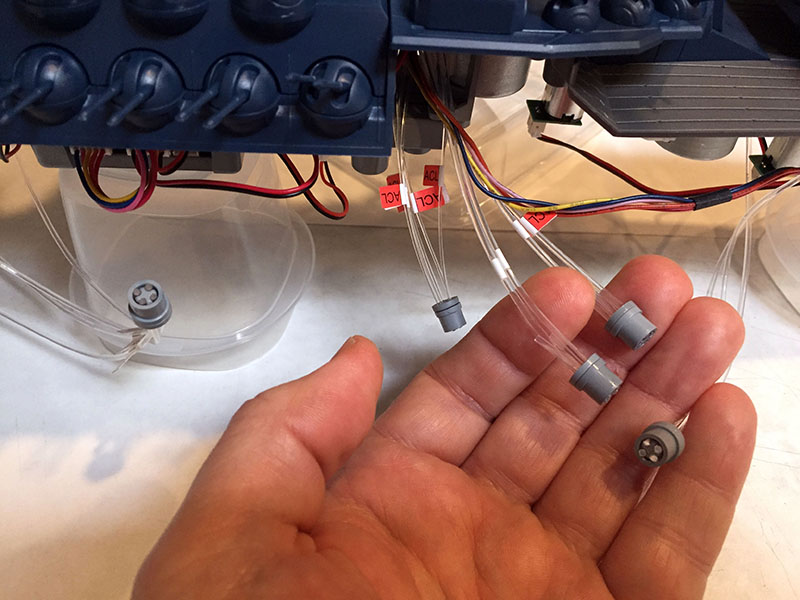
Volume 93 gives us another junction box. We’ve got some wiring coming up.
This one will be installed below the bridge tower.
Once it’s installed, we’ll begin connecting wires for LED lights and motors. Incidentally, each of the junction boxes has a letter code. This one is box D. A and B already reside inside the hull. Box C hasn’t shown up yet.
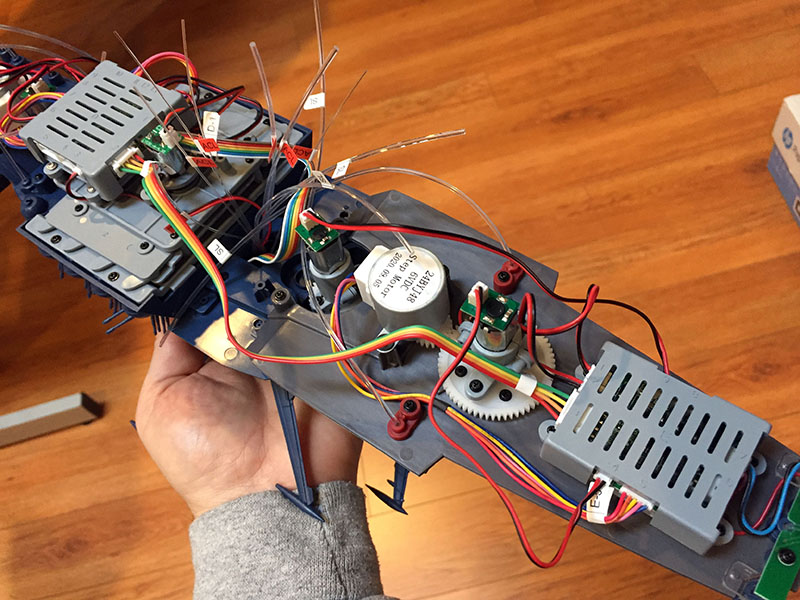
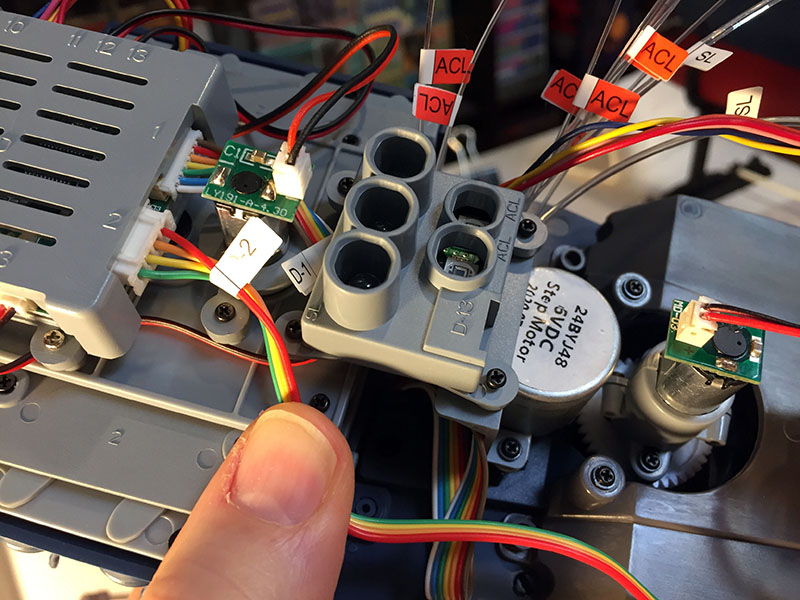
LOTS of wires will plug into this one. It has 13 ports.
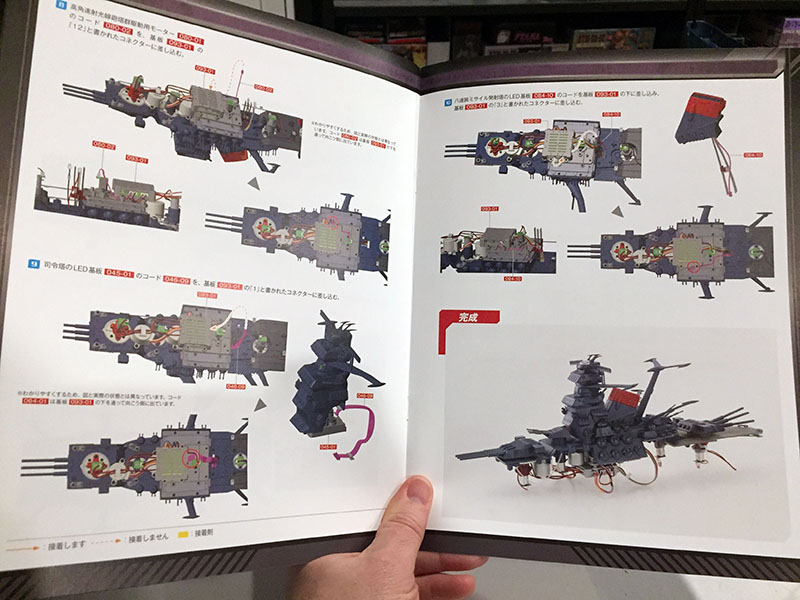
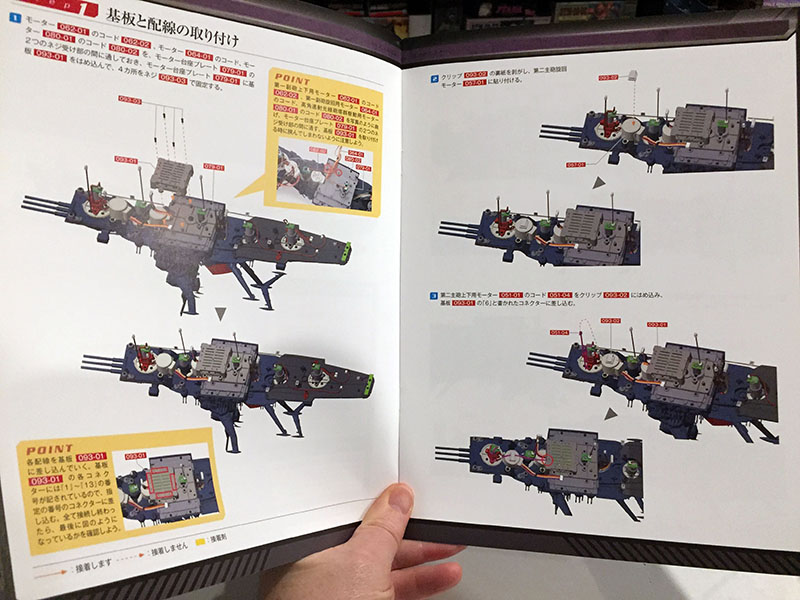
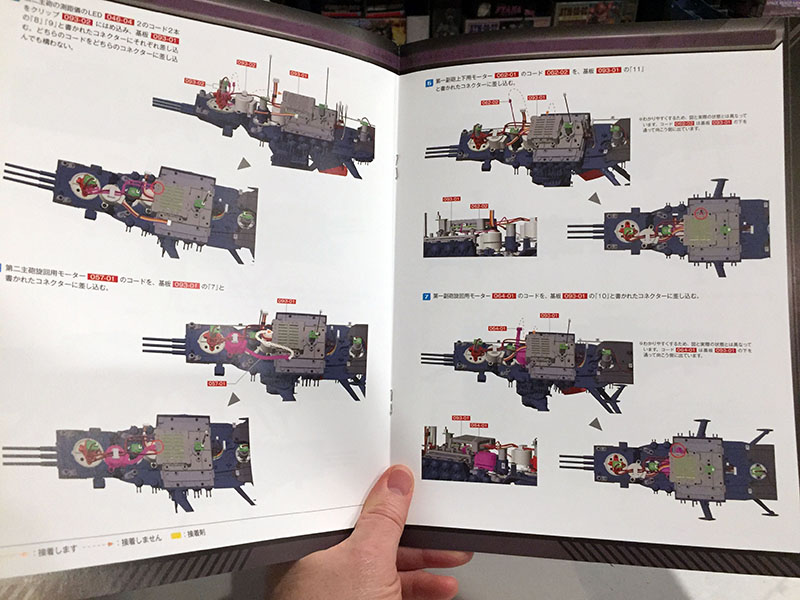
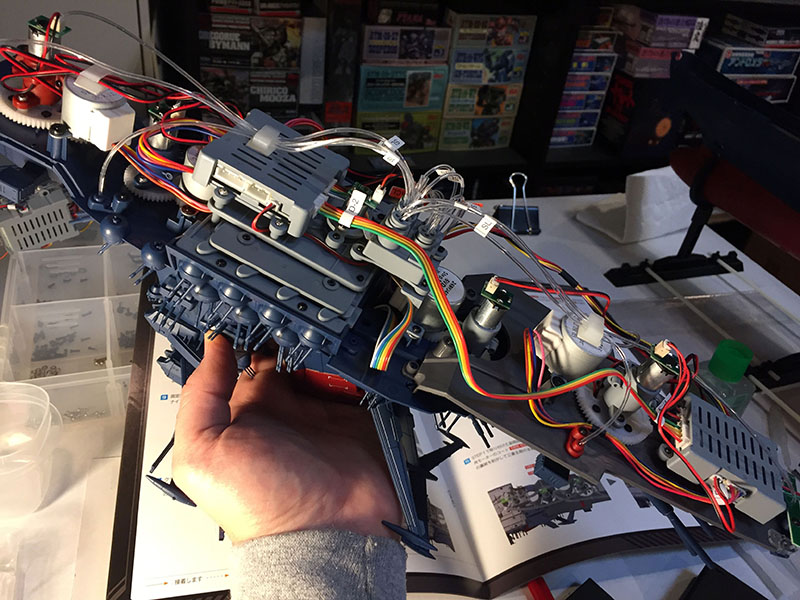
All the wiring from the smokestack forward will be plugged into box D.
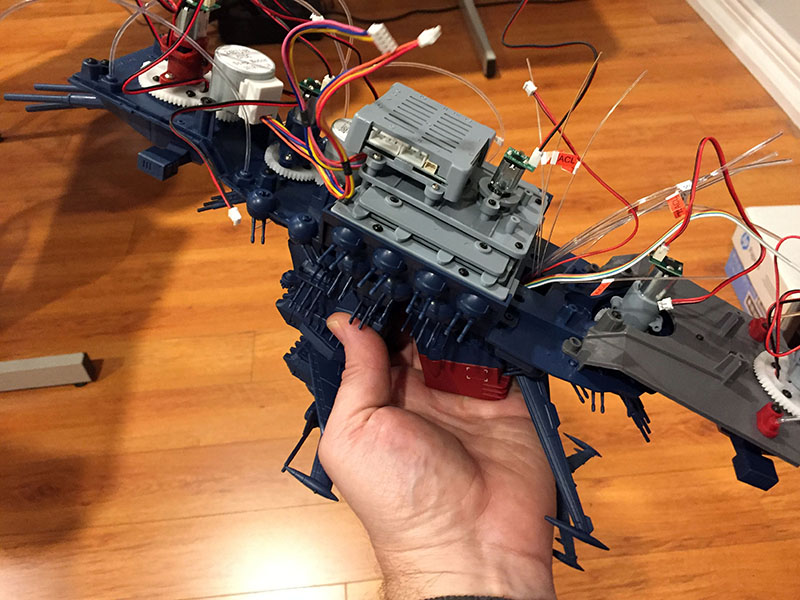
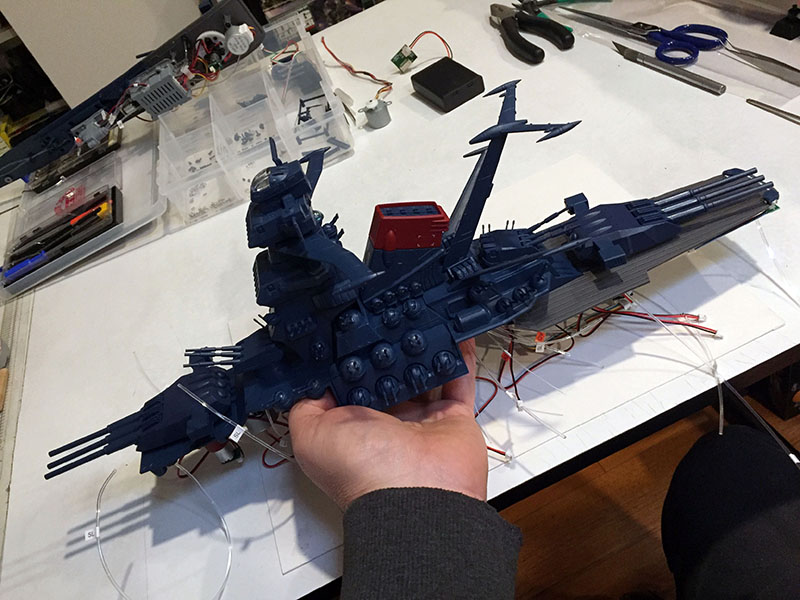
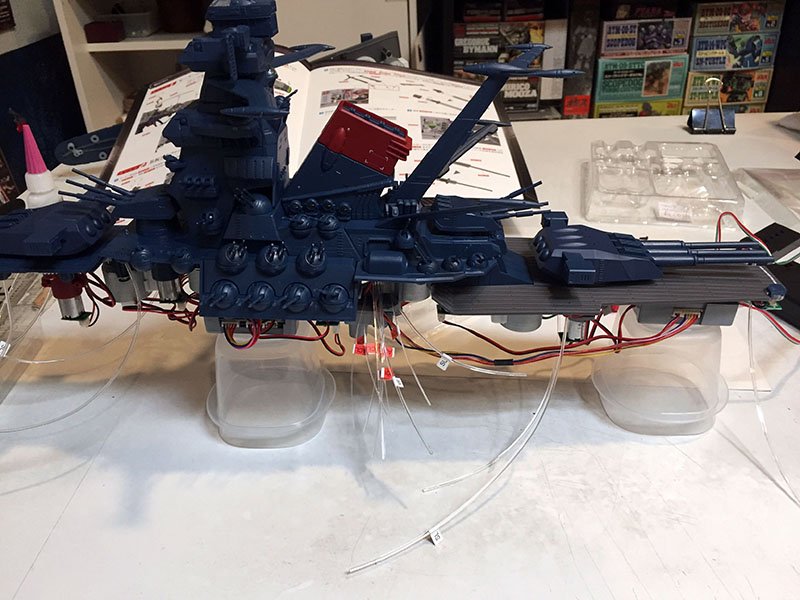
Box D installed. Did you notice in the instructions how this big hunk of ship was just sort of floating in midair? It would be real nice if that were the case, because with all its pieces in place, there are very few safe ways to grip this thing. This right here is the only position I could find that didn’t put pressure on any of the little fiddlybits and risk breaking them. There were also moments where I had to partially balance it on the captain’s dome – which made me really grateful AGAIN that I didn’t attach the little fins when they told me to.
If I could rewrite the instructions for this, I’d delay putting the smaller bits on until all this wiring is over with. It’s fun and exciting to see them in place, but delayed gratification is much preferred over the stress of not breaking them off.
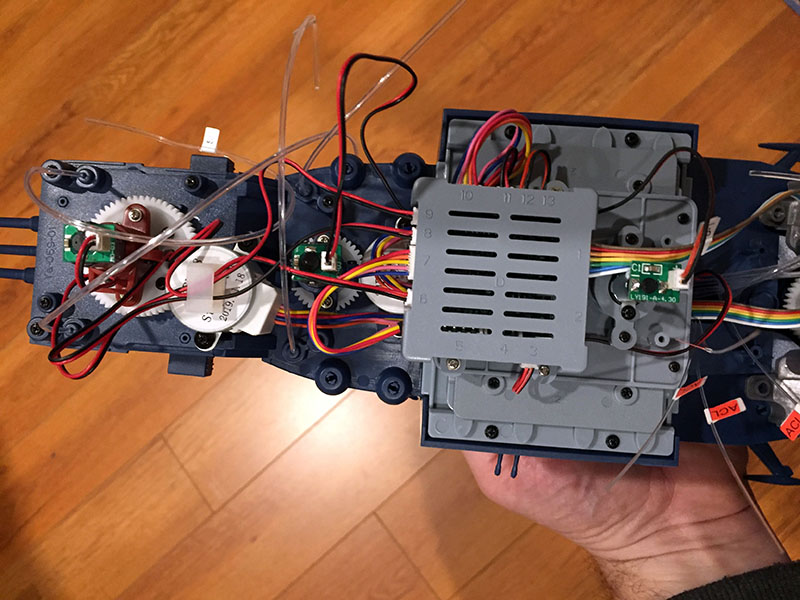
All plugged in. Whew. Fiber cables still flying free. They will go into an LED bus we don’t have yet.

The “still to come” boxes are dwindling. Just four more. (The boxes behind them hold Andromeda parts.)

Here’s the next batch of four. I see Cosmo Tigers! And two more junction boxes…
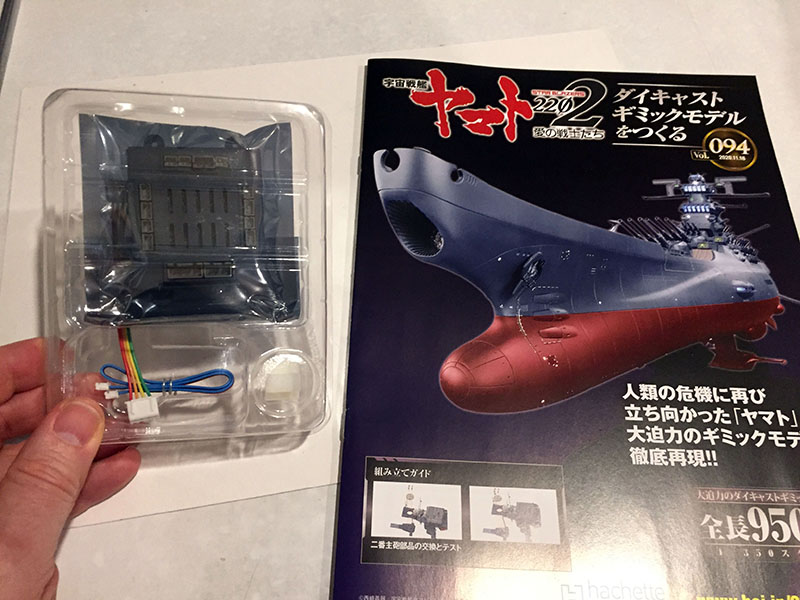
Volume 94. I call this one the comedy volume.
Way back in Volume 50 they gave us an underplate for main gun turret 2 that, for some reason, was defective. It took them this long to figure it out and issue a replacement part.
Here’s the comedy part: the first FOUR PAGES of the instructions tell you how to go back and remove the defective part.
This requires unplugging some of the wires we JUST plugged in, then removing motors just to get that gun off. Because I waited until I had all the volumes in hand and did some research, I could skip all of that nonsense. I’m sure there was no comedy in ANY of this for those who built it one week at a time.
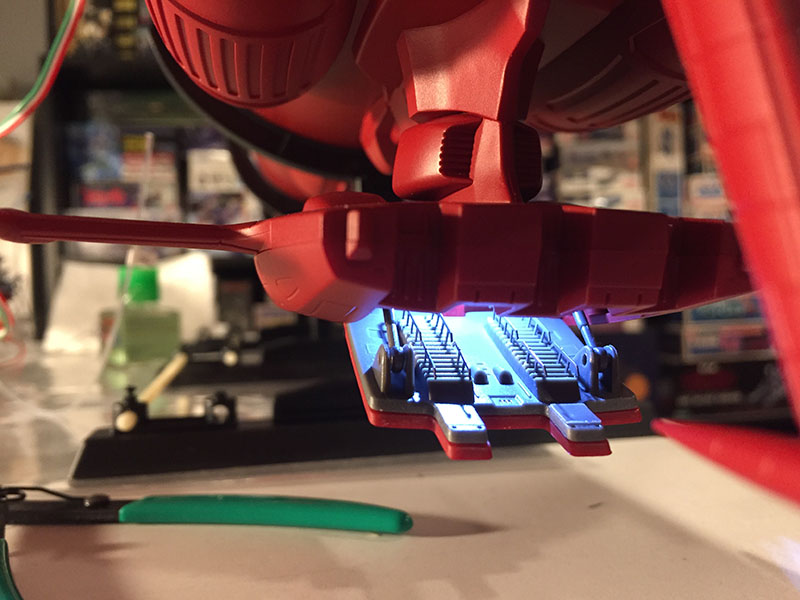
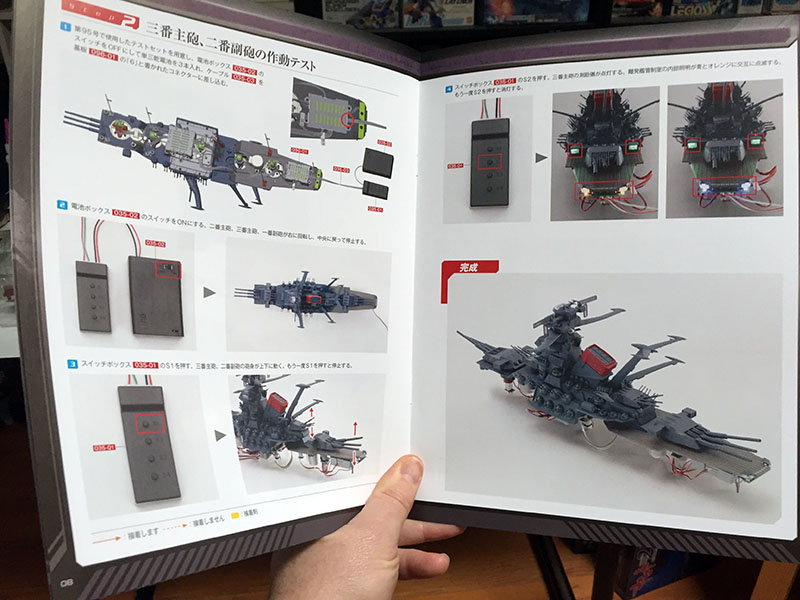
Anyway, instead of messing with that I could go straight to the fun part: plugging in the battery pack and testing all the stuff I just plugged into box D!
This includes various lights and the front turrets.
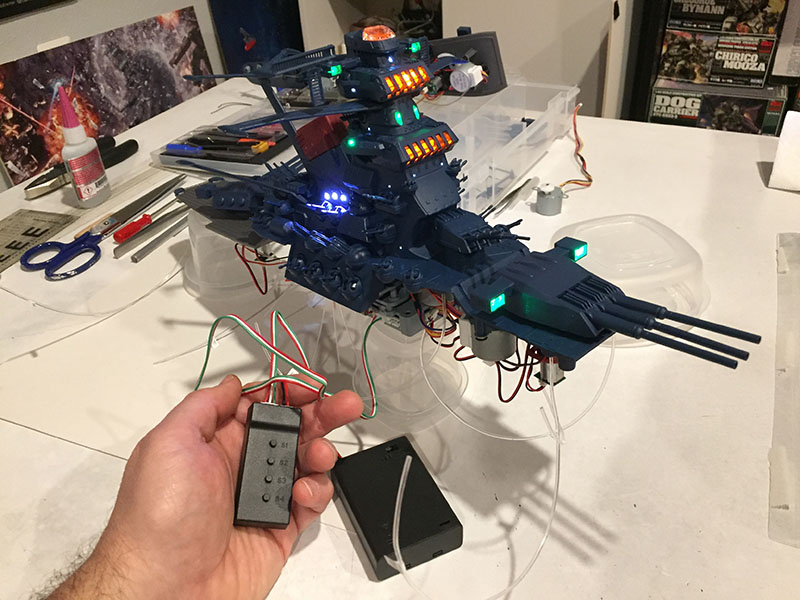
OH MY GOD! I shouldn’t be surprised, since I followed all the instructions, but I can’t help but be amazed that it all works exactly as planned. These are the moments that keep you going.
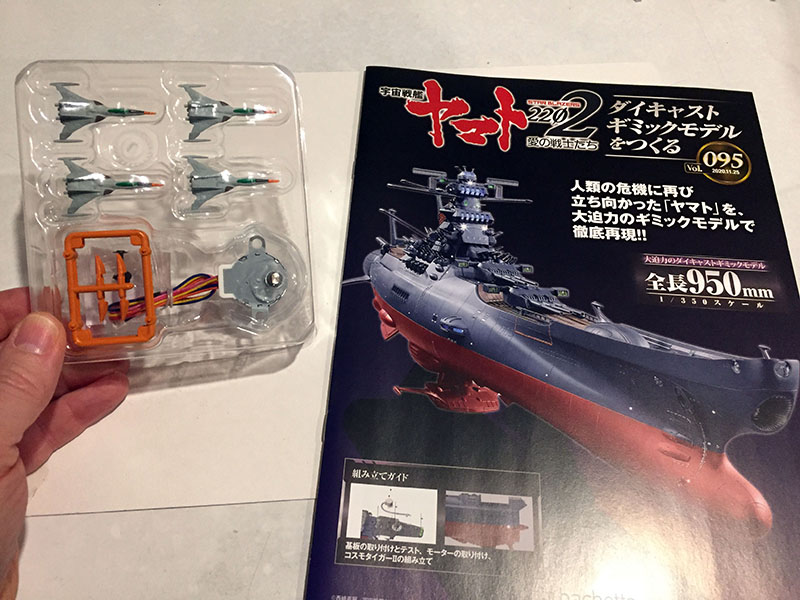
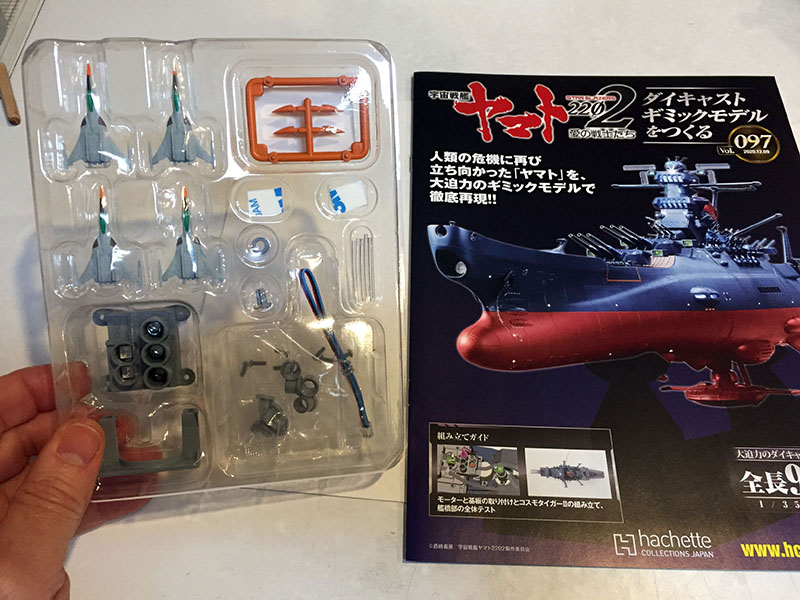
Volume 95 gives us the first four of 16 Cosmo Tigers and a new motor. (BTW, junction box C arrived in Volume 94, but we didn’t get instructions for it yet.)
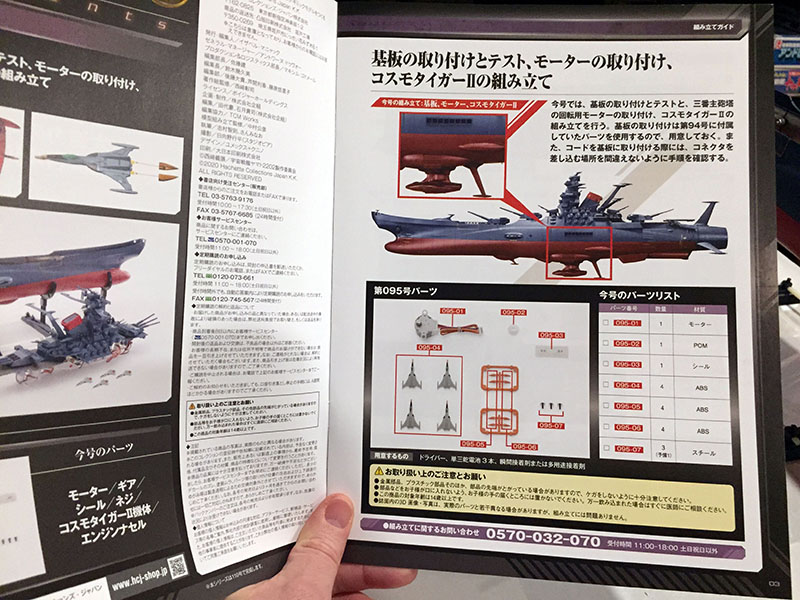
We’re back into the belly of the beast.
We’ll install junction box C in the belly and do some more plugging.
When that’s done, we’ll finally get to run an electronics test on the midsection. I’m really curious to see how some of those features will work.
When the test is over, we’ll install the motor that rotates the third main gun.
Then we’ll put some Cosmo Tigers together.
Here’s junction box C. We attach a plastic clip to gather up various wires. Seems odd to block vents for that purpose, but OK.

Box C is in, everything’s plugged. The gizmos to the right of the box will operate the lateral launcher doors and the boarding hatch in the third bridge. Both use wire tension and are motor-driven. Those motors have just been plugged in. Now we plug the battery pack/control pad into box 3…
…and there it is! It opens and closes perfectly. Amazing!

Same with the launcher doors. And all the lights work! Hallelujah!
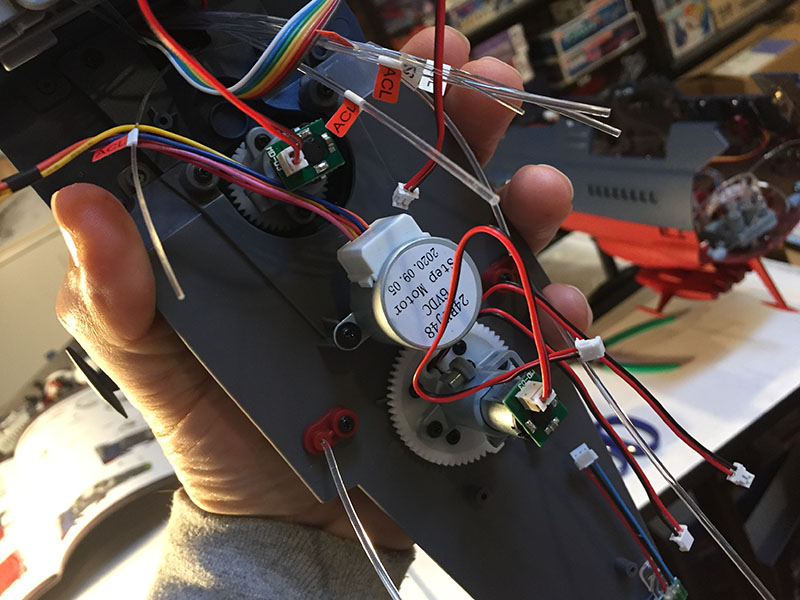
Rotation motor attached to main gun 3. Just one more to come, for the second secondary gun.
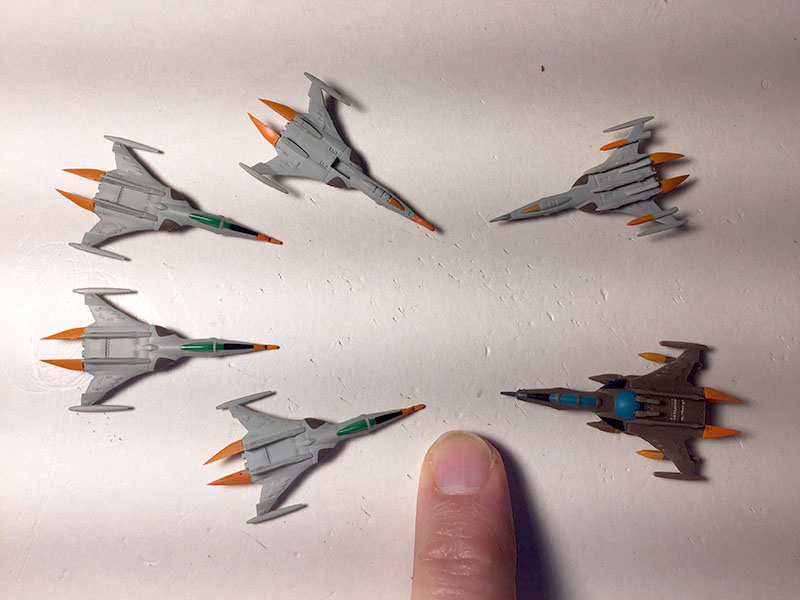
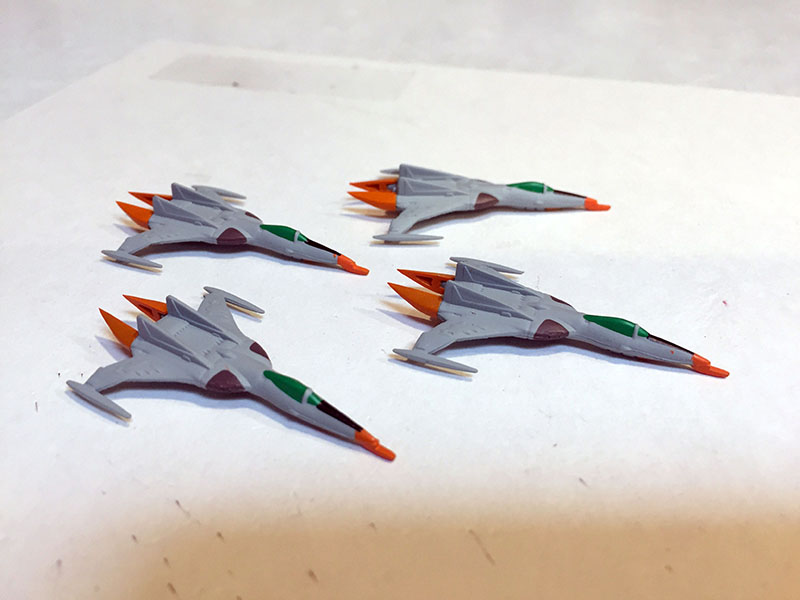
Four Cosmo Tigers ready. This was a bit puzzling. For these, all I had to do was glue their orange nacelles on. The very first Cosmo Tiger (all the way back in Volume 3) had annoyingly tiny missiles and fuel tanks to attach. It’s at the upper right. I’m glad I don’t have to do that with all the other Tigers to come, but it means that first one was really just for show.
The brown 2-man version at lower right was a preassembled bonus gift for subscribers.
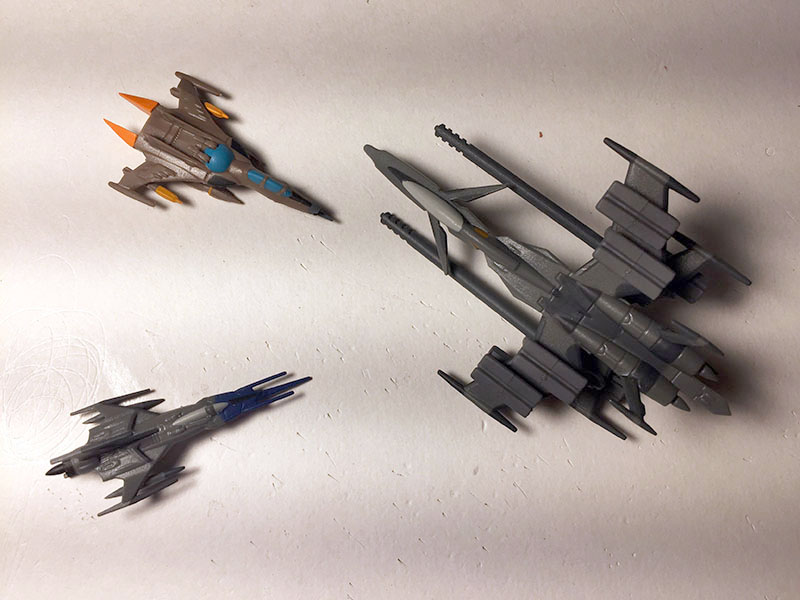
It came in a 3-pack with a Cosmo Zero Blackbird and a Cosmo Tiger 1, all preassembled. I have no idea where I’m going to put them. Maybe they’ll fit on the catapults.
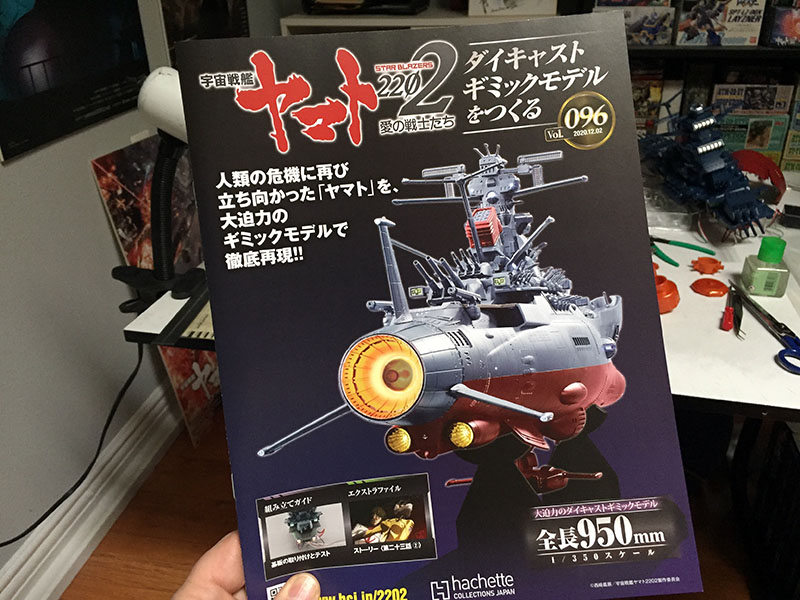
Okay, Volume 96 is next.
This time we’ve got junction box E to deal with.
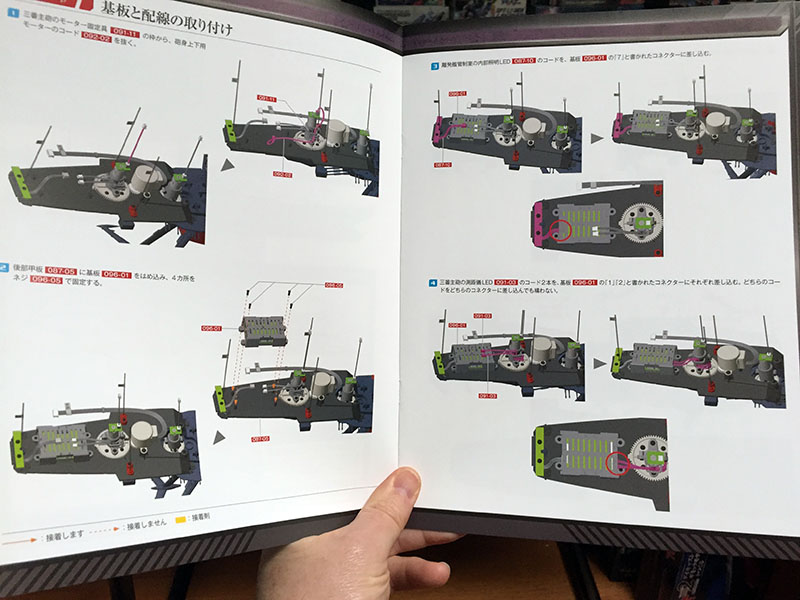
It will attach to the rear and power everything on the aft deck.
I know what that means. LOTS of careful gripping of the superstructure again as wires get plugged in. Nine ports this time.
But then we get another electronics test. That will be fun. It BETTER be.
After much sweat and frayed nerves, box E is in place.
All wires plugged in. Another squeaker.
The large multicolored ribbon wire connects box E to box D. When we’re done, all five junction boxes will be connected to each other.
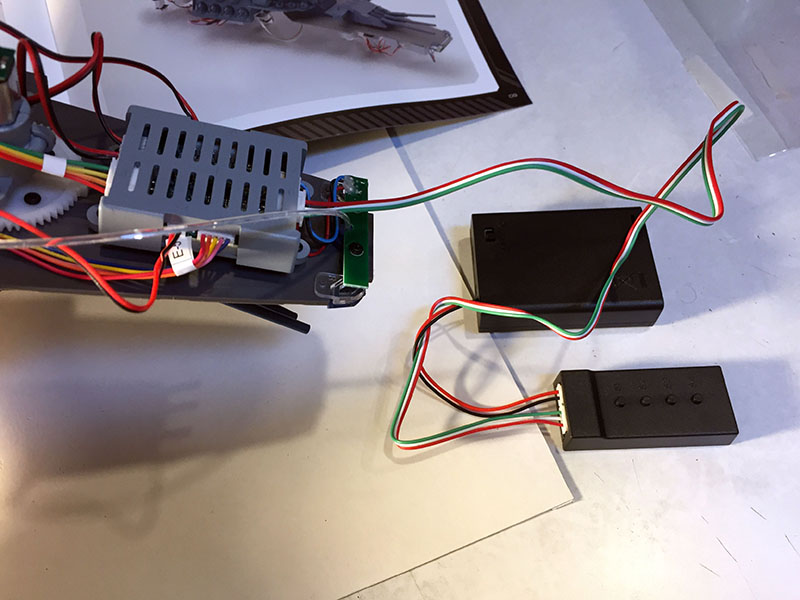
Battery pack and control pad plugged in! Drum roll…
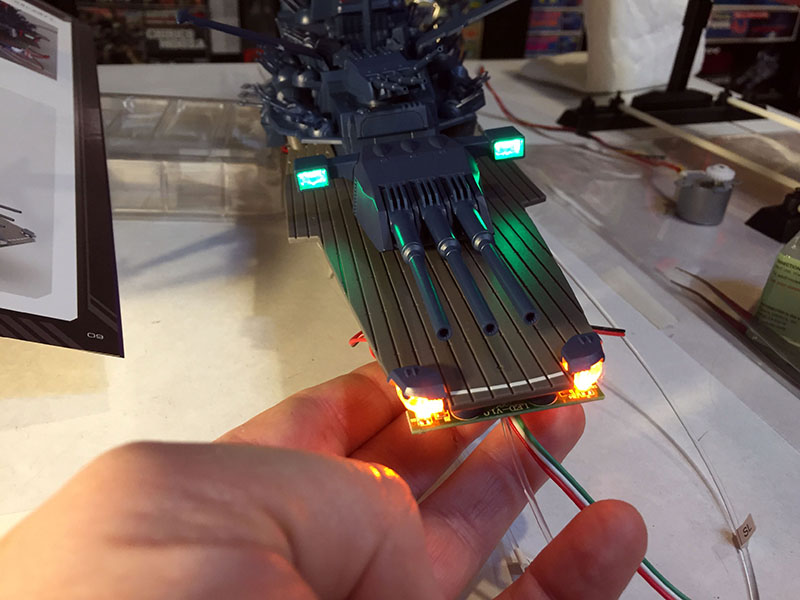
OH MY GOD. The guns rotate just right and the lights work great. The landing lights change from orange to green, just like the bridge lights.
On to Volume 97.
More work to do on the superstructure area.
The last of the gun motors will be installed, we’ll add an LED bus, and we’ll cap all the stray fiber cables.
I don’t know how I’m going to do this AND hold onto the superstructure at the same time. Capping fibers is a 2-handed job all by itself.
When that somehow magically gets done, we’ll make four more Tigers and plug in for another electronics test.
This test will cover all remaining lights and revisit some previous ones. That should be the end of it.
Final motor installed (lower left) and a grey bracket went over it.
The LED bus attaches to that bracket. Now we gotta figure out this capping manuever.
Breakthrough! I grabbed a couple small plastic containers from the kitchen. They’ll do the heavy lifting for this.
All fibers capped! MUCH easier than I expected.
I had to hold the thing upside-down again for the plugging-in, but even that went smoothly. The plug experience with the bridge tower really traumatized me, I guess.
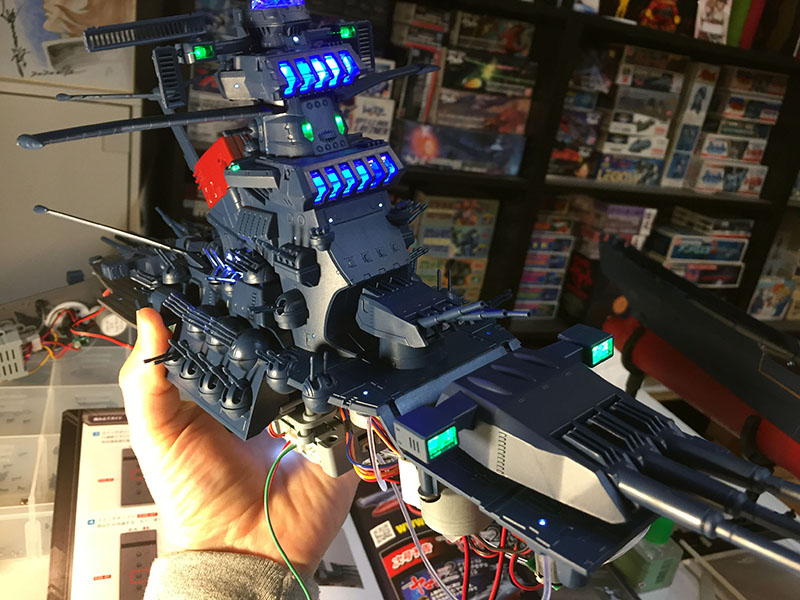
OH MY GOD. Everything is PERFECT. Some of the lights are red and blink on and off. I’m so happy I could lost my grip at any second. Let’s put this back down first.
As of now, ALL WORK ON THE SUPERSTRUCTURE IS DONE!!! When I realized that, it was like 100 pounds just floated off of me.
Four more Tigers done. That’s eight. Eight more still coming.
Next box open! And what’s this on top?
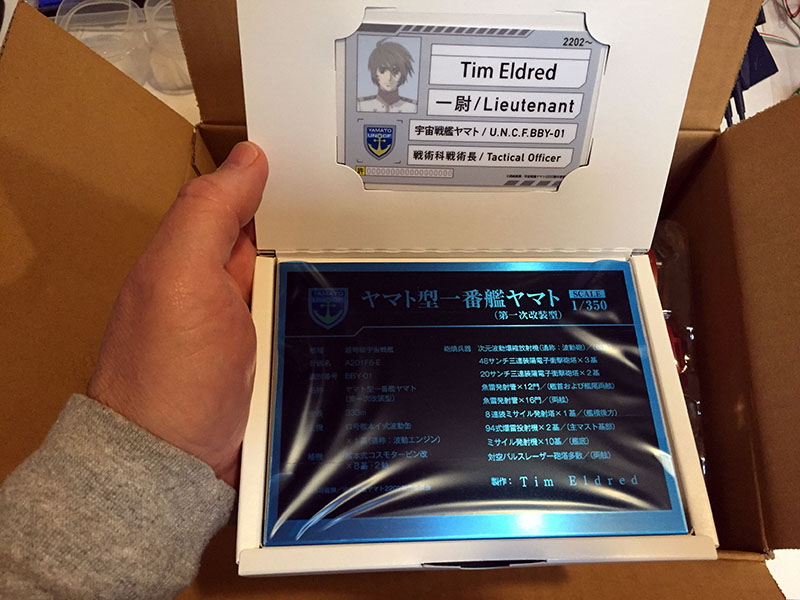
Why, it’s ANOTHER subscriber gift! I’m sure that ID will get me into all sorts of secret places. And the metal spec plate credits me for building the model.
For some strange reason, Hachette sent me TWO of every subscriber bonus gift. That includes two of each of these items. It must be hard to run that company.
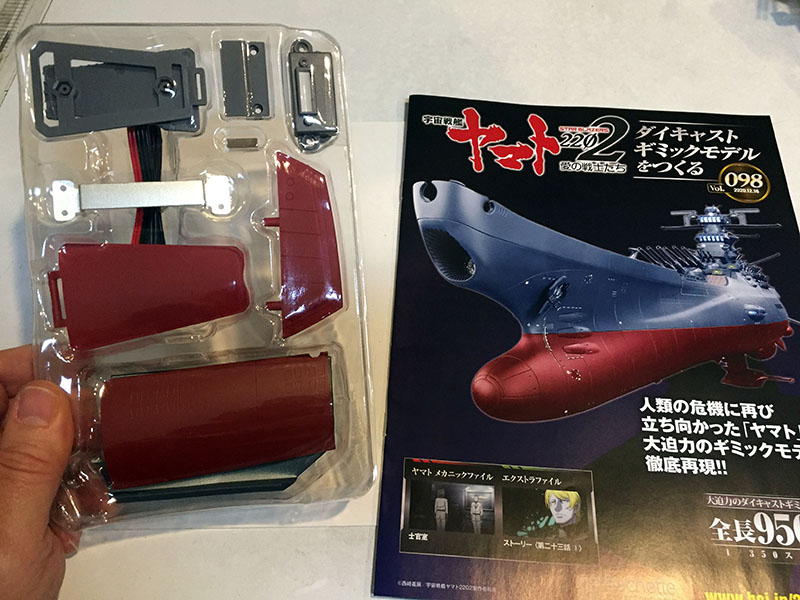
Volume 98. I haven’t seen a new hull plate in what seems like years.
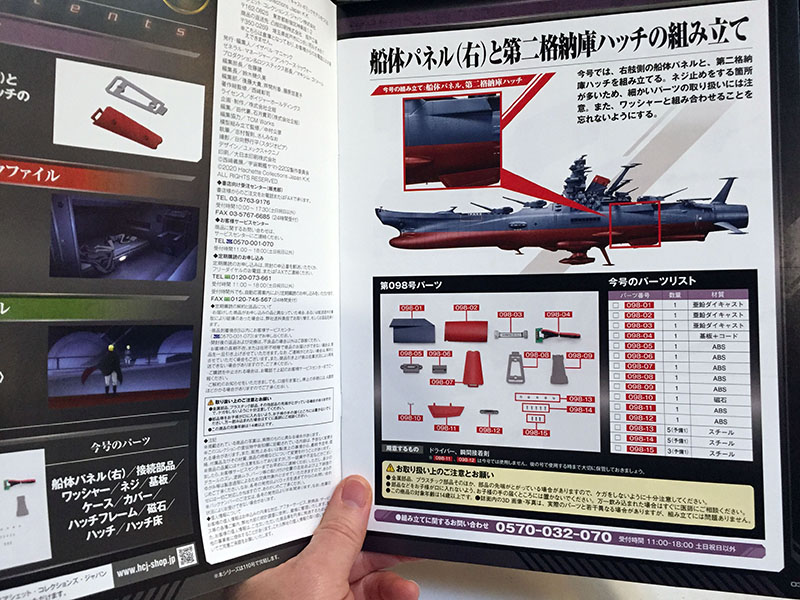
We’re now starting on the aft section of the ship at last.
A couple plates and the hangar hatch come together this time.
Simple-dimple.
Done in just a few minutes. That’s the major power cable that will connect to the stand.
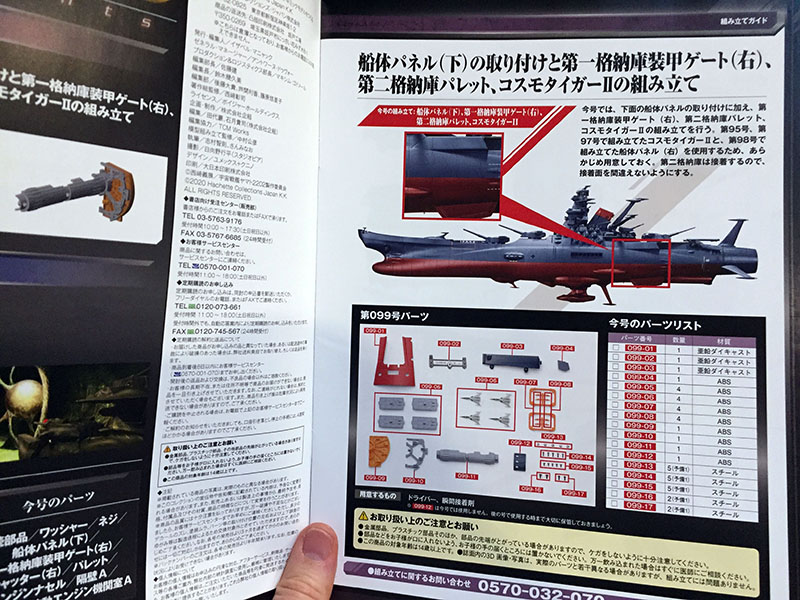
Volume 99! Internal parts ahoy!
We’re in the hangar deck area.
Adding more to the new hull plates and installing the power cable.
We’ll make another exterior section and four more Tigers. Then we start attaching them to their palettes.
Your eyes do not deceive you. We’re going to build part of the hangar carousel.
But first, a side-step. When I did research before starting this project, I saw what the interior looks like when assembled and to be honest, it’s kinda cheap. The detail is fine, but the plastic looks terrible, like a vending machine toy. So I decided to do some painting.
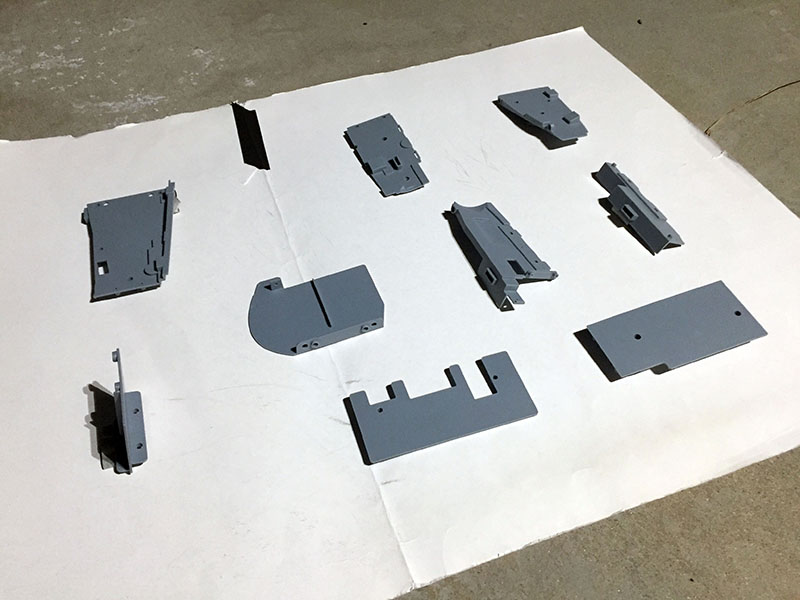
Here are the interior bulkheads that will contain the hangar and the engine.

And here are the engine parts. They really do look like a children’s toy.
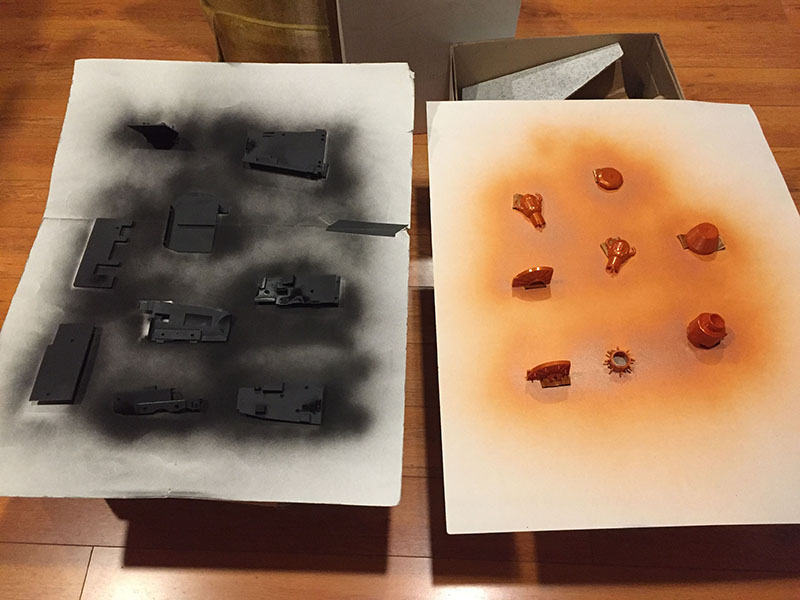
I spray-painted the bulkheads matte black and put a metallic orange over the orange parts. It only took a few minutes, and they look WAY better. This meant jumping ahead a few volumes to find the parts, but it was necessary for better results.
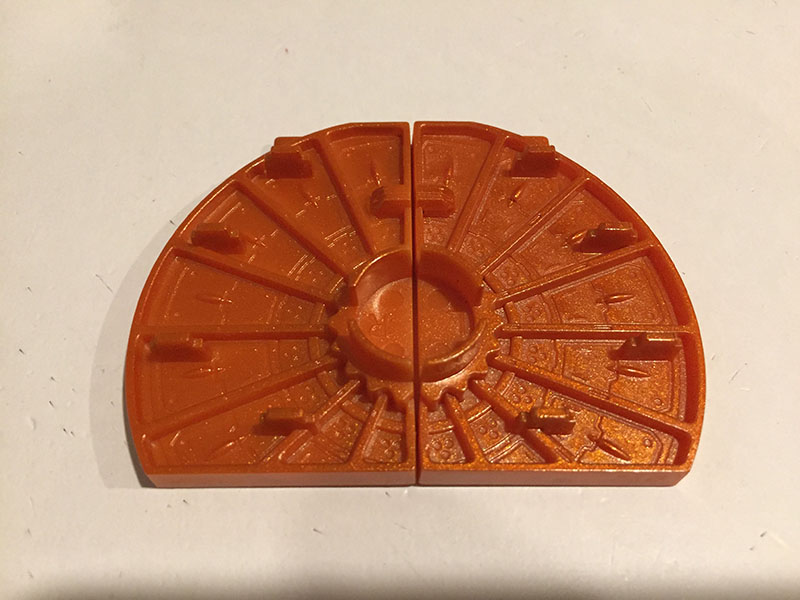
Here are the “bookends” for the hangar carousel. Between them, they fill out the shape of the whole thing. But we won’t build the whole thing.
There’s Volume 99 done.
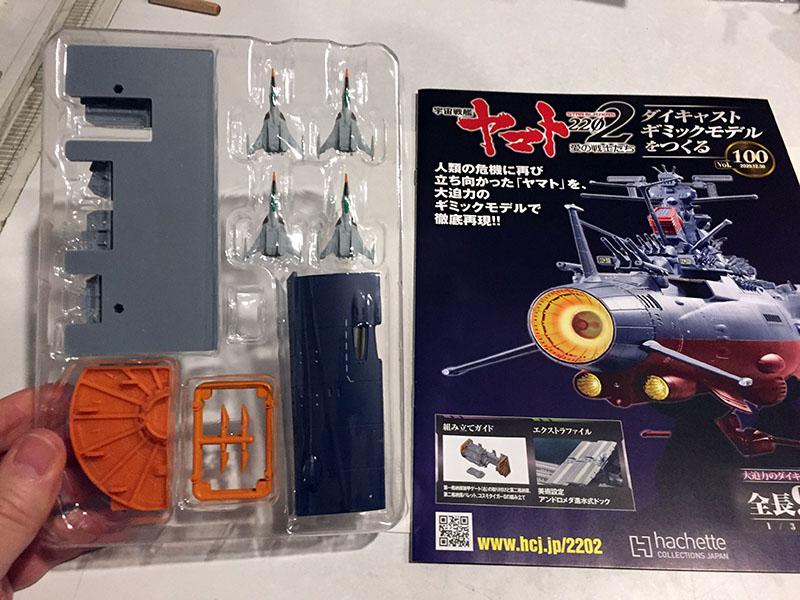
VOLUME 100! Just ten more after this one. And parts are getting bigger again!
Continuing in the hangar deck area.
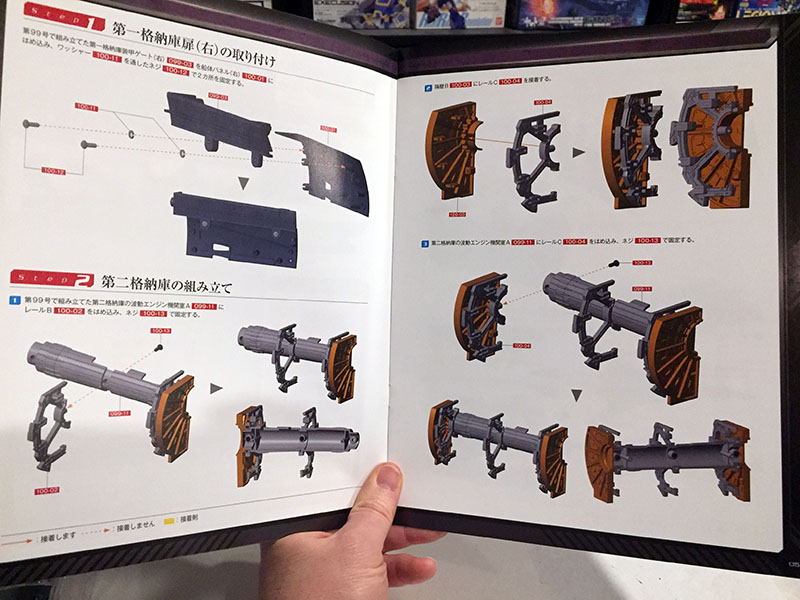
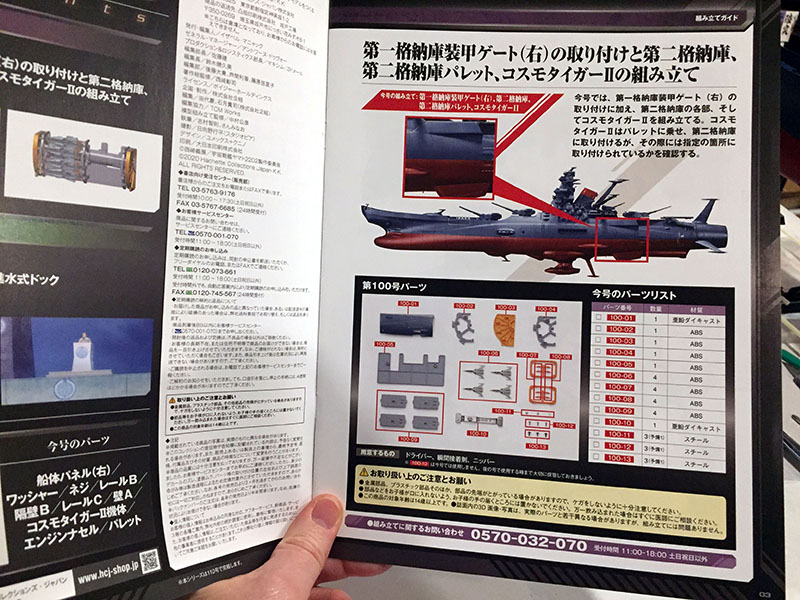
First we’ll work on a new hull plate, then assemble the carousel.
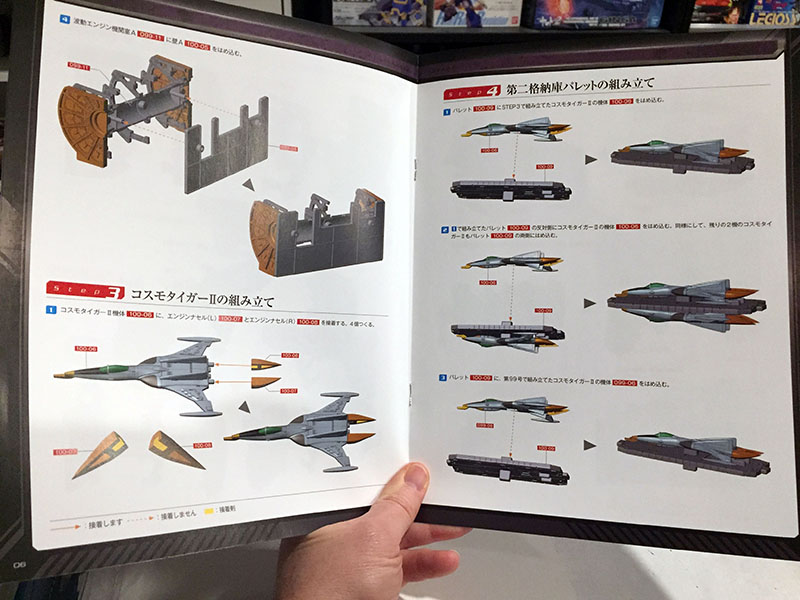
There you can see how much of it we’re actually building. If we did the entire barrel, most of it wouldn’t be visible. Then we make the last four Tigers and put them on their palettes.
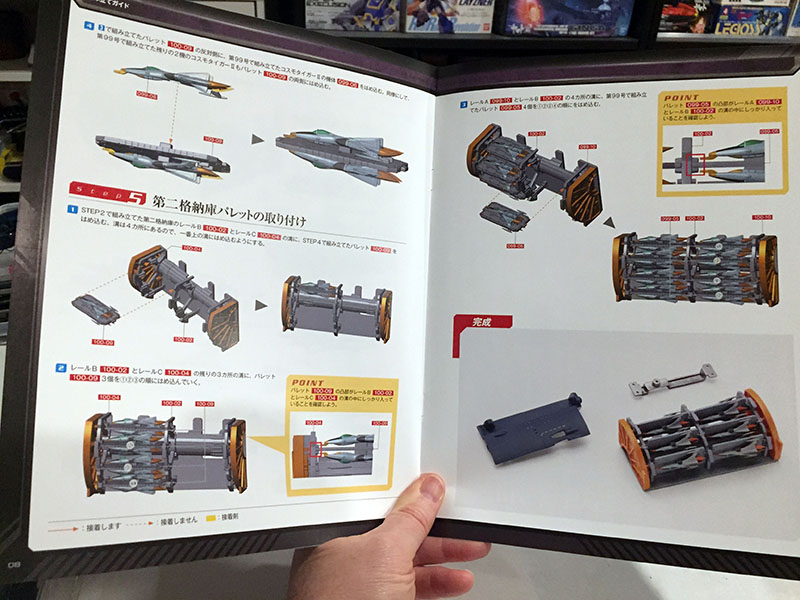
Snap all the palettes in, and we got ourselves a hangar.

16 Tigers on eight palettes. This is the reason they aren’t loaded out with stuff like the Tiger from Volume 3. They need to fit snugly together.
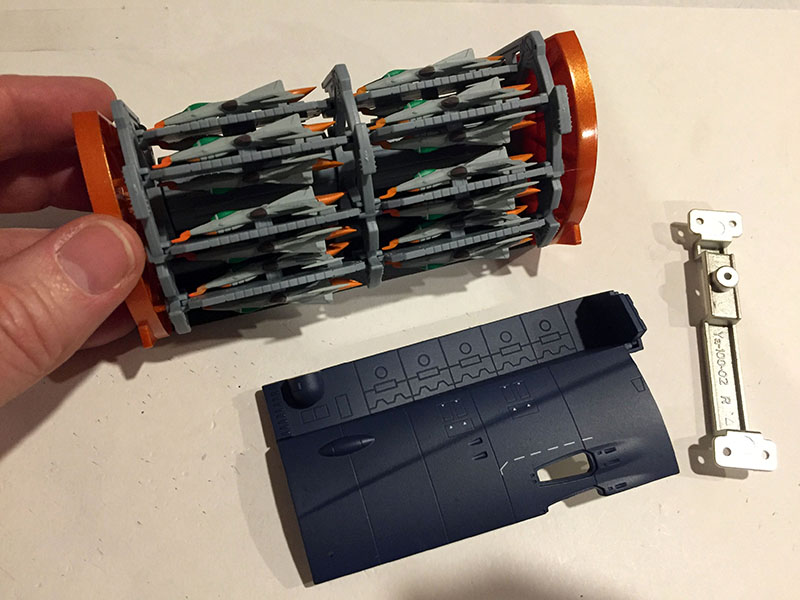
And DONE! Really glad I decided to do that painting. Everything already looks better.
All right, just ten volumes left! I can practically smell the finish line from here!